
Importing photographs is easy enough. Keeping track of everything that should happen afterward is where a workflow can begin to unravel.
You may rate some photographs, add keywords to a few, develop your favorites, and then get interrupted. When you return to the shoot several days later, you have to figure out what you finished and where you left off. Multiply that across years of photography, and even an organized catalog can contain plenty of unfinished work.
I use a six-step workflow in Lightroom Classic to move photographs from import through sharing. Color labels show me the next action for each photograph, so I can stop at almost any point and pick up again without retracing my steps.
Article 01 – Start Your Lightroom Workflow With the End in Mind
Why Photographs Get Stuck in Lightroom
It is tempting to think of a shoot as one unit. You import it, organize it, process it, and finish it.
In practice, that rarely happens.
I may rate an entire shoot but add keywords only to the strongest photographs. I might develop two images immediately and leave another promising one for later. A finished photograph may be ready to share while the photo next to it still needs location information.
Photographs from one shoot can reach different stages at different times.
That is why I track the workflow at the individual-photo level. When every photograph can show what it needs next, I don’t have to remember where I stopped. If you need to pause partway through a shoot, the same approach prevents the shoot from becoming one indivisible job.
The Six Stages of My Workflow
My workflow has six stages. Each one adds something useful to the photograph or prepares it for the next decision.
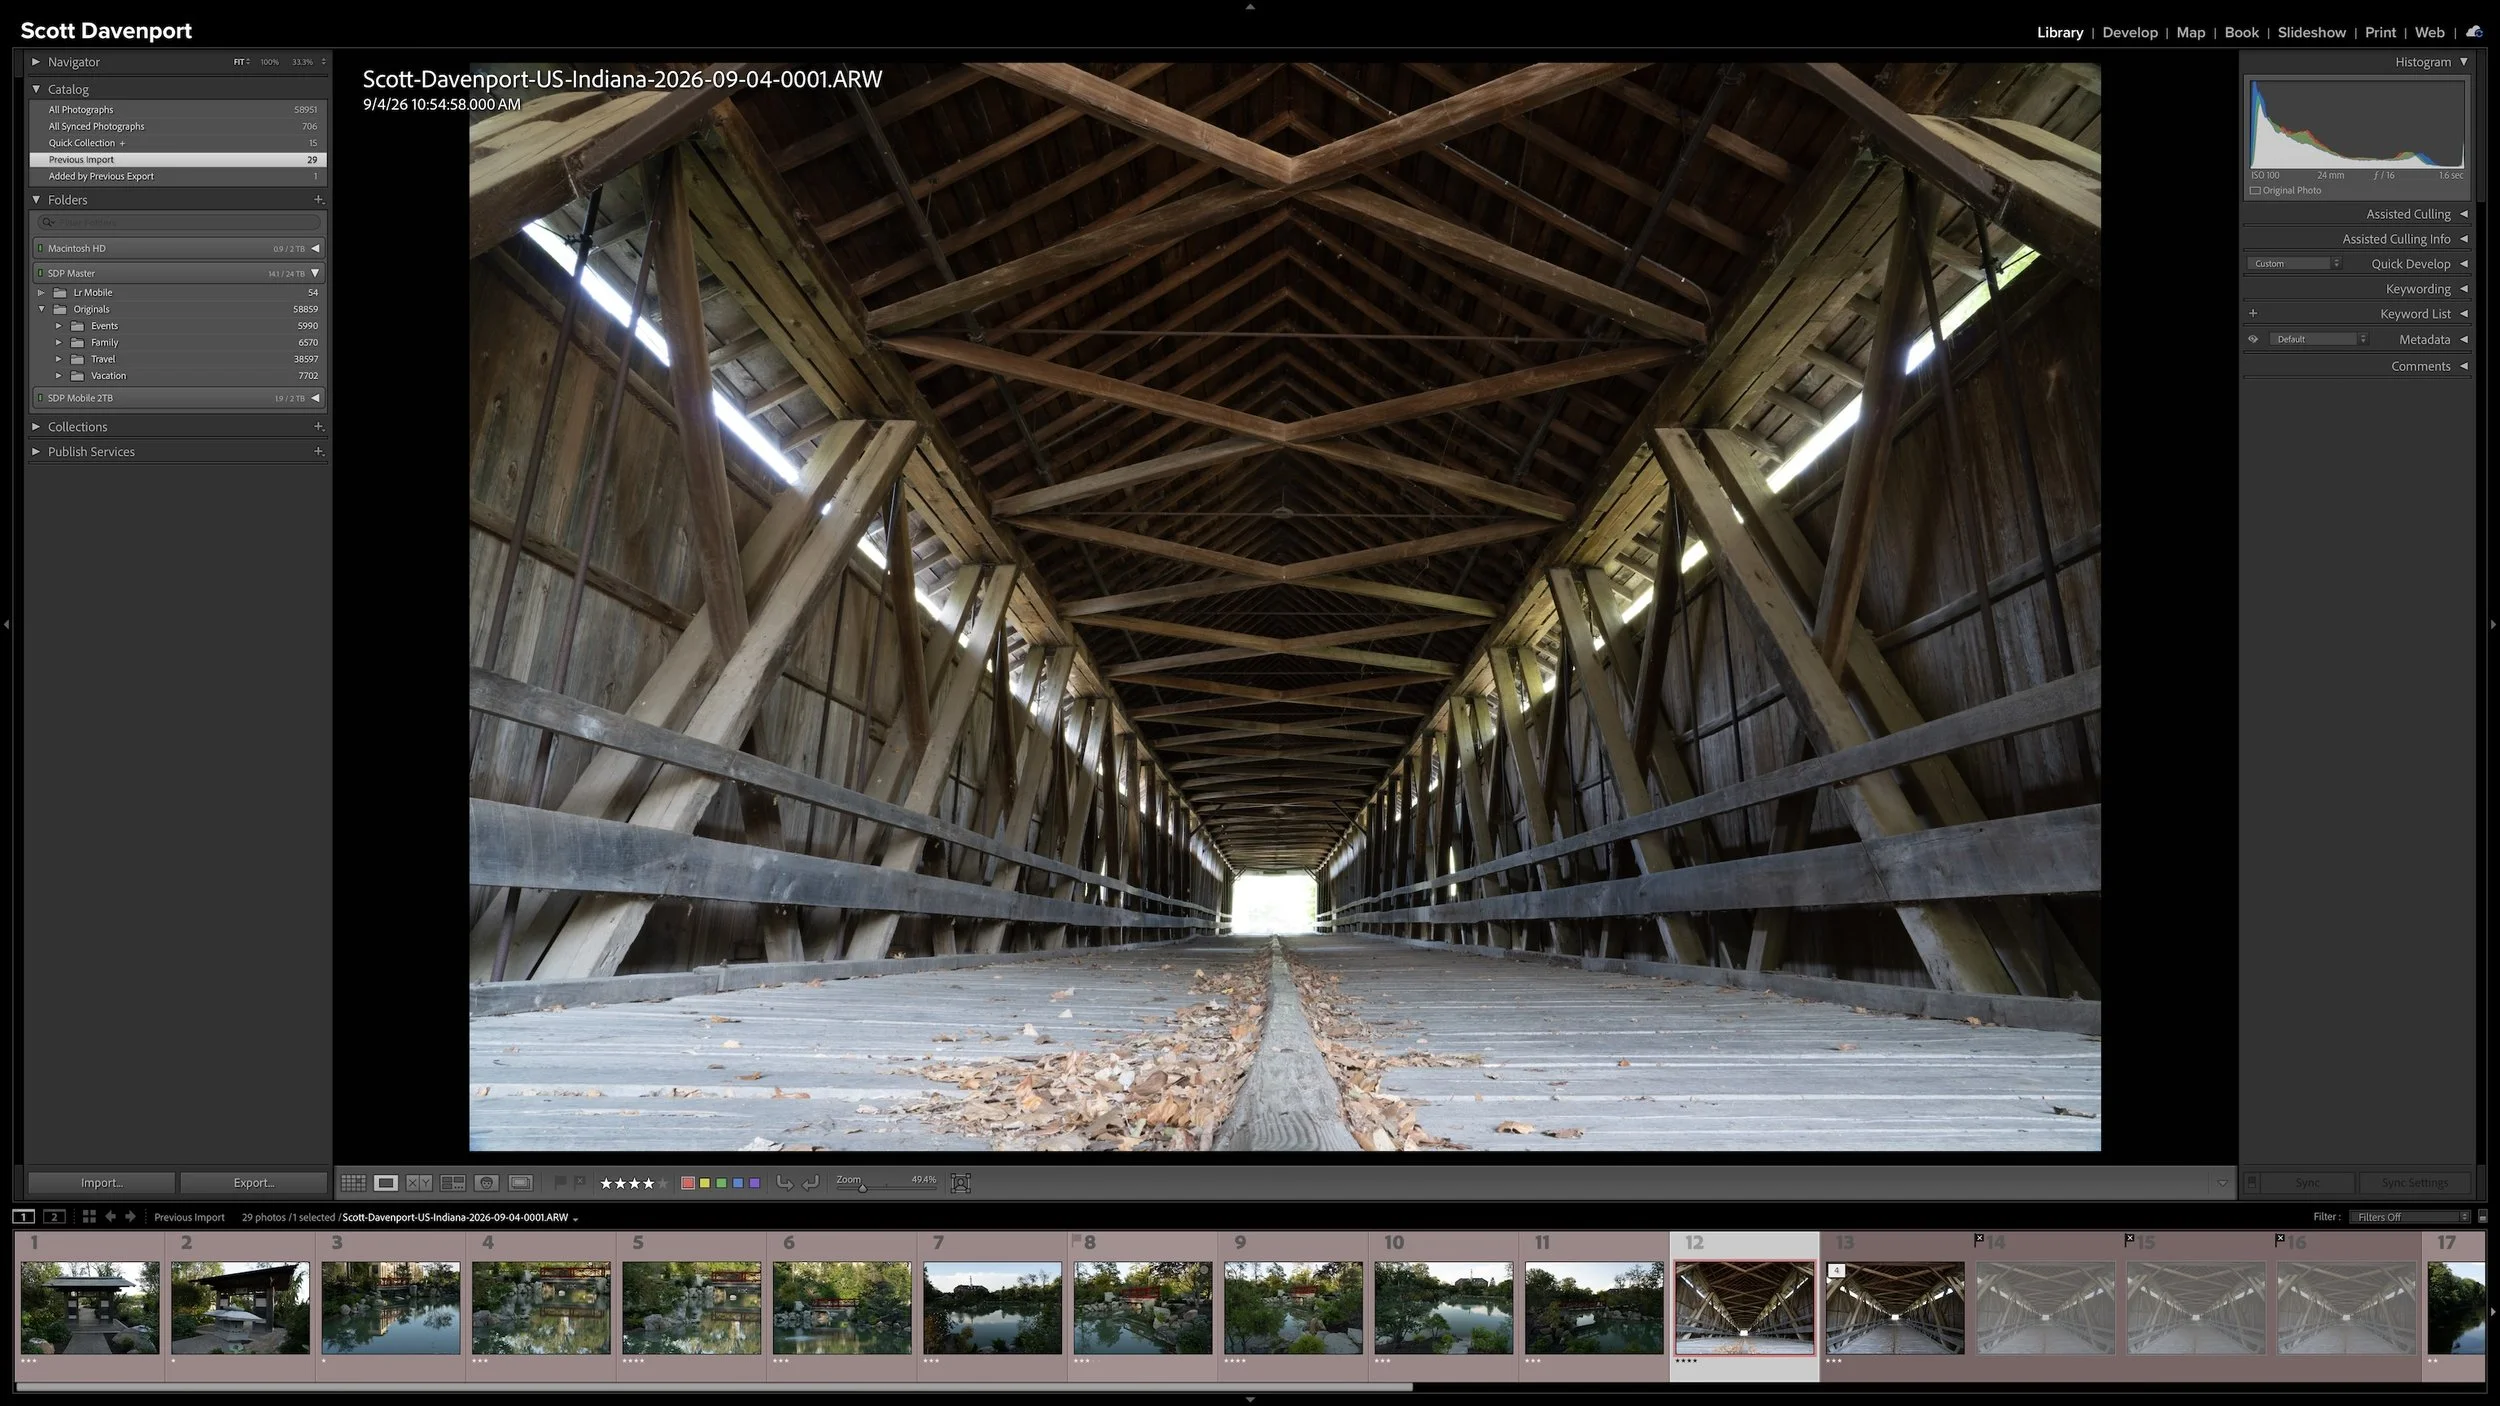
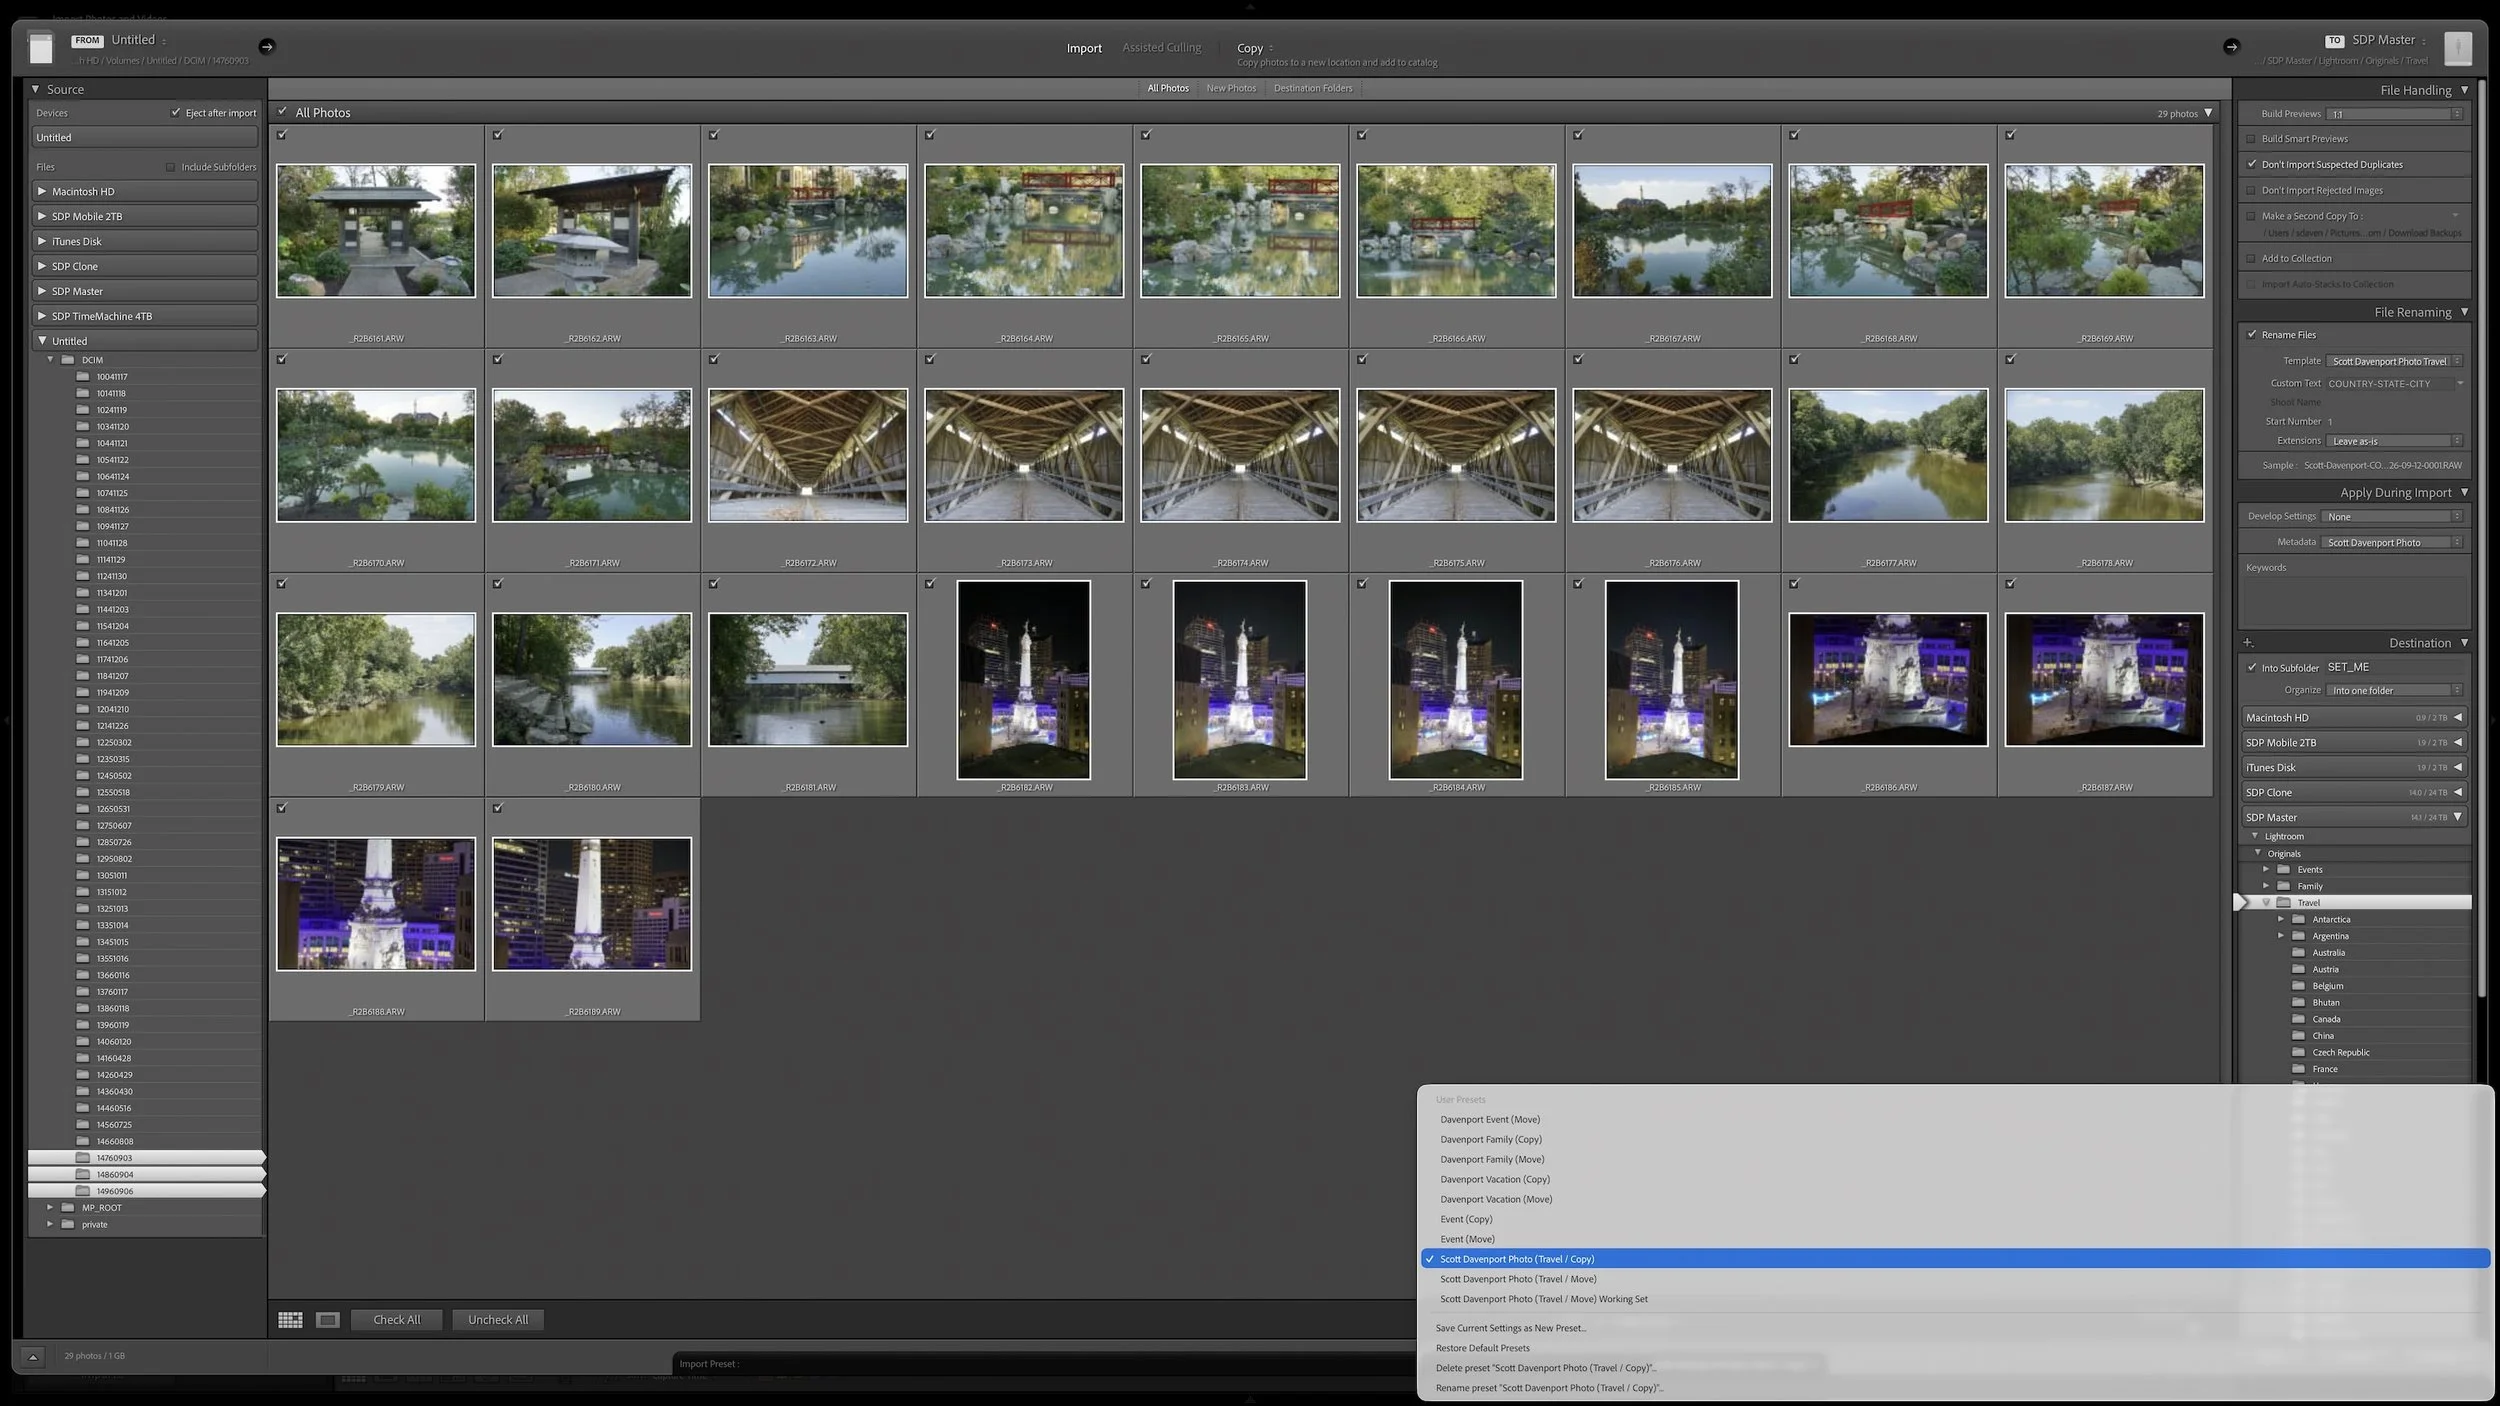
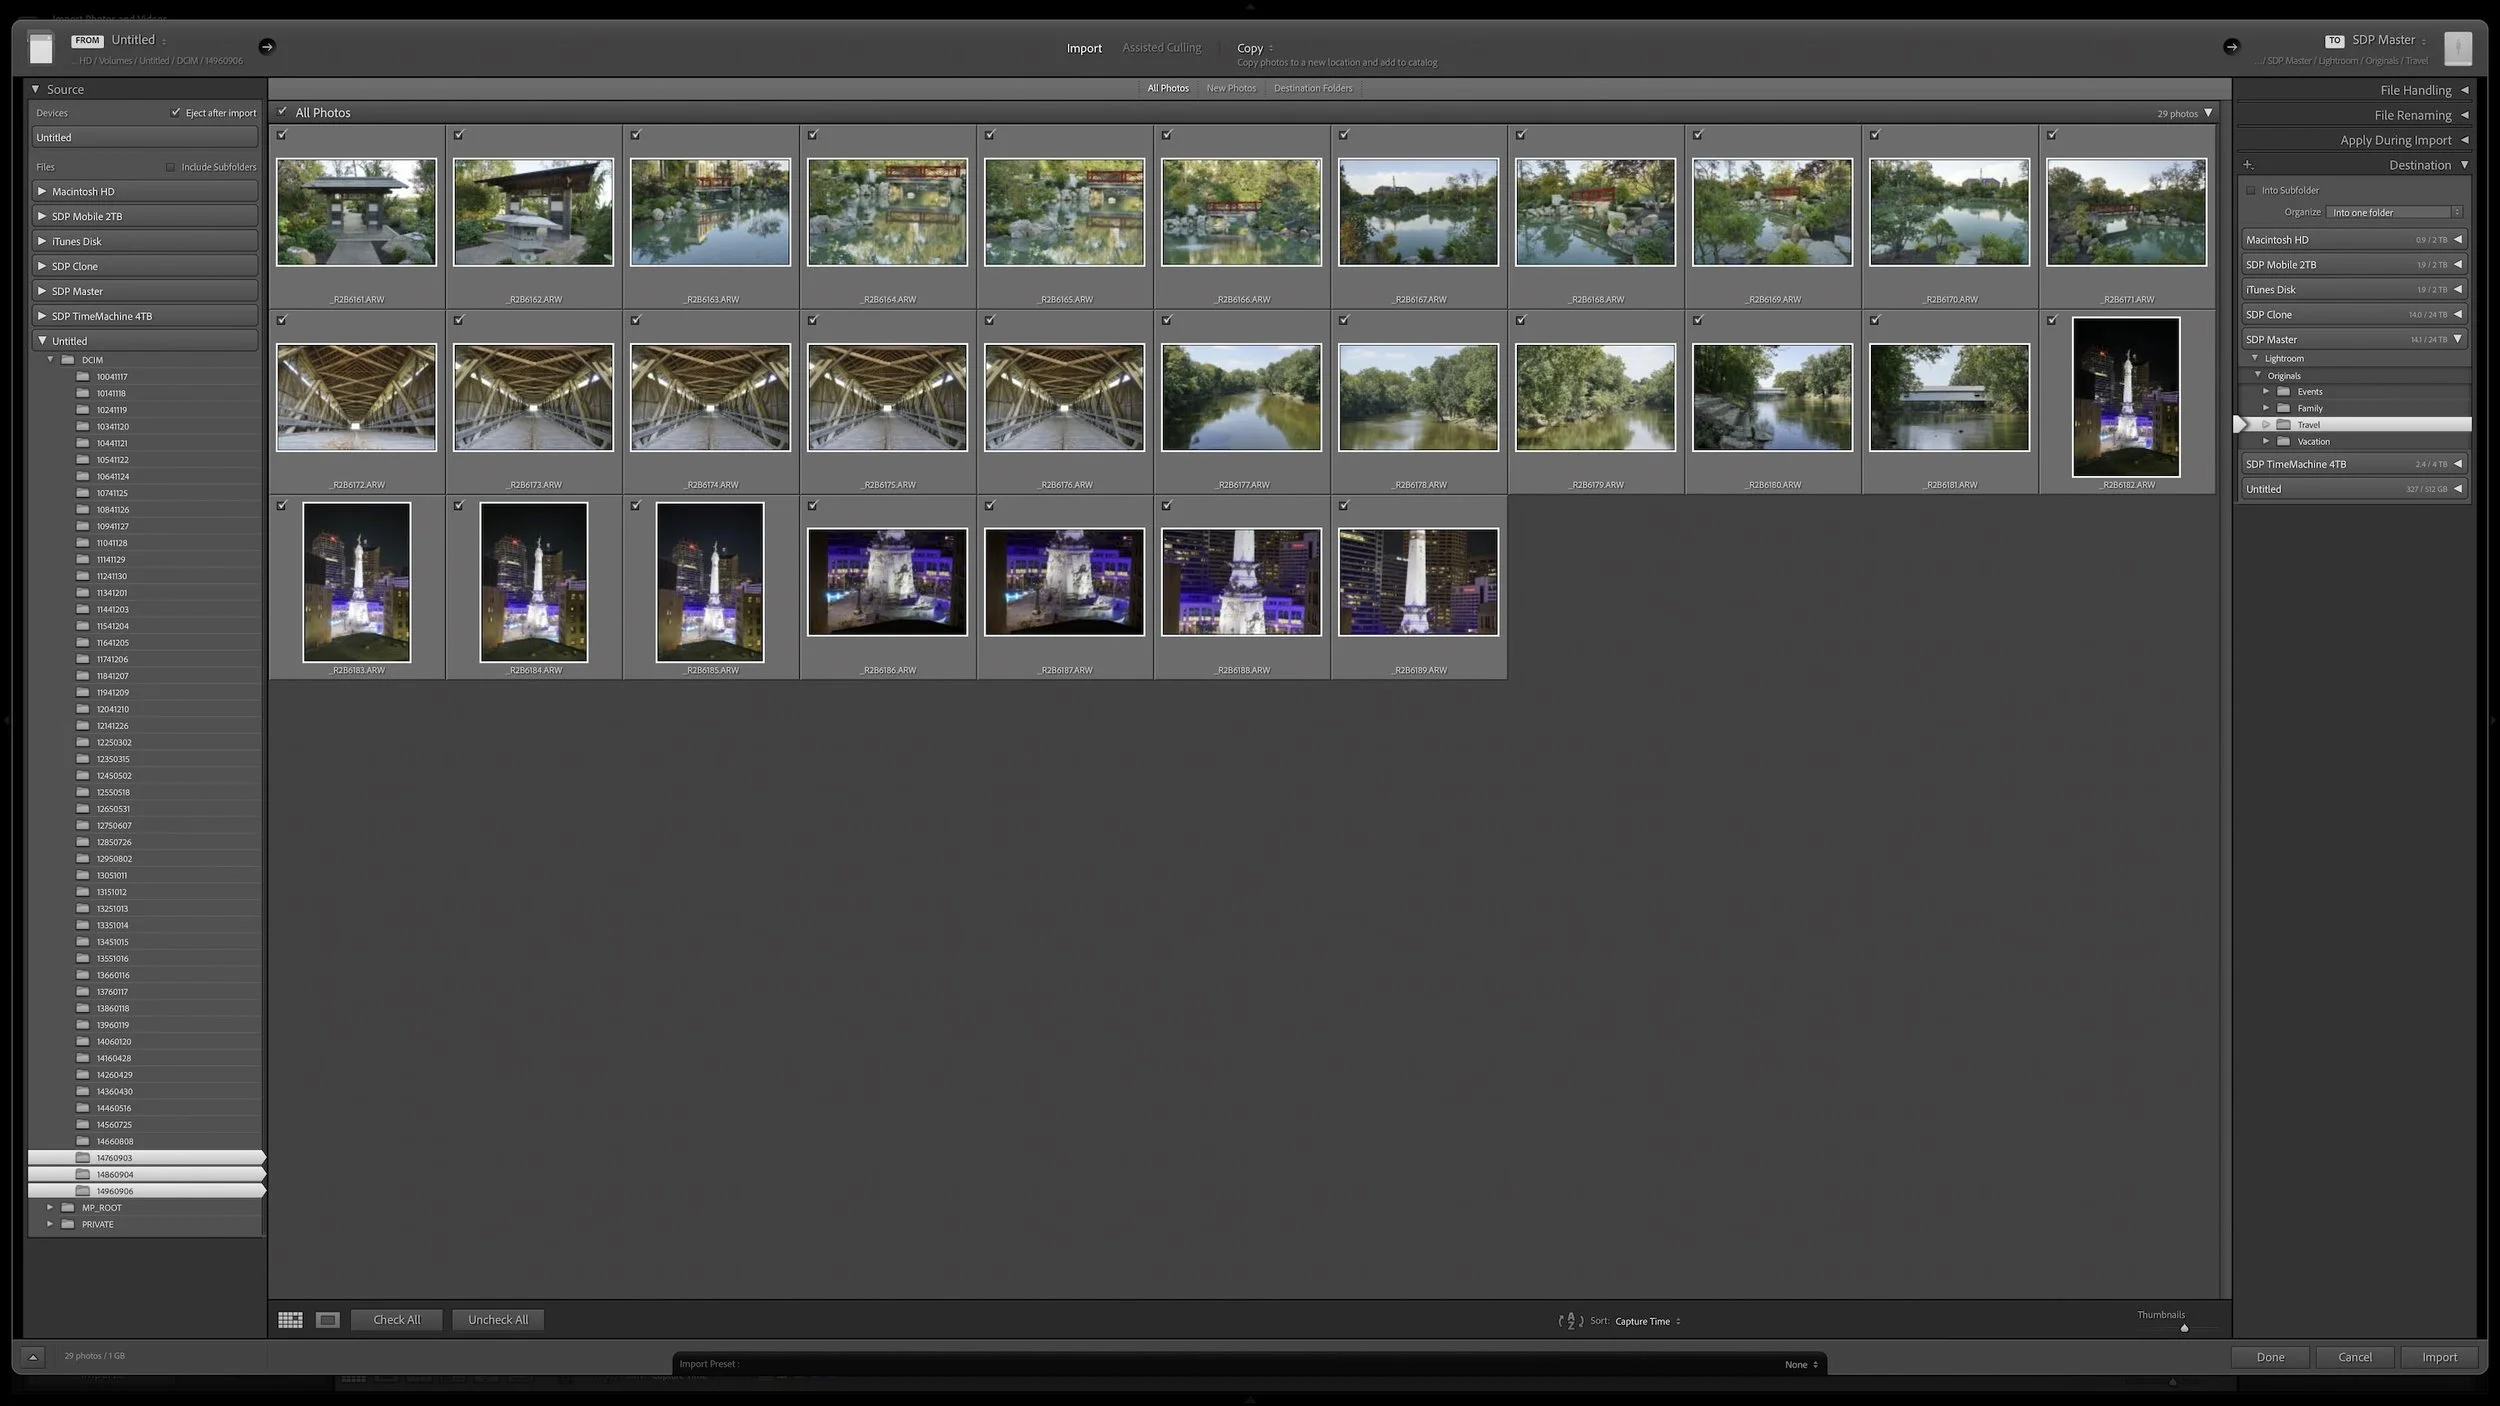
Import: Bring the photographs into Lightroom Classic, place them in the appropriate folder, and add the standard information that can be applied automatically.
Article 08 – What Copy, Move, and Add Actually Mean When Importing Into Lightroom
Article 09 – Build a Lightroom Import Preset That Does the Repetitive Work for You
Rate and Stack: Assign a rating to every photograph and group closely related frames. Ratings help me decide which photographs deserve more attention. Stacks reduce visual clutter by keeping similar frames, exposure brackets, panorama segments, and other related photographs together.
Article 10 – A Lightroom Star-Rating System You Can Use Consistently
Article 11 – Use Lightroom Stacks to Organize Similar Photos and Exposure Sets
Locate: Add GPS information so I know where the photographs were made. For a shoot made in one general location, this can be a quick step applied to the entire group.
Article 12 – Add Location Information Before You Forget Where You Were – COMING SOON
Keyword: Add useful information that is not already available elsewhere. This might include the subject, people, mood, dominant color, or another quality I may want to search for later.
Article 13 – A Keyword Strategy That Doesn’t Become a Second Job – COMING SOON
Article 14 – Use Nested Keywords and Synonyms to Work Faster in Lightroom – COMING SOON
Develop: Process the photograph and bring it to life. This is the carrot at the end of the stick—the creative reward after taking care of the asset-management work. My Lightroom Learning Center has more techniques and ideas for developing your photographs.
Share: Send the finished photograph out into the world. That might mean placing it on my website, sharing it online, or sending it to friends and family. Photographs are meant to be seen, not remain locked away on a hard drive.
Article 16 – Where Editing and Export Fit Into Your Lightroom Organization – COMING SOON
The steps are consistent, but the amount of attention given to each photograph is not. That is where the workflow begins to narrow.
The Color Shows What Comes Next
I use Lightroom’s five color labels to show the next action required for a photograph.
| Color Label | Next Action |
|---|---|
| 🔴 Red | Rate and stack |
| 🟡 Yellow | Add location information |
| 🟢 Green | Add keywords |
| 🔵 Blue | Develop |
| 🟣 Purple | Share |
| No label | Workflow complete |
Import does not need its own color. Import is the price of admission. As part of the import process, the photographs receive a red label because Rate and Stack are the next things I need to do. I build that step into my Lightroom import preset so it happens automatically with every import.
Article 09 – Build a Lightroom Import Preset That Does the Repetitive Work for You
This distinction is important: the label does not describe what I just finished. It tells me what comes next.
A yellow photograph needs location information. When that is complete, I change the label to green because keywording is next. After keywording, the photograph becomes blue and is ready for developing. A developed photograph becomes purple because it is ready to share.
Once I am finished sharing it, I remove the color label. The photograph keeps its rating, keywords, location, adjustments, and other metadata. It simply no longer has an outstanding workflow action.
Each color label identifies the next action for a photograph, from rating and stacking through sharing and workflow completion.
Lightroom Classic lets you create a custom color label set using the names of the workflow stages. Once that label set is active, the color and its meaning travel together inside the catalog.
Custom color label names connect each Lightroom color directly to its corresponding workflow stage.
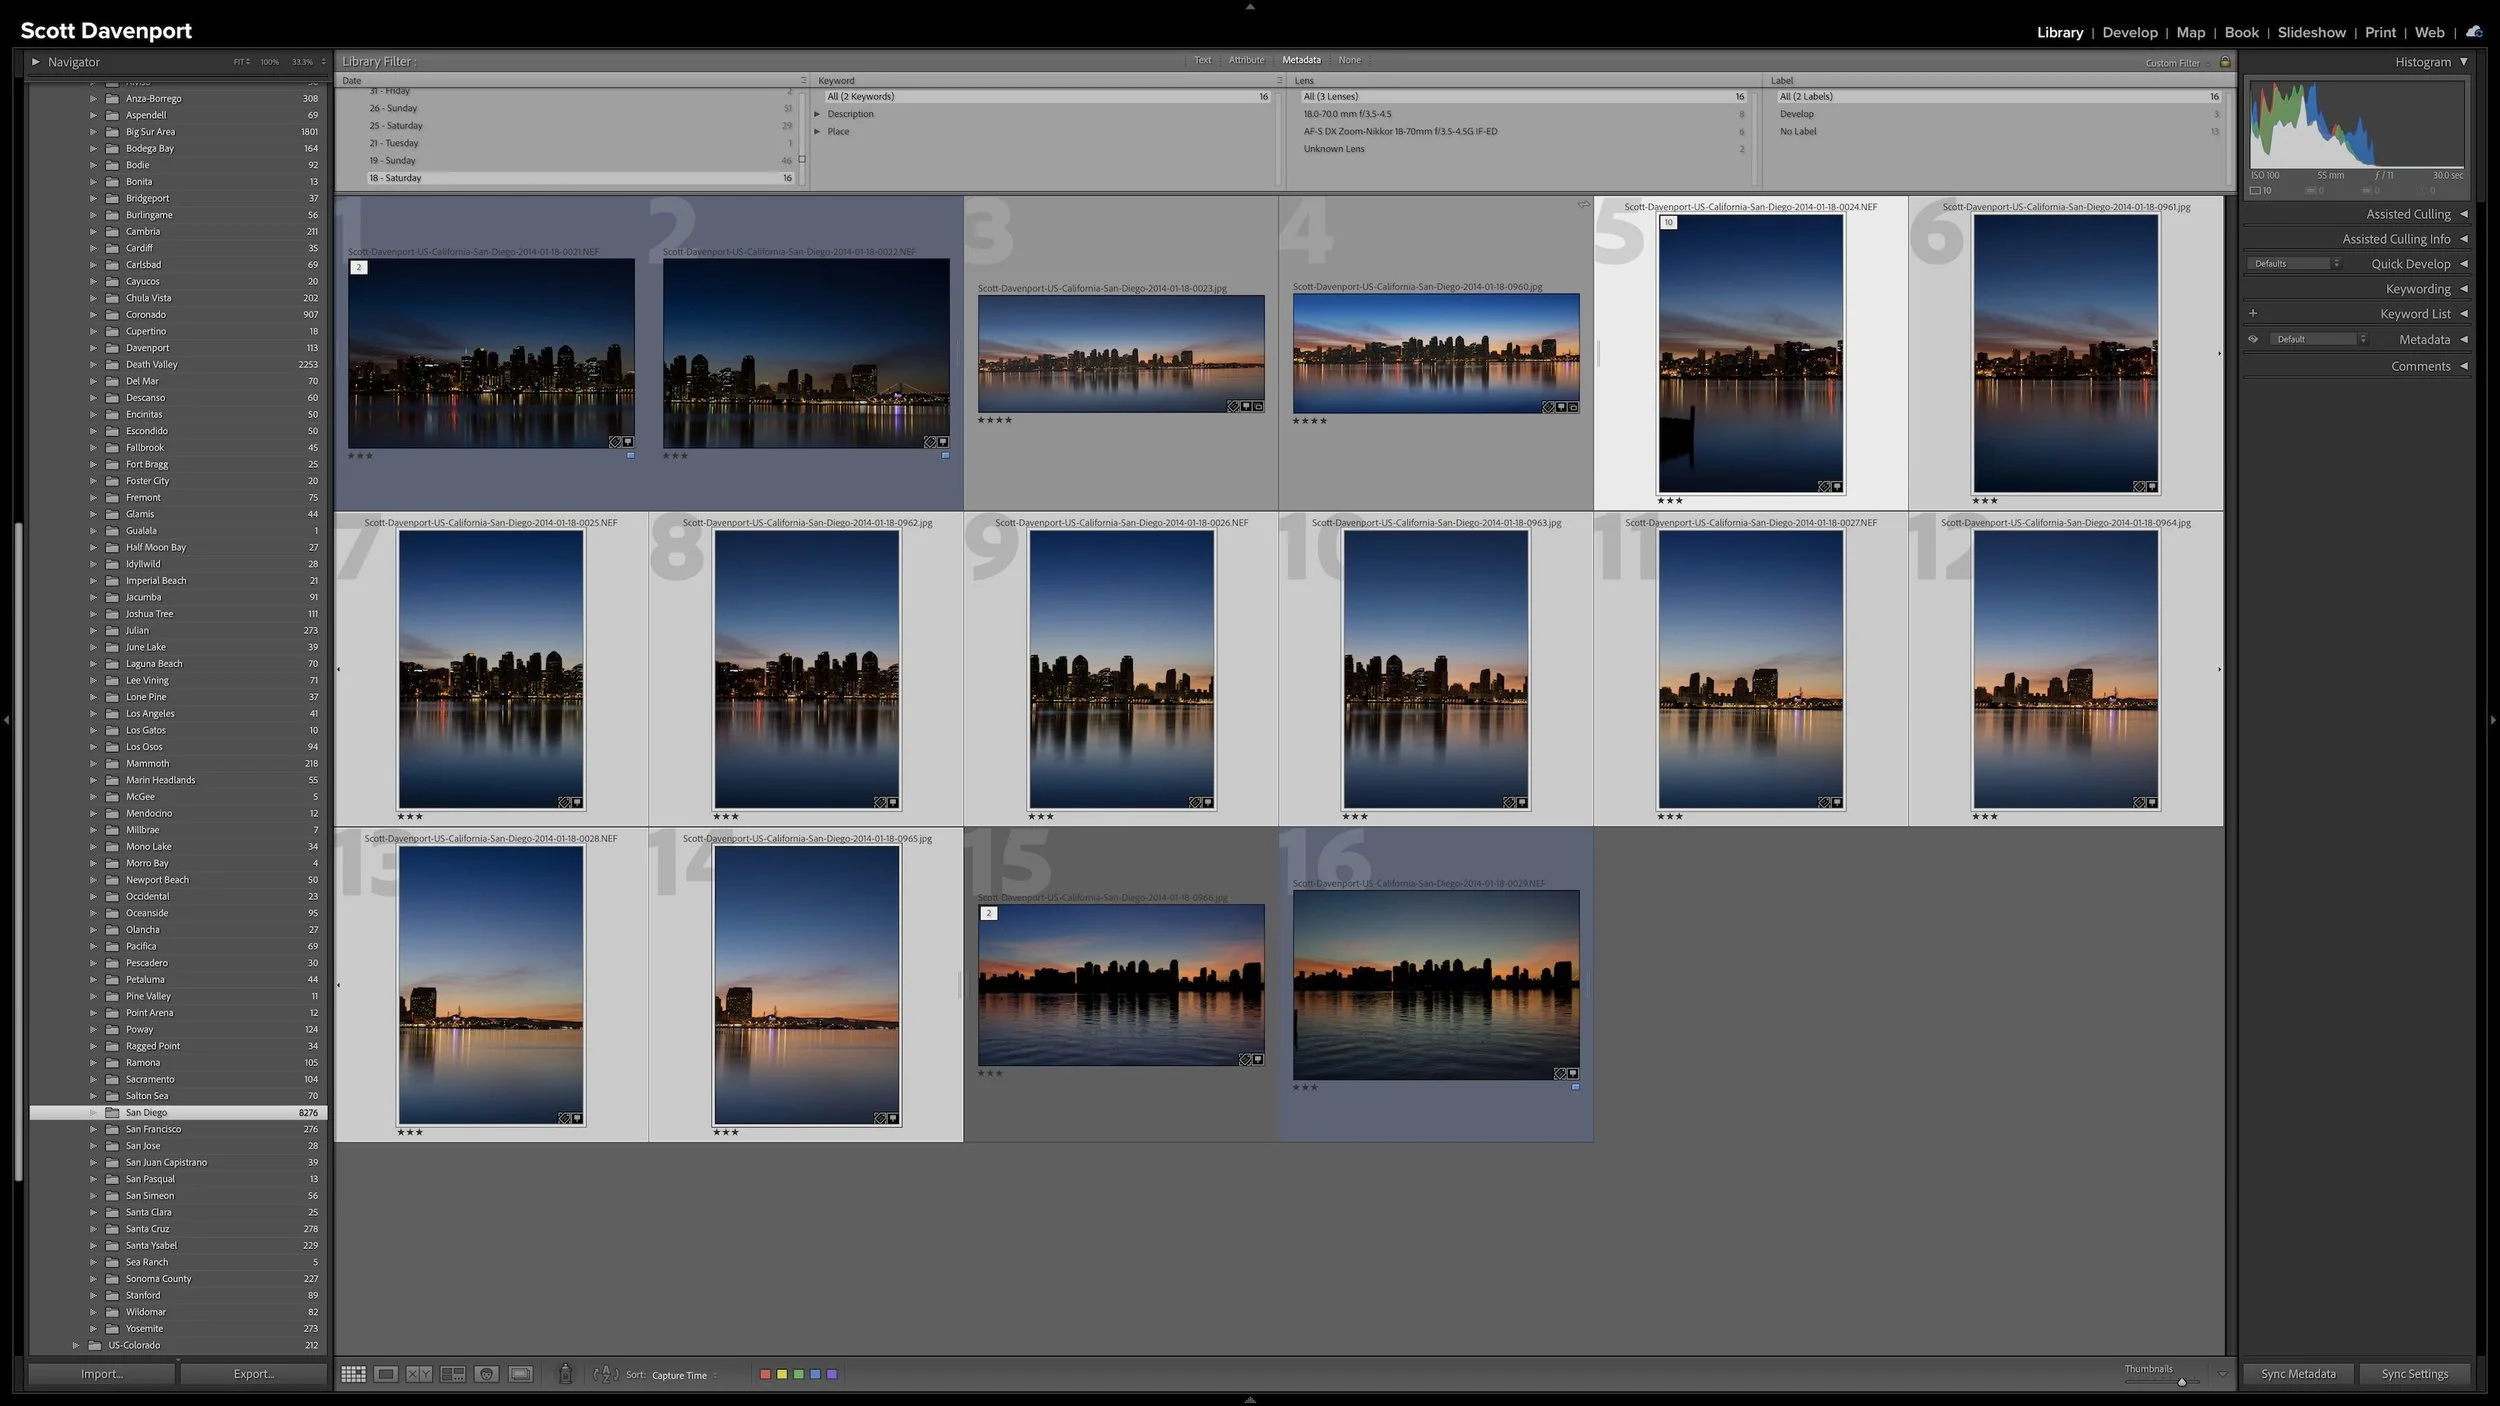
I also tint the Grid view cells with their label colors. That makes the workflow state visible without opening panels or inspecting individual metadata fields.
Tinting Grid cells makes each photograph’s next workflow action visible at a glance.
The Workflow Narrows as It Moves Forward
Not every photograph needs the same amount of attention.
I rate every photograph because that decision determines what happens next. I also generally add location information broadly because photographs from one shoot were often made in the same area.
As I move into keywording, developing, and sharing, I begin concentrating on the stronger photographs. There is little value in spending several minutes carefully keywording a frame I am unlikely to process or revisit.
The workflow acts like a funnel. A large group enters during import. Ratings help identify the photographs worth carrying forward. The later stages receive more time, but they apply to fewer images.
That keeps the metadata work practical. The goal is not to make every photograph equally complete. It is to put effort where that effort will be useful.
Article 15 – Why My Lightroom Workflow Narrows as It Moves Forward — COMING SOON
Each Photograph Can Move at Its Own Pace
The color-label system becomes especially useful when you cannot finish an entire shoot in one sitting.
Suppose I import and rate 100 photographs. I add location information to all of them, keyword ten promising images, and develop two. At that point, photographs from the same shoot may carry several different colors.
That is not a problem. It is the system doing its job.
The colors show that some photographs still need keywords, some are ready to be developed, and two are ready to share. You can stop working and return later without having to reconstruct those decisions.
This also makes it easier to adopt the workflow when you already have a large catalog. Begin with the photographs coming in now. Older work can enter the workflow later as time permits. You do not have to organize years of photographs before the system becomes useful.
Labels Are Guidance, Not Proof
Color labels provide a fast visual indicator, but they still depend on me changing the label when I finish a step. It is possible to add location information and forget to move a photograph from yellow to green.
For that reason, I treat the label as guidance rather than absolute proof of what metadata has been applied.
Later in the series, I will use smart collections to inspect the actual ratings, GPS information, keywords, and develop adjustments. Those collections can identify photographs that need work and reveal places where the metadata and color label disagree.
Article 18 – Build a Self-Documenting Lightroom Workflow With Smart Collections — COMING SOON
The color labels make the workflow easy to see. The underlying metadata lets Lightroom verify it.
Final Thoughts
The real benefit of this workflow is not having a colorful catalog. It is knowing what each photograph needs next.
Import brings the photograph into the system. Rating and stacking begin the decision-making process. Location and keywords make the photograph easier to find. Developing turns it into the finished image I envisioned, and sharing gives that image somewhere to go.
The stages provide consistency without requiring every photograph to advance at the same pace. I can stop when I need to, return later, and continue from a clearly marked point.
That is what makes the workflow self-documenting. Lightroom keeps track of the unfinished work so I do not have to.
This article is part of my Lightroom Photo Organization series.






Right after a shoot, you know where you made the photographs. A few years later, that may not be nearly as obvious. Adding location information while the shoot is still fresh gives you another durable way to find photographs and understand where they were made.
You don't need to type city, state, and country into every photograph. If the camera records GPS coordinates, much of the work is already done. A GPX track log or, when necessary, Lightroom Classic's Map module provides other ways to add the location. The goal isn't exhaustive geographic metadata. It's enough useful information that you won't have to reconstruct it later.