Scott Davenport
I'm a photo educator and landscape photographer based in San Diego, California. Good natured, secretly shy, and much more comfortable behind the camera than in front of it. If you're interested in 1-on-1 coaching, check out private lessons on my workshops page.
I grew up on the beaches of New Jersey, switched coasts in the mid 1990s, and have called San Diego, California home ever since. I love travel. I have visited 30+ countries and set foot on all 7 continents. Travel was easier in my "BC" years (Before Children), but is picking up again as my kids are older.
I don't swear by gear, however I am selective. Quality over quantity. For the curious, I'm currently shooting with a pair of Sony A7RIIs (yes, 8+ year old cameras) and use a variety of smaller Sony cameras to capture video. I turn to my iPhone when scouting and for shooting backgrounds (usually whenever I see interesting clouds). I use a Really Right Stuff tripod (read my review) and Haida’s M10 Filter System (read my review of the Haida M10). I trust the safety of all my gear to Think Tank photo bags. See my Gear pages for everything I use with my photography, both in the field and in the studio.
I’m a heavy user of Lightroom and ON1 Effects, and also use Skylum Luminar and Topaz Sharpen AI in my workflow. I am continually posting free tutorial videos. Subscribe to my YouTube channel for a steady stream of videos. I have also authored several books and video courses. Check out the store for more and please consider subscribing to my mailing list for some free photo goodies, too! The subscribe button is at the bottom of the page.
What if your mask selects the right subject, but you don’t want the adjustment applied evenly across all of it?
In this tutorial, I combine an AI mask with a gradient using Intersect mode in ON1 Photo RAW. The result keeps the adjustment confined to the mountains while letting its strength fade naturally across the scene.
The ON1 Masking Panel generates more questions than almost any other feature in Photo RAW. Here's the funny thing: most photographers don't actually need to use it.
Most edits are finished long before they're truly complete. In this video, I'll show you a simple masking technique I use to bring out important details in black and white photos—the final 5% that helps guide the viewer's eye and strengthen the image.
Harsh light doesn’t have to ruin a photo—it can shape it. In this quick edit, I show how a simple radial mask turns a Denver alley into a strong, guided composition.
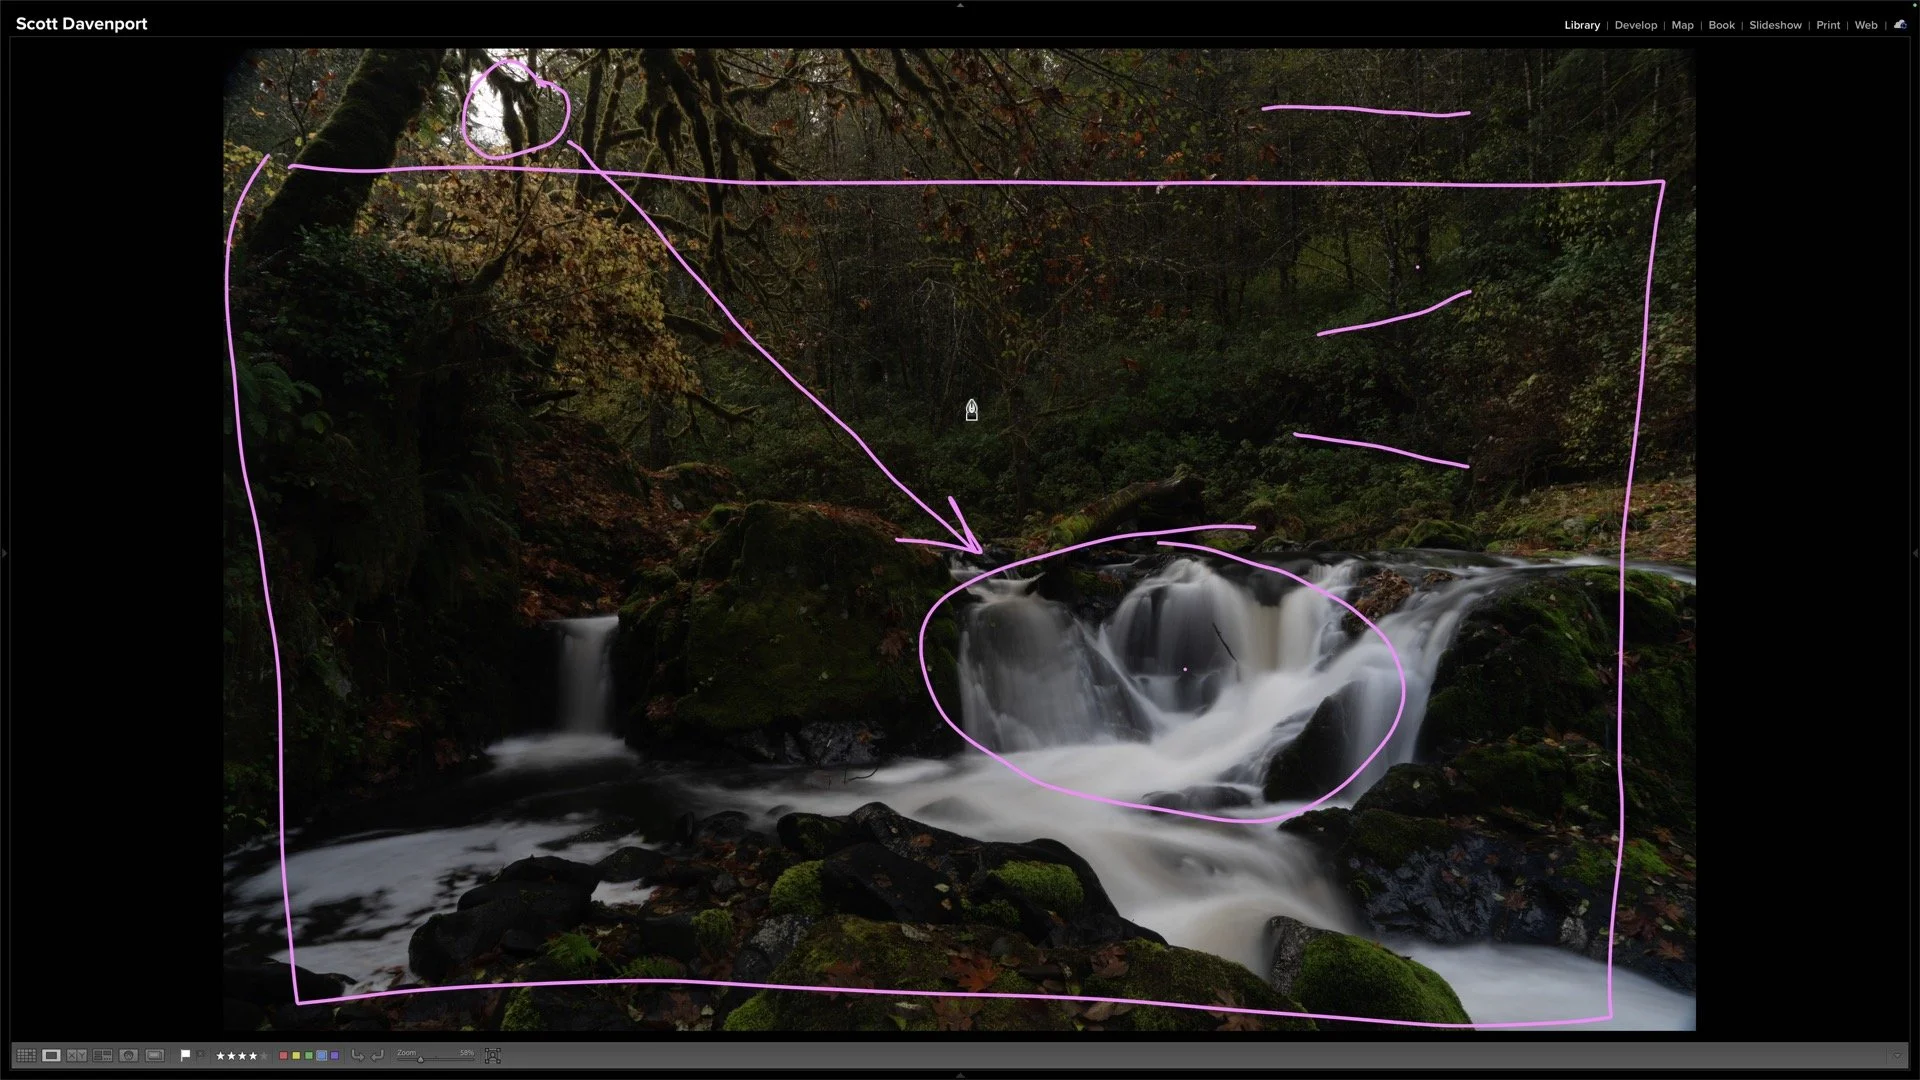
When water isn't the subject, it may be competing for attention. Here's a simple masking technique that softens and darkens water so your real subject becomes the star of the photograph.
Flat light doesn’t have to ruin a good composition. In this new Lightroom tutorial, I show how I use masking to shape directional light, guide the eye, and create more drama from a dull scene.
Lightroom’s HDR mode has a hidden benefit even if you never edit HDR photos. In this quick tutorial, I’ll show you how Visualize HDR can help you find and target your brightest highlights for stronger SDR edits.
Masking gets a lot easier when you stop thinking about tools and start thinking about your photo in segments. In this tutorial, I’ll show you how breaking an image into objects, tones, and colors can help you build better masks faster.
A subtle color shift can completely change the mood of a landscape photo. In this new ON1 Effects tutorial, I build a cool-toned Winter Chill look that better matches the cold, misty feeling of the scene.
A foggy morning at Bear Lake in Rocky Mountain National Park turned into a perfect candidate for a live edit. Come along as I work through the image start to finish — shaping mood, reflections, atmosphere, and depth in real time.
Fog is easy to add—but making it look natural takes more control than a single filter. Use Depth Mask in ON1 Effects to shape atmosphere with distance and bring realism back into the scene.
HDR editing in Lightroom isn’t a default upgrade—it’s a creative choice. The best image is the one that serves the scene, whether that’s HDR or a more restrained SDR edit.
The HDR Limit slider in Lightroom is simple on the surface, but there’s more going on behind the scenes. This video explains how HDR Limit, display capability, and monitor brightness all work together so you can make better HDR editing decisions.
Not every screen supports HDR — and that’s where the SDR rendition sliders come in.
Editing in HDR is only half the story — exporting correctly is what determines whether anyone else sees it. This video breaks down file formats and platform support so your HDR images actually show up as intended.
Lightroom may correctly find every person in a photograph and still make a mess when it tries to remove them. That’s what happened with this image from Machu Picchu—the AI rebuilt so much of the scene that walkways and structures no longer made sense.
The better approach was to keep the removals that worked, then break the difficult areas into smaller, more targeted pieces. The AI still does the heavy lifting, but you give it a more manageable problem to solve.