Live Edit! Unscripted & Uncut | Bear Lake, Rocky Mountain National Park
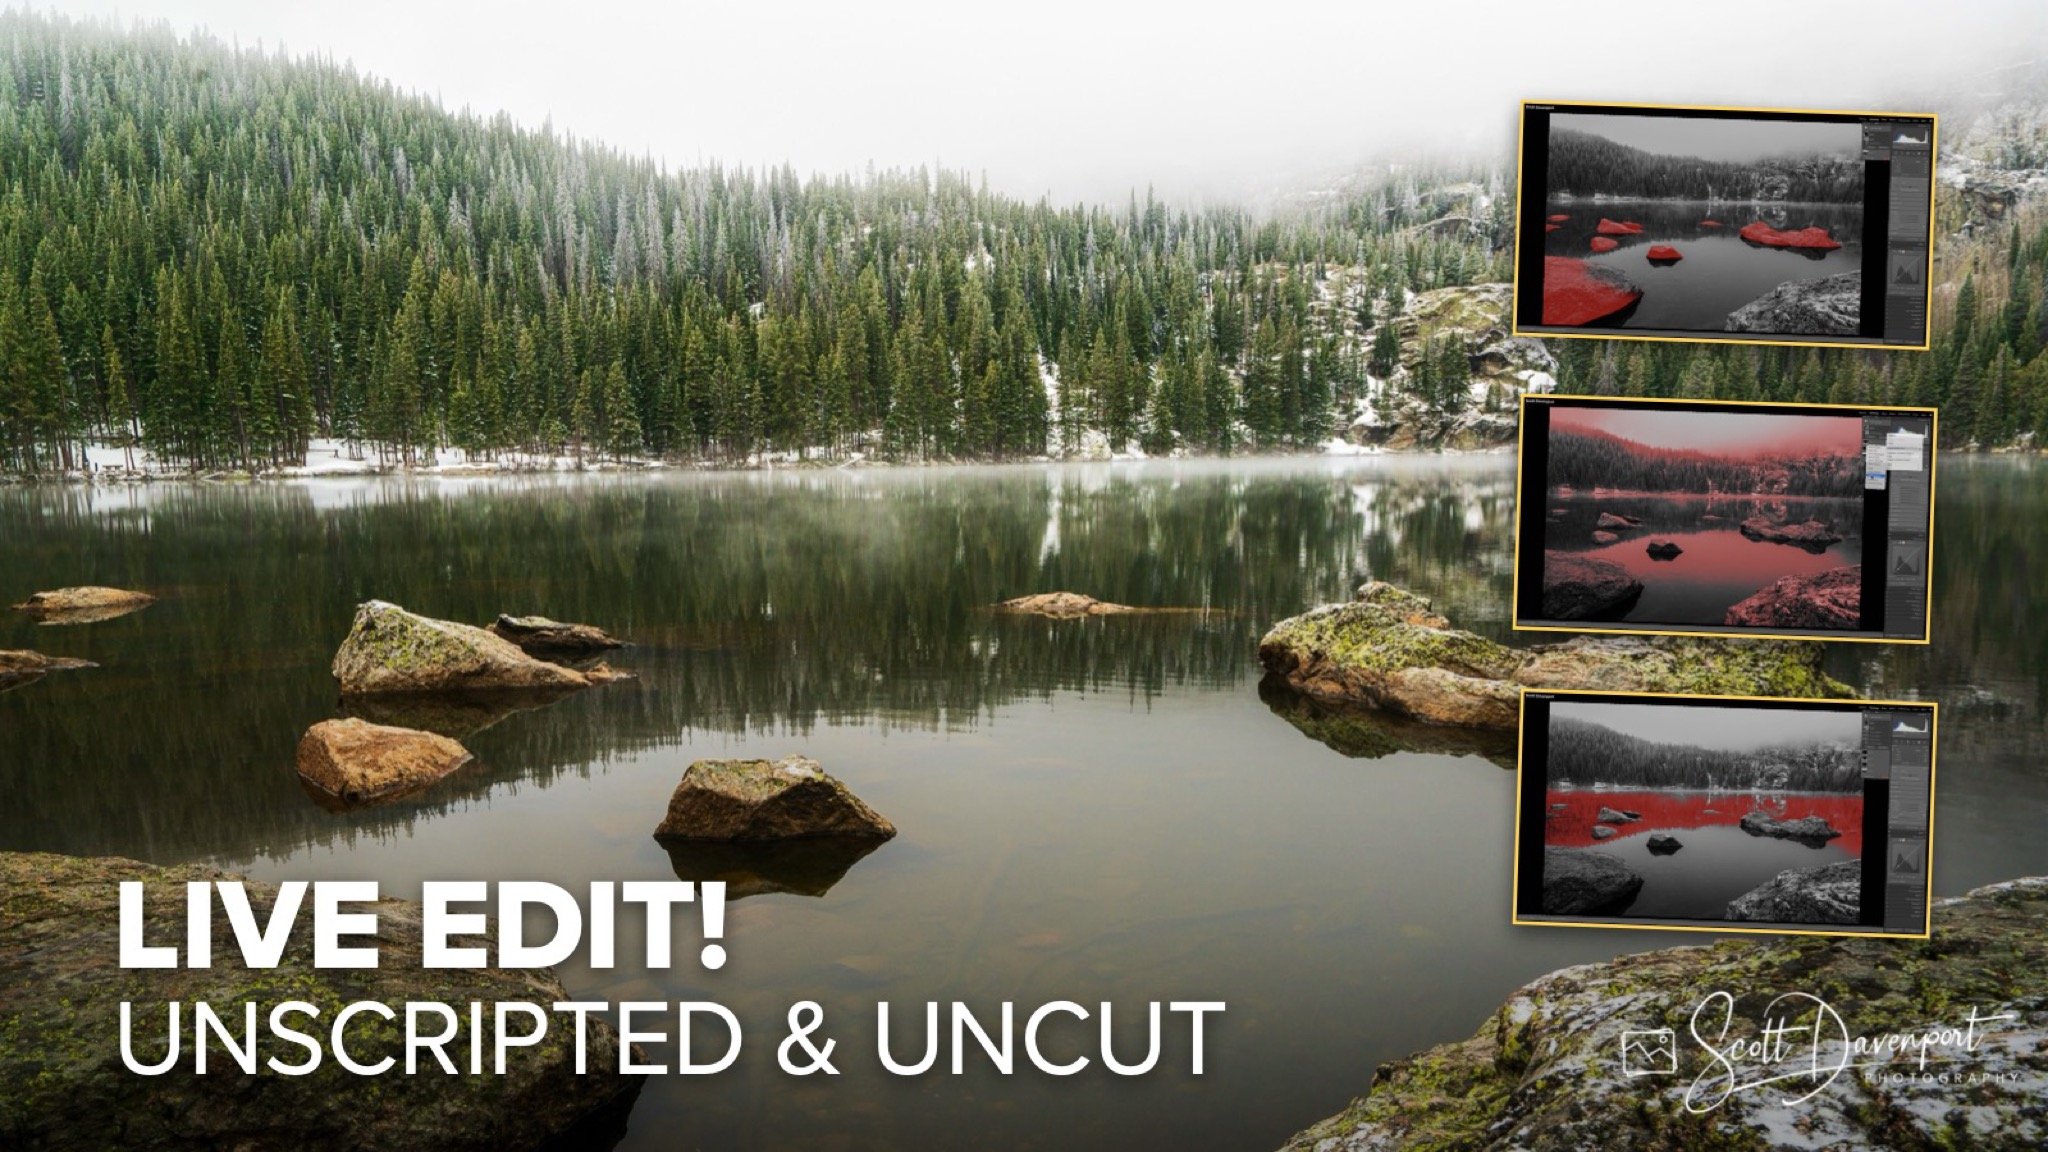
Rocky Mountain National Park gave me a whole lot of weather on this visit. Thick fog. Low visibility. Light mist hanging through the trees around Bear Lake. Not exactly postcard conditions.
But honestly, those kinds of mornings can be really rewarding for landscape photography if you stop chasing grand scenic views and pay attention to the smaller details instead.
In this case, it was the rocks and reflections that grabbed my attention. The mountains completely disappeared into the fog, but the foreground had these nice repeating rock shapes leading into the misty shoreline and evergreens beyond. Quiet scene. Subtle scene. The kind of image that lives or dies based on careful editing.
For this tutorial, I did a true start-to-finish live edit. No prep work. No rehearsed sequence. I opened the image for the first time, hit record, and worked through the photo naturally as ideas came to mind.
Image Assessment
Whenever I begin an edit, I spend a minute figuring out what the photo is really about. Here, the subject is the arrangement of rocks and reflections inside that foggy atmosphere. The mist creates the mood, but the rocks give the viewer something to settle into.
A few things stood out immediately:
The image needed leveling
A couple of sensor dust spots needed cleanup
The foreground rocks at the very bottom were a little too dominant
The scene needed more depth and separation
The overall direction became pretty clear right away. Preserve the soft atmosphere while guiding the eye toward the center grouping of rocks and reflections.
Crop, Straighten, and Retouch
The first step was getting the composition cleaned up. I straightened the image using the far shoreline as my reference point. The shoreline naturally curves a little, so this wasn’t about making everything perfectly geometric. It just needed to feel visually balanced.
Then I tightened the crop slightly from the bottom. Those large foreground rocks help place you in the scene, but too much foreground weight started competing with the actual subject.
After that, I cleaned up a couple of sensor dust spots. Not exciting work, but definitely necessary before moving deeper into tonal adjustments.
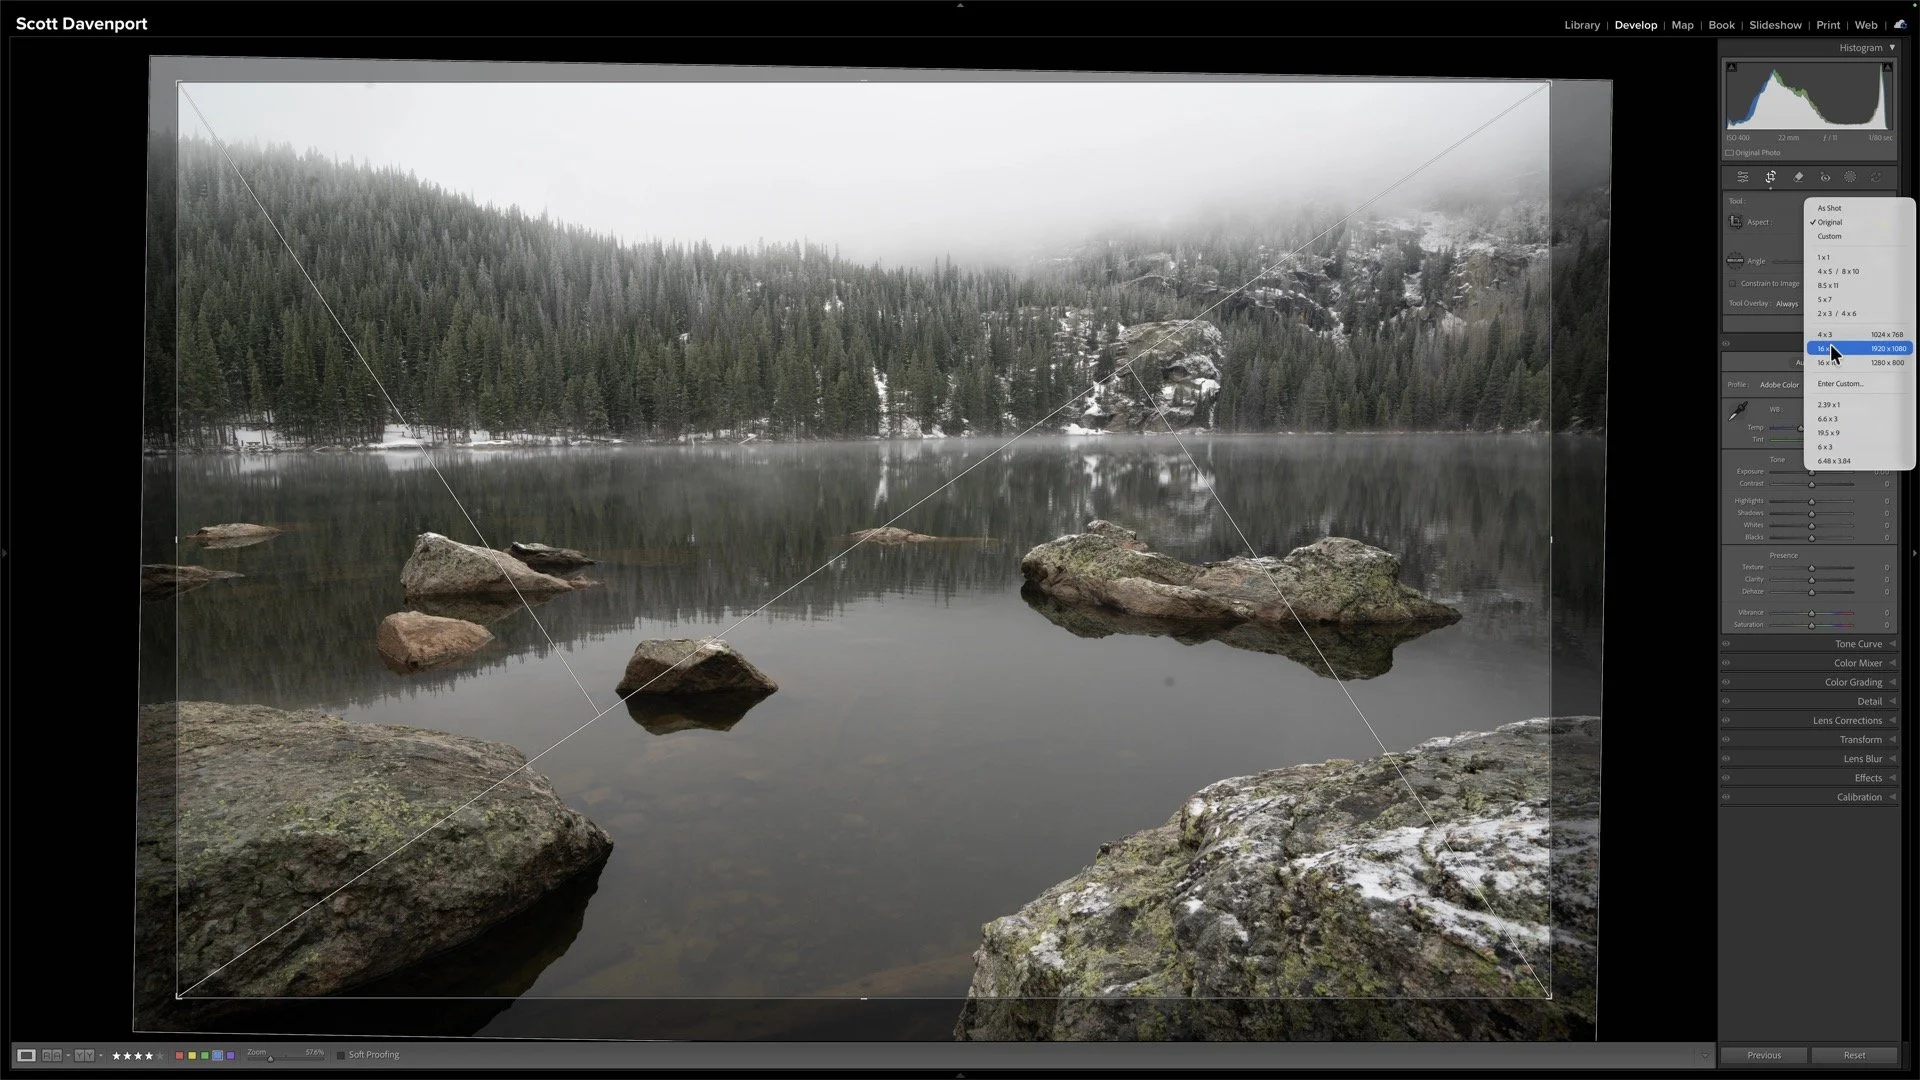
Crop, Straighten, and Retouch
Tonal Adjustments
From there, I moved into the global tonal work. I started with automatic adjustments and the camera profile just to establish a baseline. Then I worked the image from there instead of trying to force a specific look onto it. One thing I wanted to preserve was the cool, damp feeling from that morning. It would’ve been very easy to overdo contrast or dehaze and completely lose the atmosphere.
So the adjustments stayed fairly restrained:
Moderate contrast
Small clarity adjustments
Minimal texture globally
Very gentle curve shaping
Actually adding a touch of haze back into the image
That last part mattered. Sometimes photographers immediately reach for Dehaze anytime fog appears in a photo. But atmosphere was the entire point of this scene. Removing too much haze would’ve worked against the image.
The tone curve helped deepen the reflections in the water and add separation without making the photo feel crunchy or overprocessed.
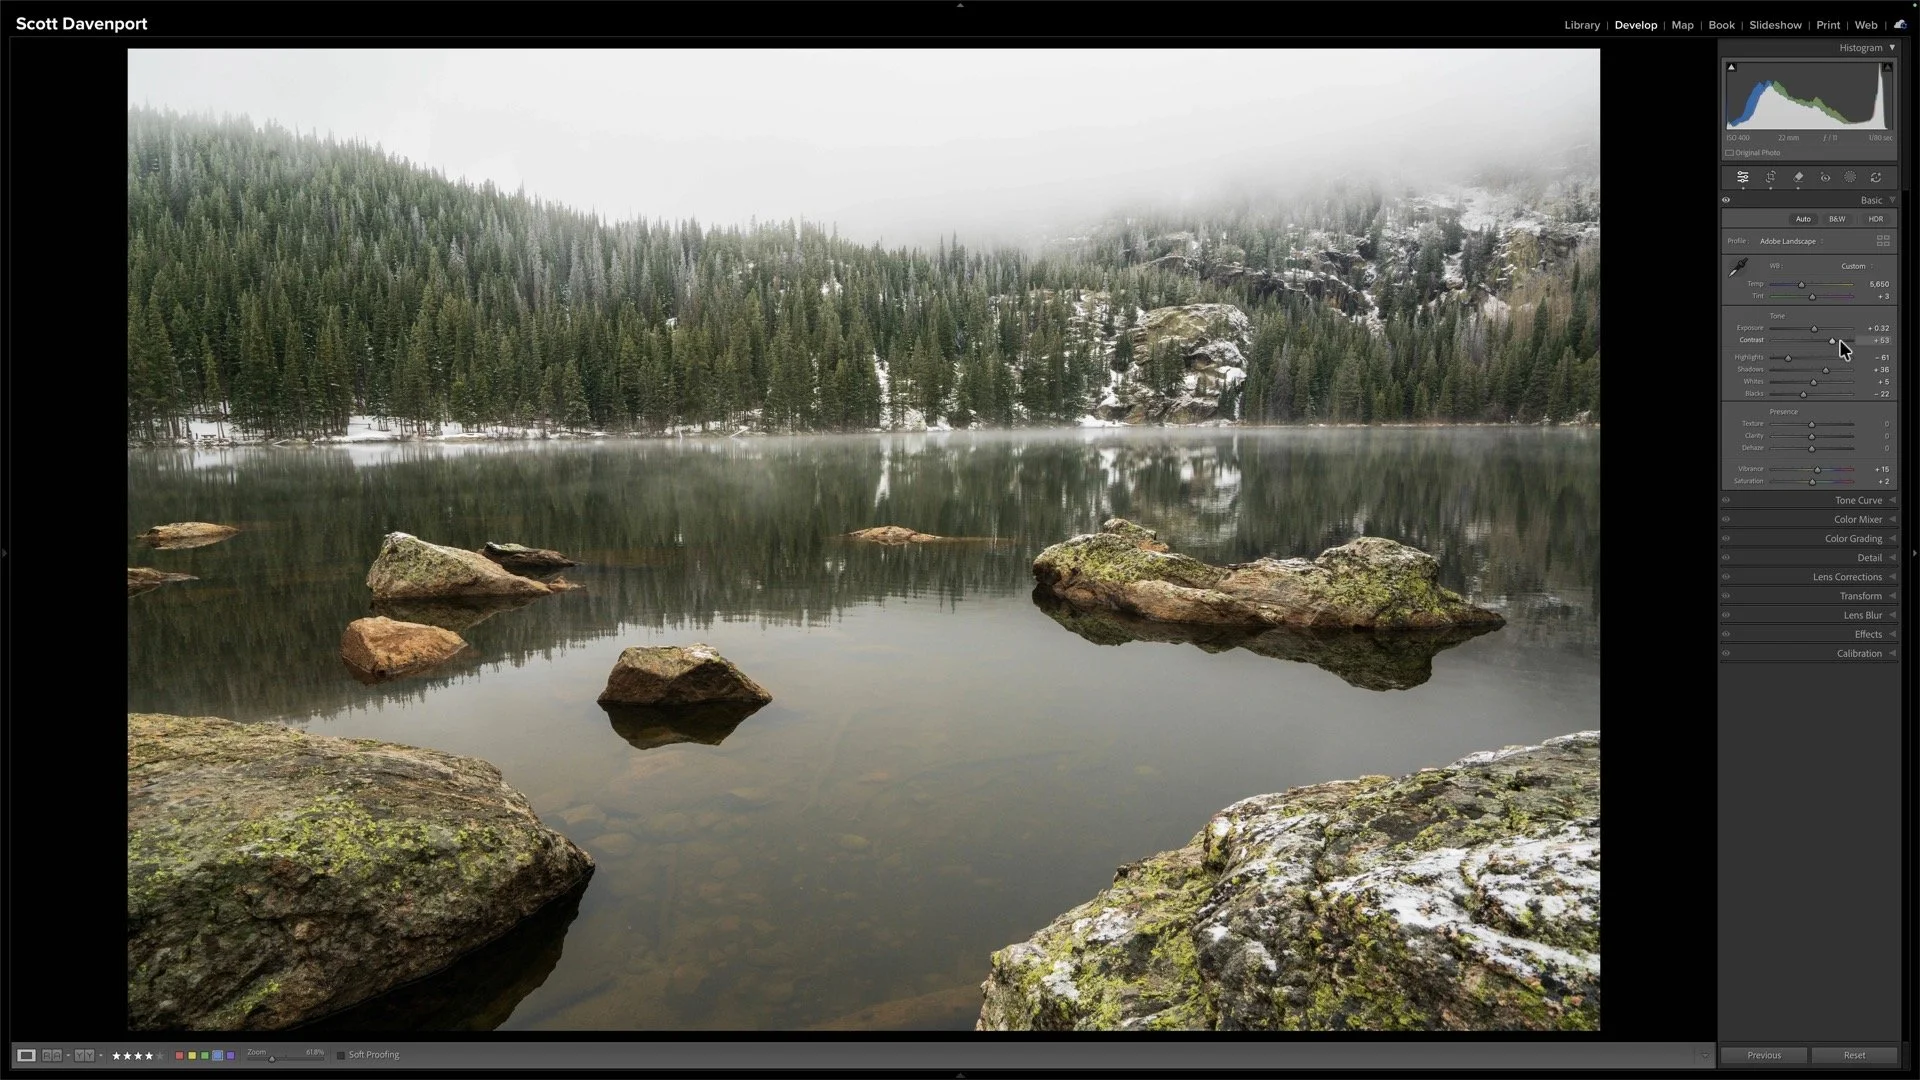
Set the overall tonal adjustments and tone curve
Background and Subject Detail
Once the global adjustments felt solid, I moved into selective masking.
The trees in the background needed a little texture and clarity to define their shape through the fog. The subject rocks in the water also benefited from some added texture to help them stand apart from the softer surroundings. At the same time, I intentionally avoided adding detail to the foreground rocks closest to the camera. I didn’t want viewers lingering there. That’s one of the big advantages of selective editing. You can decide exactly where detail belongs instead of applying everything globally.
I also spent some time enhancing the thin fog bank sitting along the shoreline. Brightening that area slightly helped create another layer of depth in the scene without calling attention to the adjustment itself.
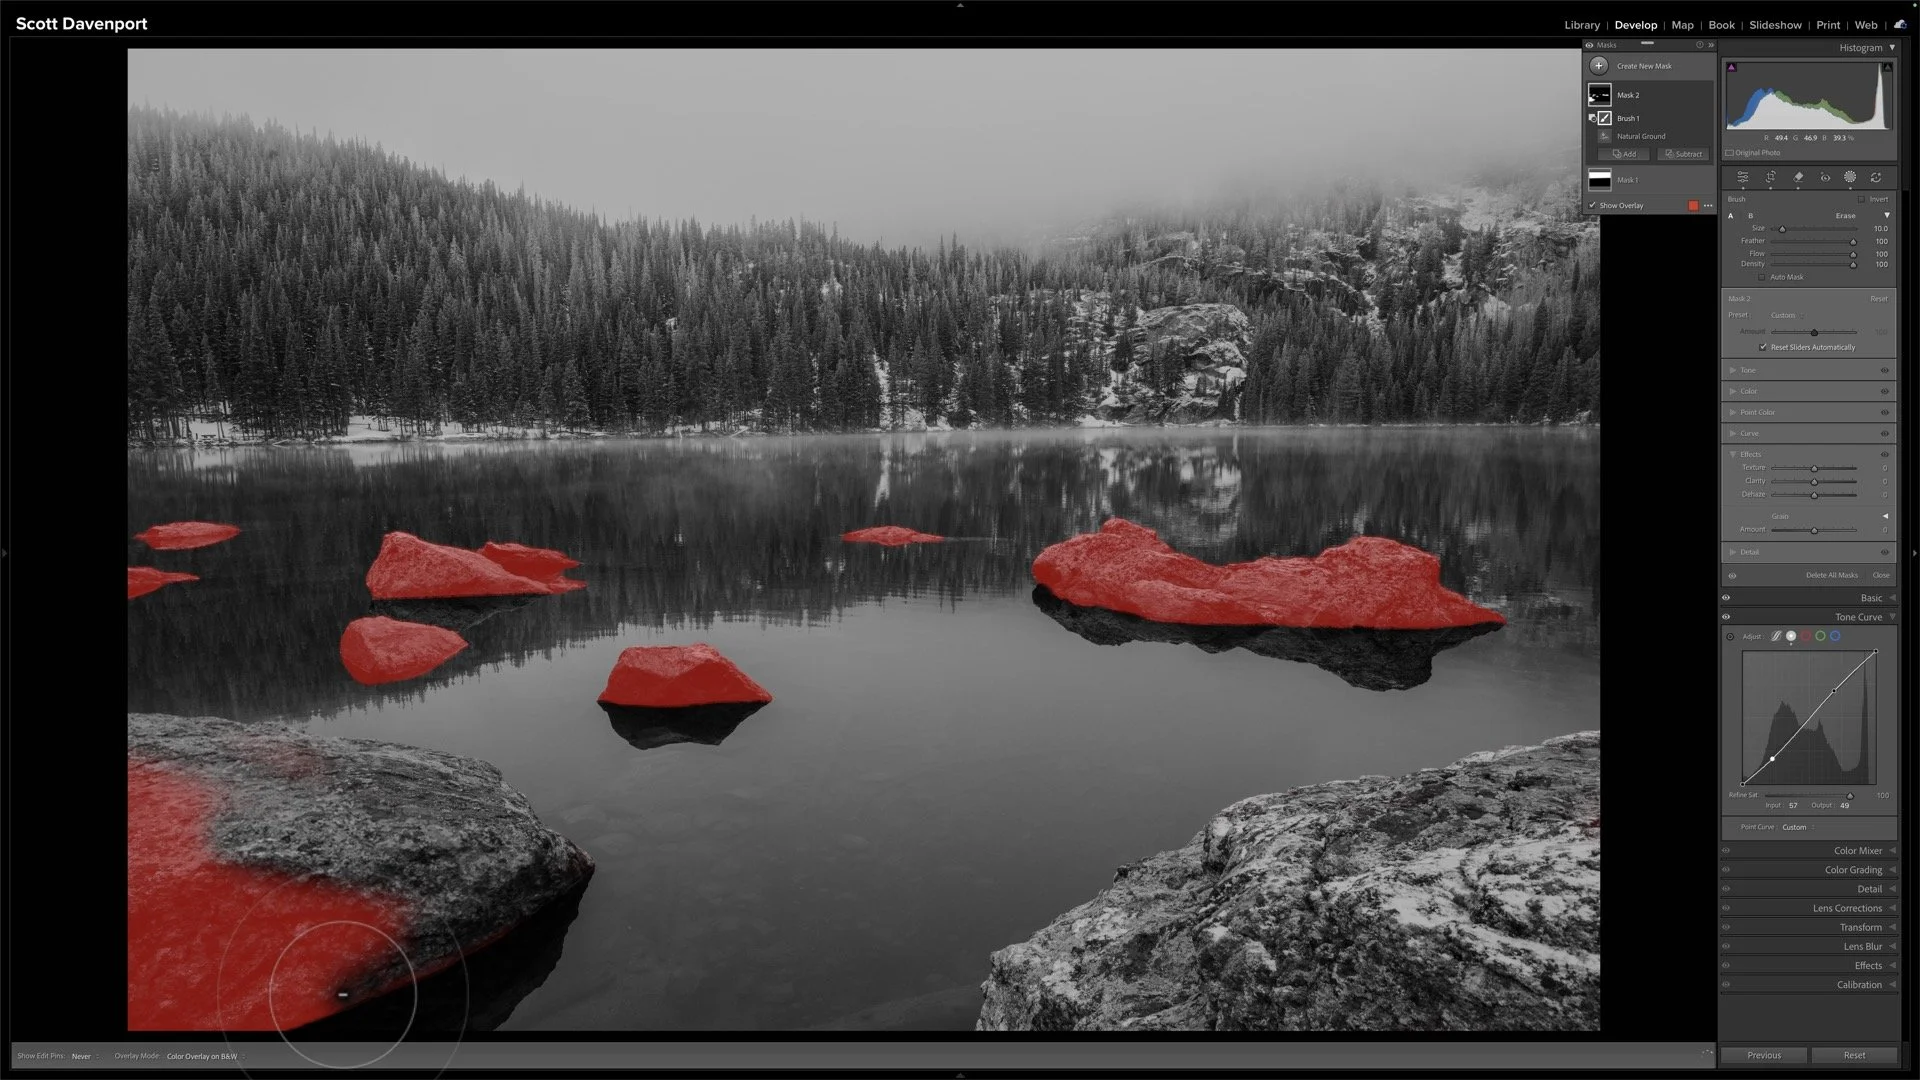
Enhance detail to important subjects and elements in the scene
Shaping Depth and Dimension
The final stage of the edit was really about visual flow. I used a combination of radial gradients, luminosity masks, and subtle darkening in the lower corners to push attention inward toward the reflections and central rocks. I also deepened parts of the reflections slightly to create better separation between the water, shoreline, and background trees. One of the very last adjustments was selectively deepening shadows in portions of the distant tree line. Tiny adjustment. Barely noticeable if you look at the slider values. But visually it helped anchor the background and keep the image from feeling too flat.
That’s often how these edits work. Not one giant dramatic adjustment. Just a lot of small decisions stacking together.
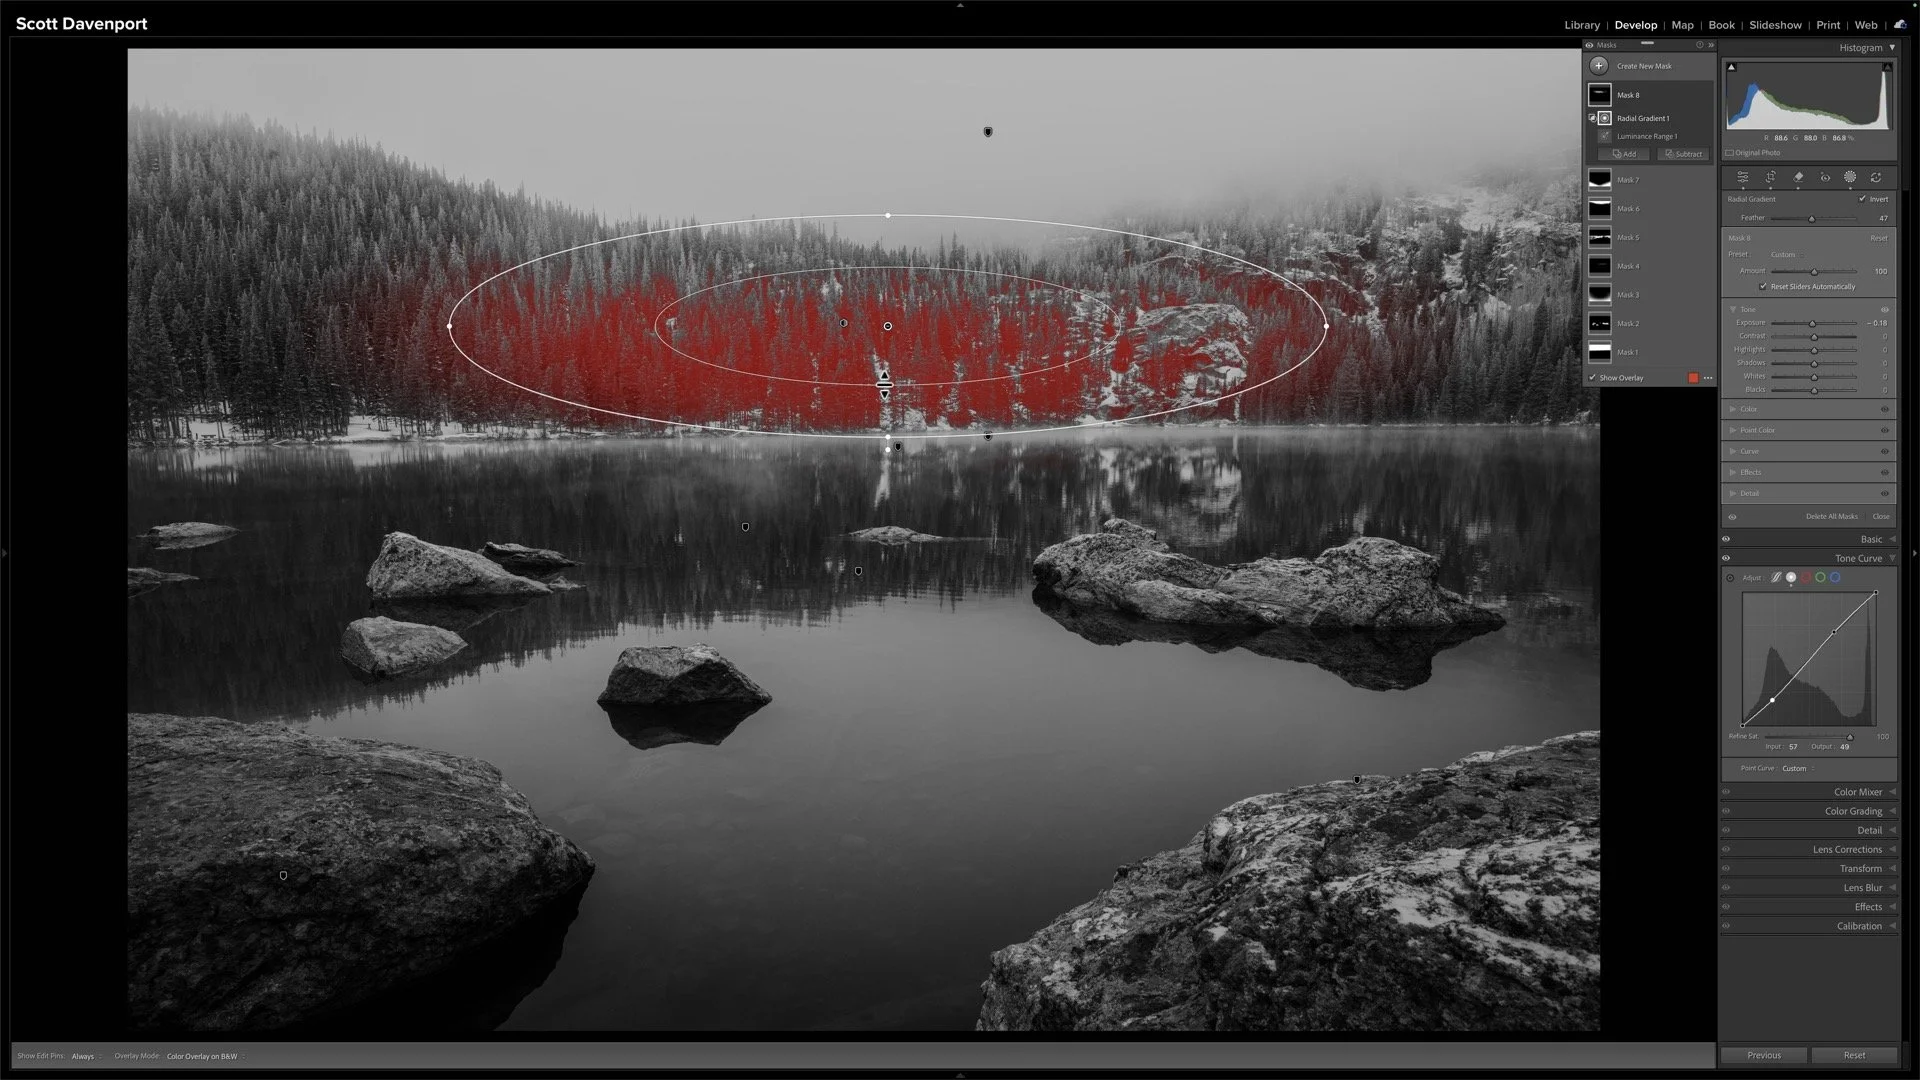
Targeted contrast adjustments for depth and dimension
Final Thoughts
This photo is a good reminder that difficult weather doesn’t automatically mean bad conditions for photography. Bear Lake wasn’t giving me dramatic mountain vistas that morning. The fog erased most of the landscape. But the softer atmosphere created an opportunity for a quieter image built around mood, shape, reflections, and depth.
And honestly, that’s why I enjoy doing these live edits.
You get to see the experimentation. The second-guessing. The moments of having an idea, trying it out, and seeing if it works. That’s the real editing process. Sometimes the best thing you can do is stop chasing perfection and simply respond to what the scene is giving you.
Bear Lake In Fog, Rocky Mountain National Park
Contact Scott to commission a print or license this image.