
Lightroom’s HDR Editing Explained - The Essentials
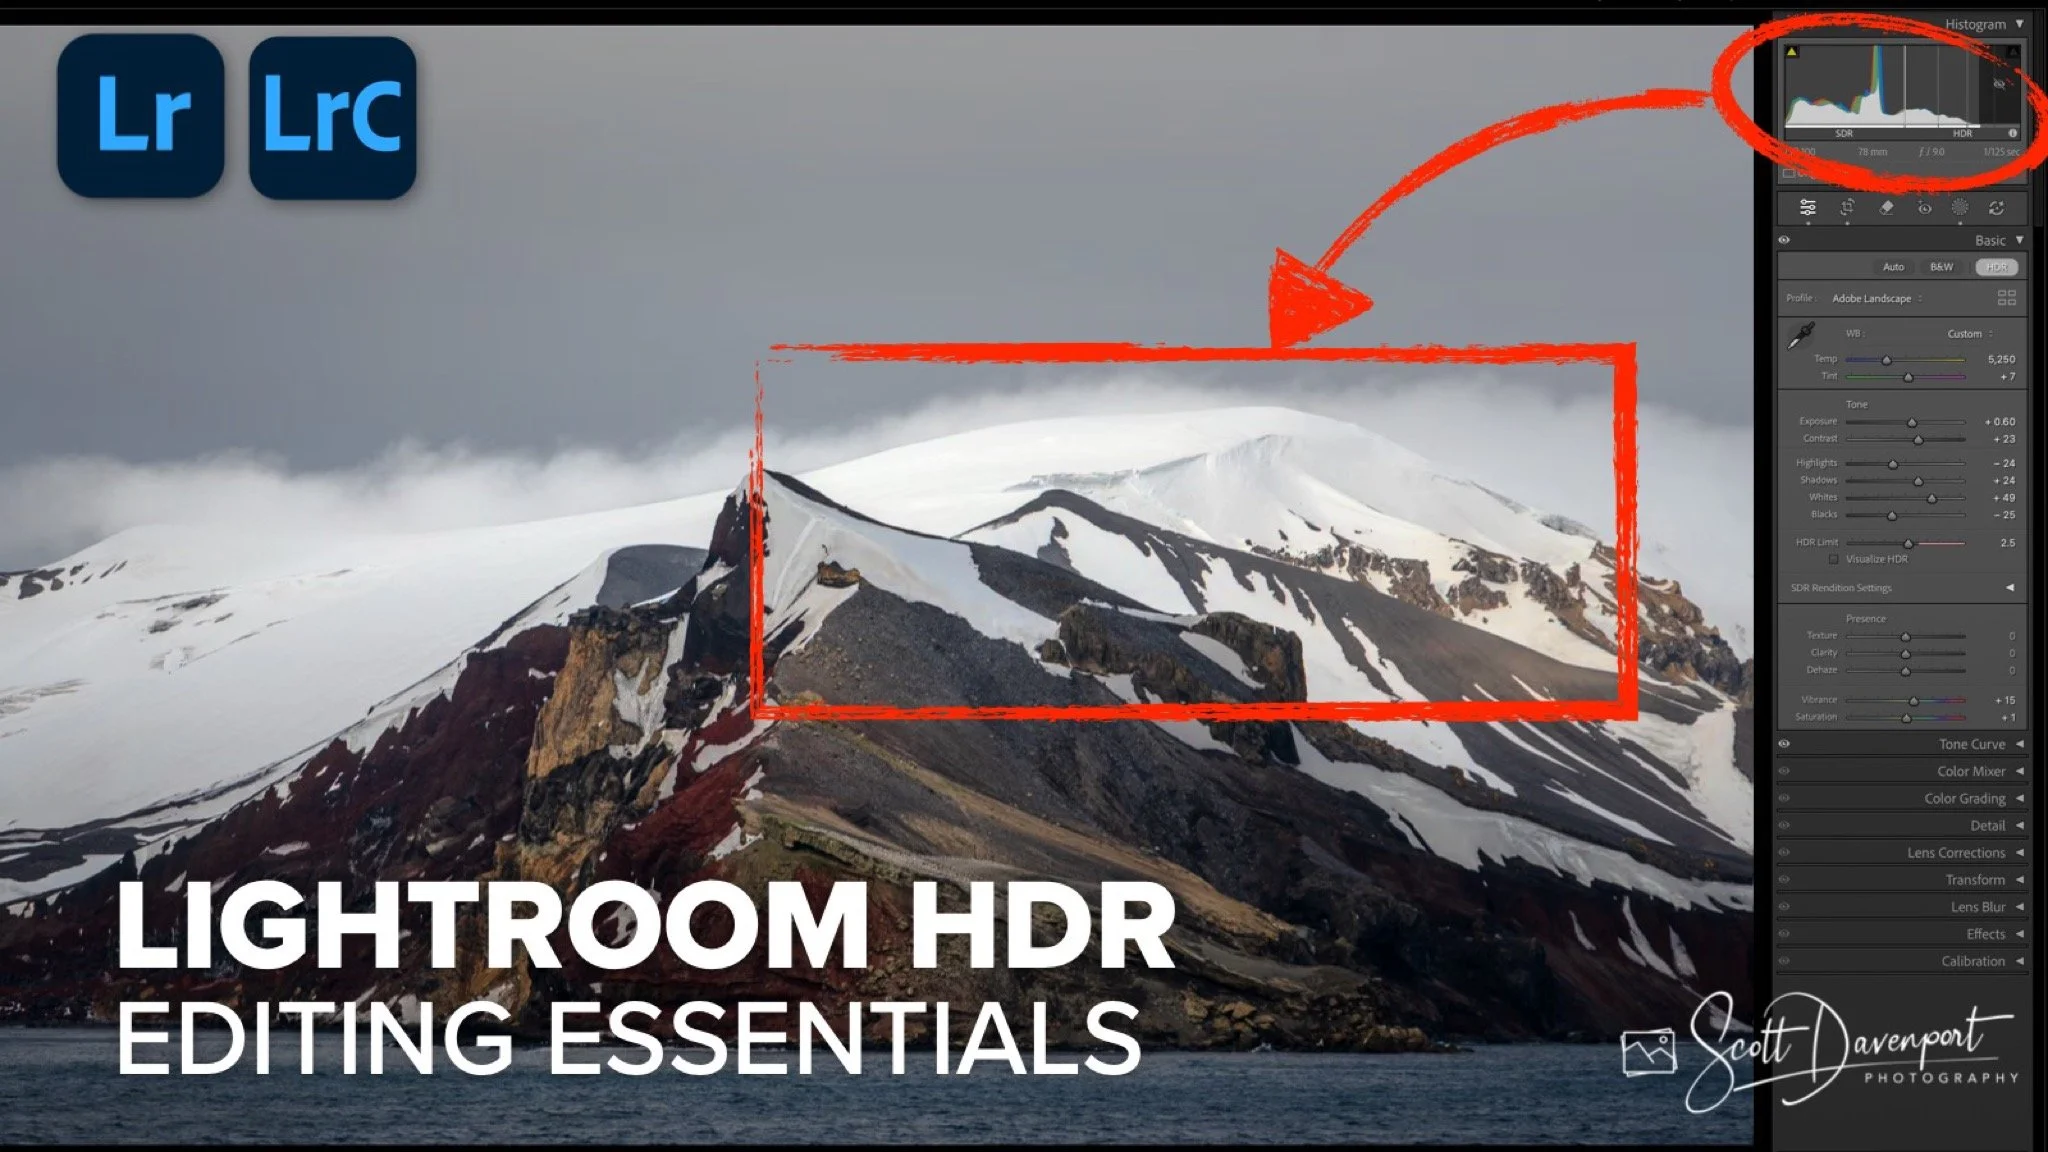
This video is the first in a series on HDR editing in Lightroom. We’re not talking about Merge to HDR or tone mapping. We’re talking about working on an HDR-capable display and seeing more of the dynamic range your RAW file actually captured — right inside the Basic (Light) panel.
In this introductory episode, I cover the essentials: how to enable HDR editing, what changes in the histogram, how to use Visualize HDR, how clipping overlays behave, and how the HDR Limit slider maps brightness to your display. I also touch on why screen brightness matters and how it influences both your perception and your edits.
My goal is simple — to help you understand what’s going on under the hood so you can make informed, confident adjustments without pushing your image into unrealistic territory.
Clouds Rolling Over Deception Island, Antarctica
Contact Scott to commission a print or license this image.





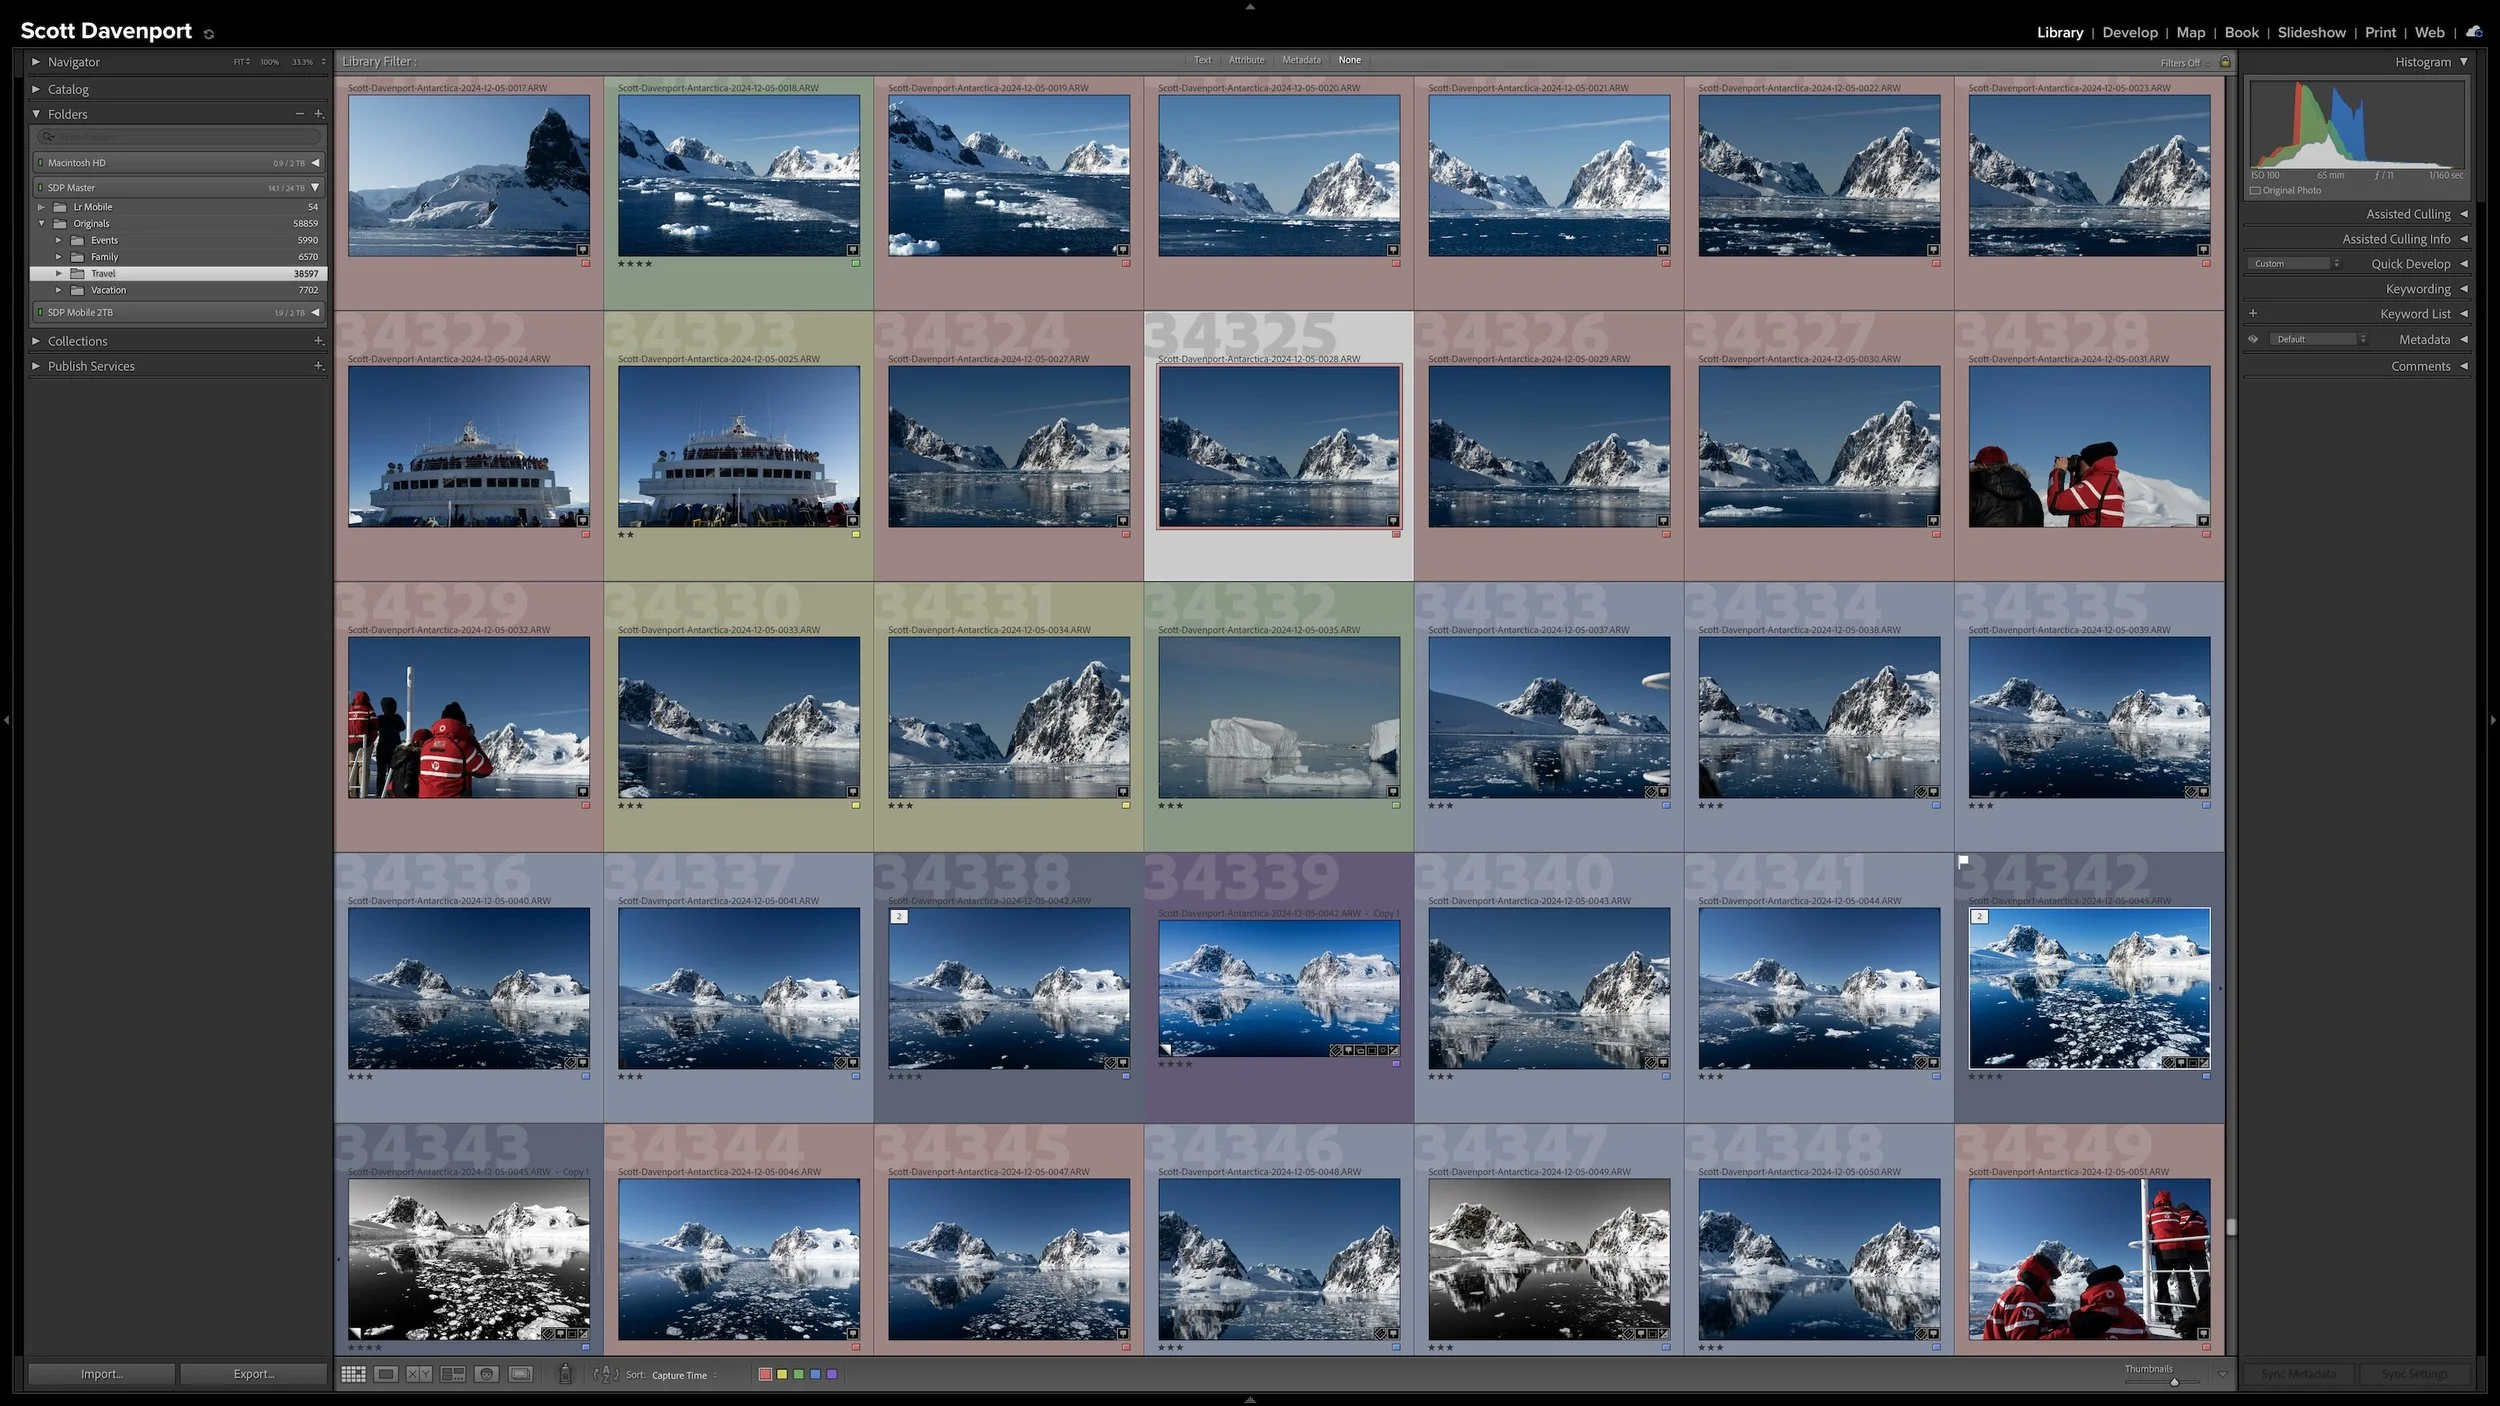
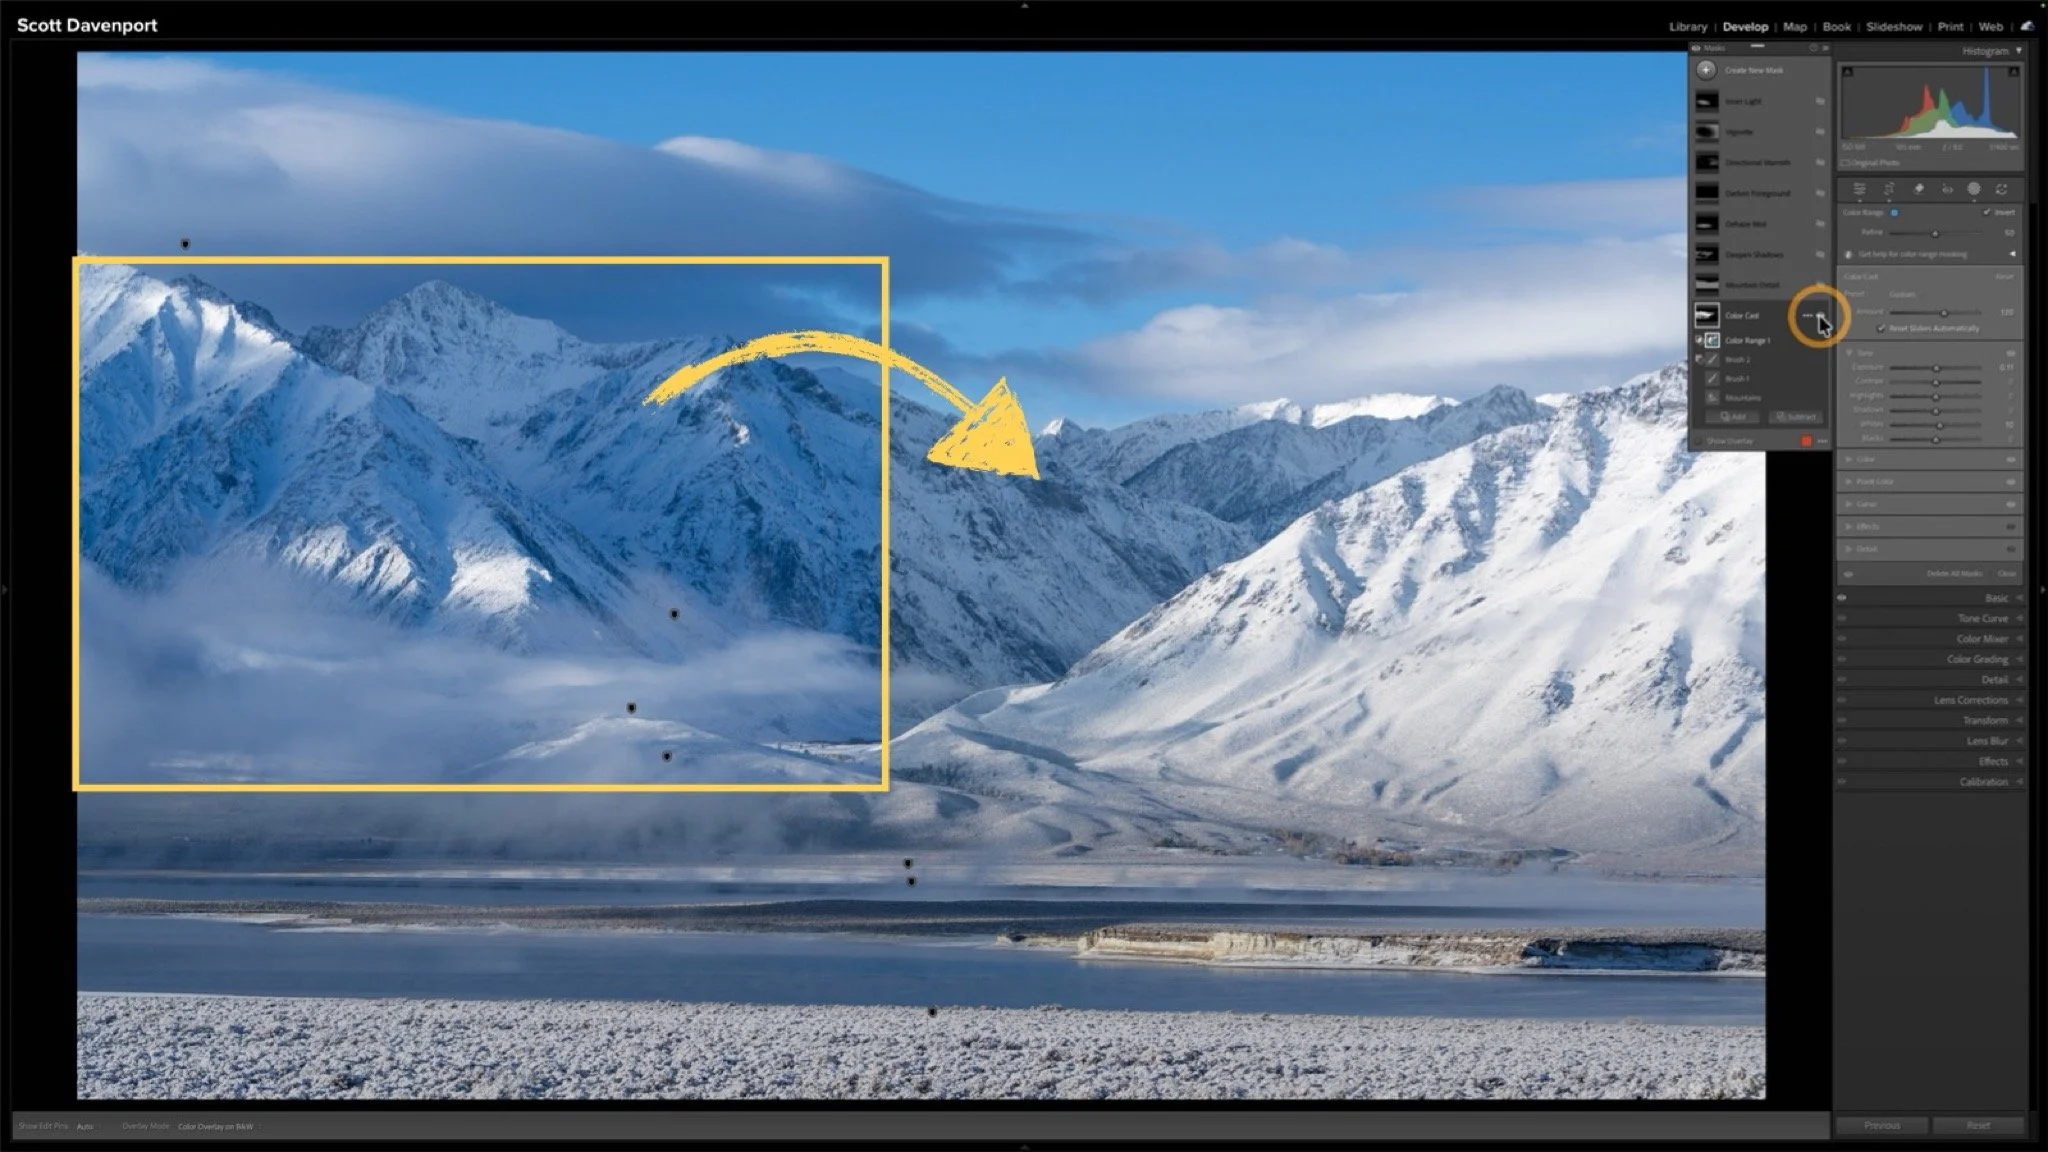

A photo workflow can fall apart when you cannot tell what has been finished and what still needs attention. That becomes especially frustrating when photographs from the same shoot are at different stages.
My six-step Lightroom Classic workflow uses color labels to give every photograph a clear next action. Whether a photo needs rating, location information, keywords, developing, or sharing, I can see where I left off and continue without retracing my steps.