
Use What Lightroom’s AI Landscape Mask Leaves Behind
Lightroom’s AI masks are useful, but they don’t always recognize every important part of a photograph. In my Machu Picchu image, the Landscape masking AI identified the mountains and vegetation—but completely ignored the architecture.
That sounds like a failed selection. In practice, it gave me almost everything I needed.
By combining the areas Lightroom could identify with inversion, subtraction, and intersection, I isolated the architecture without painstaking brushwork. More importantly, those masks helped me create depth by pushing parts of the scene back and bringing the subject forward.
When AI Doesn’t Find Your Subject
The architecture is the visual center of this photograph. It is the part of Machu Picchu I want the viewer to explore. Yet Lightroom’s landscape masking didn’t offer an architecture category. It found only the mountains and vegetation. It’s easy to look at a result like that and decide the AI mask isn’t useful. However, a mask doesn’t always need to select the subject directly.
Here’s the key idea: if Lightroom can identify what surrounds your subject, you can often use those selections to isolate what remains.
Instead of asking whether Lightroom found the architecture, I asked a different question: What did Lightroom find, and how can I combine those areas to reach the selection I want?
For this photo, Vegetation covered grasses, trees, and the mountains in the background.
Creating Depth by Making Areas Recede
Before enhancing the architecture, I worked on the areas competing with it. The foreground vegetation needed to recede slightly. Lightroom’s vegetation mask also included the mountain, so I subtracted the mountain selection and used a small amount of brushwork to clean up an edge. I then darkened the remaining foreground vegetation.
Next, I selected the mountains. I lowered their exposure and added some Dehaze to work through the middle gray created by the foggy conditions. This made the distant mountains feel darker and farther away.
Neither adjustment is dramatic on its own. Together, they change the visual hierarchy of the photograph. The foreground and background become supporting elements, leaving the architecture as the natural center of attention.
This is an important part of shaping light and shadow. We don’t always need to brighten the subject aggressively. Sometimes the better approach is to quiet everything around it.
Building the Architecture Mask From What Remains
To isolate the architecture, I began with the vegetation selection and inverted it. Since the original vegetation mask selected most of the scene except the architecture, the inversion gave me a useful starting point. From there, I subtracted the mountains. That removed another large part of the scene I didn’t want to affect.
Inverting the Vegetation selection gave me a near-perfect mask of the architecture. In this photo, the architecture was everything that wasn’t vegetation.
Finally, I intersected the result with a radial gradient centered over the architecture. The gradient concentrated the adjustment near the center and gradually reduced its strength toward the edges.
There are several mask operations involved, but the reasoning is straightforward:
Start with an area Lightroom can recognize.
Invert the selection when the desired subject lies outside it.
Subtract other recognizable areas that don’t belong.
Use an intersecting gradient to control where the adjustment is strongest.
The goal isn’t to follow this exact combination every time. It’s to recognize that AI selections are building blocks. You can add, subtract, invert, and intersect them until the remaining mask serves the photograph.
The AI masks are leveraged to create a complex mask that not only targets the architecture but also fades the adjustment to put more emphasis on the center of the frame.
Bringing the Architecture Forward
With the architecture isolated, I could shape it independently from the rest of the scene.
I added texture and clarity to emphasize the stonework. I also introduced more contrast, made a subtle tonal adjustment to some of the mossy gray-green colors, and raised the exposure slightly to create a gentle sense of inner light.
The effect is noticeable without calling attention to itself. The architecture gains detail and presence, while the surrounding landscape remains important but less visually dominant.
A standard vignette and additional darkening in the lower-right corner completed the shaping. Each adjustment supports the same purpose: guiding attention toward the architecture and strengthening the depth of the photograph.
Look Beyond the Mask Lightroom Gives You
AI masking doesn’t need to provide a perfect, ready-to-use selection to save time. A partially useful mask can be enough—especially when Lightroom can identify the elements surrounding your subject. When a selection seems incomplete, look at both what Lightroom selected and what it left behind. The missing area may be exactly what you need, once the available selections are combined thoughtfully.
Final Thoughts
The larger lesson isn’t about a particular Lightroom mask. It’s about using masks to shape the visual story of a photograph.
In this image, darkening the vegetation and mountains helped them recede. Adding detail and subtle brightness to the architecture brought it forward. Lightroom’s AI made those selections faster, but the creative decisions still came from understanding where I wanted the viewer to look.
When AI doesn’t recognize your subject, don’t stop at the missing selection. Use what it can find to build the mask you need.
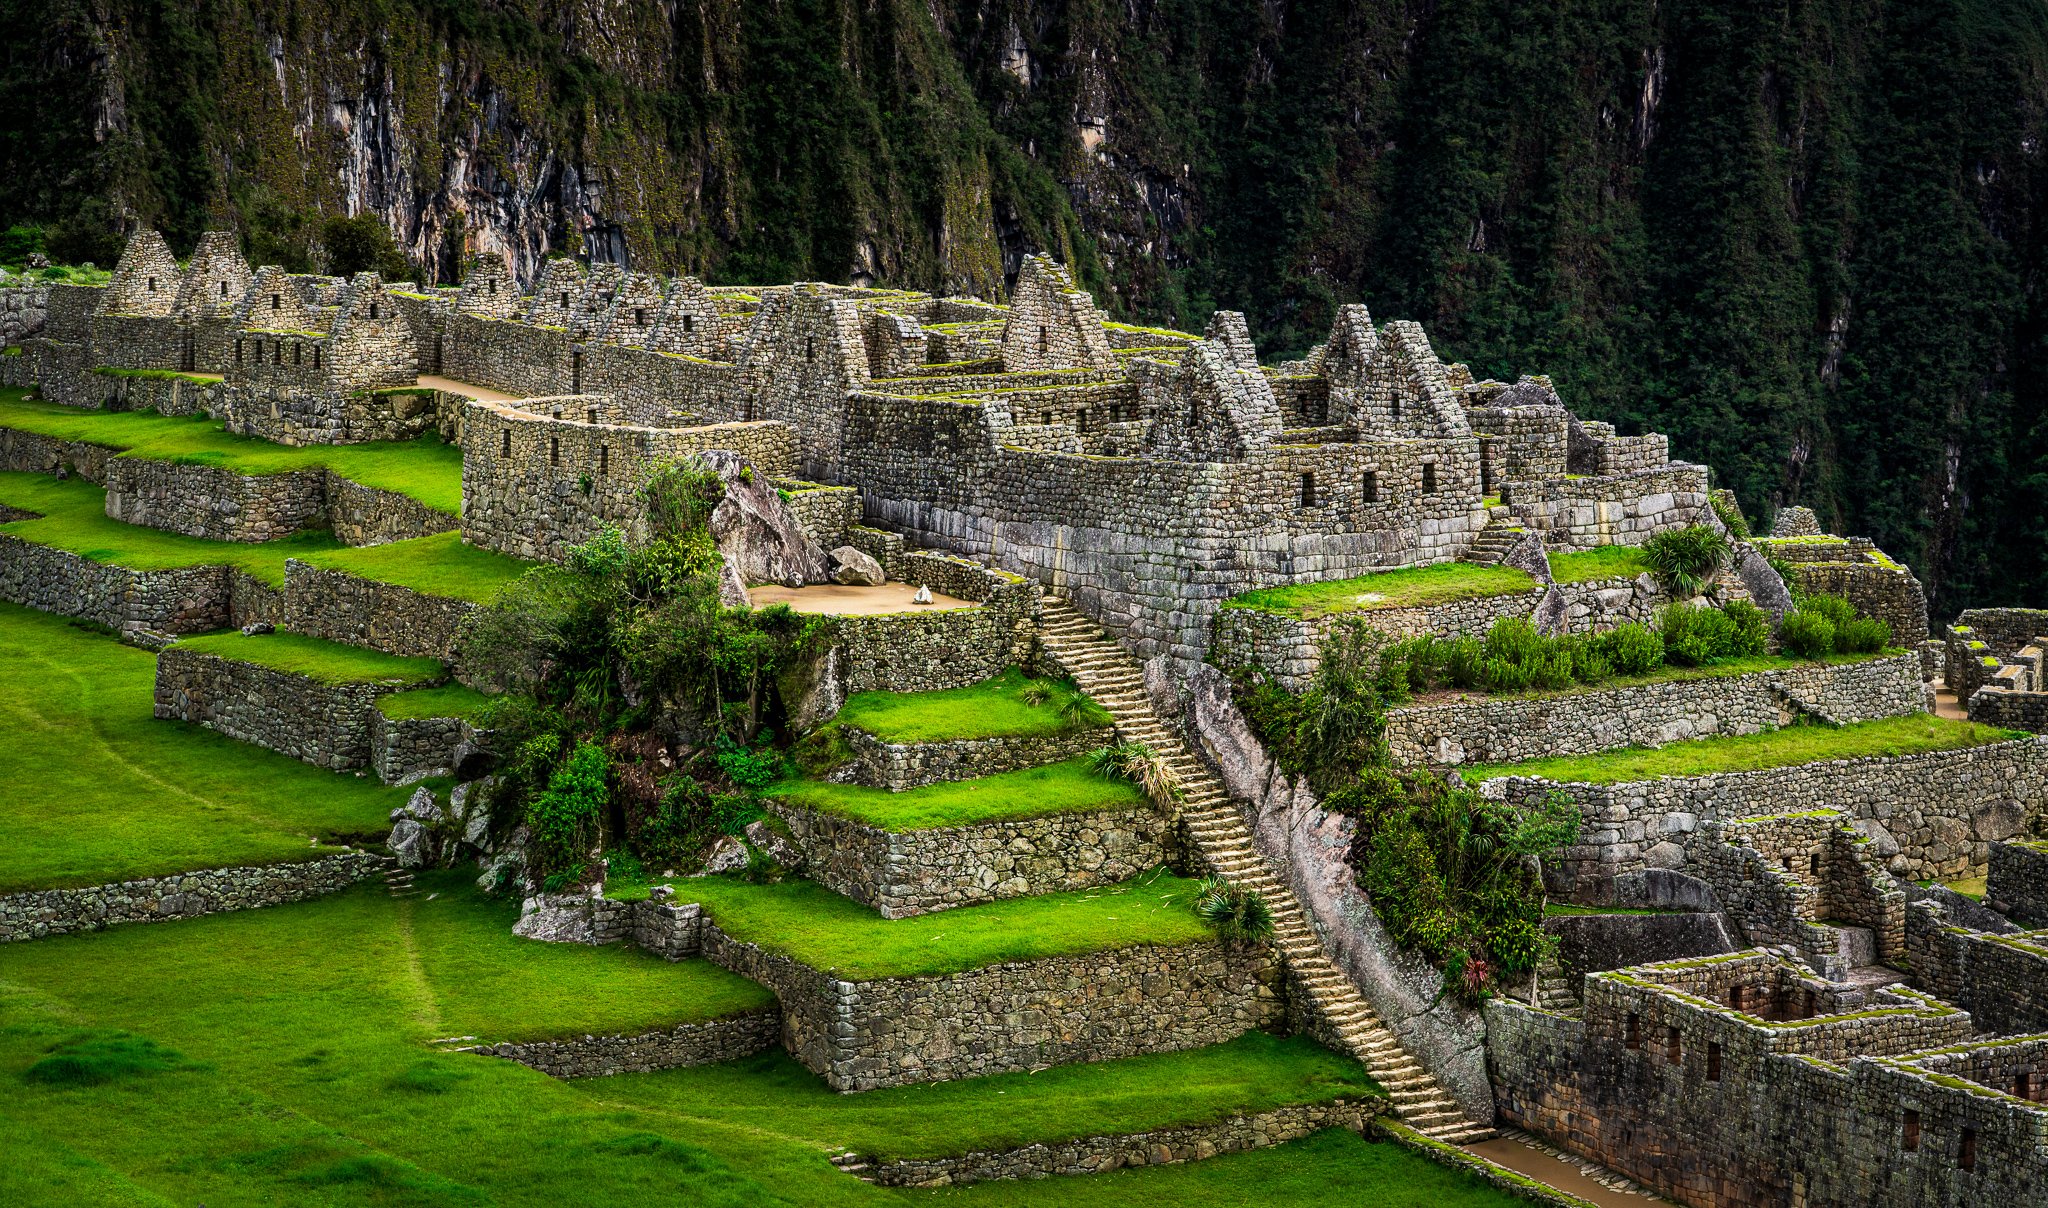
Ruins, Machu Picchu
Contact Scott to commission a print or license this image.





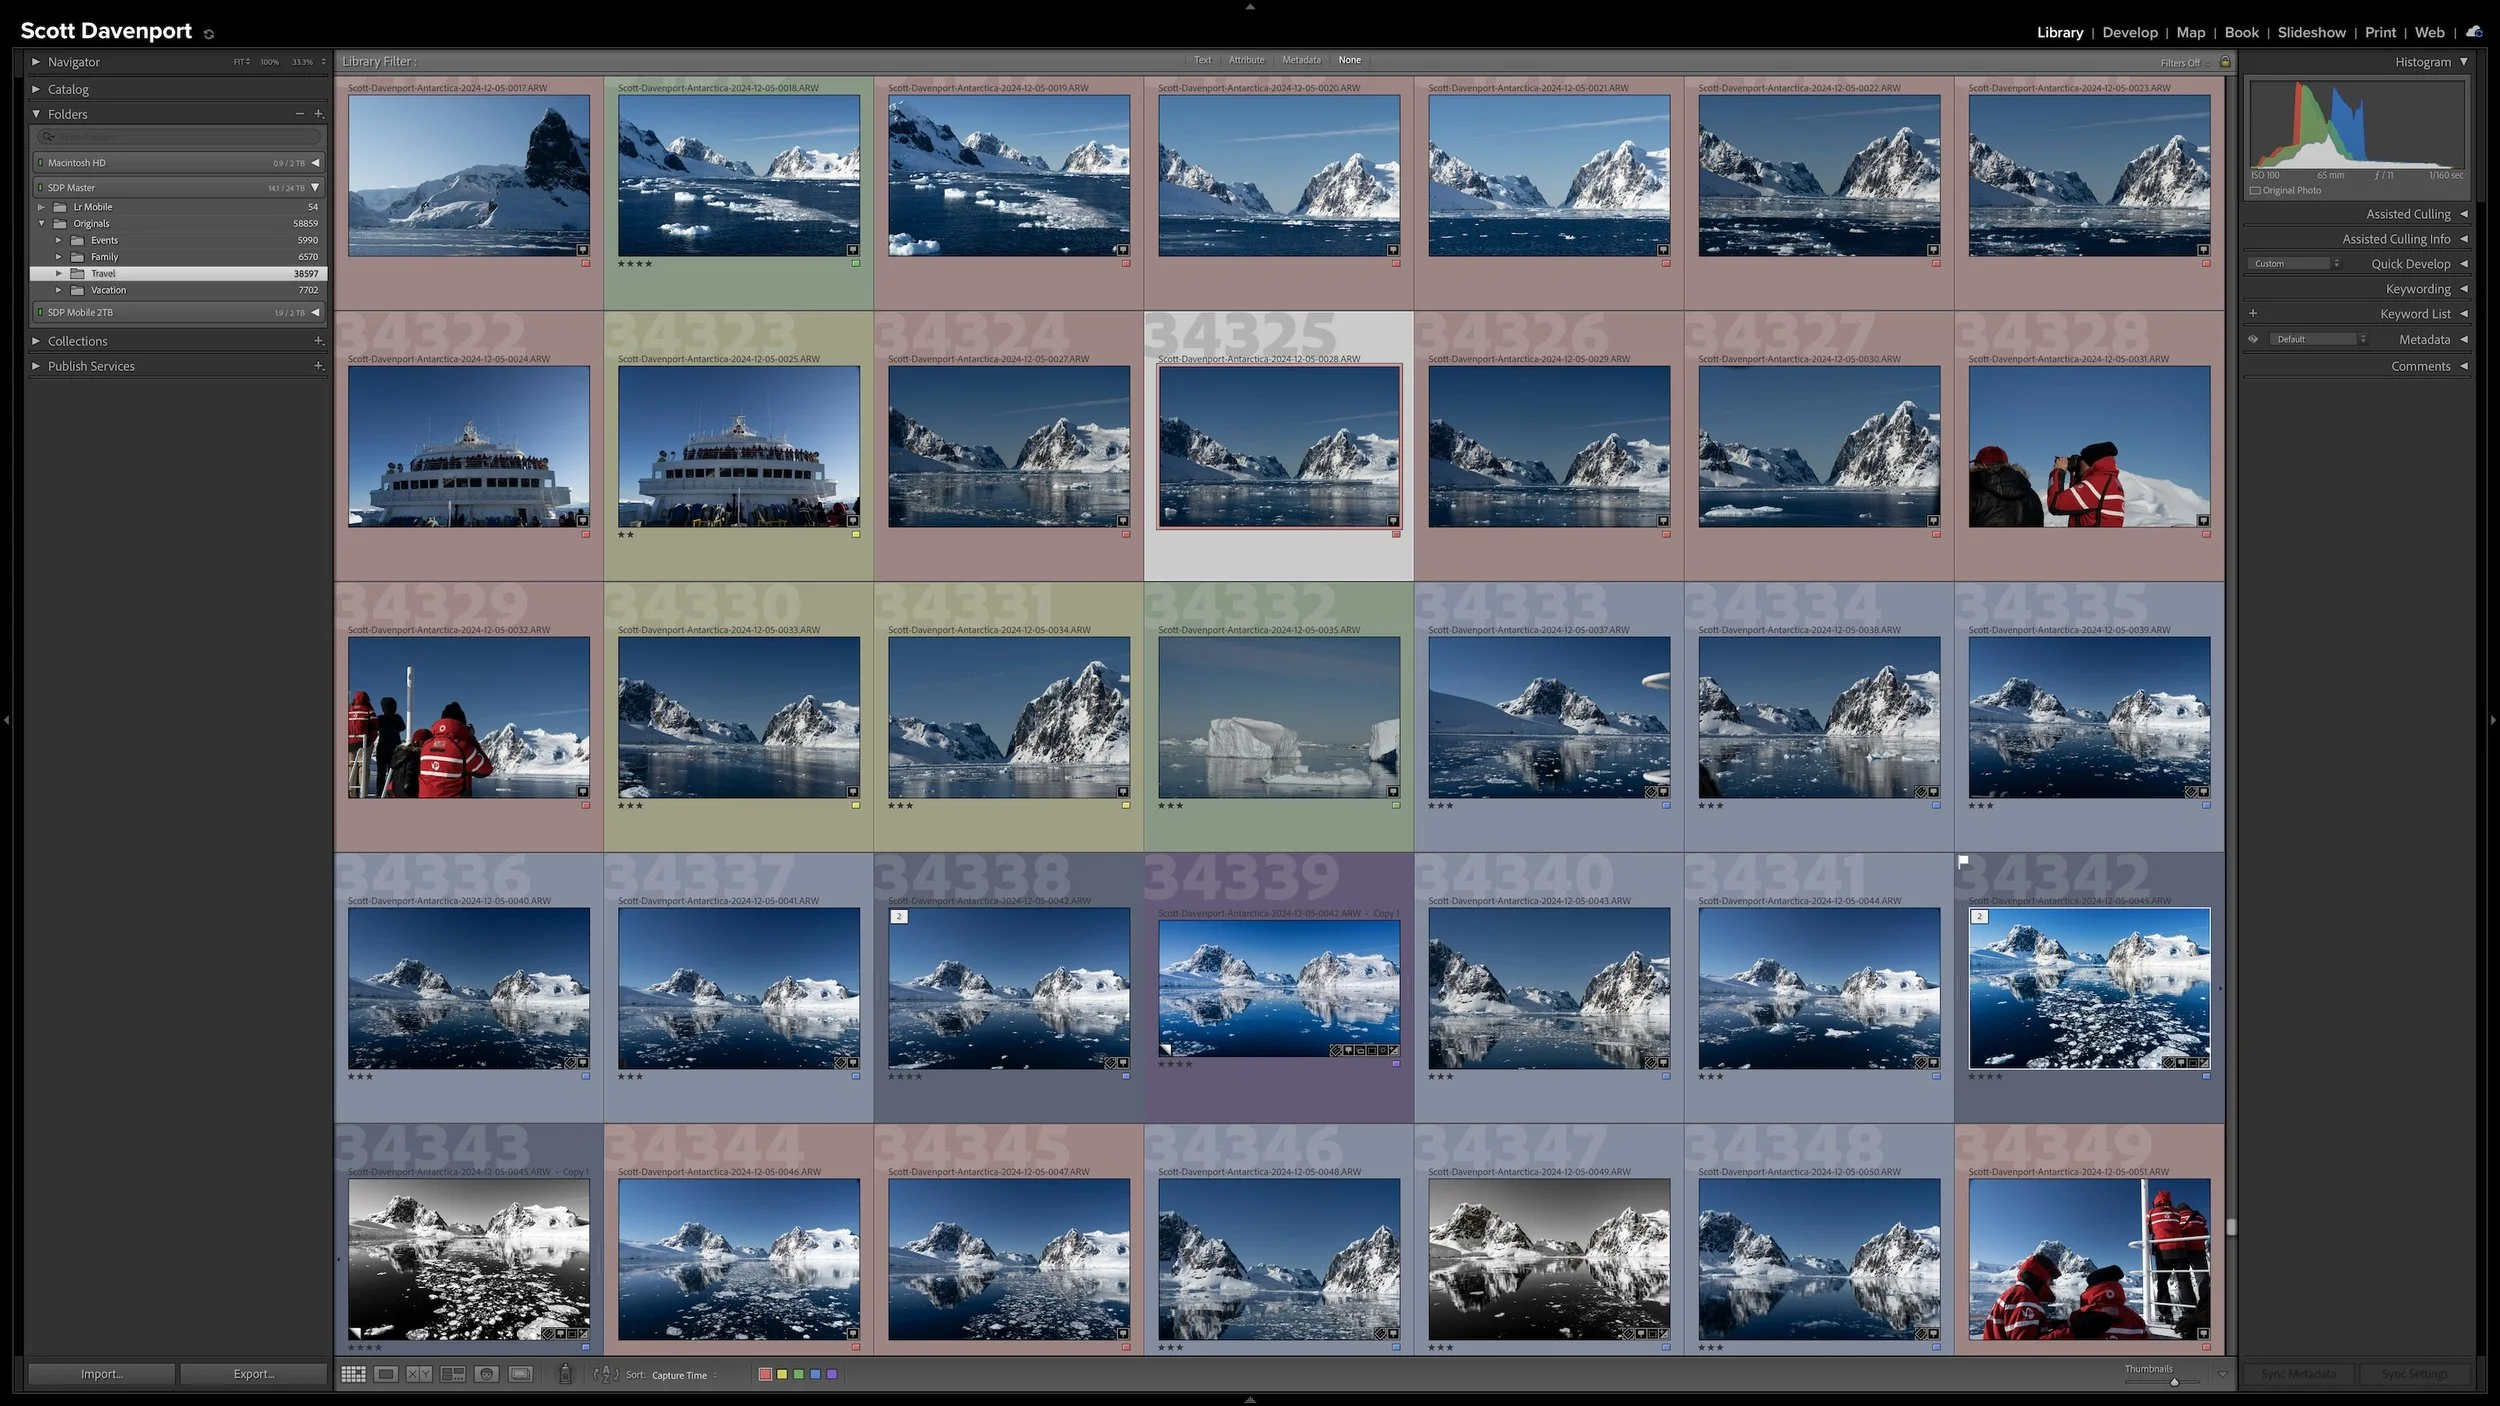
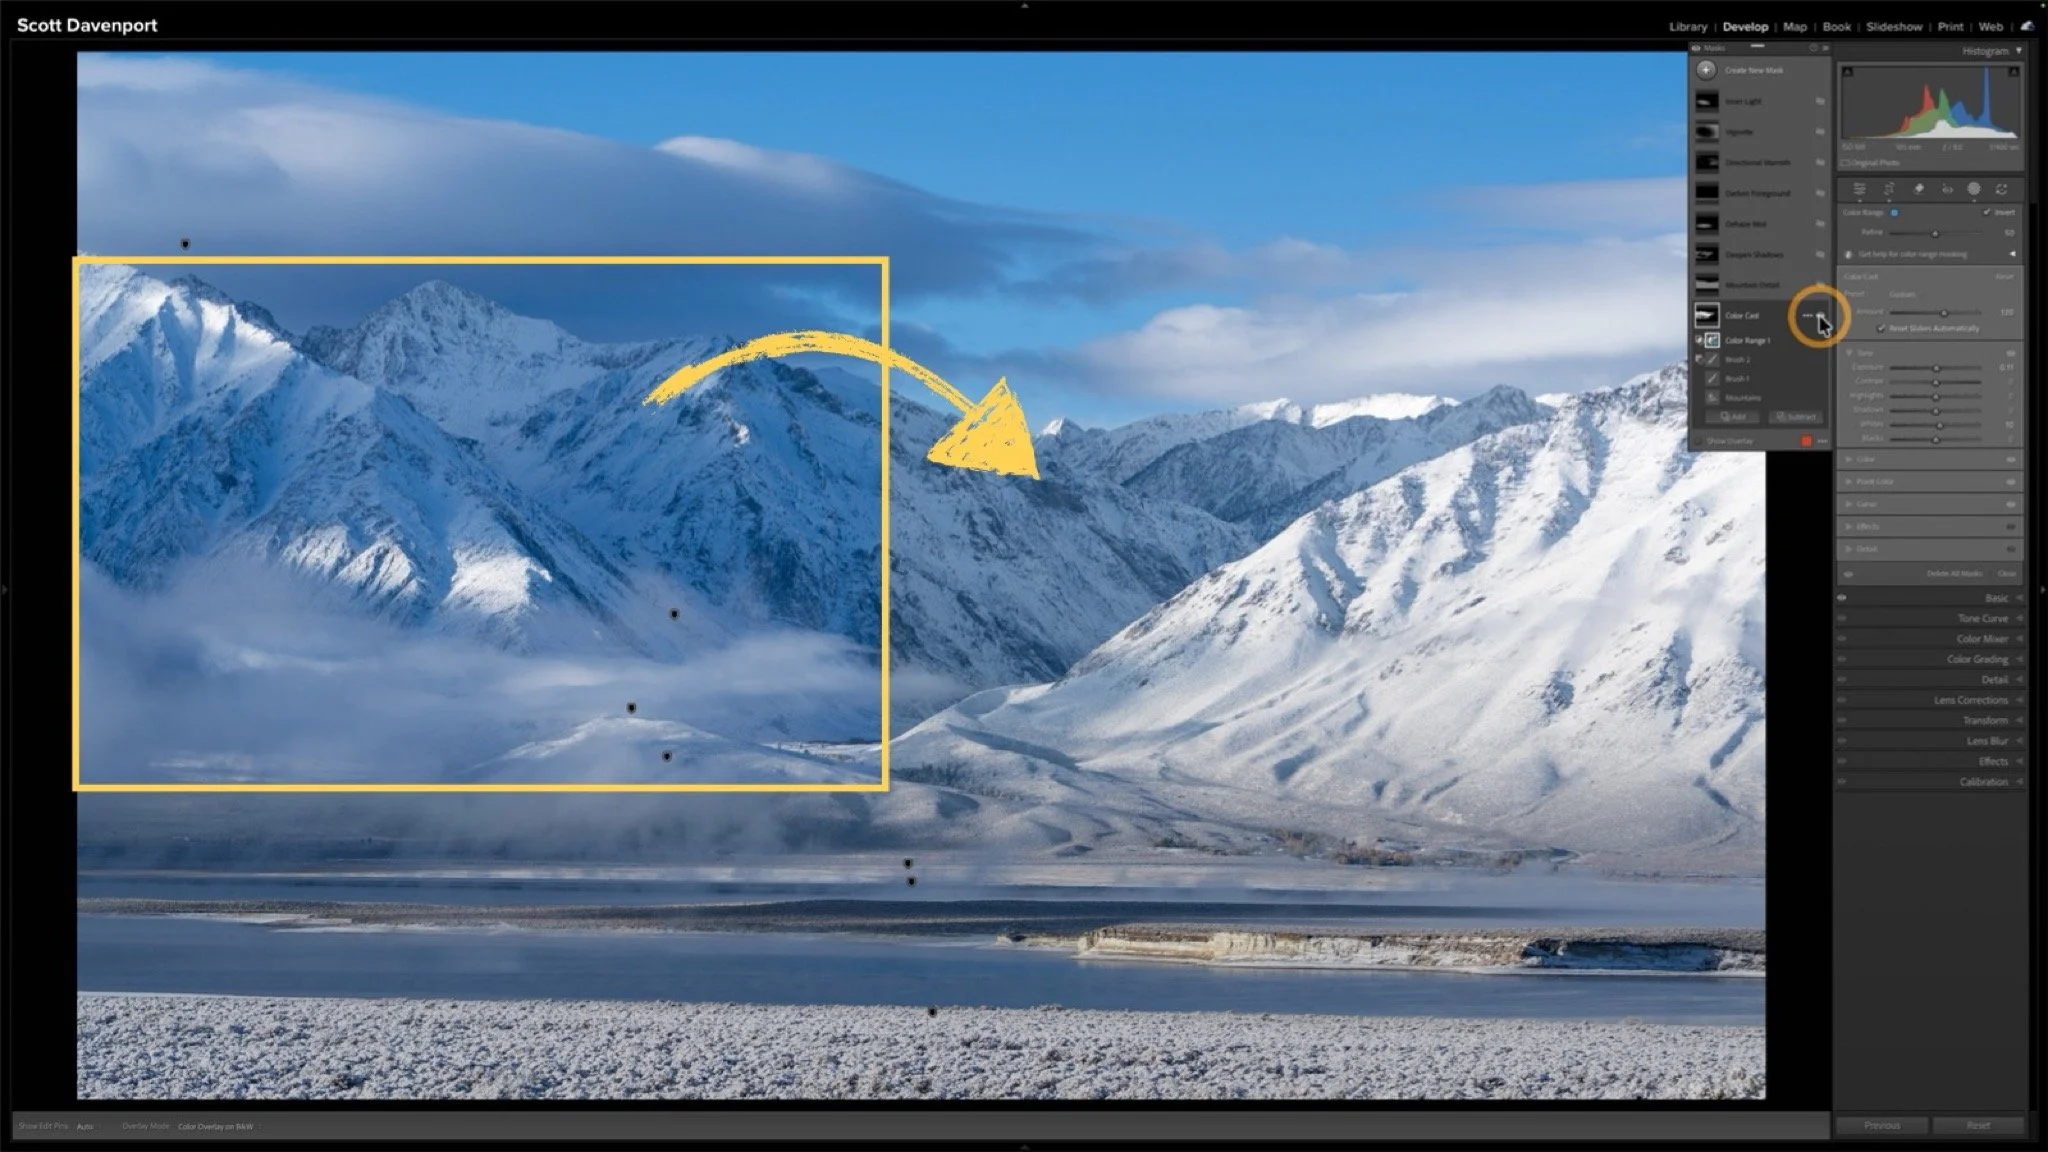

A photo workflow can fall apart when you cannot tell what has been finished and what still needs attention. That becomes especially frustrating when photographs from the same shoot are at different stages.
My six-step Lightroom Classic workflow uses color labels to give every photograph a clear next action. Whether a photo needs rating, location information, keywords, developing, or sharing, I can see where I left off and continue without retracing my steps.