
If you enjoy posts like this, please support my work and support independent photography tutorials like this.
A vignette can be a useful finishing touch for a black and white photograph. By gently darkening the area around your subject, you can guide the viewer’s eye without making the effect obvious.
The trouble is that the usual approach—lowering exposure around the edges—can be too aggressive. If your photograph already has deep shadows near the frame, those areas can quickly become solid black.
There is a more controlled way to create the same visual nudge while preserving those important shadow details.
Why Exposure Can Be Too Aggressive
The Exposure slider affects a broad range of tones. Even a relatively small adjustment can make an obvious difference throughout the masked area. That may work well for some photographs, but it can cause problems in a black and white image with dark edges. Rocks, foliage, or other shadowed elements that still contain useful texture can quickly disappear.
The vignette may guide attention toward the subject, but it does so at the expense of detail elsewhere in the frame. The result often feels heavier than intended.
The goal is not simply to make the edges darker. It is to reduce their visual importance while keeping the photograph balanced.
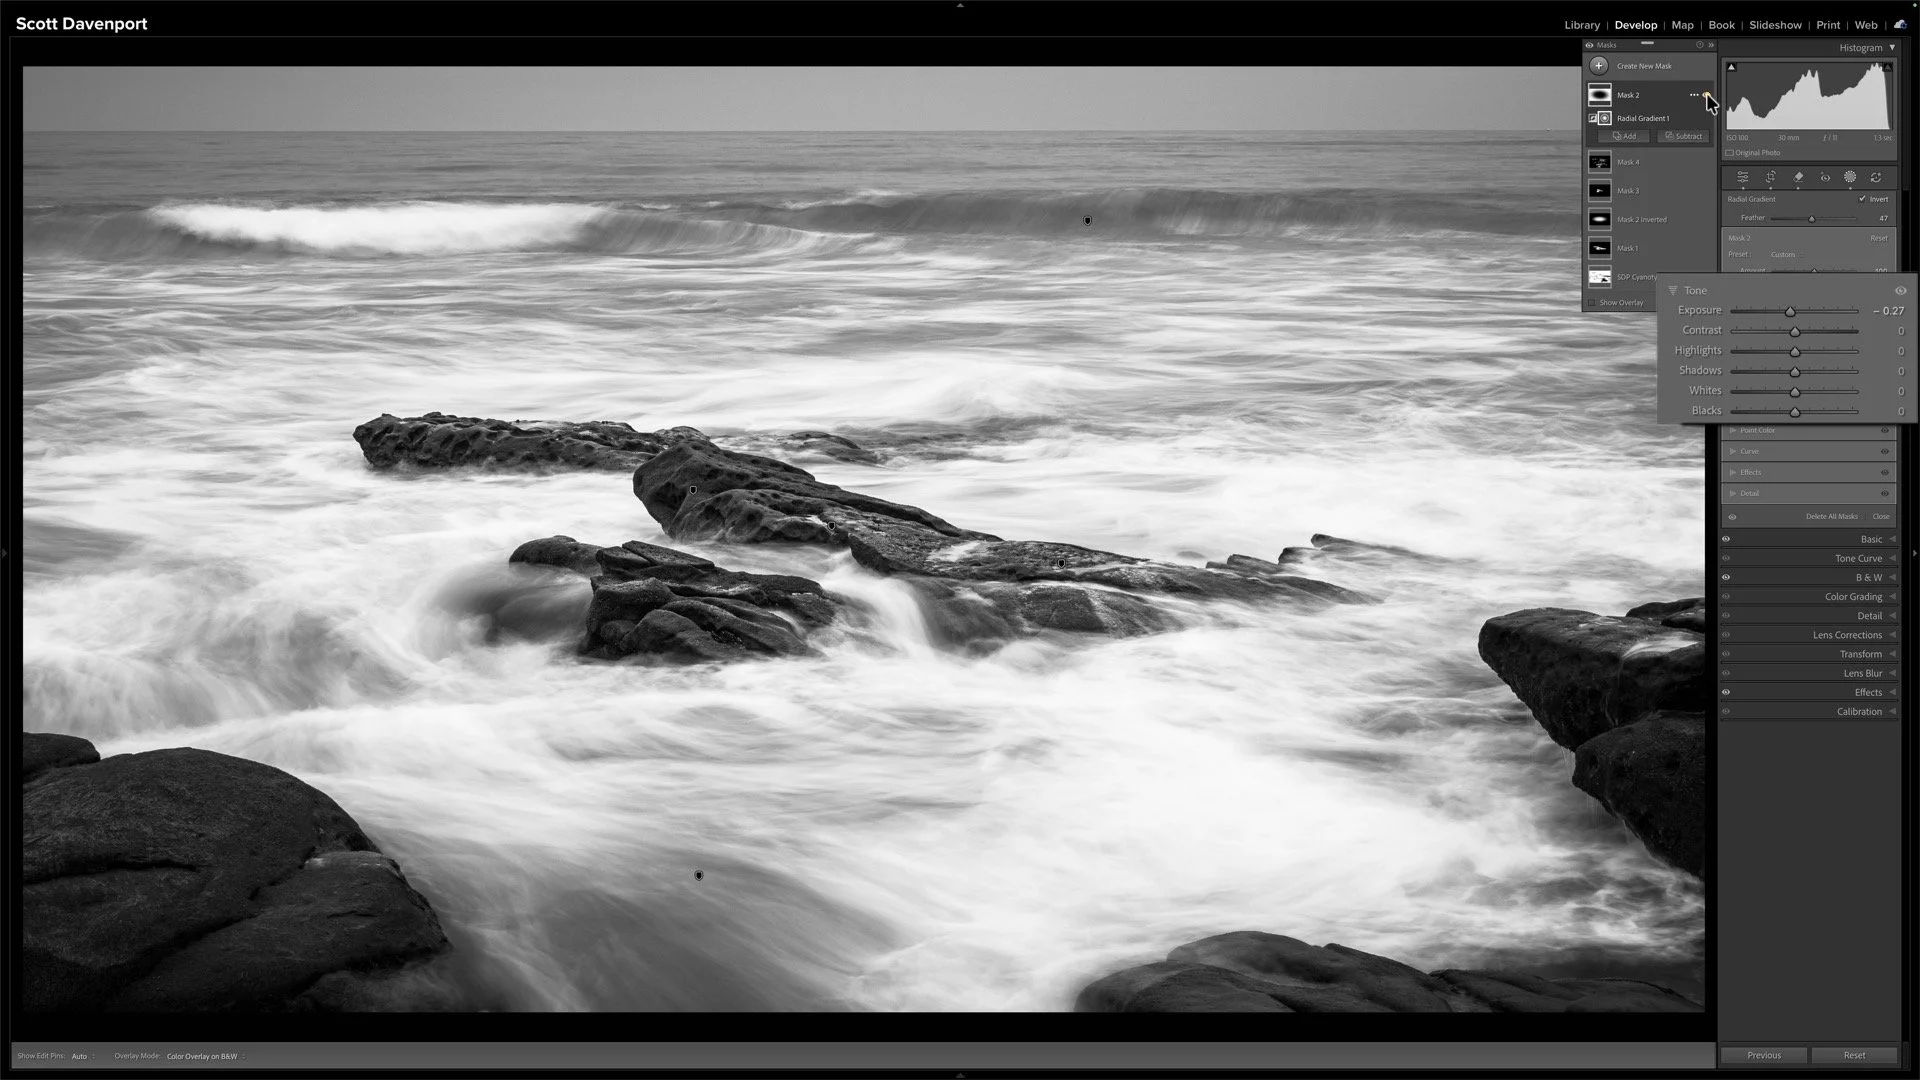
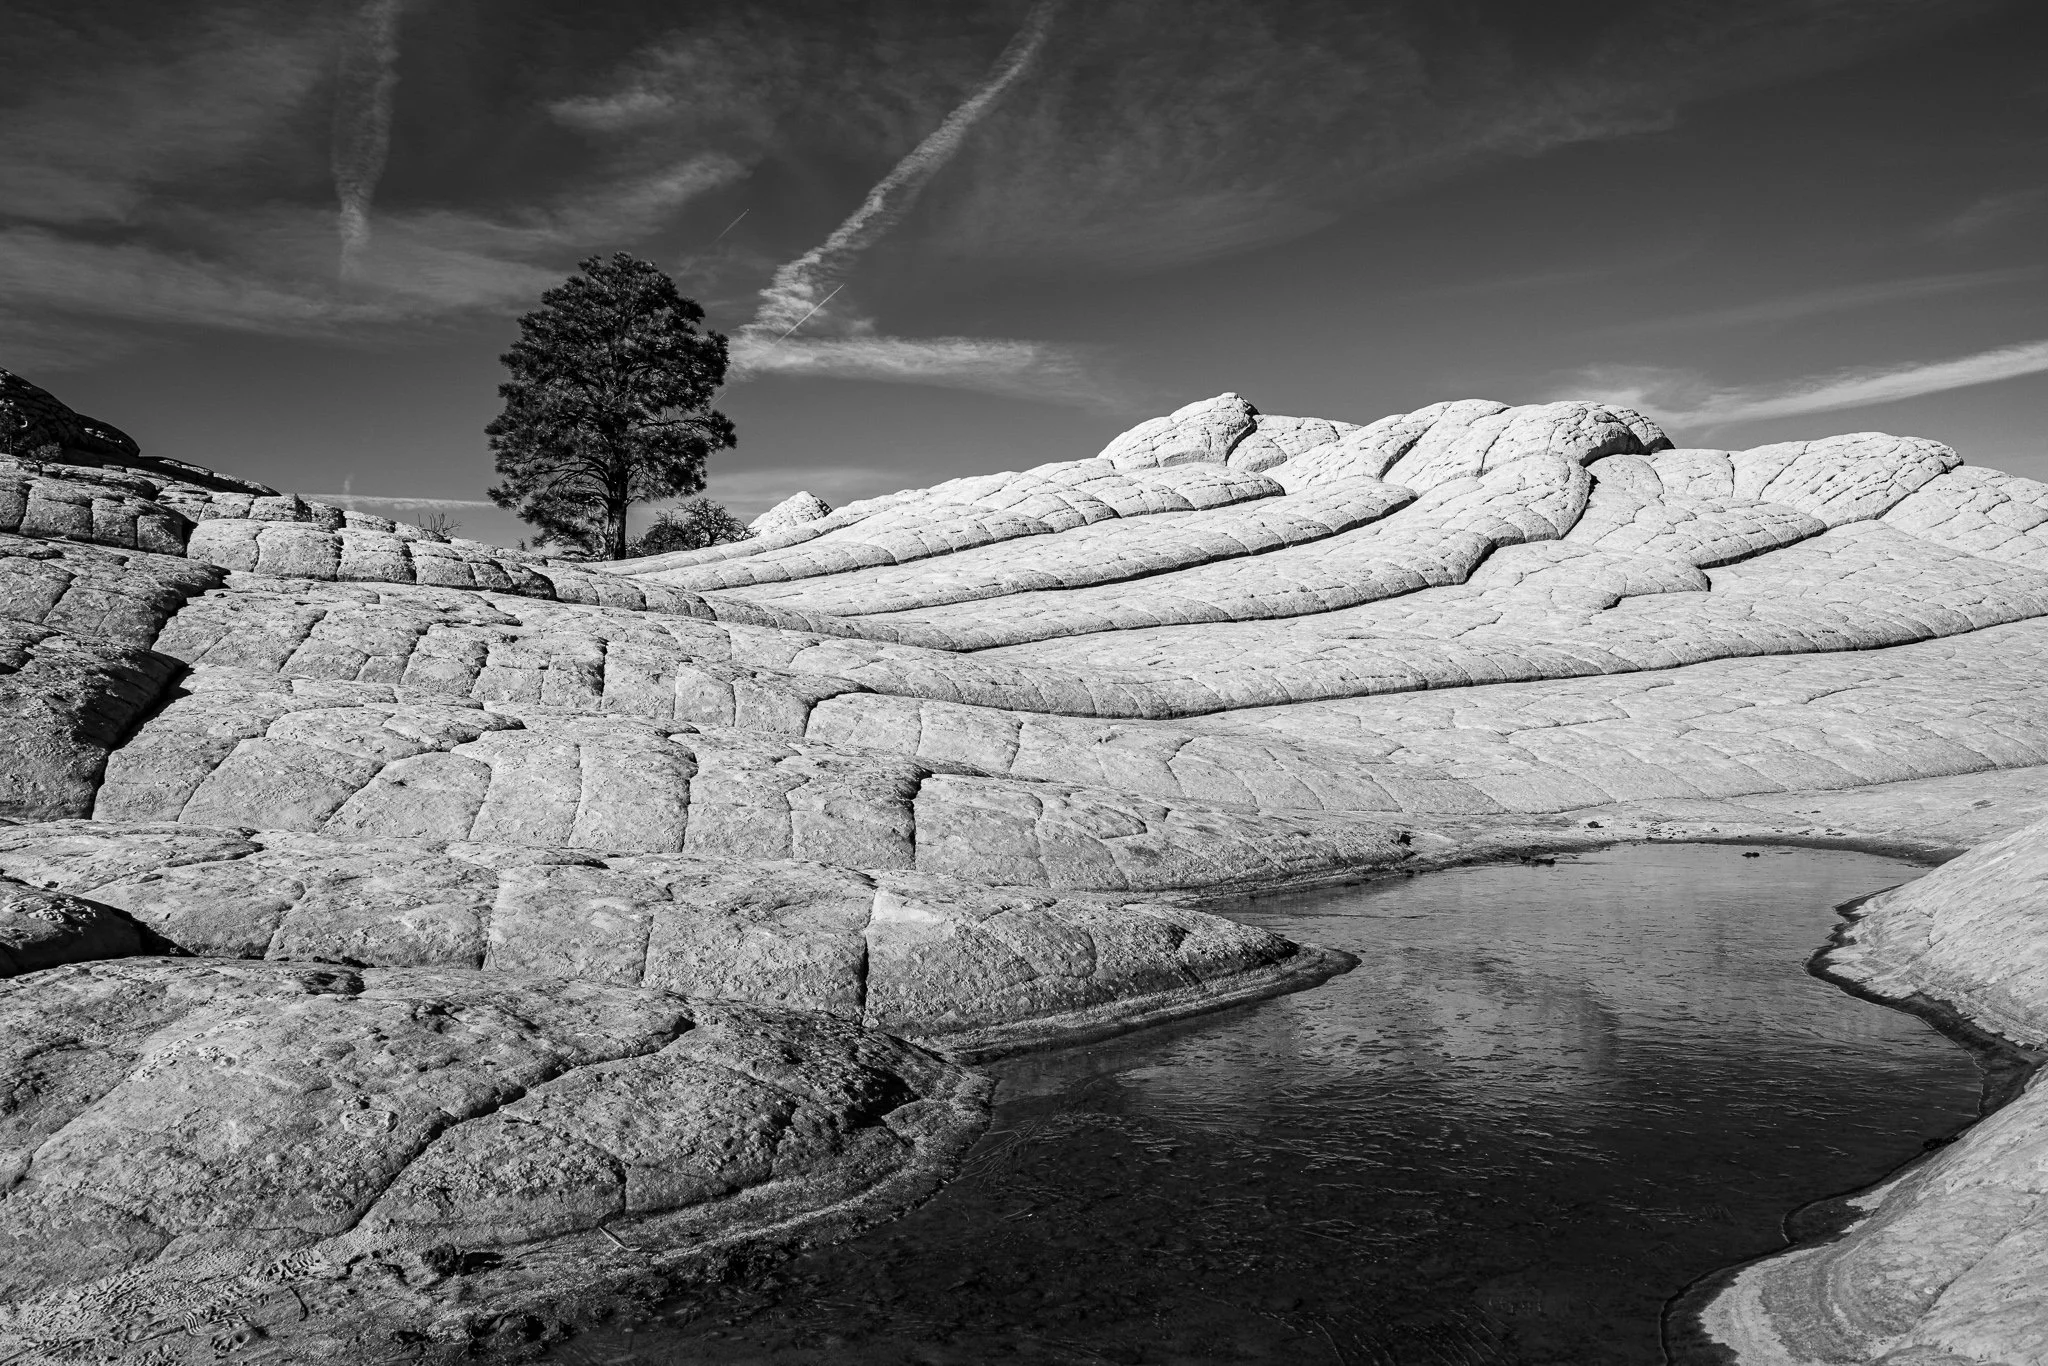
Reducing exposure over-darkens the rocks in the lower corners.
Start With a Radial Gradient
I prefer to create this type of vignette with a radial gradient rather than a standard vignette tool. A traditional vignette is usually centered in the frame. A radial gradient gives you more control over its position, shape, and size. You can place the brighter portion over the actual subject, even when that subject is off center.
Draw the radial gradient around the area you want to emphasize, invert the mask so the adjustment affects the outside, and then shape the gradient to fit the photograph.
The mask controls where the adjustment happens. The next decision—what tonal adjustment to make—is what keeps the result subtle.
Reduce the Whites Instead
Rather than lowering Exposure, pull back the Whites slider. This removes some of the brightest tones from the masked area without pushing the deepest shadows down as aggressively. The edges become quieter, but existing dark areas are less likely to lose all their detail.
You are still creating separation between the subject and its surroundings. You are simply doing it by controlling the brighter tones around the frame instead of darkening everything equally. That distinction is especially valuable in black and white photography, where the relationship between tonal values carries much of the visual structure.
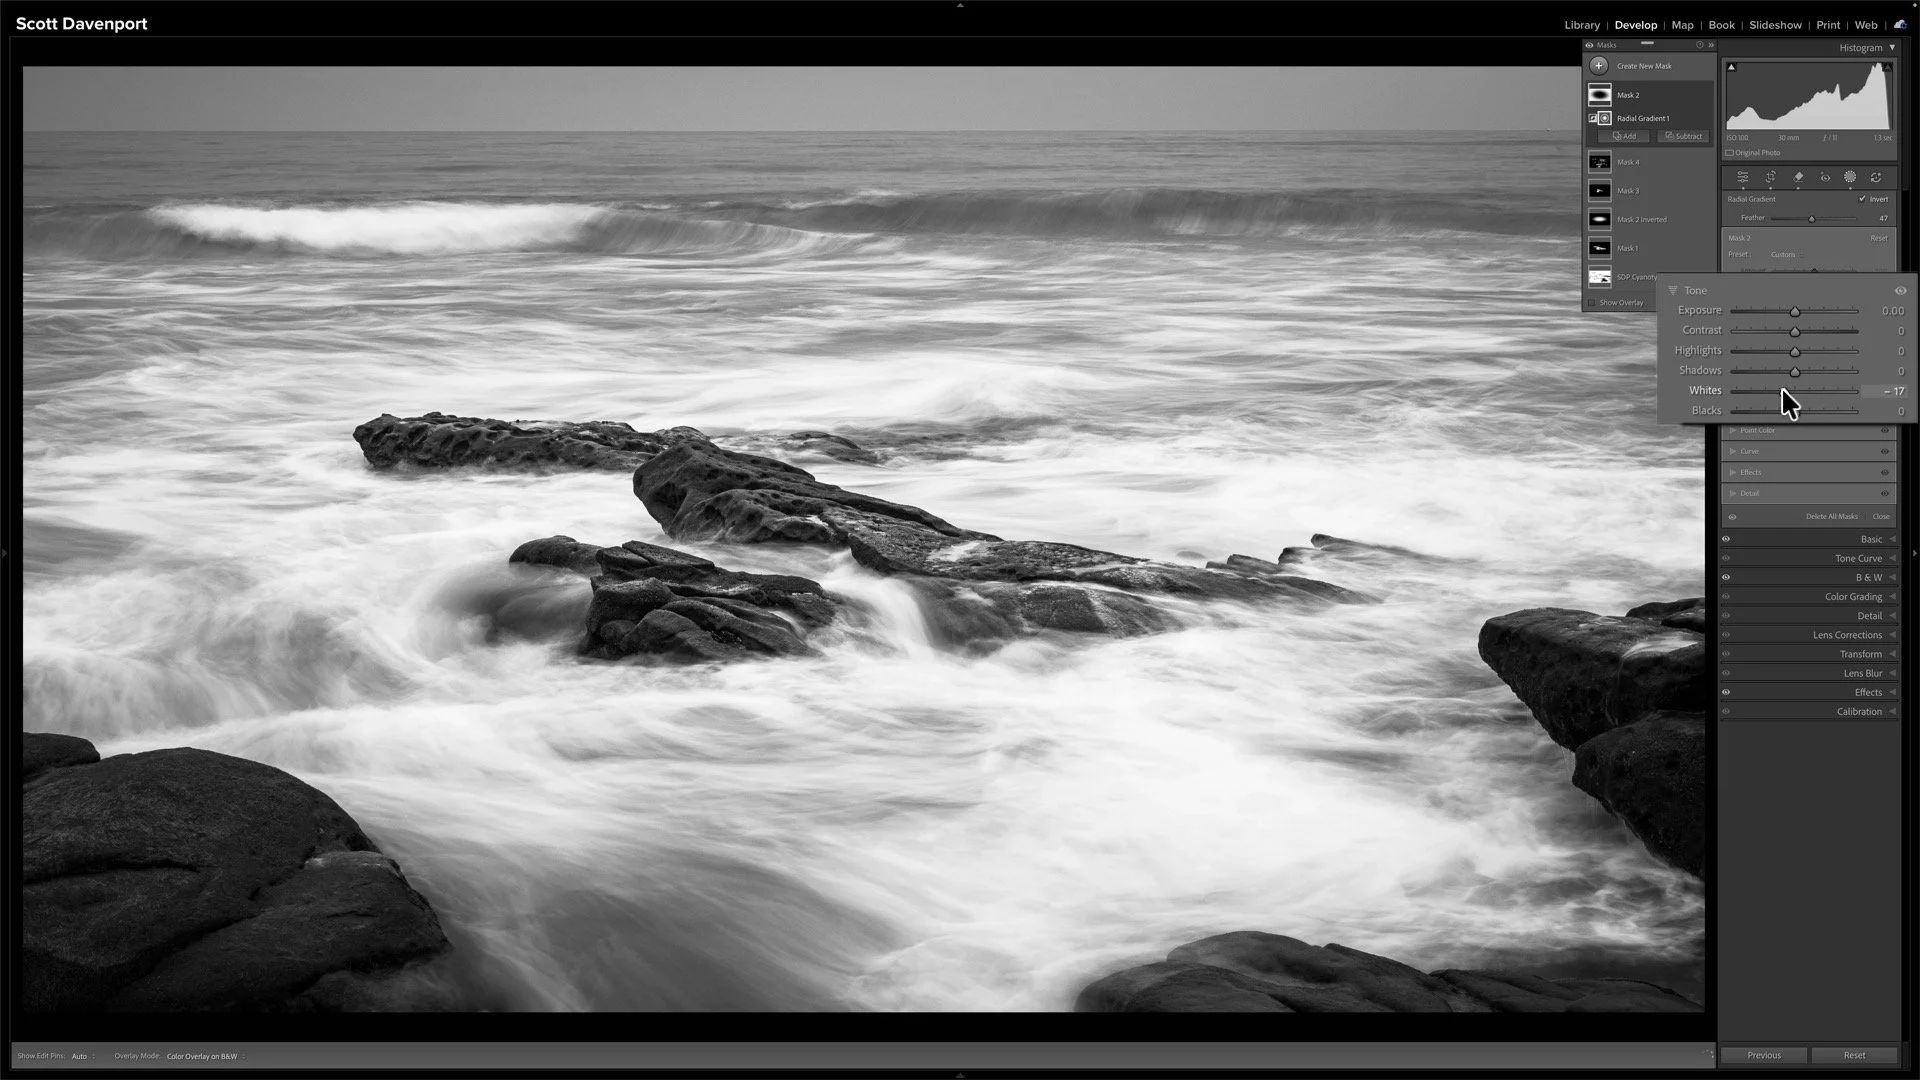
Using the Whites slider limits the impact to the brightest tones. Shadows and low midtones remain unaffected.
Fine-Tune With the Highlights Slider
The Highlights slider can produce a similar result, although it tends to reach further into the upper midtones. That can make it a little more aggressive than the Whites slider.
Which one works best depends on the photograph. If you want a very restrained adjustment, start with Whites. If the brighter areas around the frame still attract too much attention, try reducing Highlights as well.
The important thing is to watch the image rather than rely on a particular slider value. The effect should guide the eye without announcing itself.
Think of the Vignette as a Visual Nudge
A good vignette is not really about creating dark corners. It is about directing attention.
By reducing Whites or Highlights around the subject, you can create a gentle shift in visual emphasis. The viewer’s eye moves toward the important part of the photograph, while shadow detail around the edges remains intact.
You will get the same overall visual direction with more control over the darker tones. Keep the adjustment subtle, position the radial gradient around the true subject, and let the vignette quietly support the photograph.
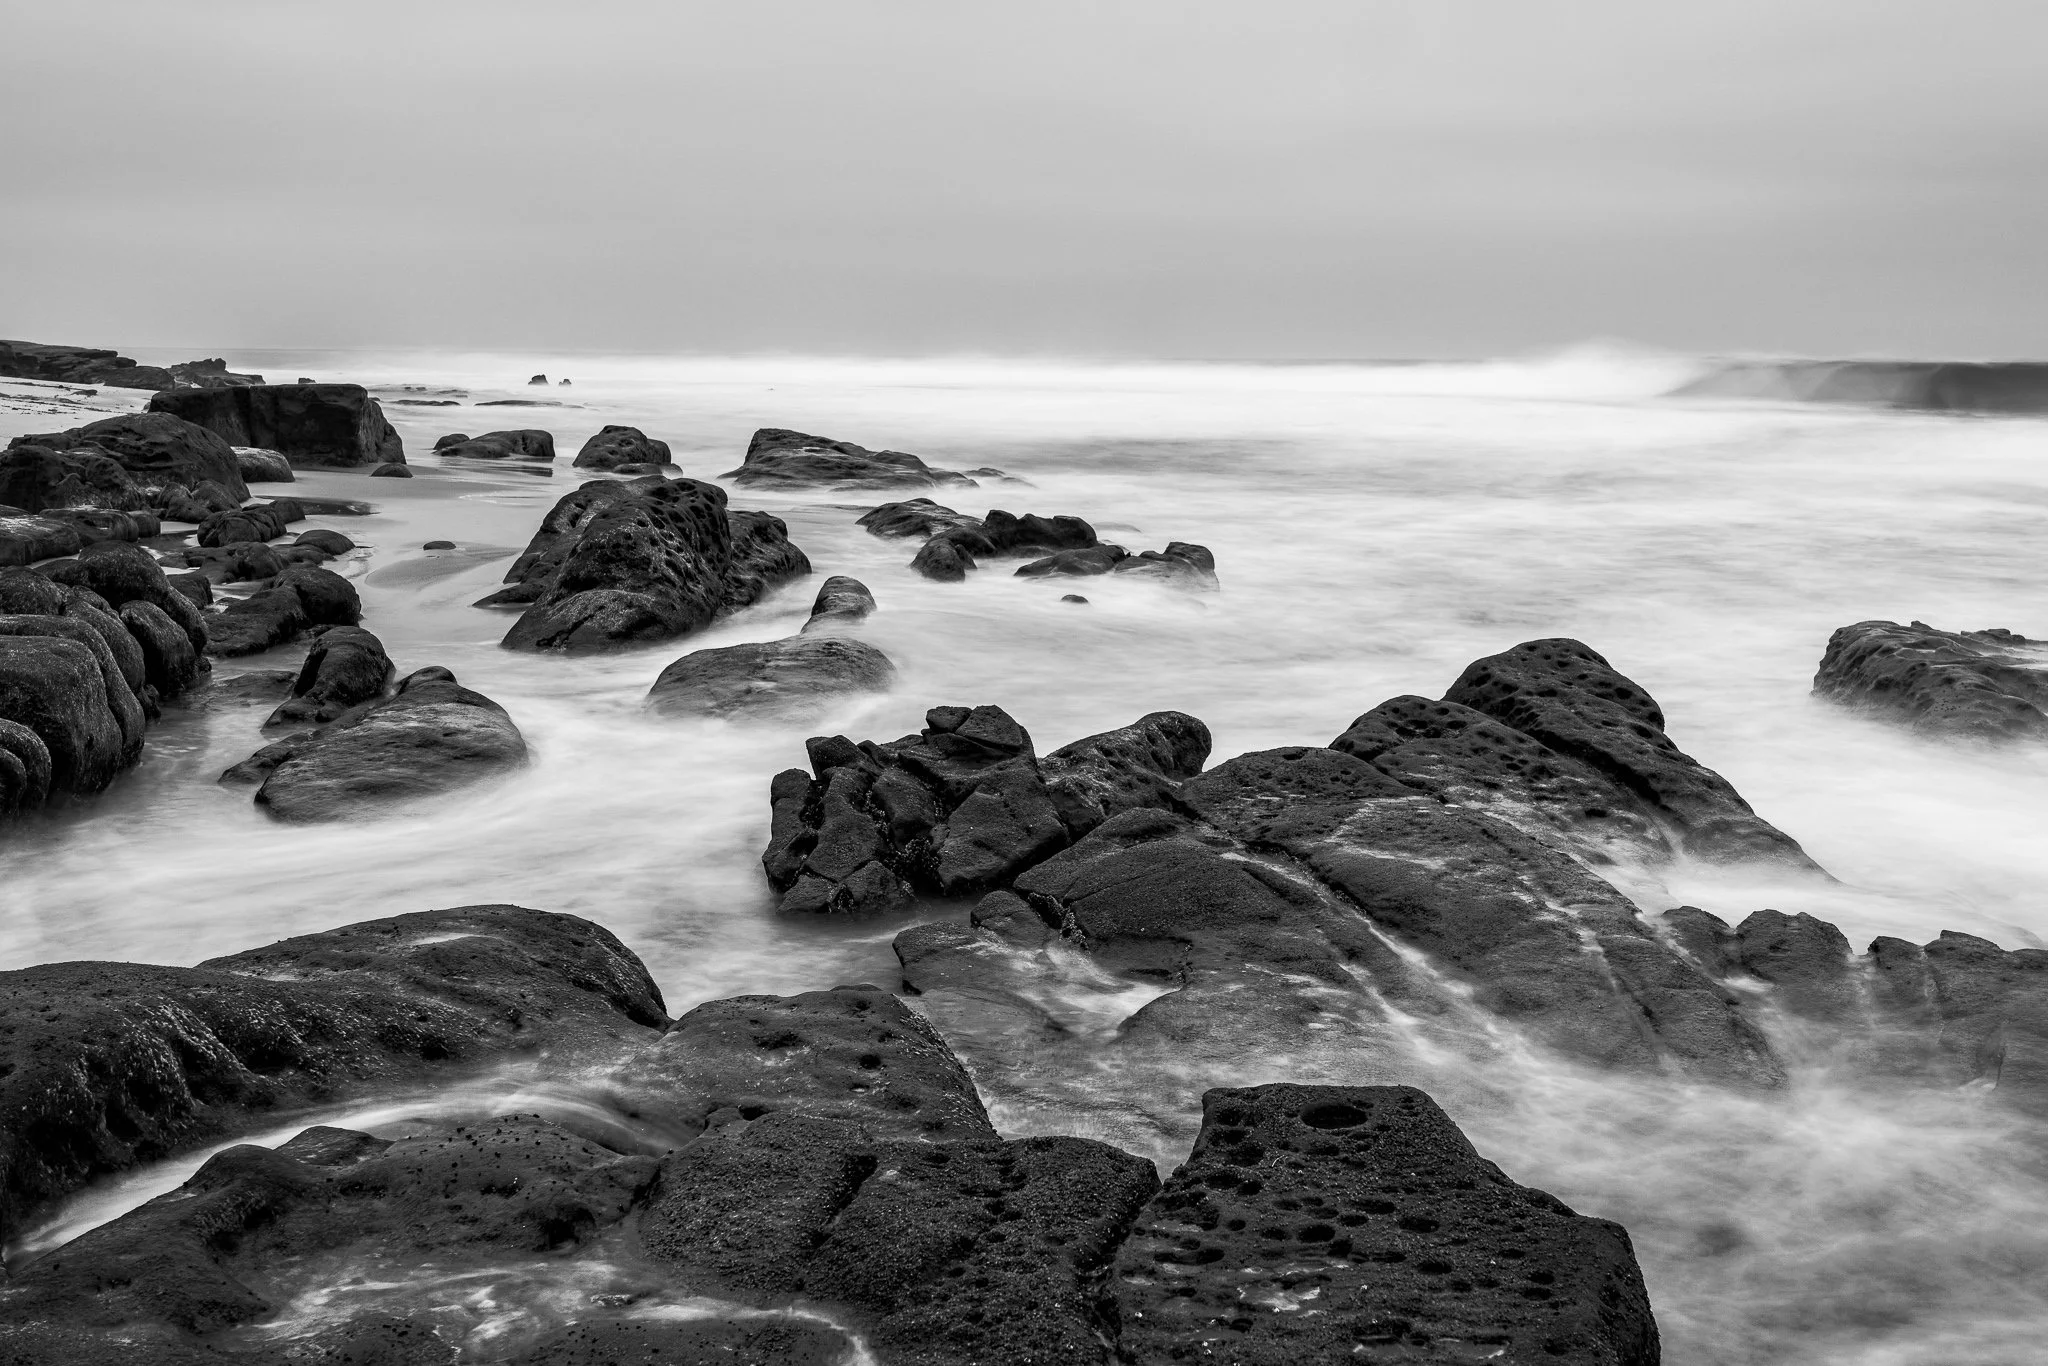
La Jolla 2, July 2026
Contact Scott to commission a print or license this image.
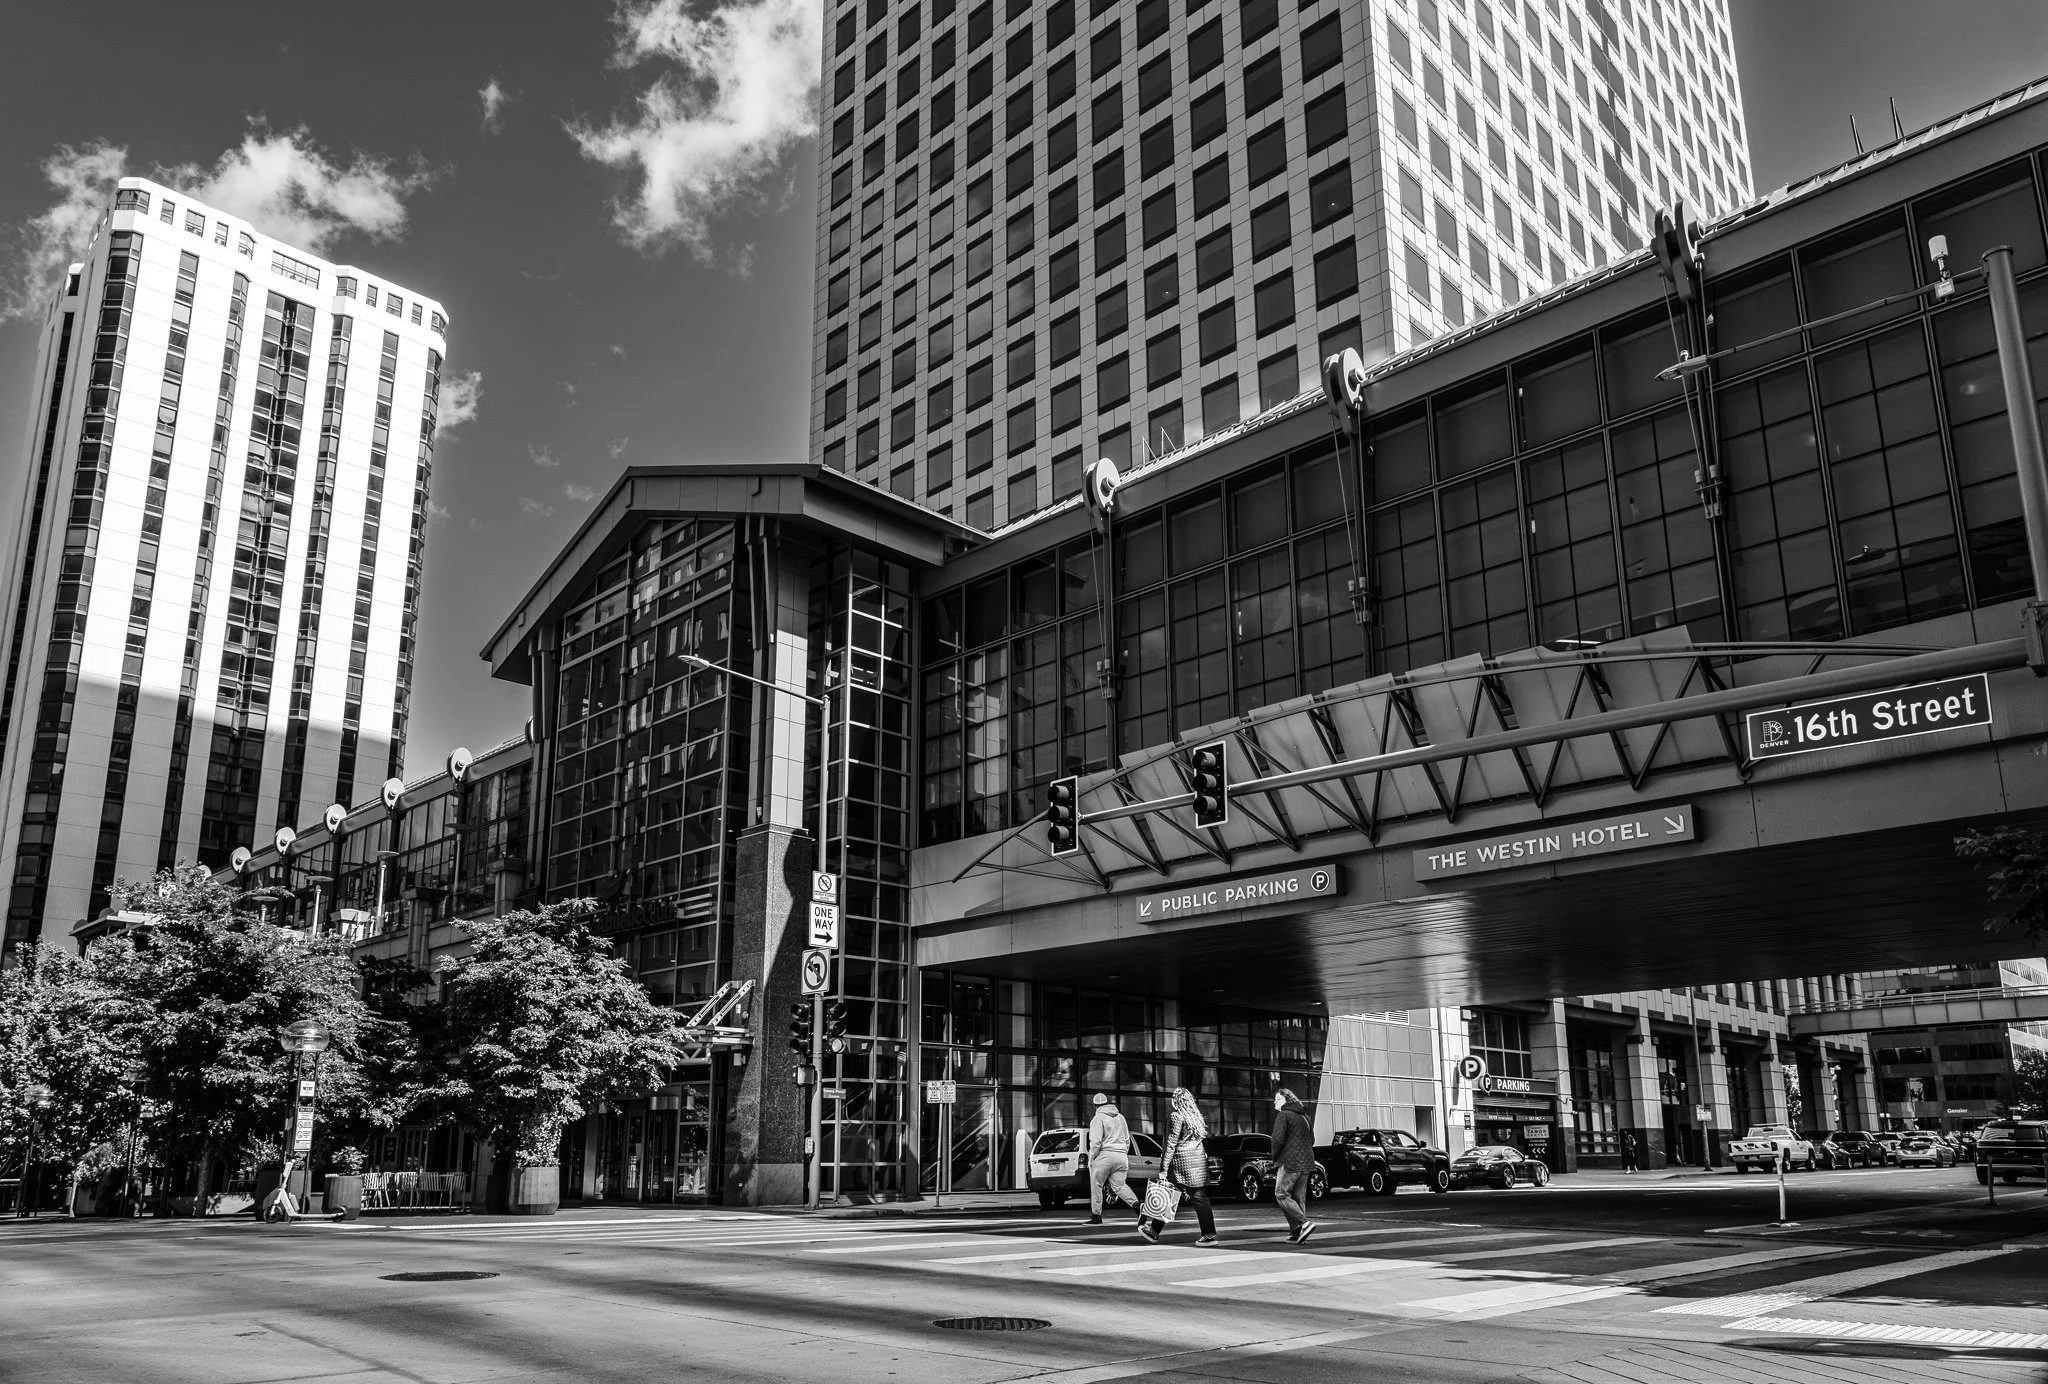




A vignette can help guide the viewer toward your subject, but lowering exposure around the edges of a black and white photo can quickly bury important shadow detail.
In this quick tutorial, I’ll show you a more controlled approach using a radial gradient and the Whites or Highlights slider. You’ll still get that visual nudge toward the subject without making already-dark areas disappear.