
The Journey of a Photo: Shaping Light & Shadow
If you enjoy posts like this, please support my work and support independent photography tutorials like this.
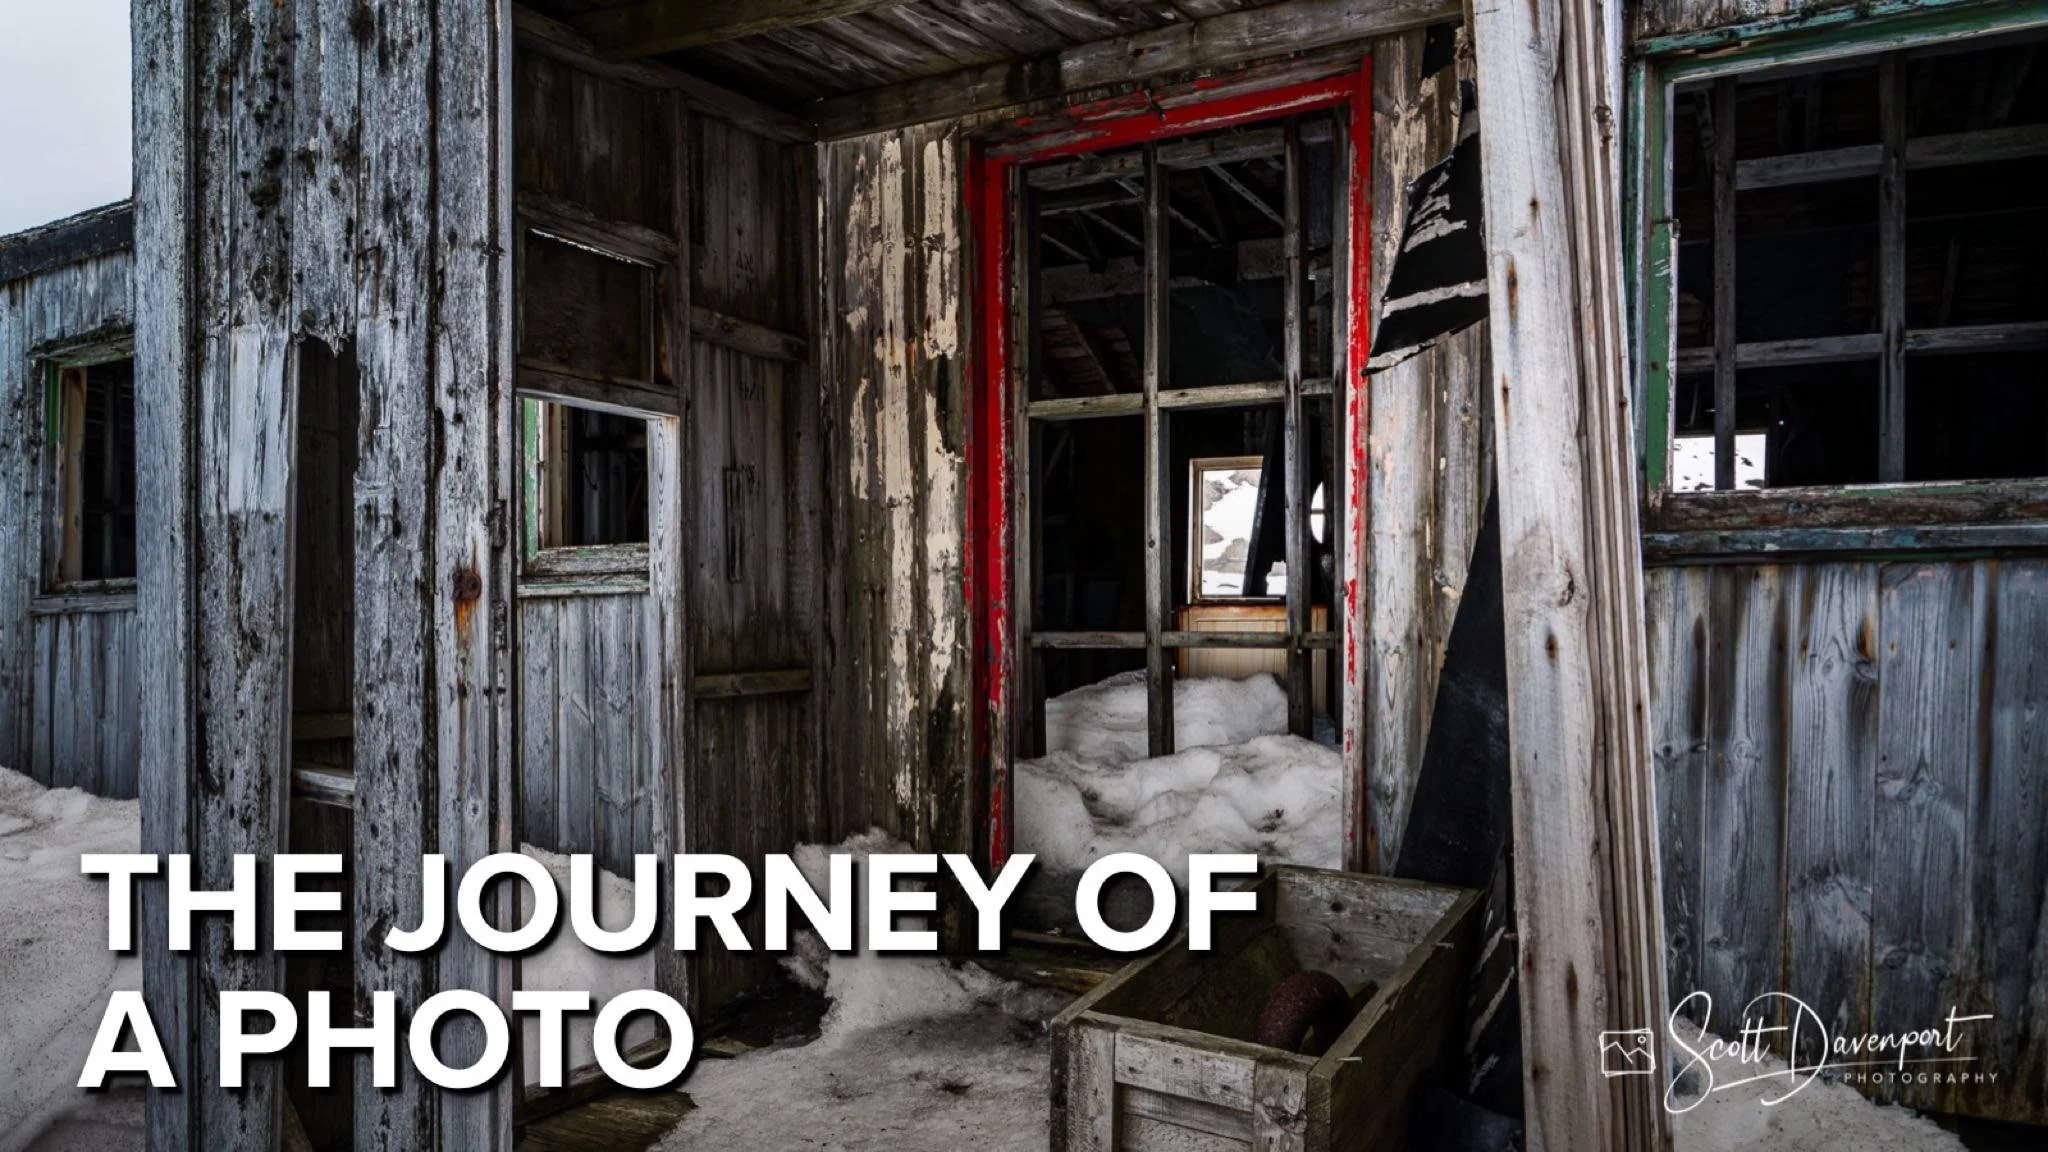
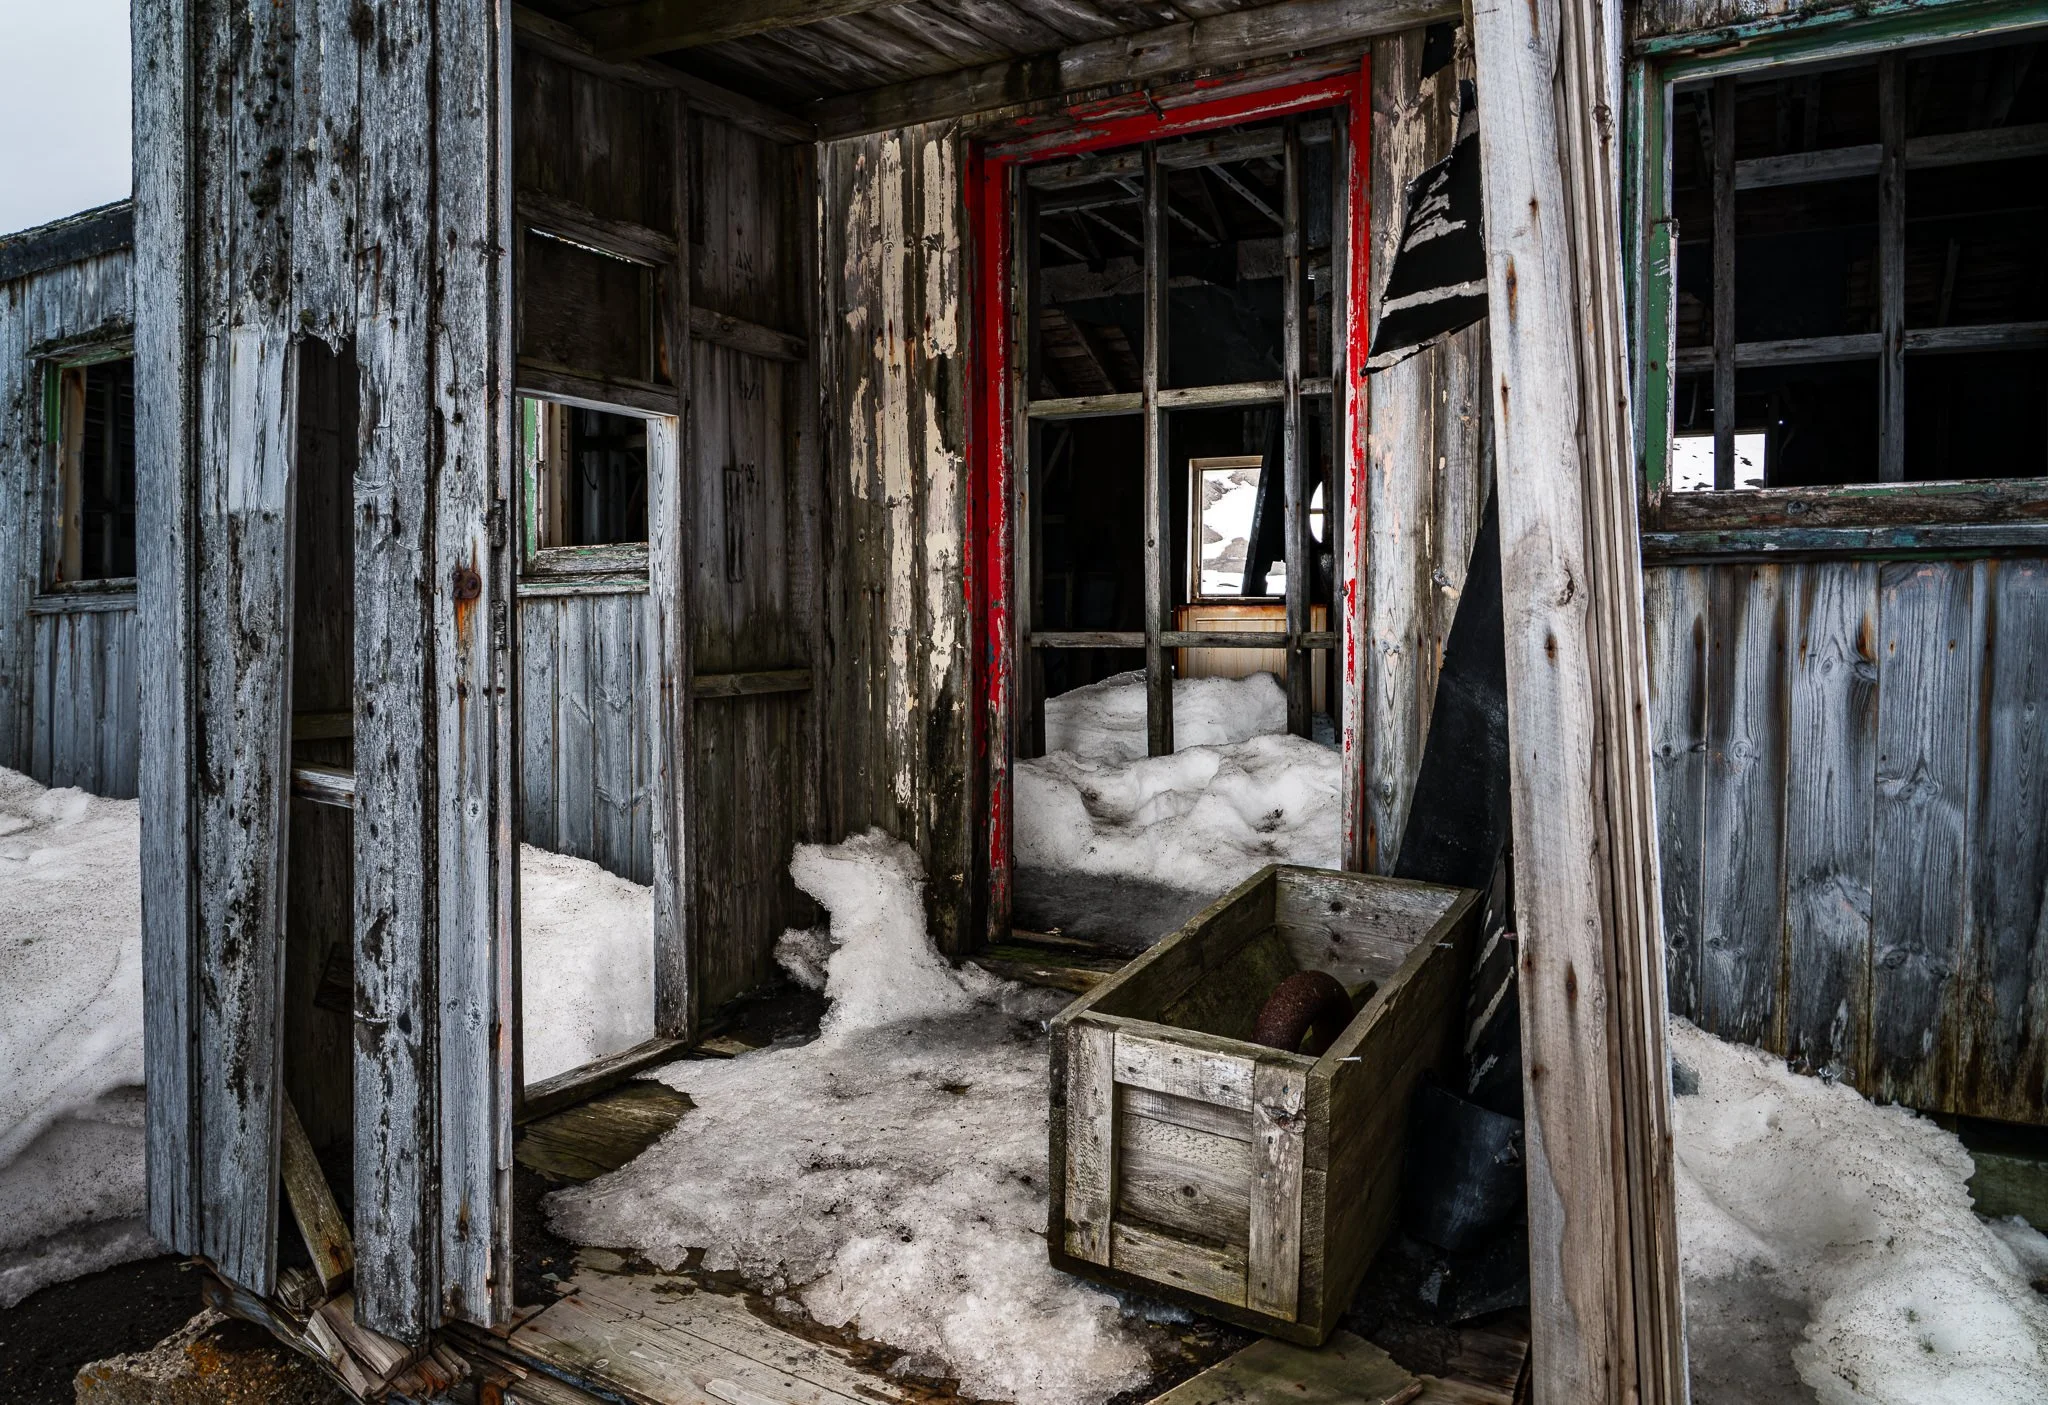
Walking through an edit is always a journey, and this one took some unexpected turns. I started with a simple goal—use local adjustments to guide the eye toward the doorway of a decaying whaling station. A few basic masks to shape the light and I thought I had the story wrapped. The doorway was framed, the tones were balanced, and the atmosphere felt good.
But then curiosity kicked in. I asked myself, what if I push this shadow a little deeper? What if I lift just a touch of glow here? Each experiment added something—sometimes subtle, sometimes nuanced—and the story of the photo got stronger and took more shape. In this tutorial, I’ll walk you through not only the adjustments I made, but also the thought process behind them. It’s a reminder that exploring “what if” often leads us somewhere more interesting than we planned.
Whaling Station, Deception Island, Antarctica
Contact Scott to commission a print or license this image.
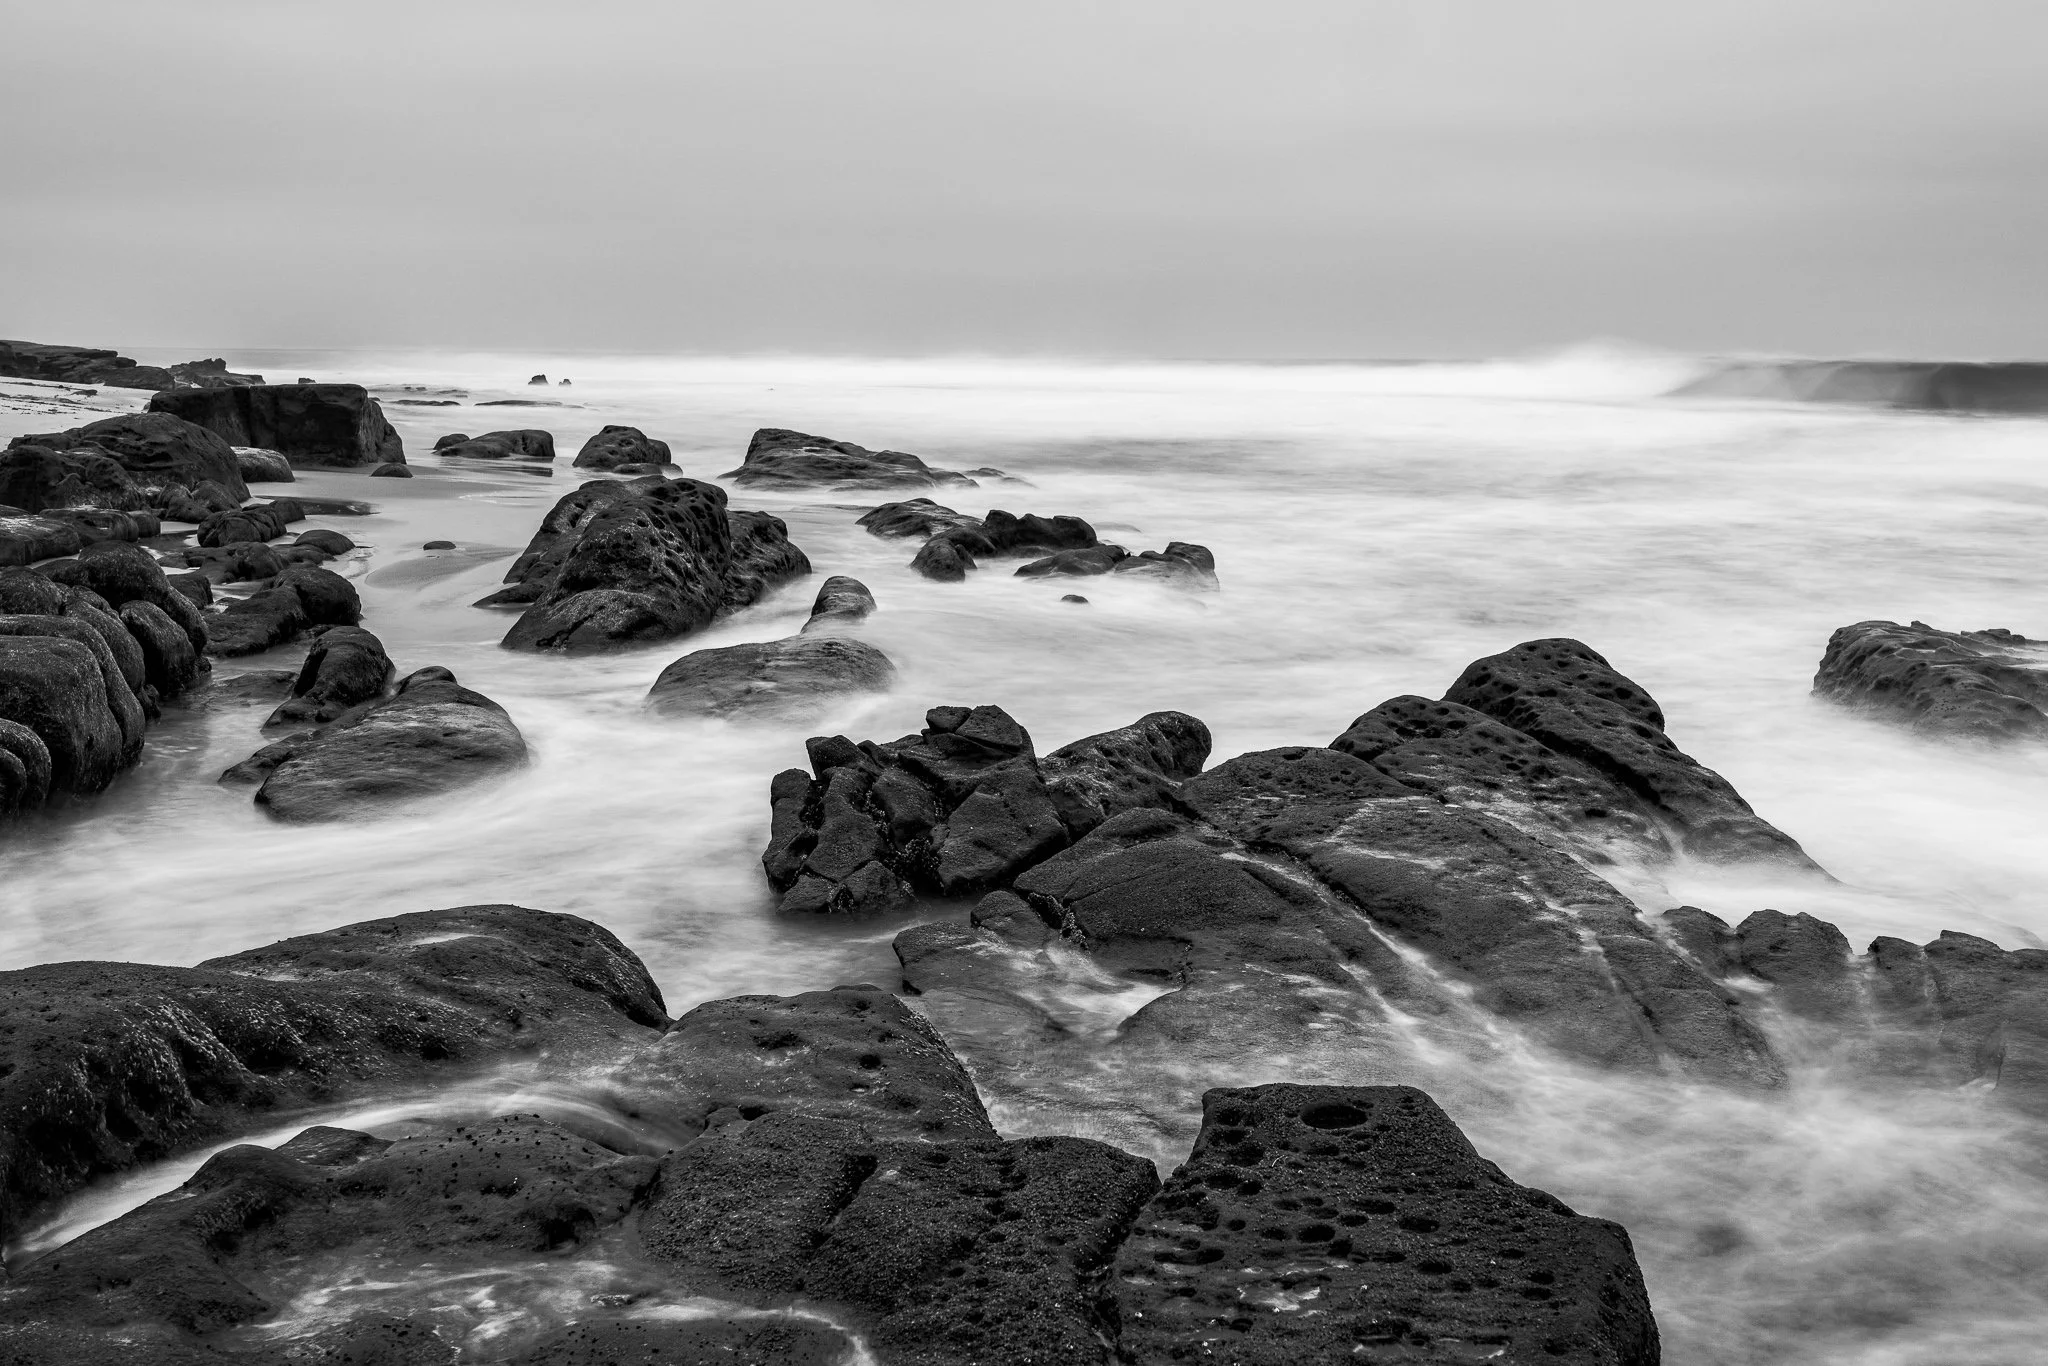
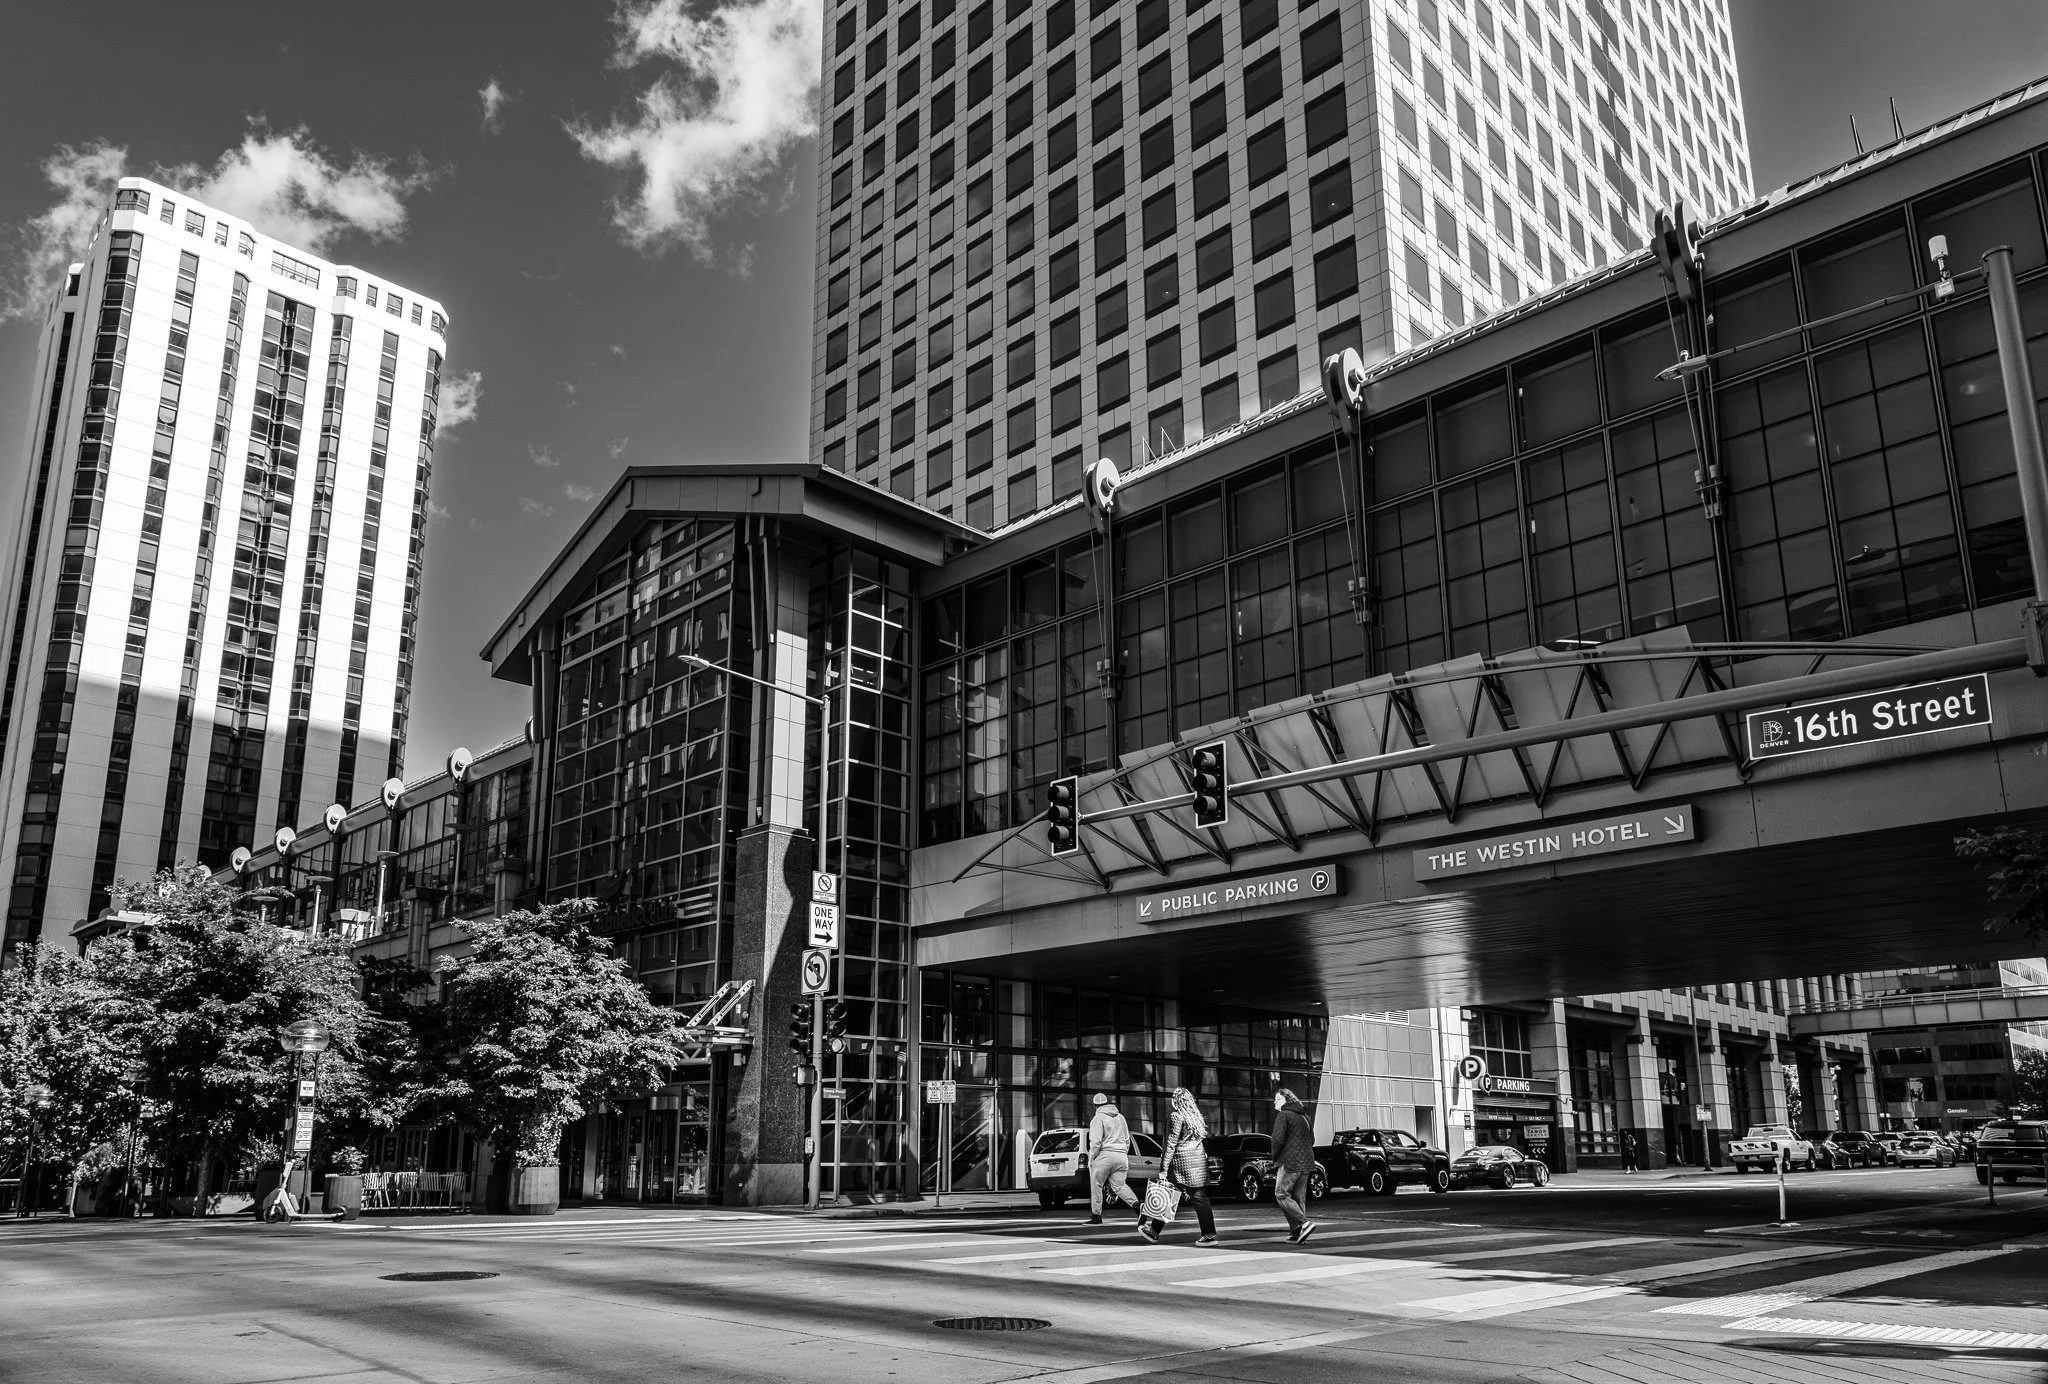
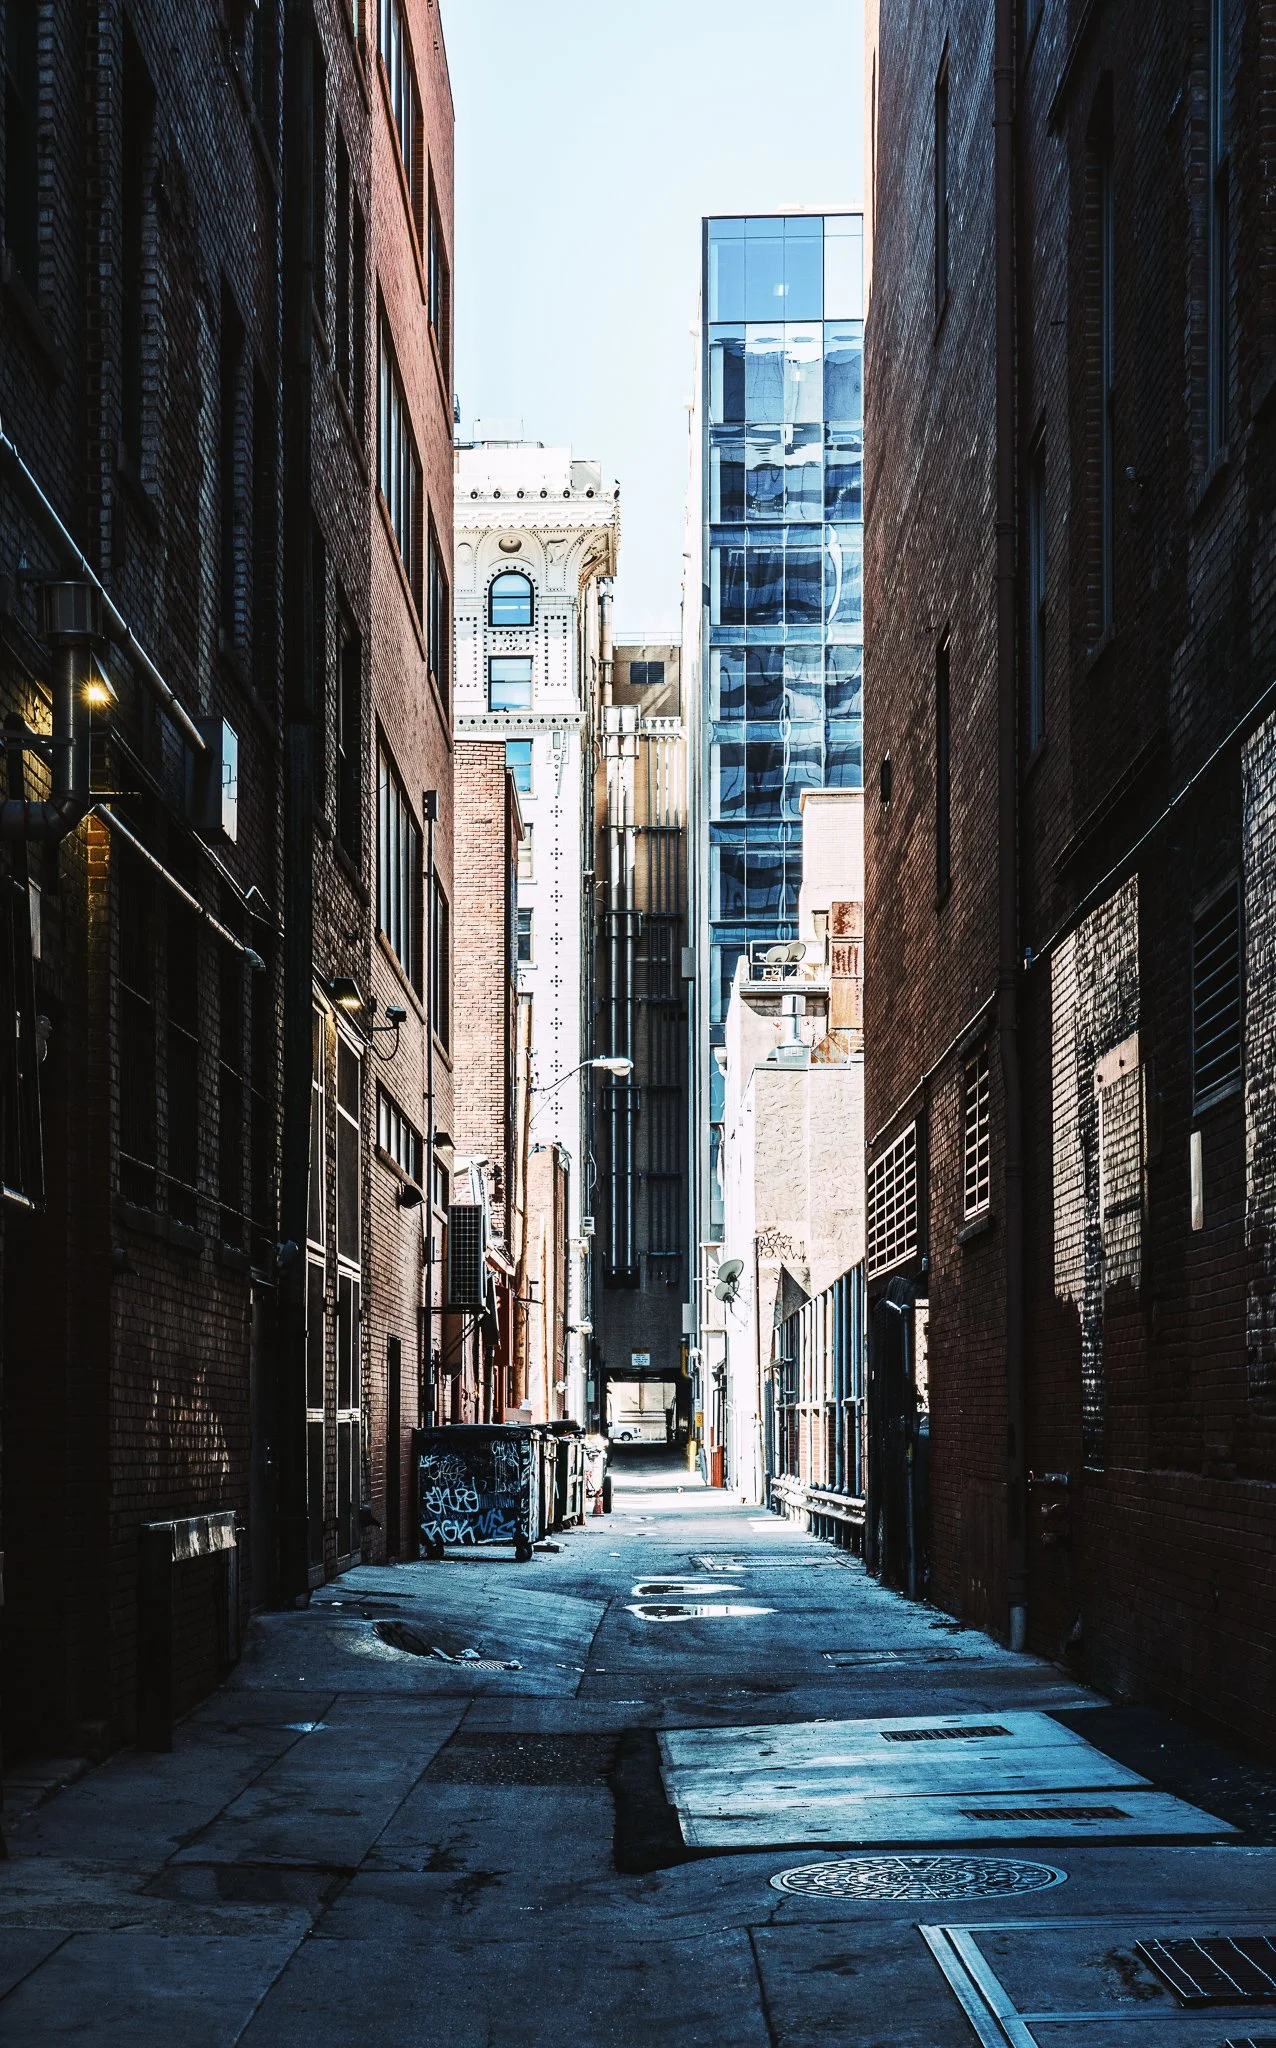


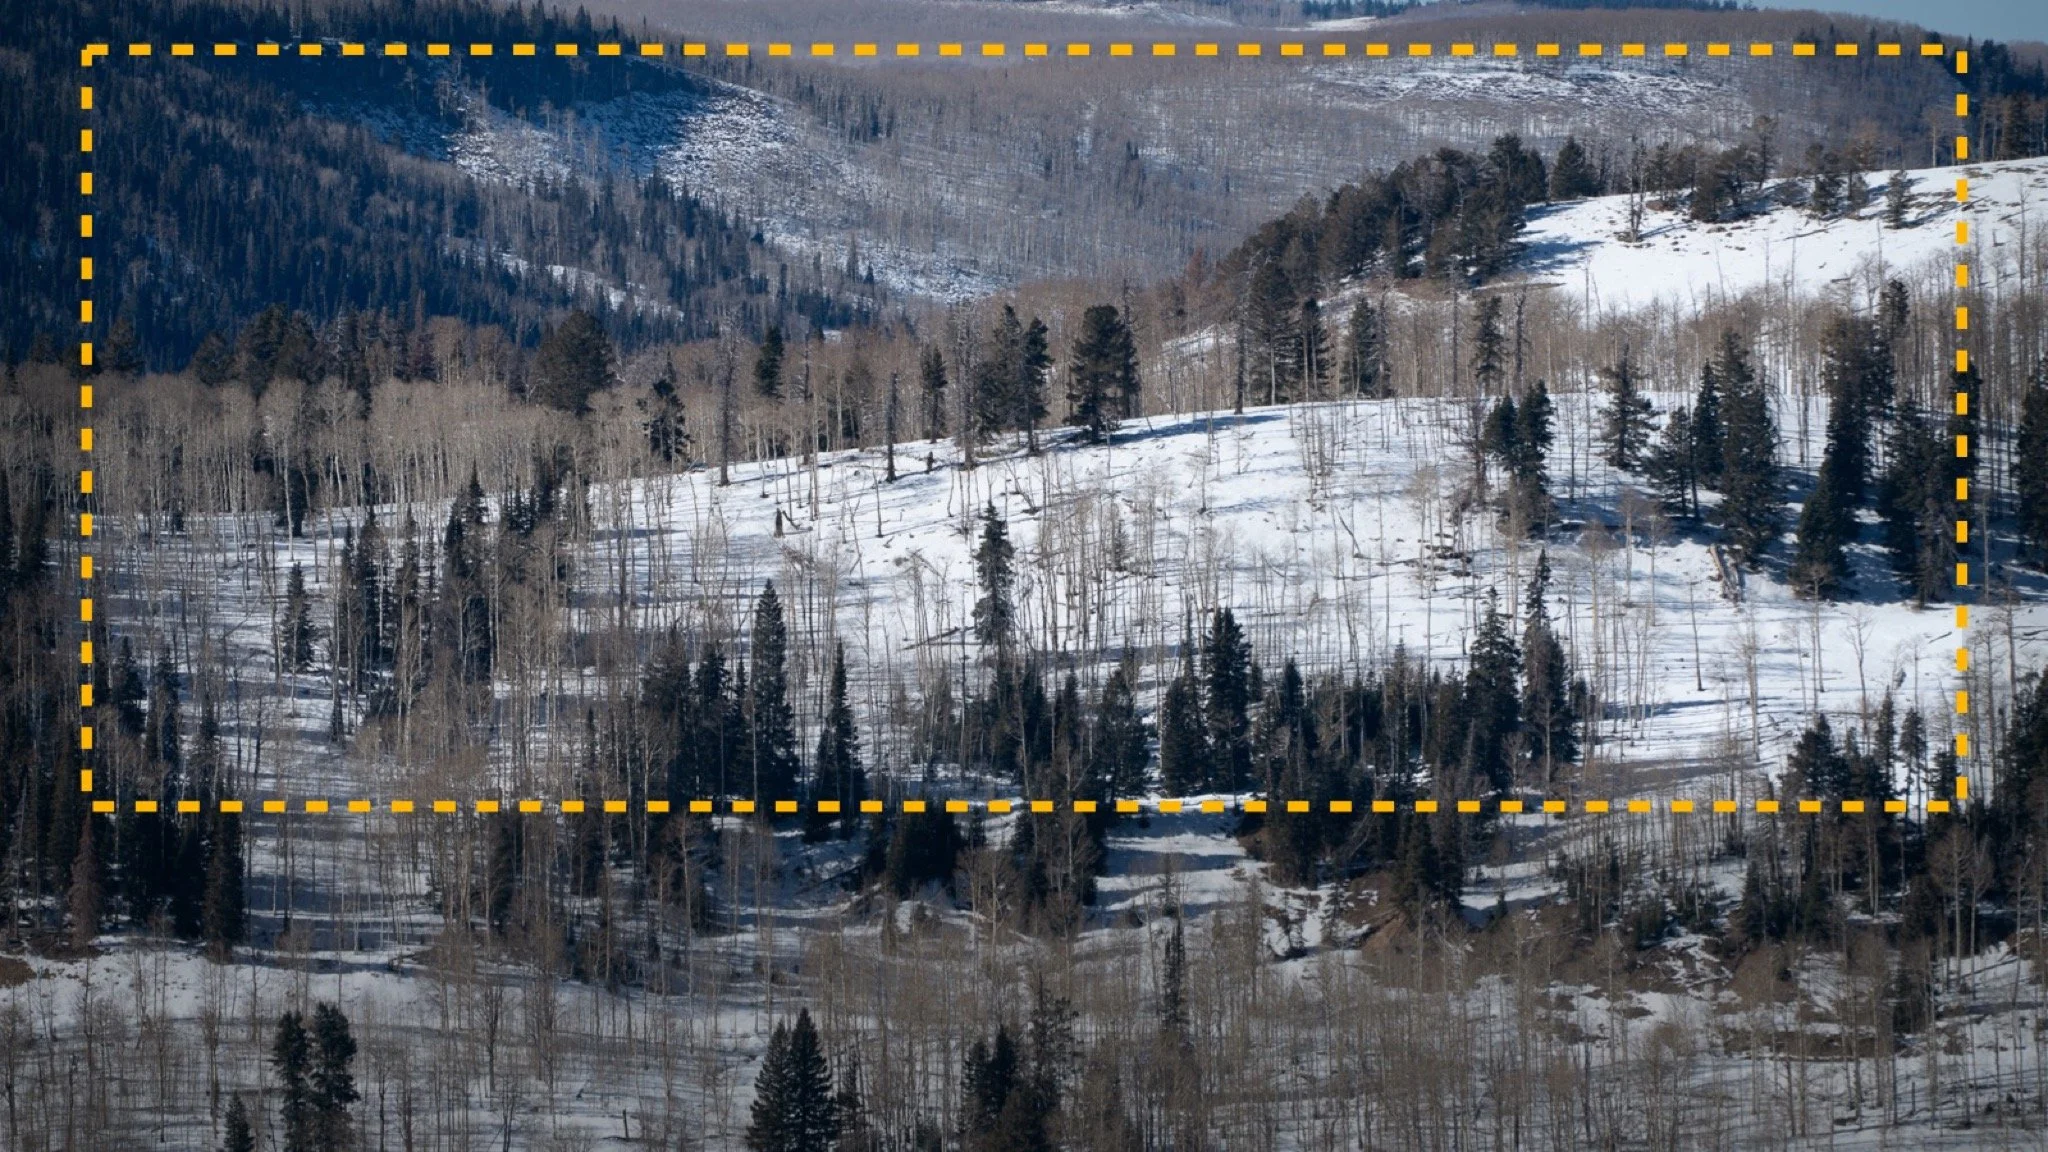
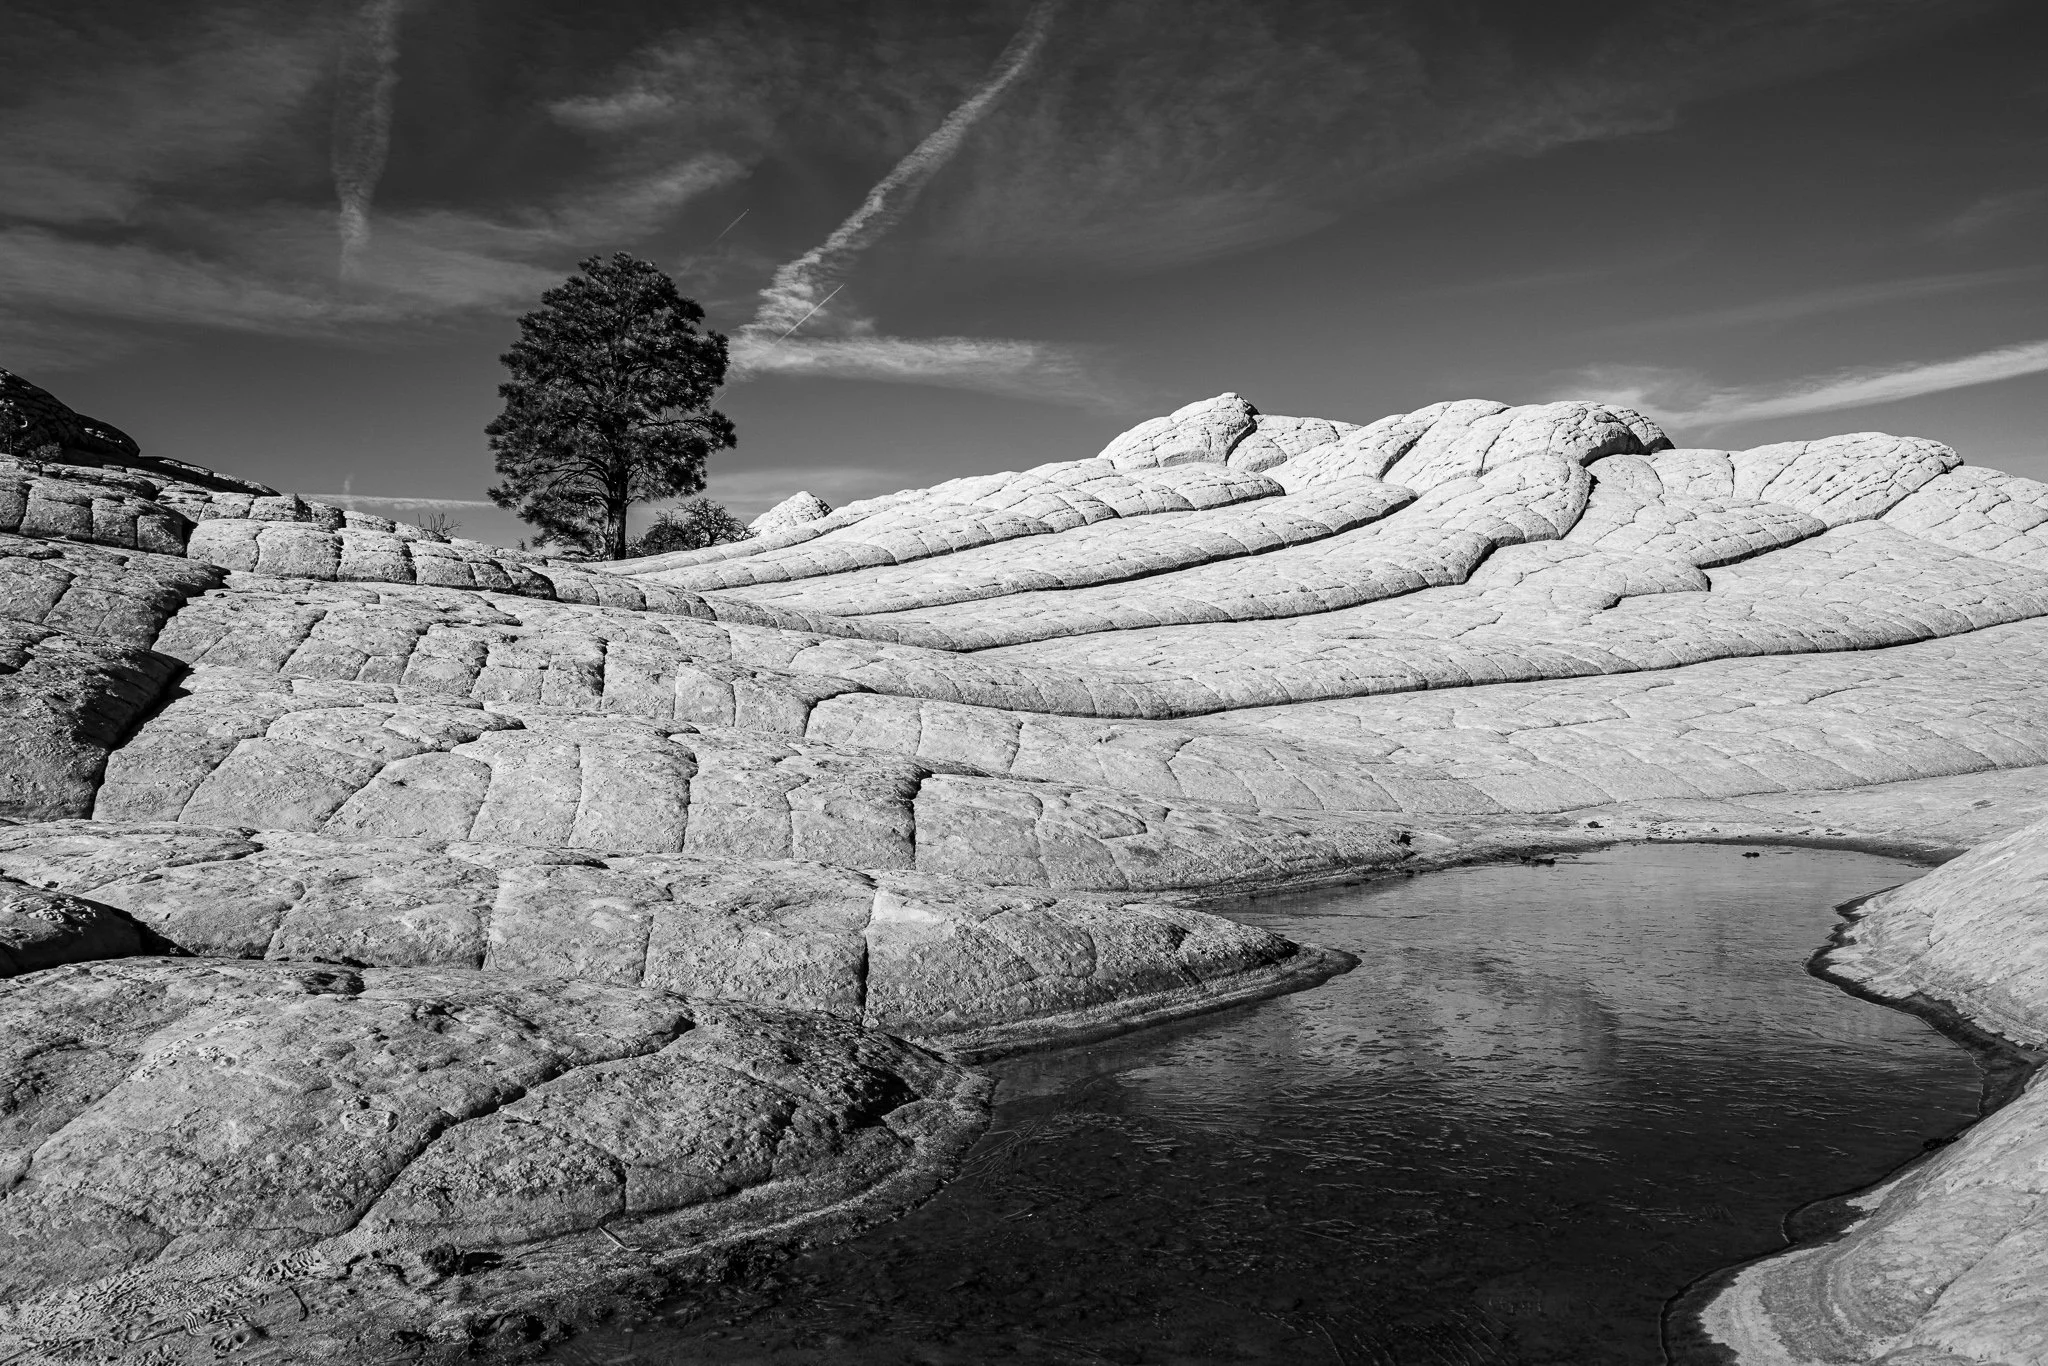


A vignette can help guide the viewer toward your subject, but lowering exposure around the edges of a black and white photo can quickly bury important shadow detail.
In this quick tutorial, I’ll show you a more controlled approach using a radial gradient and the Whites or Highlights slider. You’ll still get that visual nudge toward the subject without making already-dark areas disappear.