
From Flat to Powerful: Editing A Backlit Tree Photo
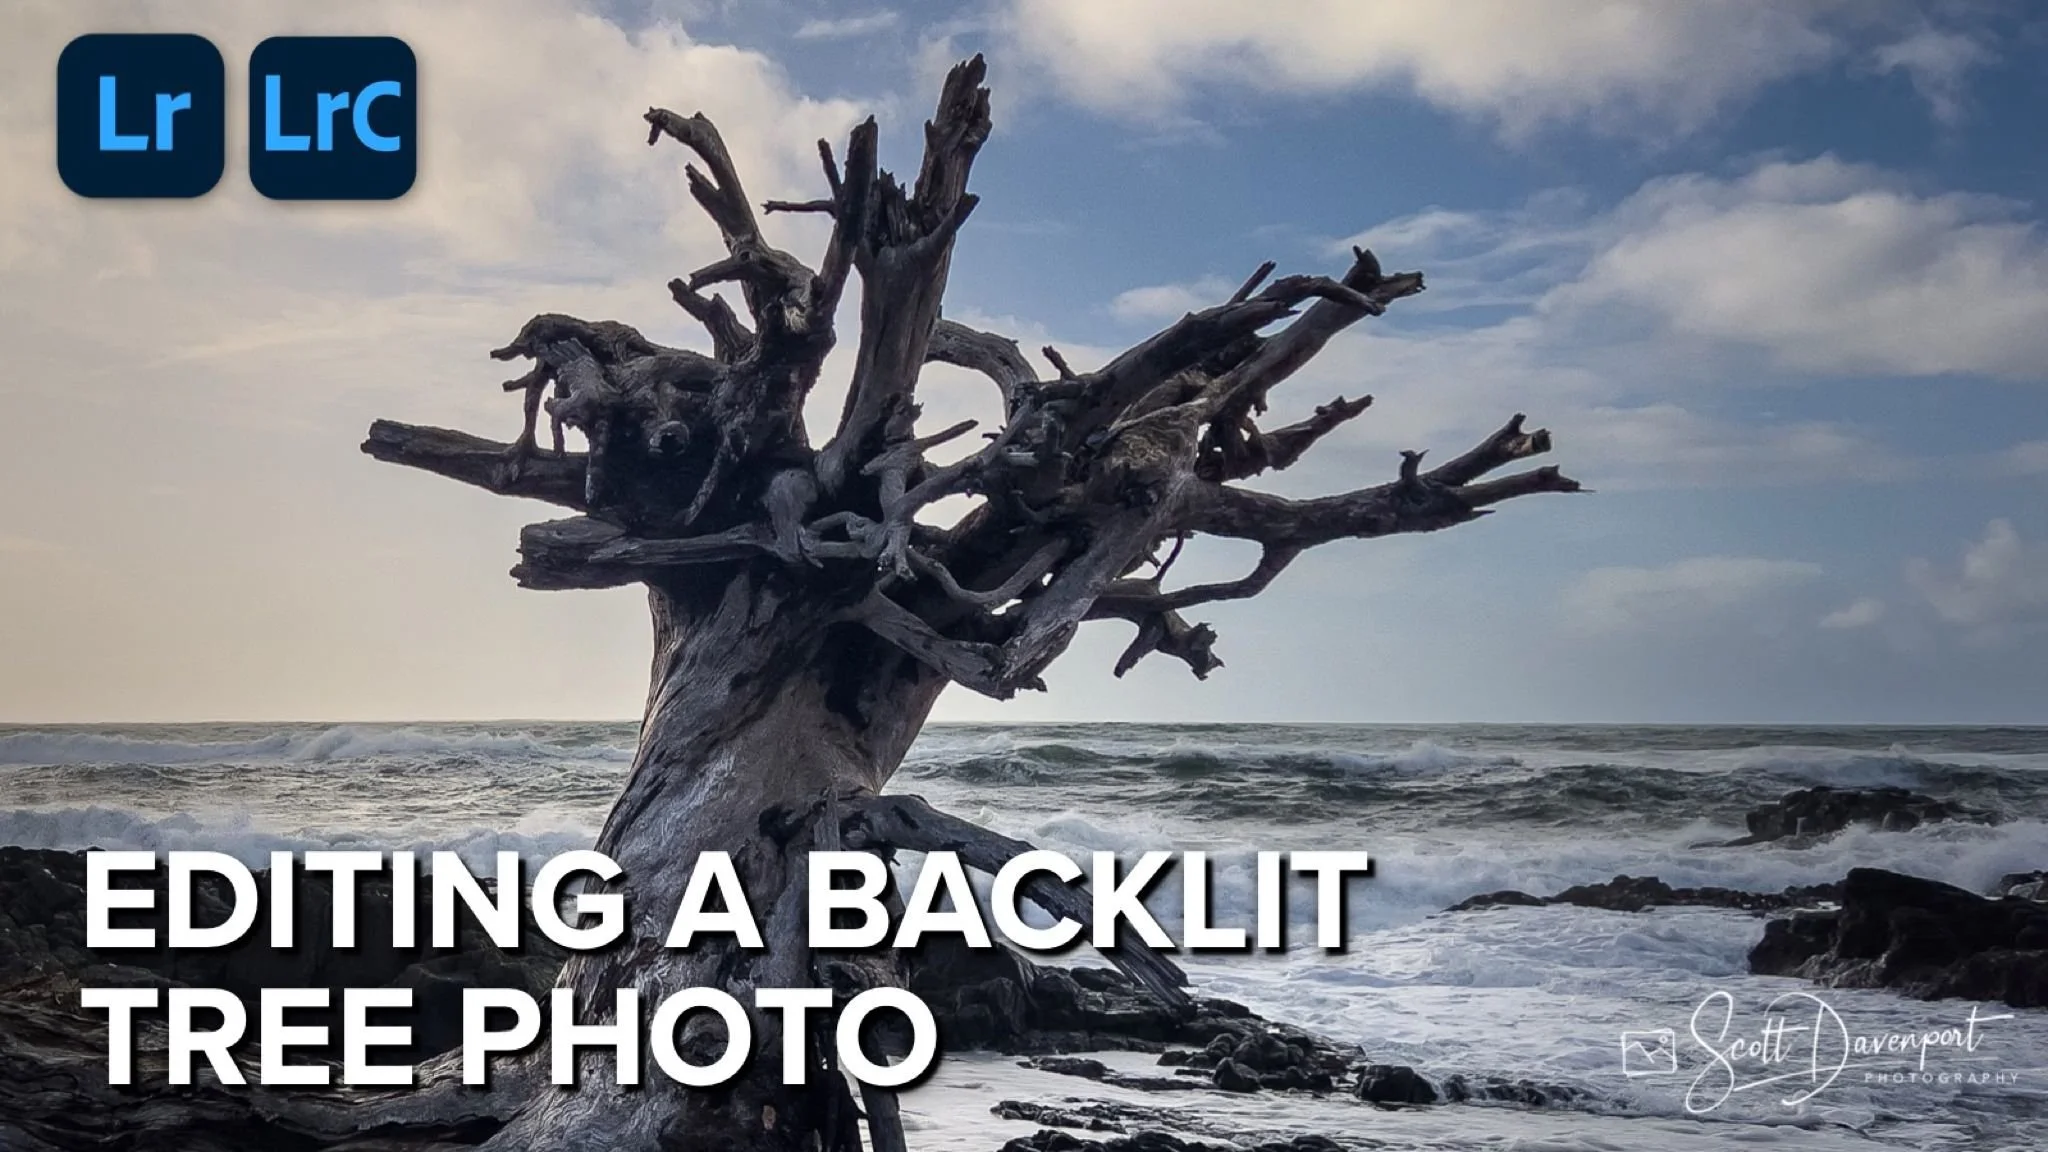
In this tutorial, I take you through a start-to-finish edit of a backlit photo of an old, gnarled tree. At first glance, the scene is interesting, but it doesn’t carry the weight and attention the tree deserves. That’s where shaping the light and shadow comes in. With careful, deliberate adjustments, I’ll show you how to guide the eye, add depth, and create drama—without straying from the story the photograph wants to tell.
The key to this transformation is knowing your masking tools and, more importantly, understanding why you want to brighten or darken certain areas. Every choice we make—whether lifting the shadows to reveal hidden detail or deepening them to add mood—serves the larger vision. Follow along and see how selective adjustments can take a photo from ordinary to powerful, revealing the character and presence of this old tree in a way that truly connects with your viewer.
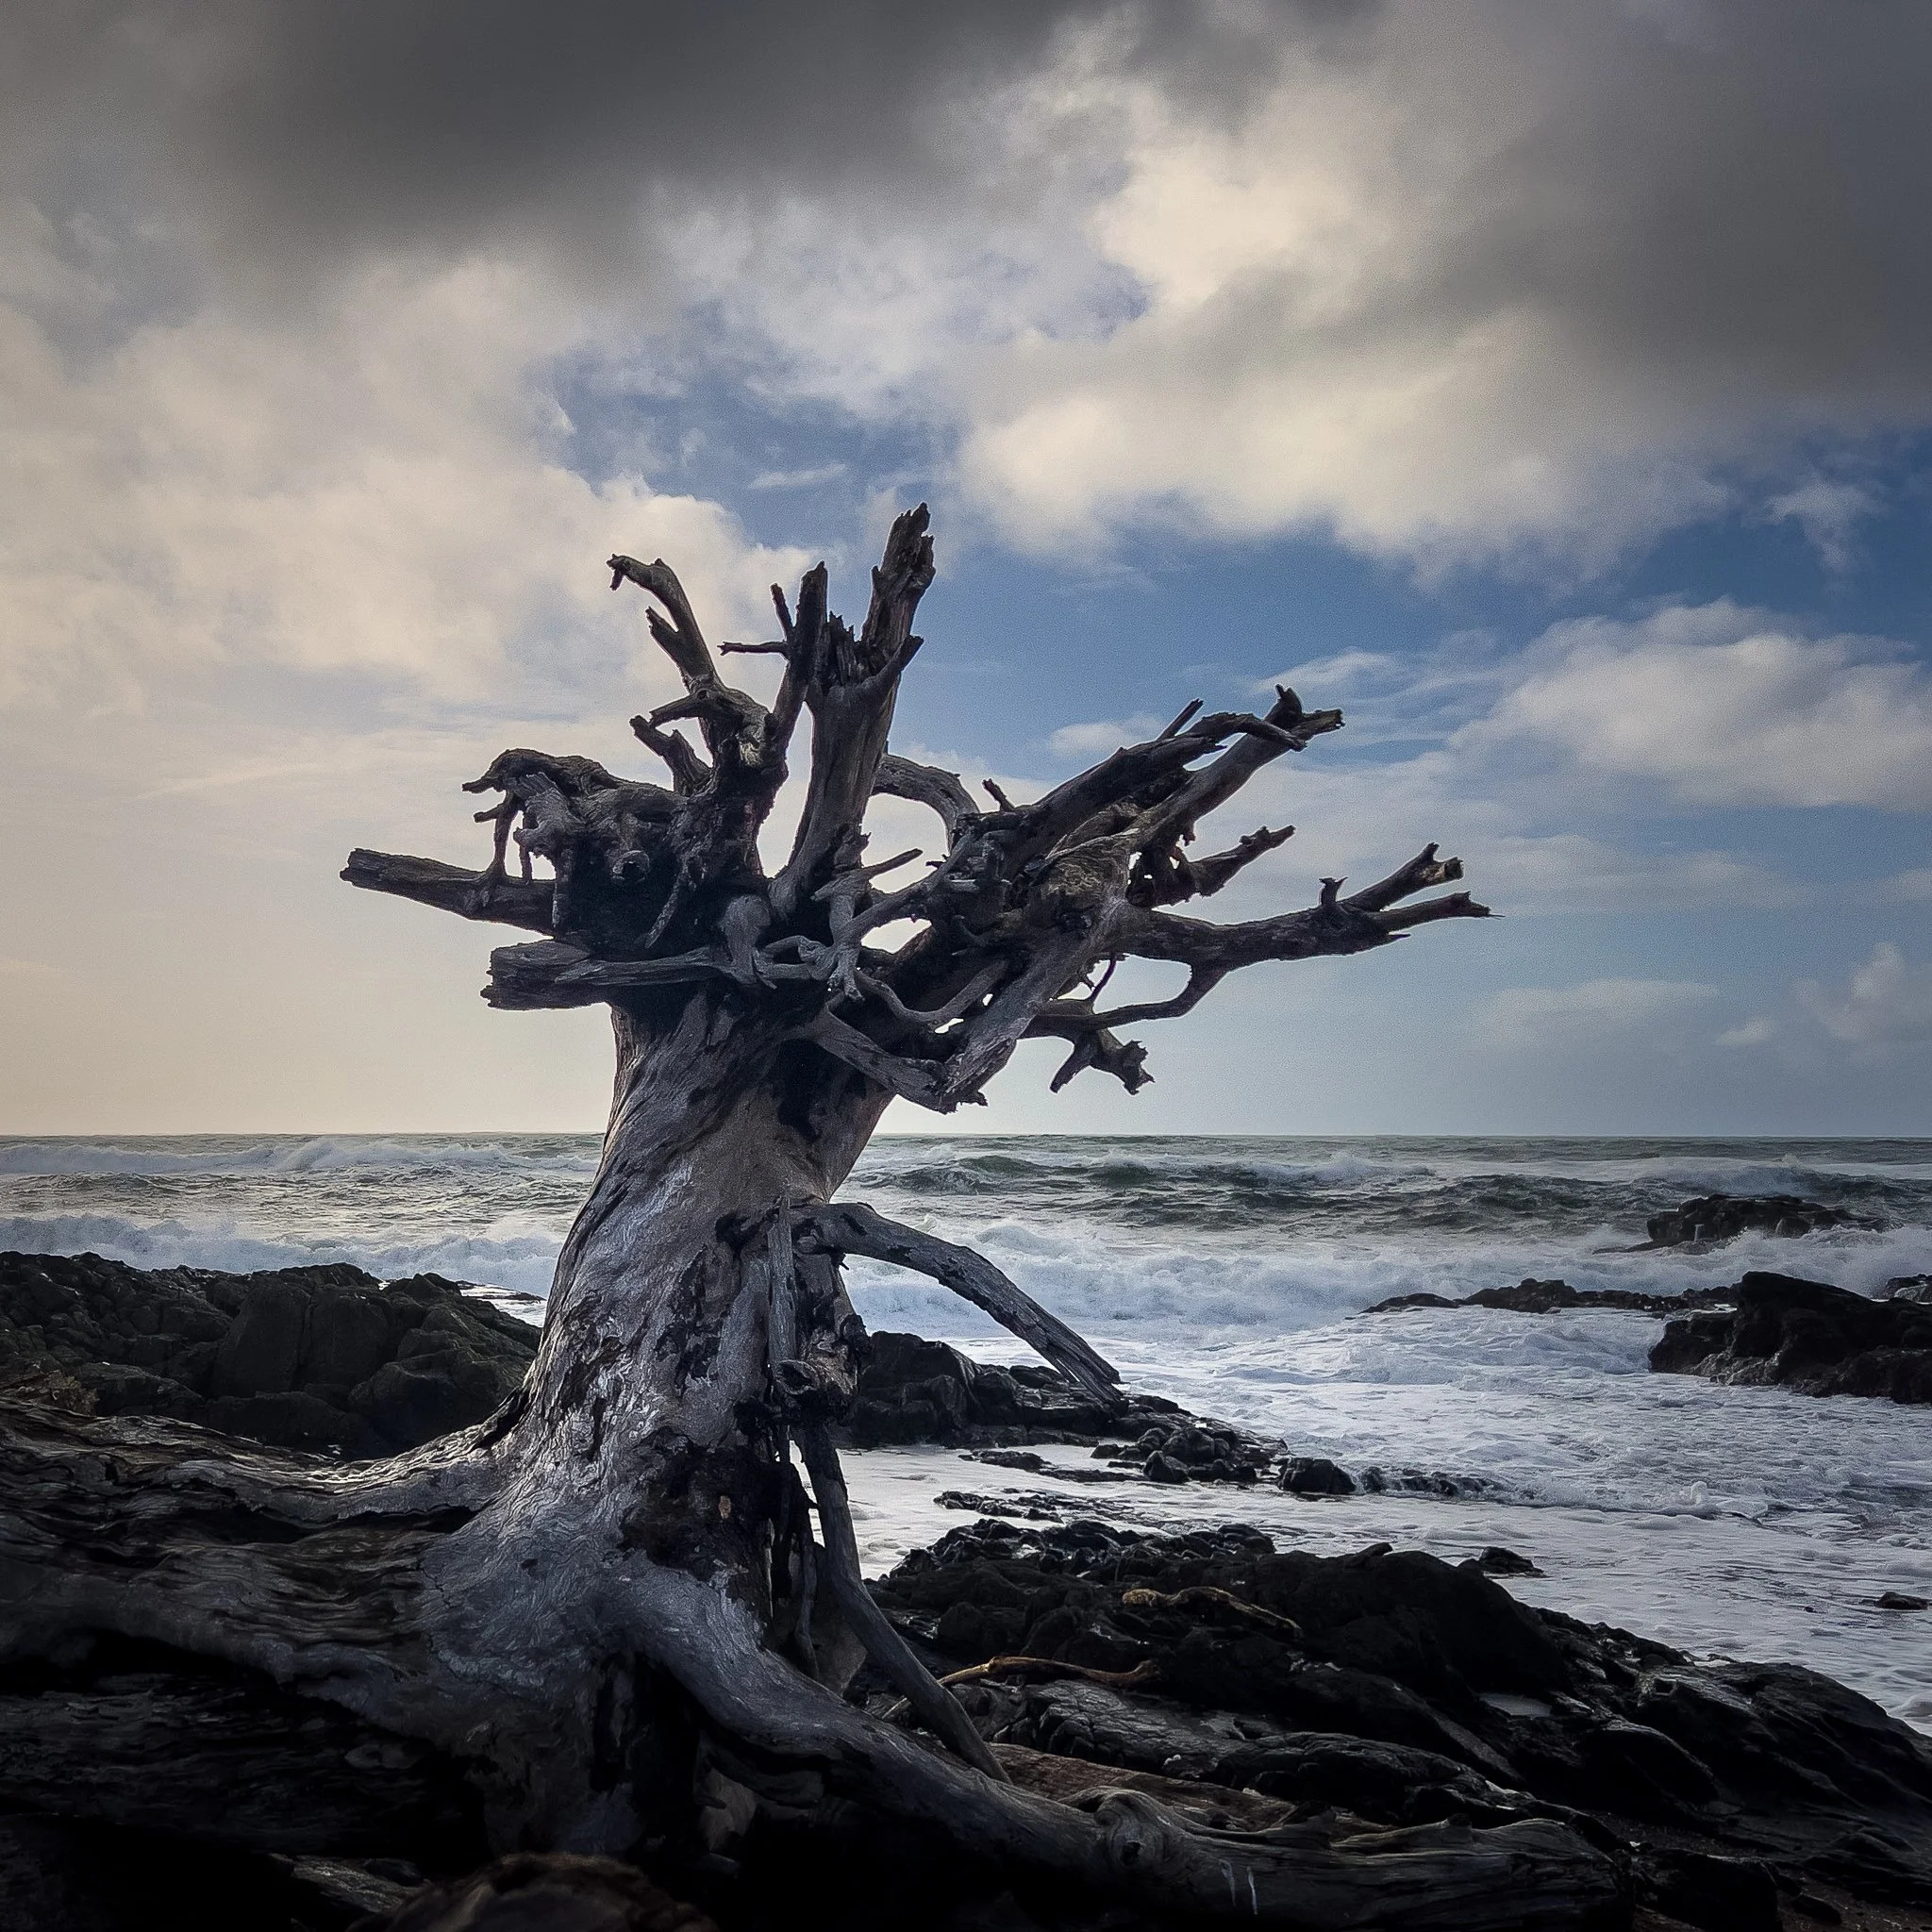
Uprooted, Yachats, Oregon
Contact Scott to commission a print or license this image.







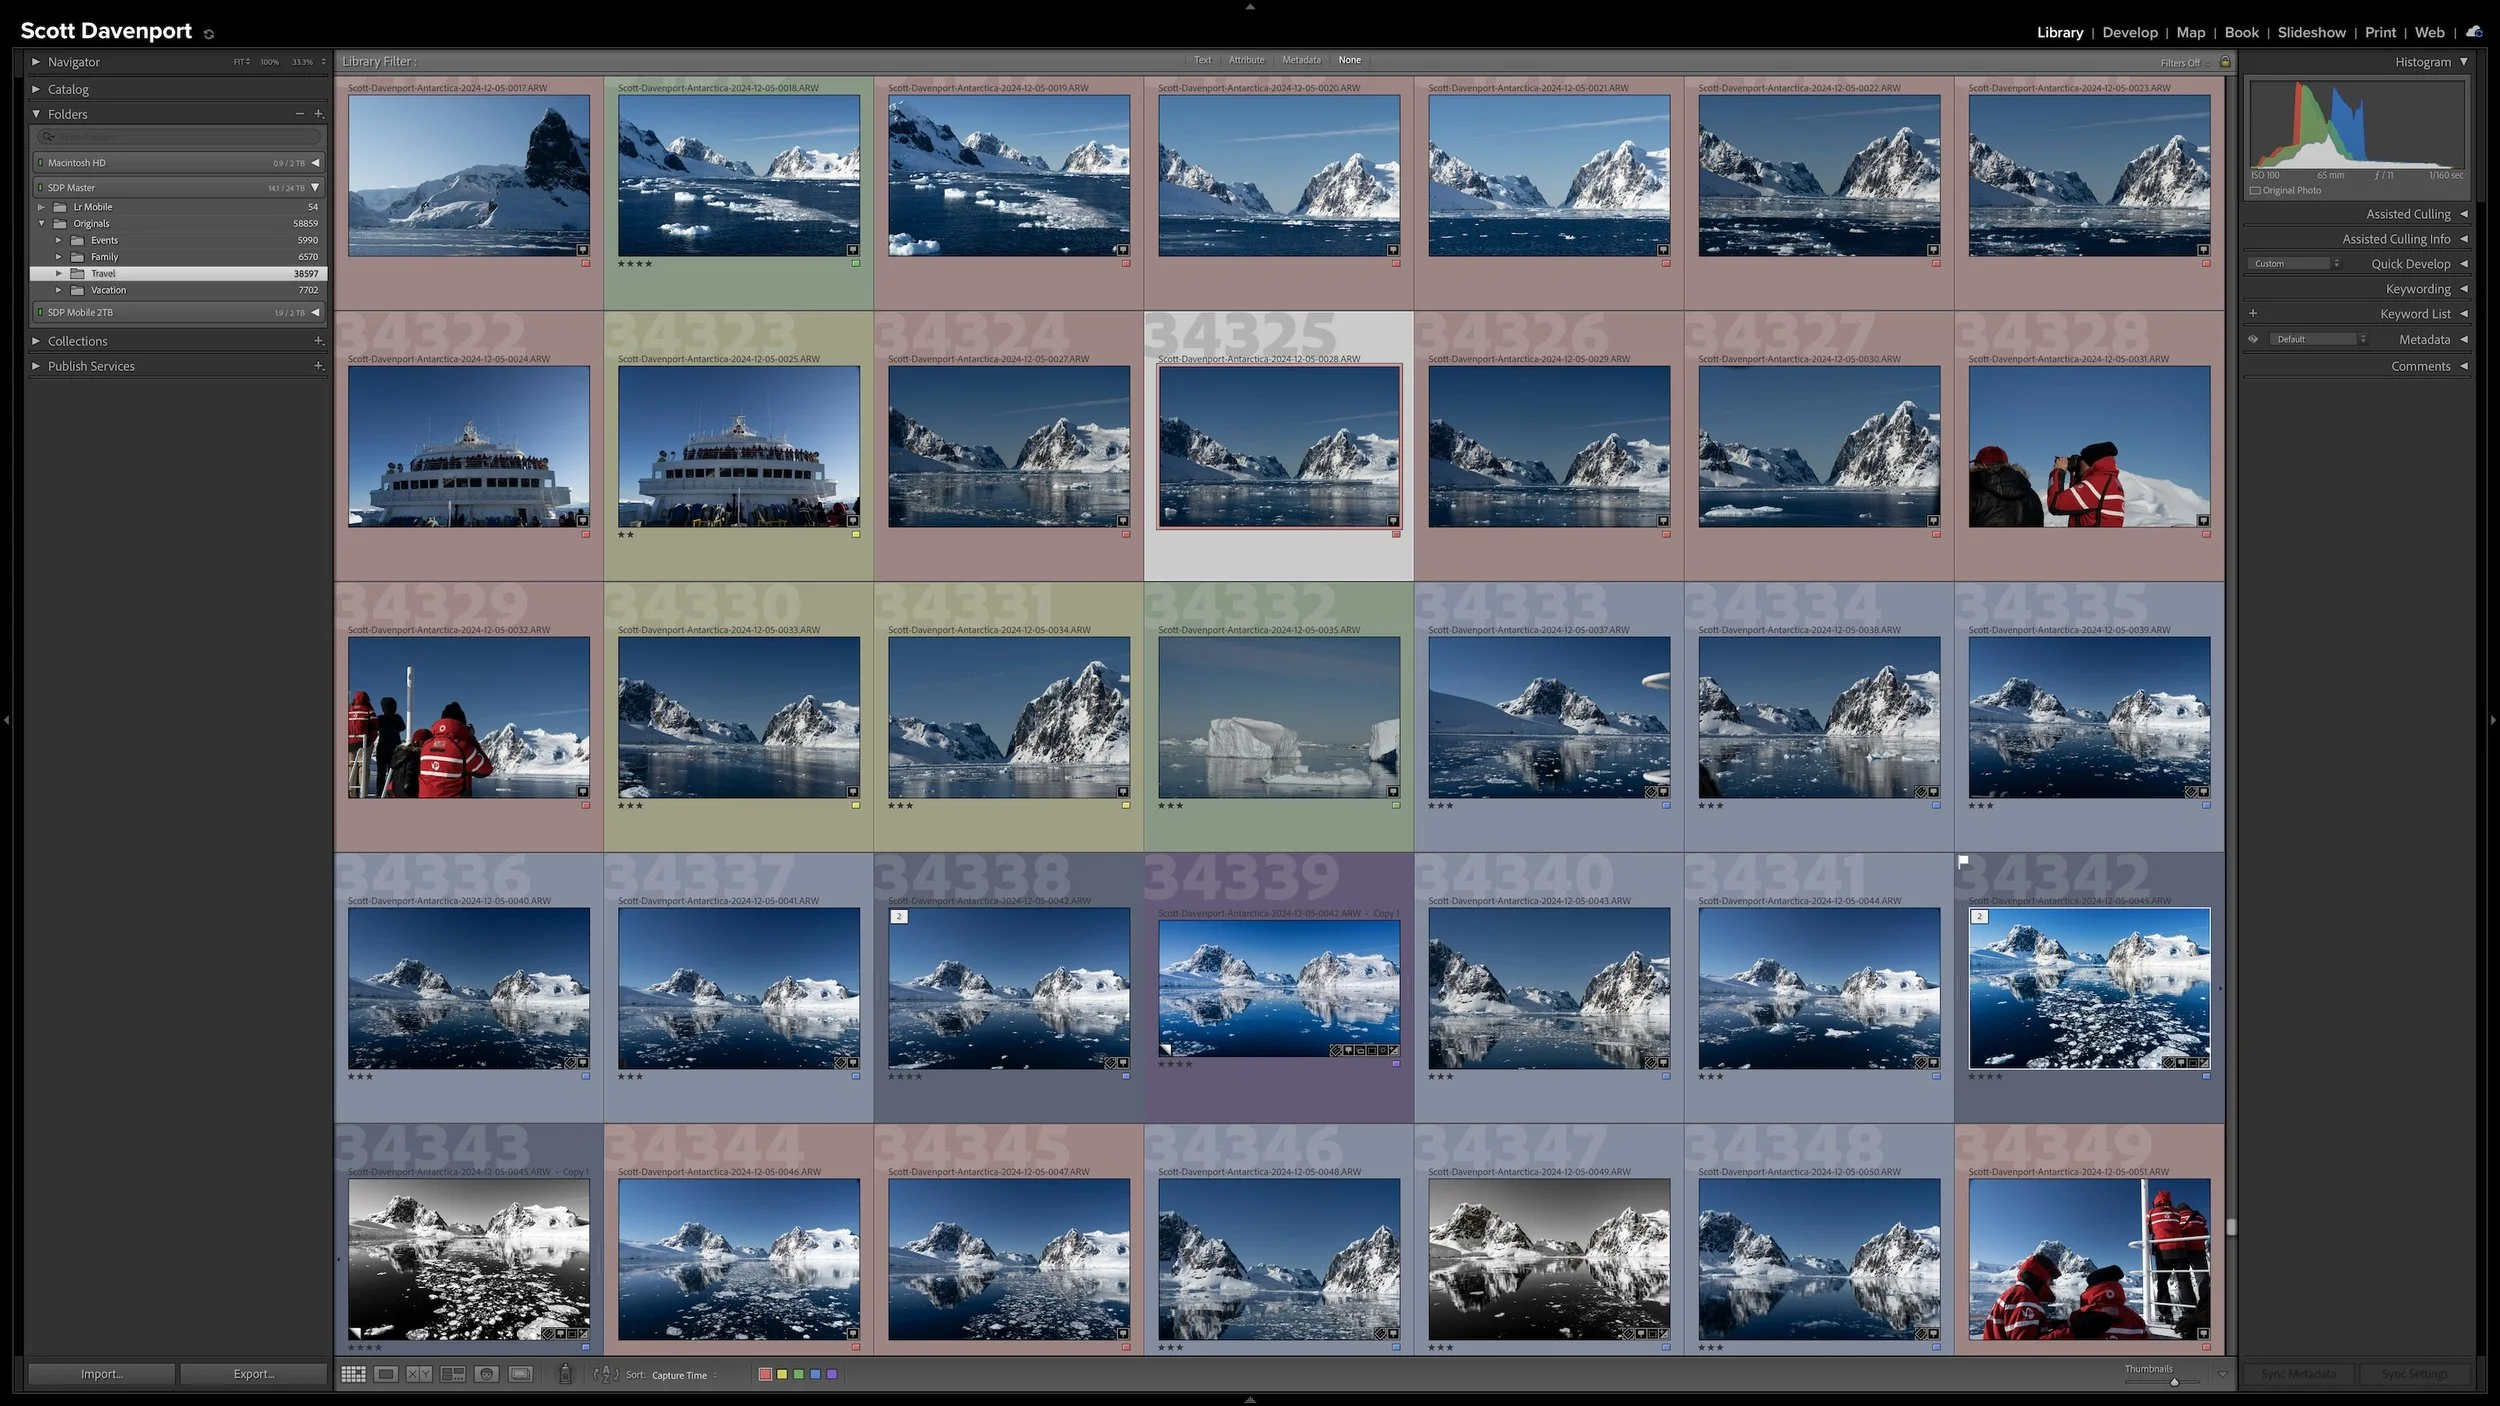
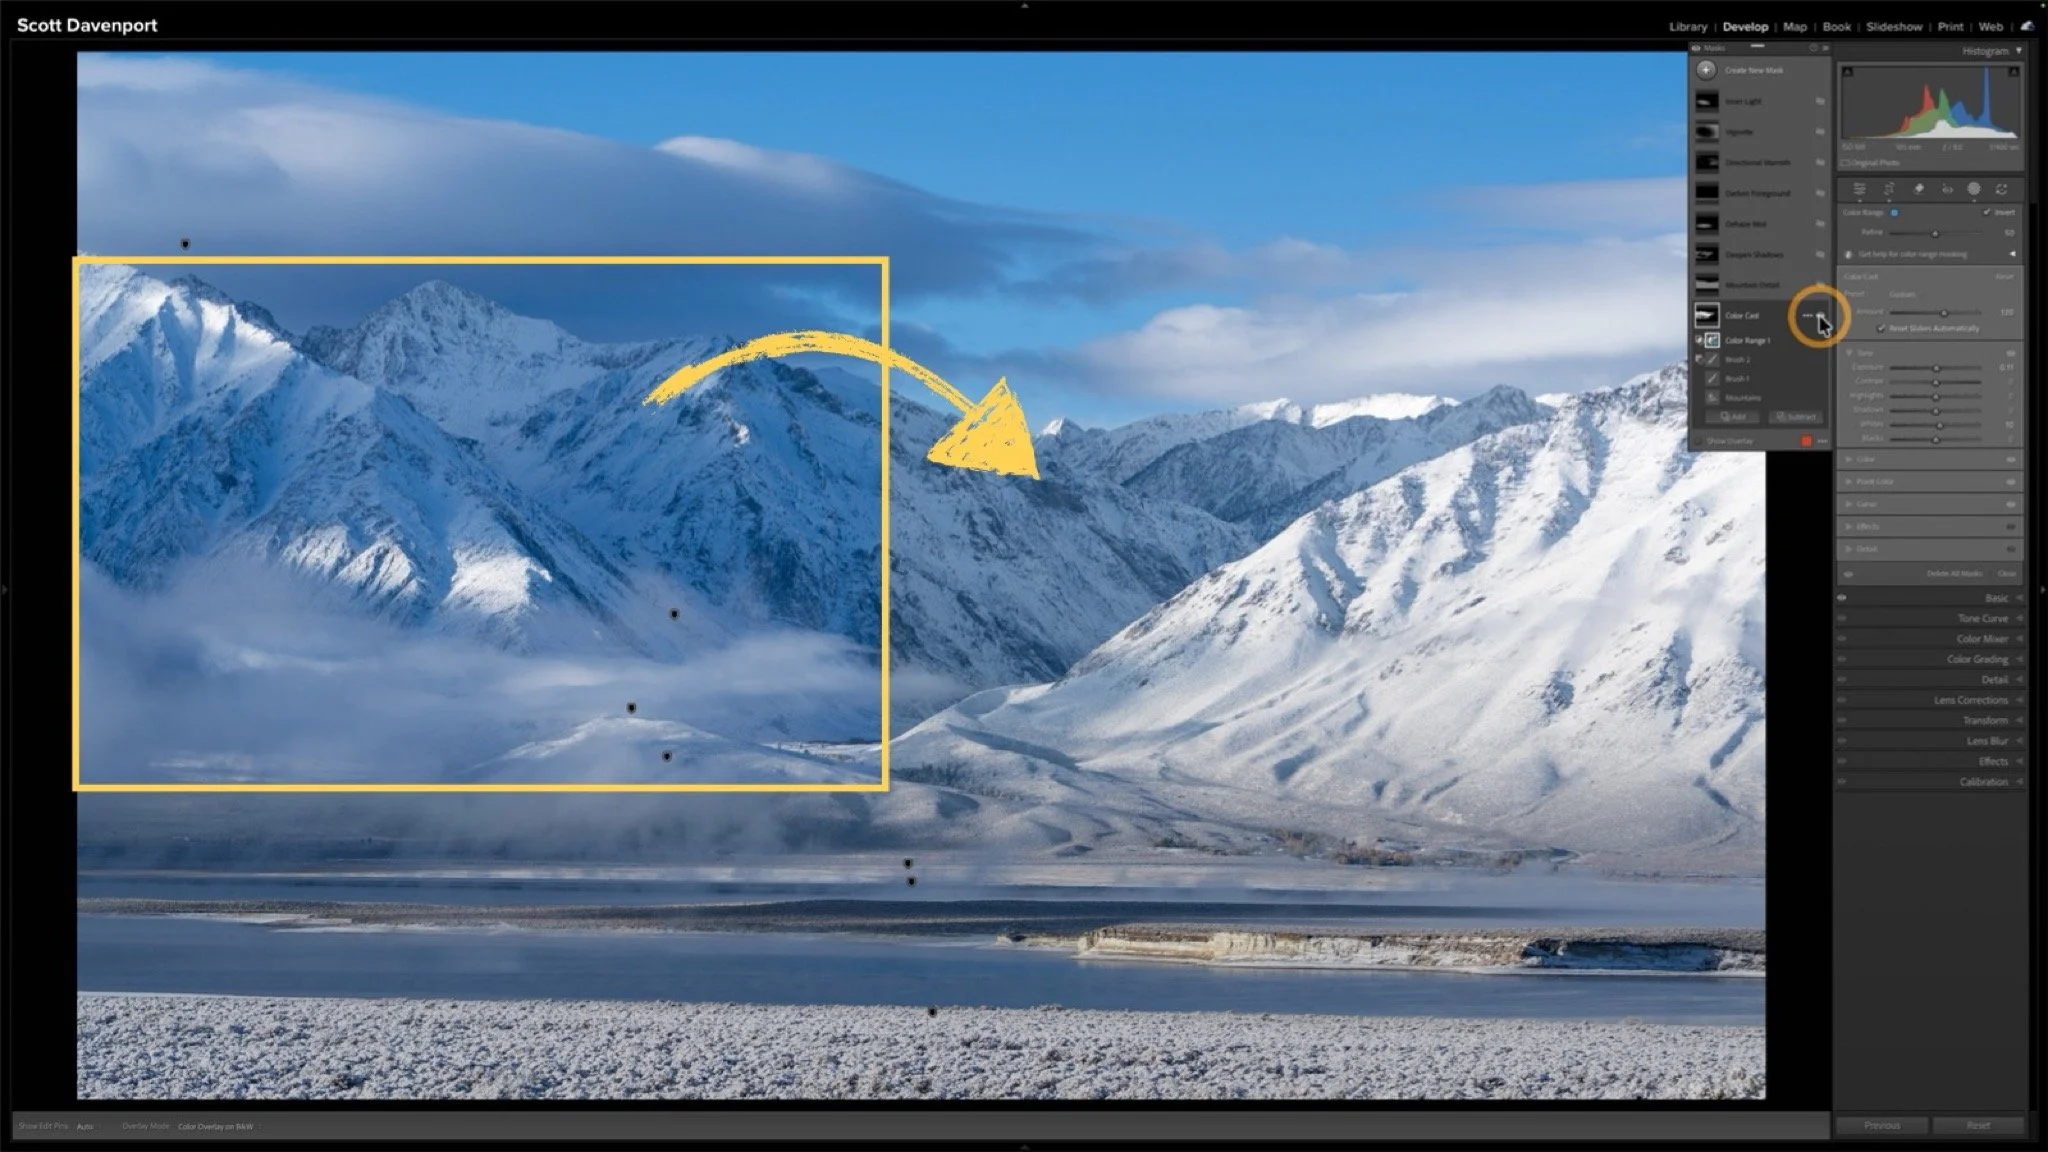

Lightroom Classic's Import dialog presents plenty of choices, but one of the most important decisions is straightforward: where are your photos now, and where do you want the original files to live after the import?
Copy, Move, and Add each handle the original files differently. Once you understand what happens to the physical files and what happens in the Lightroom catalog, choosing the right import method becomes much easier.