
How to Blend Multiple Landscape Photos in Photoshop
Sometimes the landscape gives you the composition you want, but not every moving element cooperates at the same moment.
This happens often with seascapes. The wave action may look perfect in the foreground while the water farther into the scene feels too busy. A few seconds later, the midground improves, but the foreground loses its energy. You can keep waiting for everything to align in one exposure, but nature may never provide that exact combination.
When I’m committed to a composition, I take another approach: keep the camera in place and capture several frames. Back at the computer, I can select the strongest photograph as my foundation and blend in a few carefully chosen elements from the others.
The Best Moment May Be Several Moments
A landscape photograph does not always need to come from one decisive exposure. When parts of the scene move independently, each part follows its own rhythm.
In a seascape, a wave crossing the foreground might last only a second. The water around a midground rock may take several more seconds to reach the shape you want. Meanwhile, the wet sand along the edge of the frame is changing with every wave.
Waiting for all of those elements to peak simultaneously can become an exercise in frustration. Rather than relying on one perfect instant, capture a sequence while keeping the composition fixed. This gives you several interpretations of the same scene without changing the underlying structure of the photograph.
The important thing is to make this decision in the field. If the camera moves significantly between frames, blending becomes more difficult. If you remain committed to the composition and collect several exposures, the pieces are much easier to combine later.
Start With the Strongest Base Photo
The first step in building the composite is not opening Photoshop. It is choosing the photograph that already contains most of what you want. I call this the base image. It establishes the composition and supplies the majority of the finished photograph. The additional frames are there to solve specific problems, not replace everything.
For my seascape, the base photo had the best overall balance of water throughout the scene. The midground rocks had enough wave coverage to connect them to the ocean, but they were not completely submerged. The foreground platform was also separated nicely from the rock beyond it.
Most of the photograph was already working. The left side simply lacked some character, and the water crossing the foreground rock was less interesting than it was in another exposure.
That is a much better starting point than trying to assemble a photograph from several equally important pieces. When the base image does most of the work, the composite remains simple and the final result stays visually coherent.
Give Every Additional Frame One Job
After choosing the base image, look through the remaining frames with a very specific question: What does this photograph contribute that the base does not?
One alternate frame had a better sandbar in the upper-left portion of the scene. As the water receded, it created a more interesting pattern of wet and drier sand, along with a stronger interplay of light and shadow. That was the only part I wanted from that photograph.
Another frame captured a wave washing over the foreground platform. The extra wisps and streaks of water added movement, but the rest of the scene was too busy. Again, I needed only one small area.
Thinking this way keeps the composite under control. Each added photograph should have a clear purpose:
The base provides the overall photograph.
One frame improves the sandbar.
Another adds movement to the foreground.
You are not searching for reasons to use every image. You are identifying the smallest useful contribution from each one.
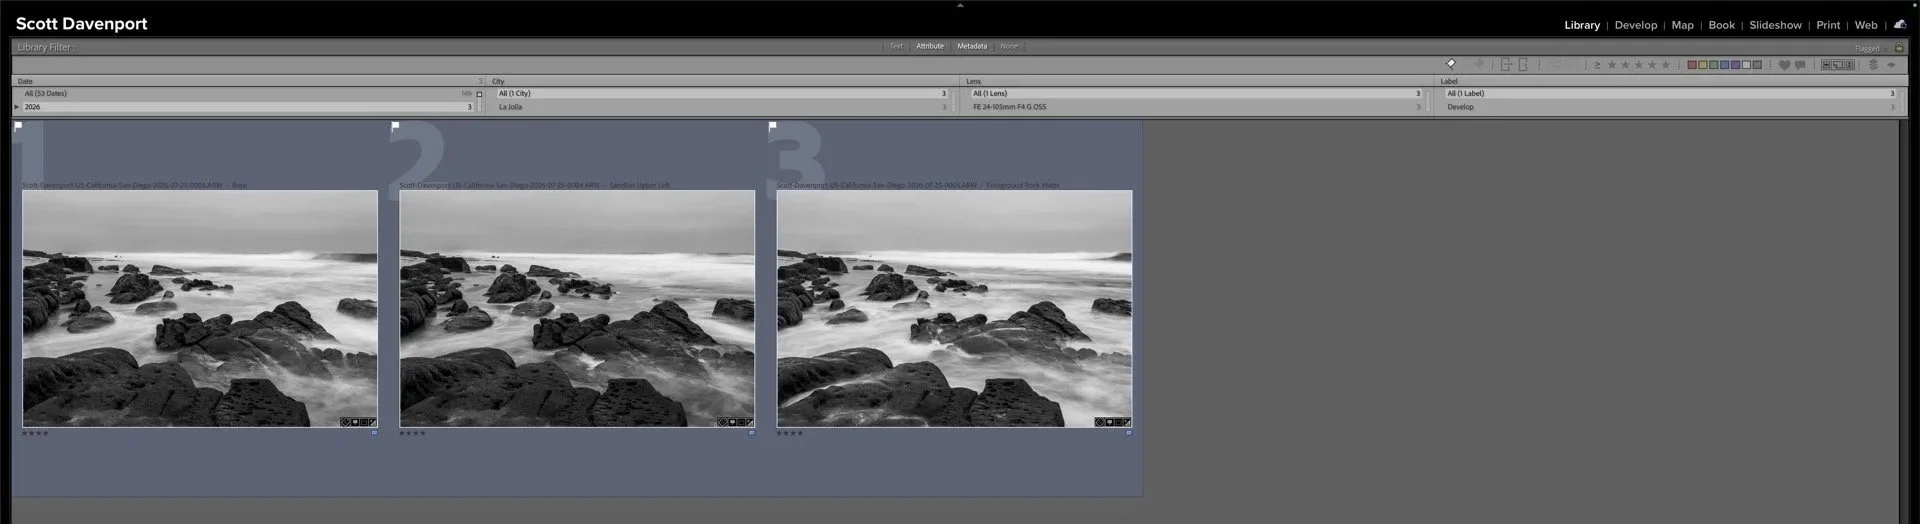
Image 1 is my base image and has most of what I want for the final composite. The sandbar in the upper left of Image 2 is a more interesting mix of rock, sand, and surf. Finally, the whitewash on the foreground rock in Image 3 rounds out the composite.
Reveal What You Need Instead of Hiding What You Don’t
I brought the three photographs from Lightroom into Photoshop as layers. I used Smart Objects because I prefer to preserve the option of returning to Camera Raw if I notice something that needs adjustment. Smart Objects are not required for this technique, but they keep the workflow flexible.
I place the base image at the bottom of the layer stack. For each alternate frame, I add a layer mask and invert it so the entire layer begins hidden. Then I paint with white on the mask to reveal only the area I want.
Starting with a concealed layer fits the way I think about the composite. The base is already the photograph. I am not trying to remove most of an alternate exposure until it happens to fit. I am deliberately introducing one useful element at a time.
You can arrange the layers in the opposite direction and mask downward if that feels more natural. There is no technical requirement to work my way. What matters is having a clear sense of which image is the foundation and what each additional layer contributes.
Open the images as layers in Photoshop and arrange them in the layer stack.
Let Stable Elements Make the Masking Easier
The masking in this type of composite can be surprisingly forgiving.
For the sandbar, I used a soft brush to reveal the stronger patterns of wet sand and water. Around the transition, I switched between painting and erasing portions of the mask until the flow looked natural. This is where some finesse helps, but the mask does not need to be exceptionally complex.
The foreground water was even easier. The rock beneath it did not move between exposures, so I could brush in the water rather loosely. The stable rock provided the underlying alignment while the moving water blended naturally into the scene.
That is one reason this technique works especially well when the camera remains fixed. Rocks, cliffs, shorelines, and other stationary features act as anchors. You can blend the changing water, clouds, foliage, or light around them without having to rebuild the structure of the photograph.
Pay attention to the natural boundaries in the scene. A rock edge, wave crest, channel, or transition between wet and dry sand can often provide a convenient place to blend two exposures.
Keep the Composite Flexible
Once the pieces are blended, I create a stamped layer containing the visible result rather than permanently merging everything. This gives me a new composite layer for further adjustments while preserving the original images and masks beneath it.
A non-destructive workflow is useful because small problems may become noticeable later. Perhaps a transition needs more refinement, or too much of one frame was revealed. Keeping the component layers intact means I can return to the mask and fix the problem without rebuilding the composite.
This also removes some of the pressure to make every brushstroke perfect on the first attempt. You can work gradually, assess the full image, and adjust the blend as needed.
Revealing (paint in) the areas of the upper layers to create the composite.
Final Thoughts
The larger lesson is not simply how to combine layers in Photoshop. It is recognizing when different parts of a landscape are moving on different timescales.
When you find a strong composition, stay with it. Capture several frames as the water, clouds, light, or other changing elements move through the scene. You may not get every piece you want in a single exposure, but you can give yourself the raw material to build a more complete interpretation later.
Choose a base photograph that already contains most of the finished image. Give every additional frame one specific job, and reveal only what improves the composition. With that approach, compositing becomes less about complicated Photoshop work and more about making thoughtful photographic choices.







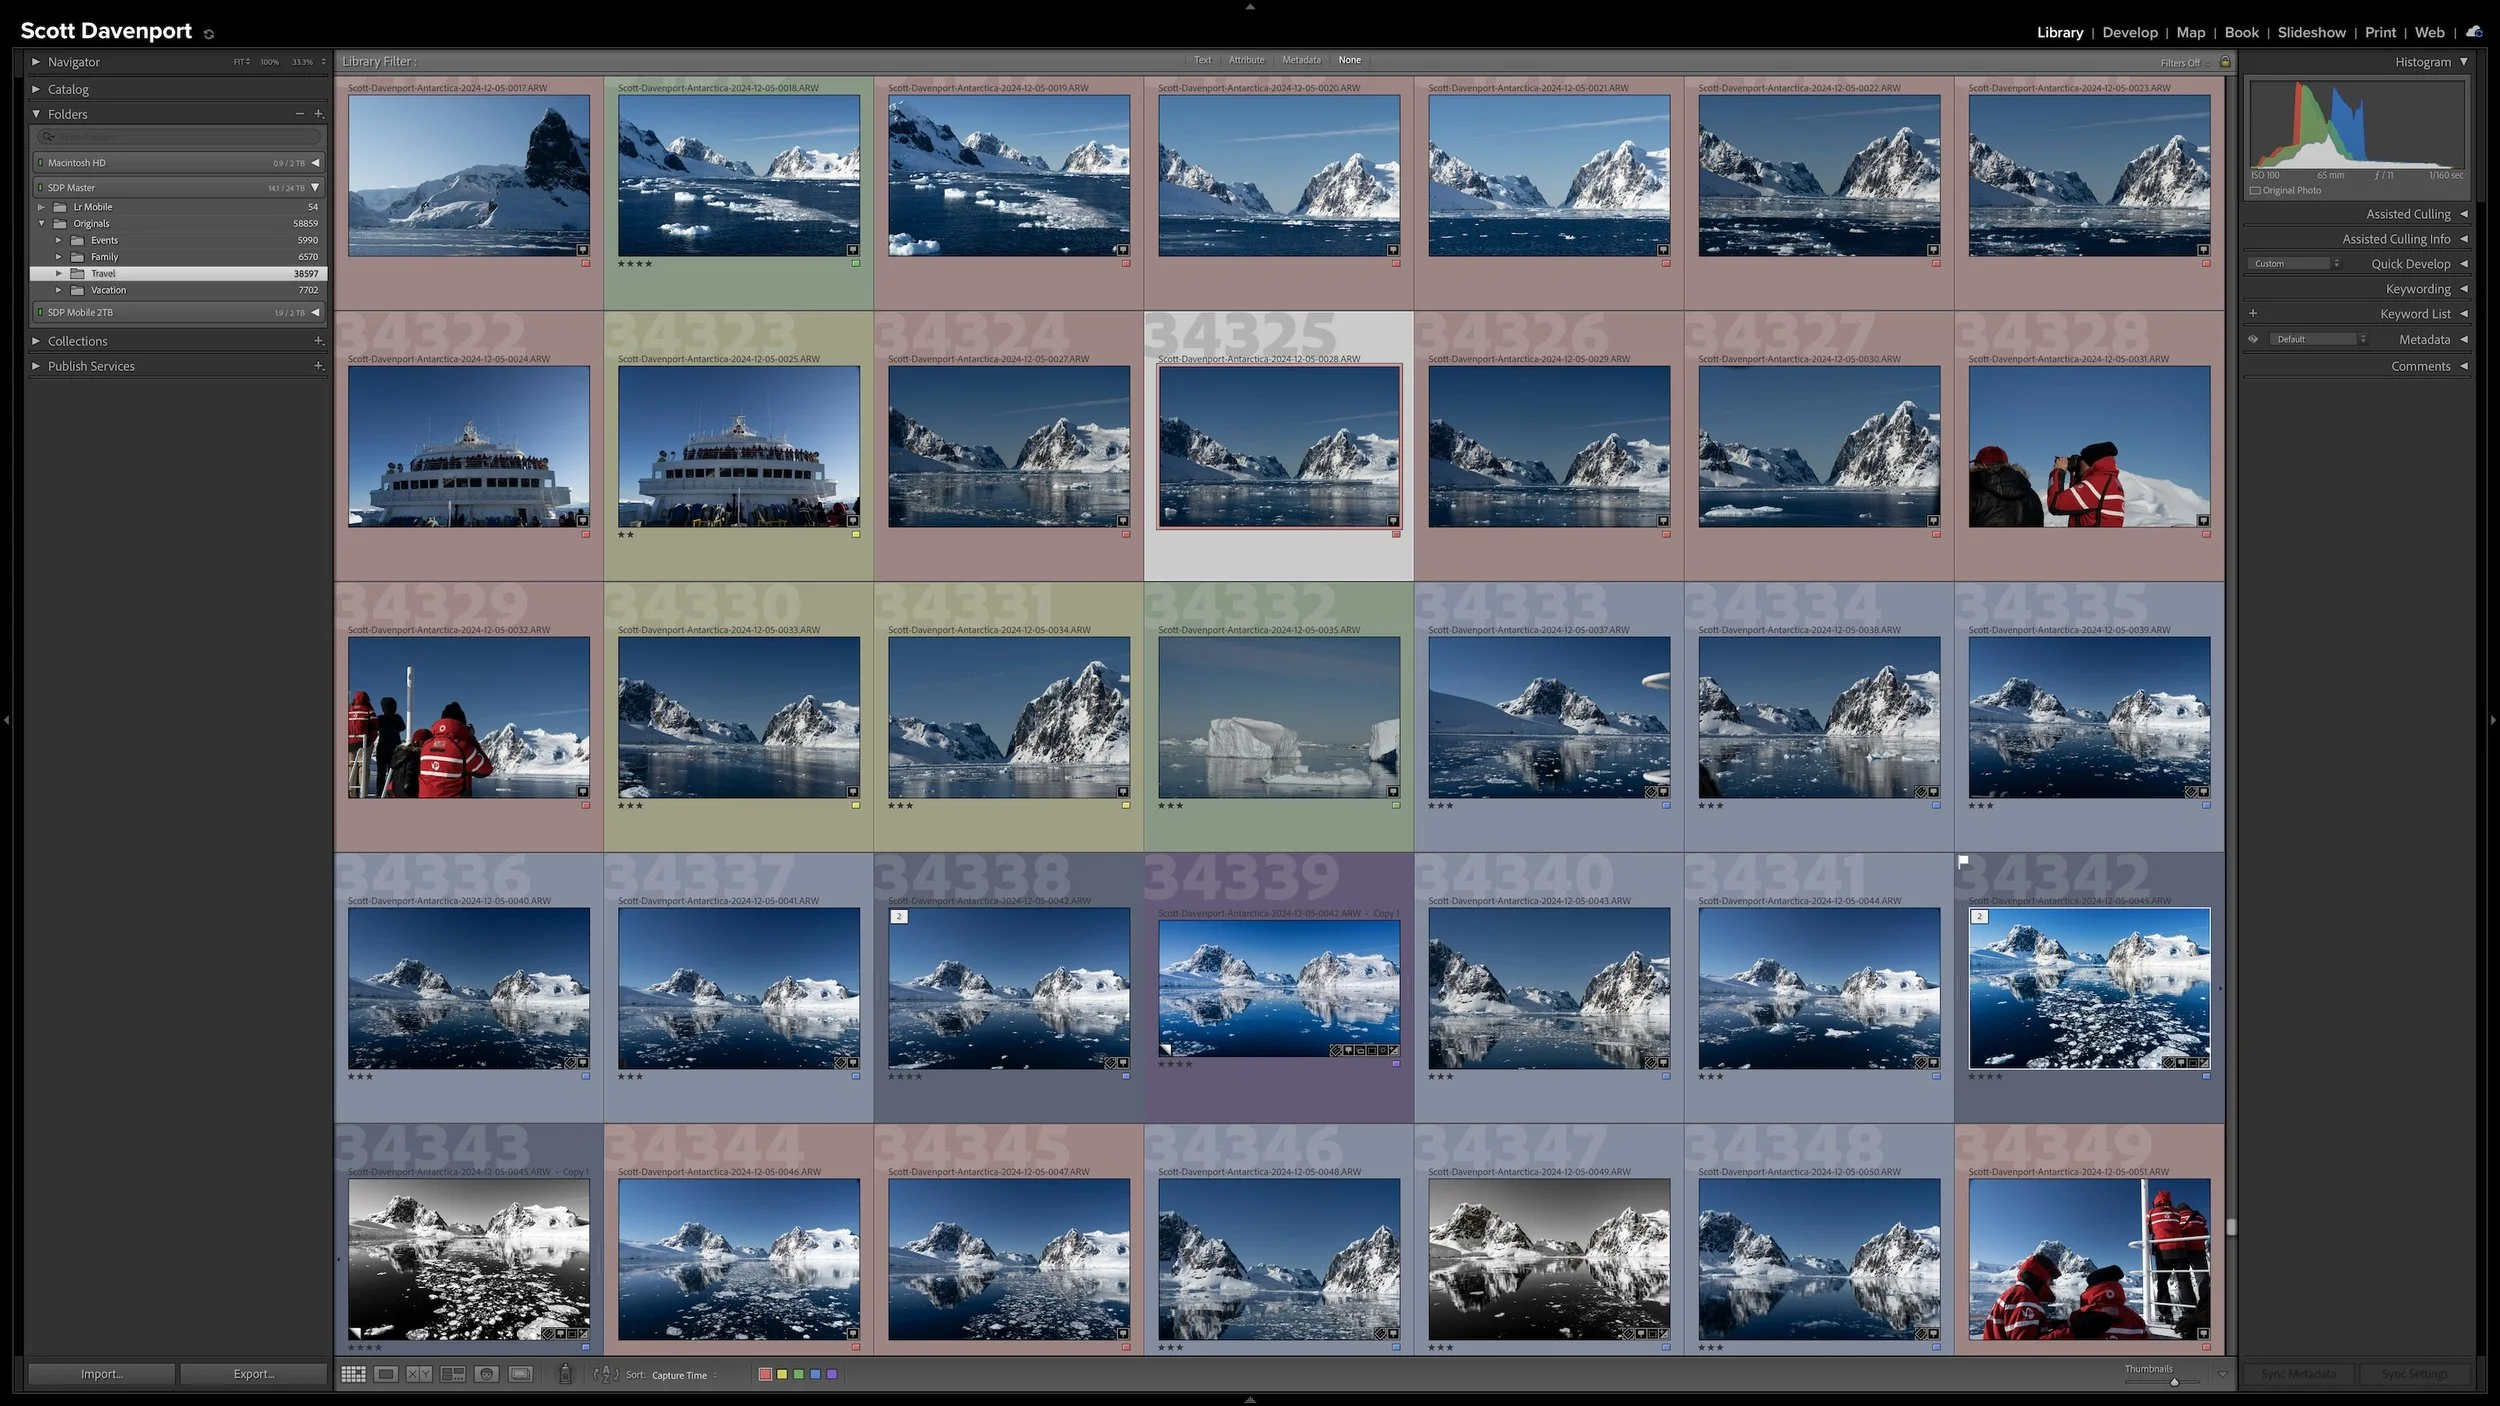
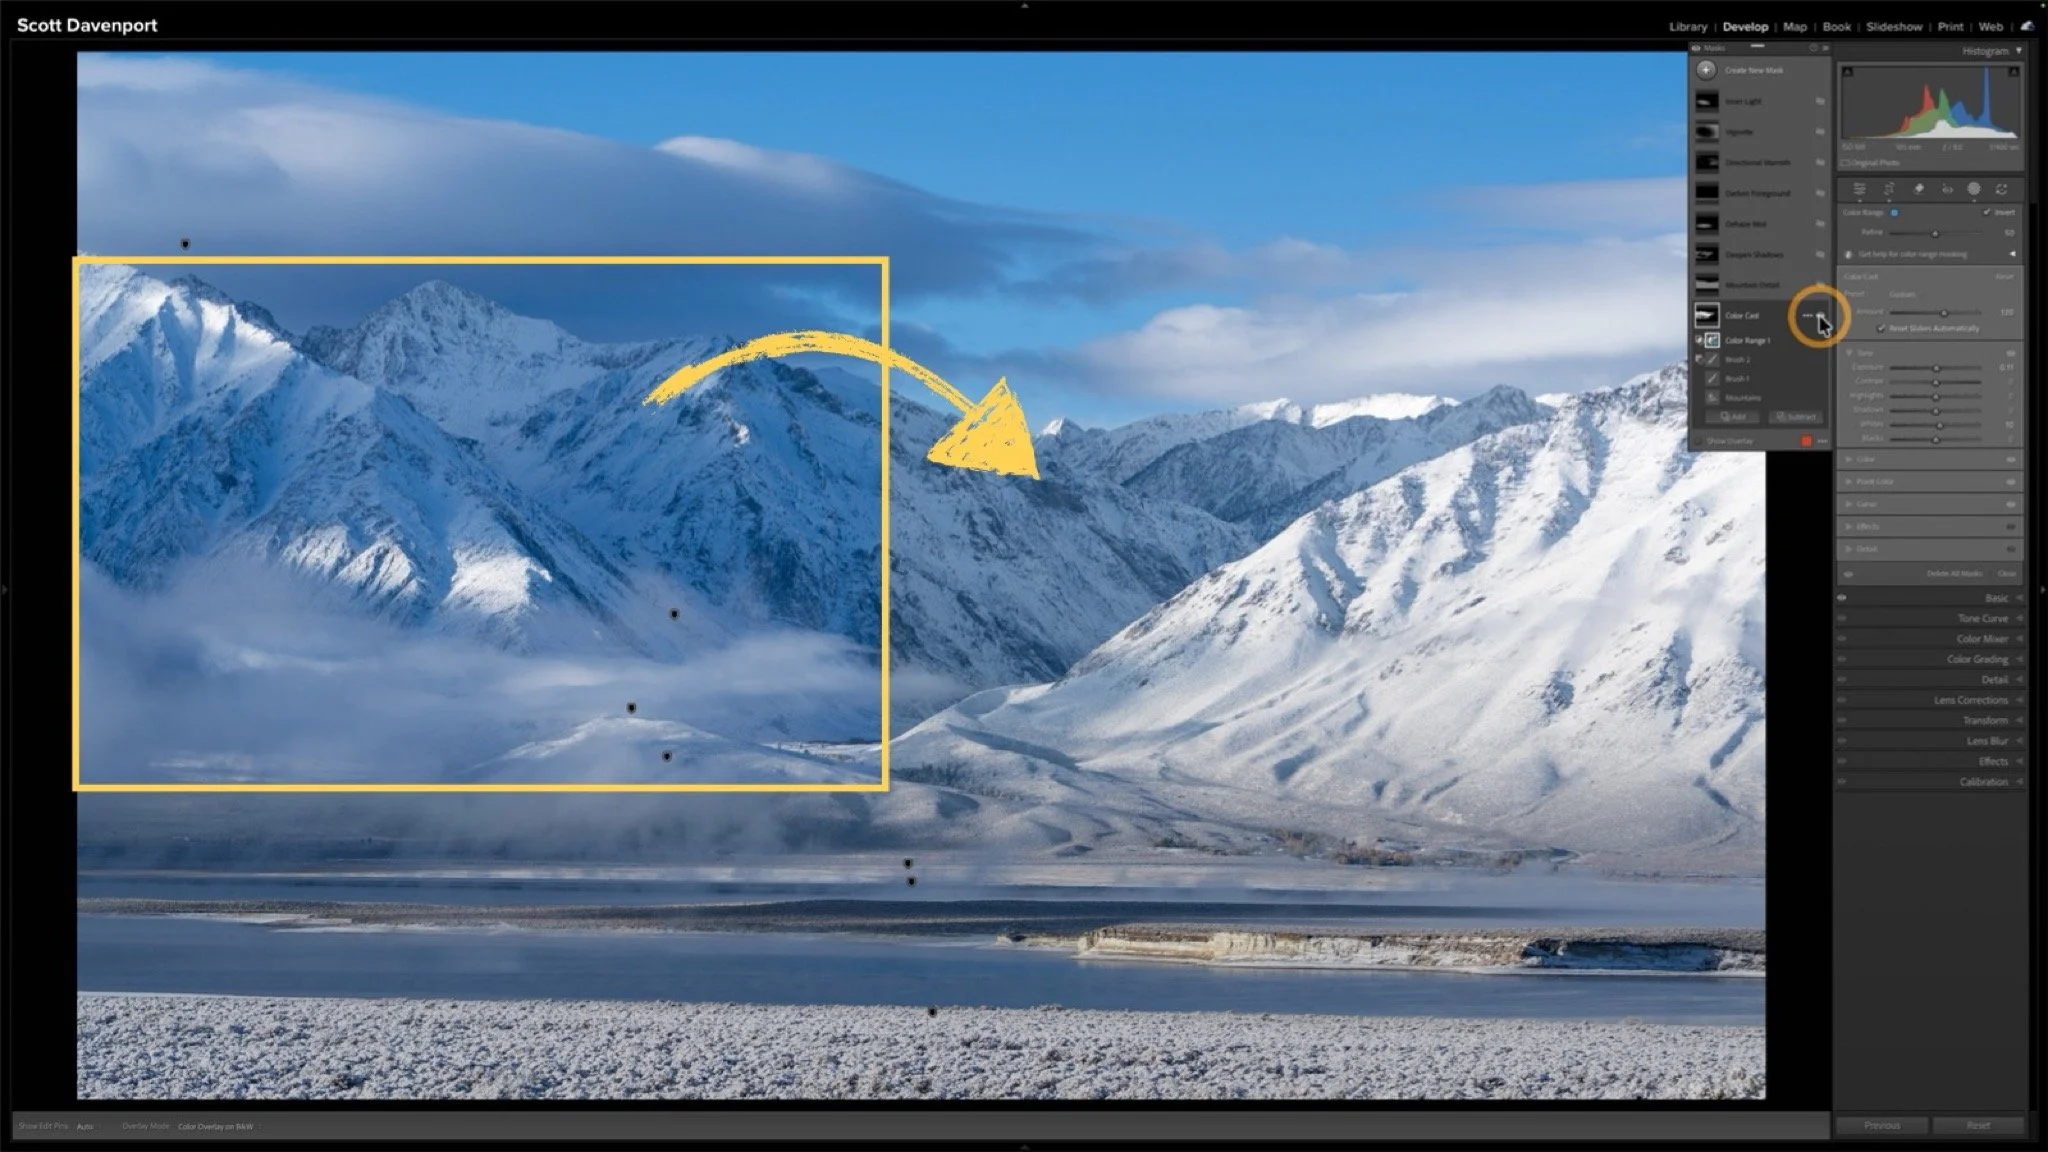

Lightroom Classic's Import dialog presents plenty of choices, but one of the most important decisions is straightforward: where are your photos now, and where do you want the original files to live after the import?
Copy, Move, and Add each handle the original files differently. Once you understand what happens to the physical files and what happens in the Lightroom catalog, choosing the right import method becomes much easier.