
You know which parts of a photo you want to adjust, yet making the selection can take more work than the adjustment itself. The elements may have different colors, different brightness values, and different subject types. What they share is their position in the scene: they’re close to the camera, somewhere in the middle, or farther away.
That relationship gives you another way to think about masking. Lightroom’s Depth Range mask lets you select elements according to their relative distance from the camera. Once you start looking at a photo in layers of depth, some selections become much easier to build—and easier to blend naturally into the rest of the image.
Choose a Mask Based on What the Elements Share
Before creating a mask, consider what connects the areas you want to adjust. If you want a building, an architecture selection may get you there. If you want elements that occupy a similar depth in the scene, a Depth Range mask may offer a more useful starting point.
For example, a photo with a path, foreground trees, a bridge, and a distant building contains several recognizable layers. The path and nearby trees sit close to the camera. The bridge extends into the scene toward the building, with more trees behind it. You already understand those relationships when you look at the photo. A depth mask lets you use that understanding to make a selection.
The useful question is, “What depth into the photo do I want to work on?” Answering that first helps you choose a mask that fits your editing intent.
Select the Depth You Want to Adjust
Create a Depth Range mask in Lightroom’s masking area, then use the eyedropper to sample an area at the depth you’re interested in. You can click or click and drag over an area to establish the initial selection. The mask overlay shows what Lightroom has included.
The range controls run from near to far. The left side represents elements closest to the camera; the right side represents the most distant elements. Moving the selected band toward the left shifts the selection toward the foreground. Moving it right shifts the selection deeper into the scene. Widening or narrowing the band changes how much depth you include.
In the scene with the bridge, moving through that range changes the selection from the nearby trees to the bridge and building, then toward the background. That makes the overlay useful feedback: you can see whether the selected depth matches the layer you intended to adjust.
The range runs from near on the left to far on the right. Use the overlay to judge which layer of the scene you’ve selected.
Feather the Adjustment Through the Scene
Choosing the target depth is only part of the decision. You also control how gradually the mask tapers away from that range. The feathering controls let you soften the transition on either side, so an adjustment can diminish as elements become closer or farther away.
Think about a landscape with a foggy background. You may want more crispness in elements near the camera while preserving the softer feeling in the distance. A depth mask gives you a way to let that added detail taper through the scene according to the relative depth of its elements.
A gradient can also fade an adjustment, but depth gives you another basis for that transition. When the elements you want to affect sit at different positions across the frame, their distance from the camera may be a more useful guide. Adjust the range and feathering while watching the overlay, then judge how the actual edit blends into the photo.
Refine Depth With Other Masking Tools
A Depth Range mask can get you close without producing a perfect selection. It may include an unwanted area or interpret part of a scene differently than you do. You still have Add and Subtract available to refine the result.
In the foreground-tree example, the depth selection includes a small unwanted wedge between the trees. Subtracting an object selection removes much of that area, with a little further cleanup needed. The depth mask establishes the main selection; another tool handles the exception.
A busier scene shows why this combination can be useful. I want to add detail to buildings, a bridge, and foreground rocks while keeping the snow soft and leaving the water’s existing texture alone. Sampling the rocks with Depth Range produces a starting mask that includes the elements I want, along with some water and snow.
From there, I subtract Water and Snow using the landscape selections, then refine the depth range and feathering. A small subtraction with an Auto Mask brush cleans up a remaining patch. The selection comes together with fewer separate pieces because depth has already gathered the main elements.
Start with the depth that contains the elements you want, then subtract the areas that need to stay untouched.
Judge the Effect Along With the Selection
The mask serves the adjustment you want to make. In the scene with the rocks and buildings, increasing Clarity makes it easy to see where the added detail lands. The selected elements gain definition while the snow stays soft and the water avoids extra texture.
I push the adjustment strongly to make its reach obvious during the demonstration. That strength is a way to inspect the result, rather than a setting to copy onto another photo. Your decision is how much detail the selected layer needs and how gently the effect should diminish beyond it.
If you see the adjustment reaching too far into the scene, revisit the range and feathering. If only a small area is wrong, a subtraction may be all you need. Keep evaluating the photograph as you refine the mask so the selection supports the result you intended.
Final Thoughts
Depth Range gives you another useful question to ask before masking: what’s closer, and what’s farther away? When distance connects the elements you want to adjust, selecting by depth can simplify the work and give you a natural way to taper the effect.
Start with the layer of the scene you care about, shape the transition, and use the other masking tools where the selection needs help. The goal is to put the adjustment where it contributes to the photograph, with a transition that feels right for the scene.
Brown Station, Antarctica
Contact Scott to commission a print or license this image.
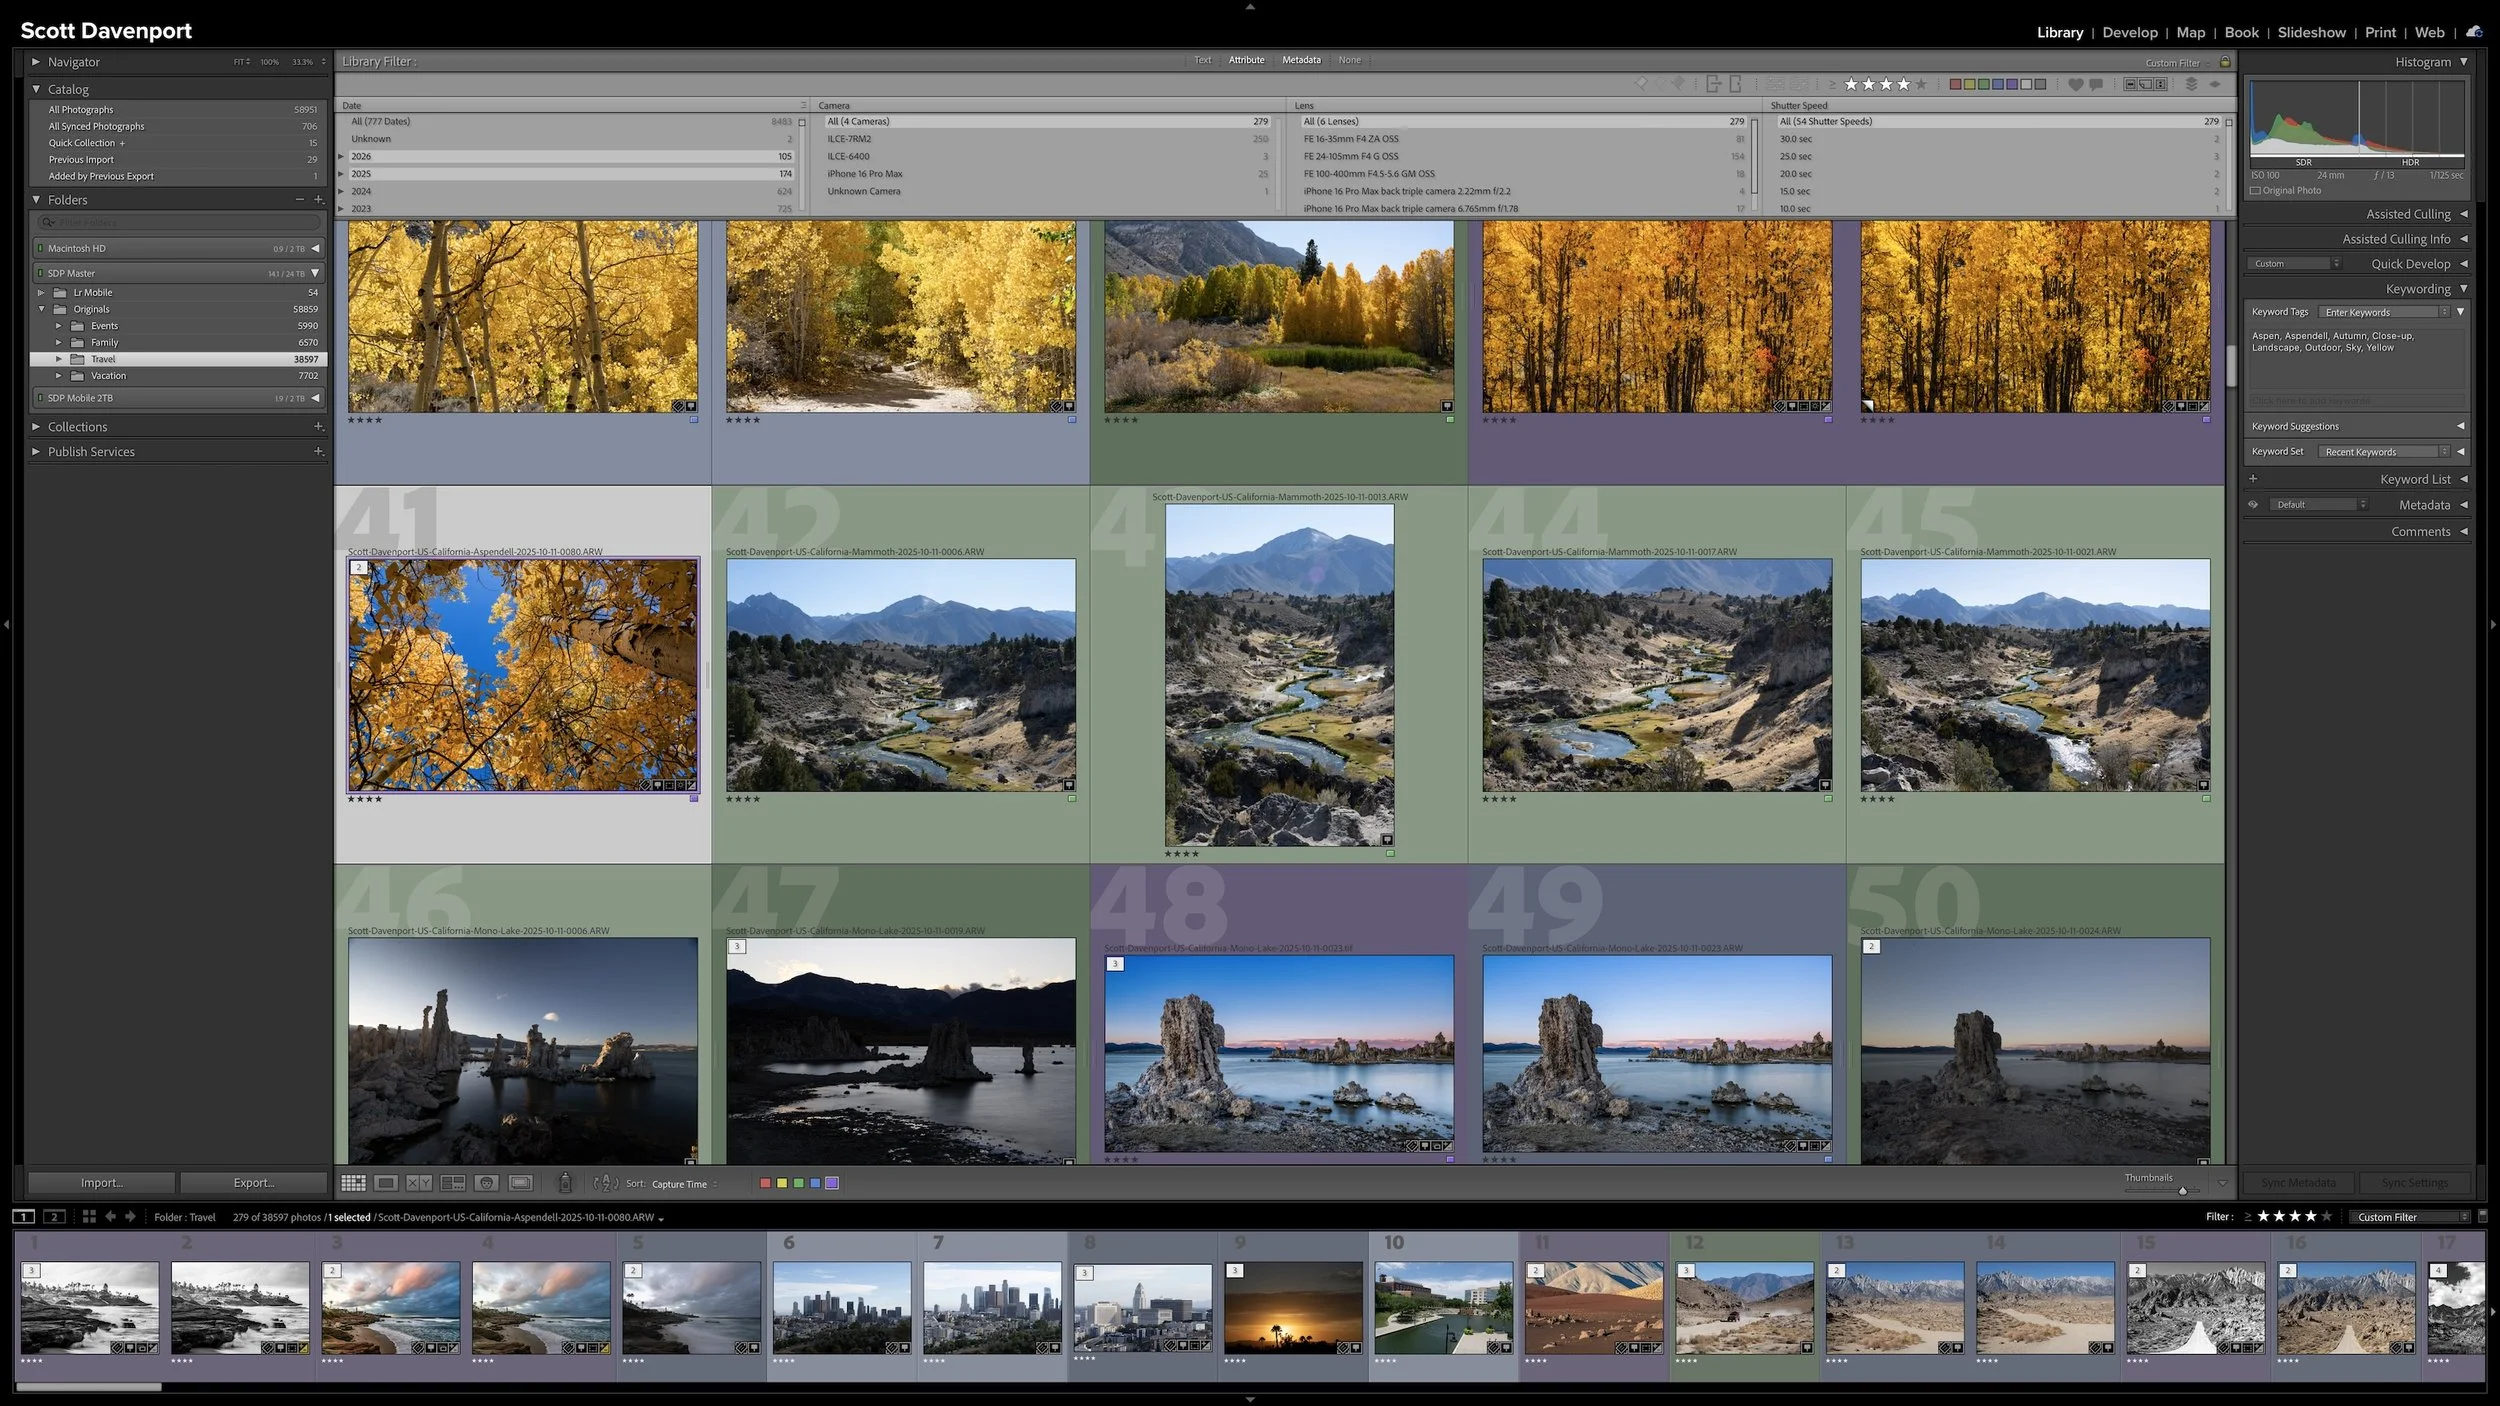
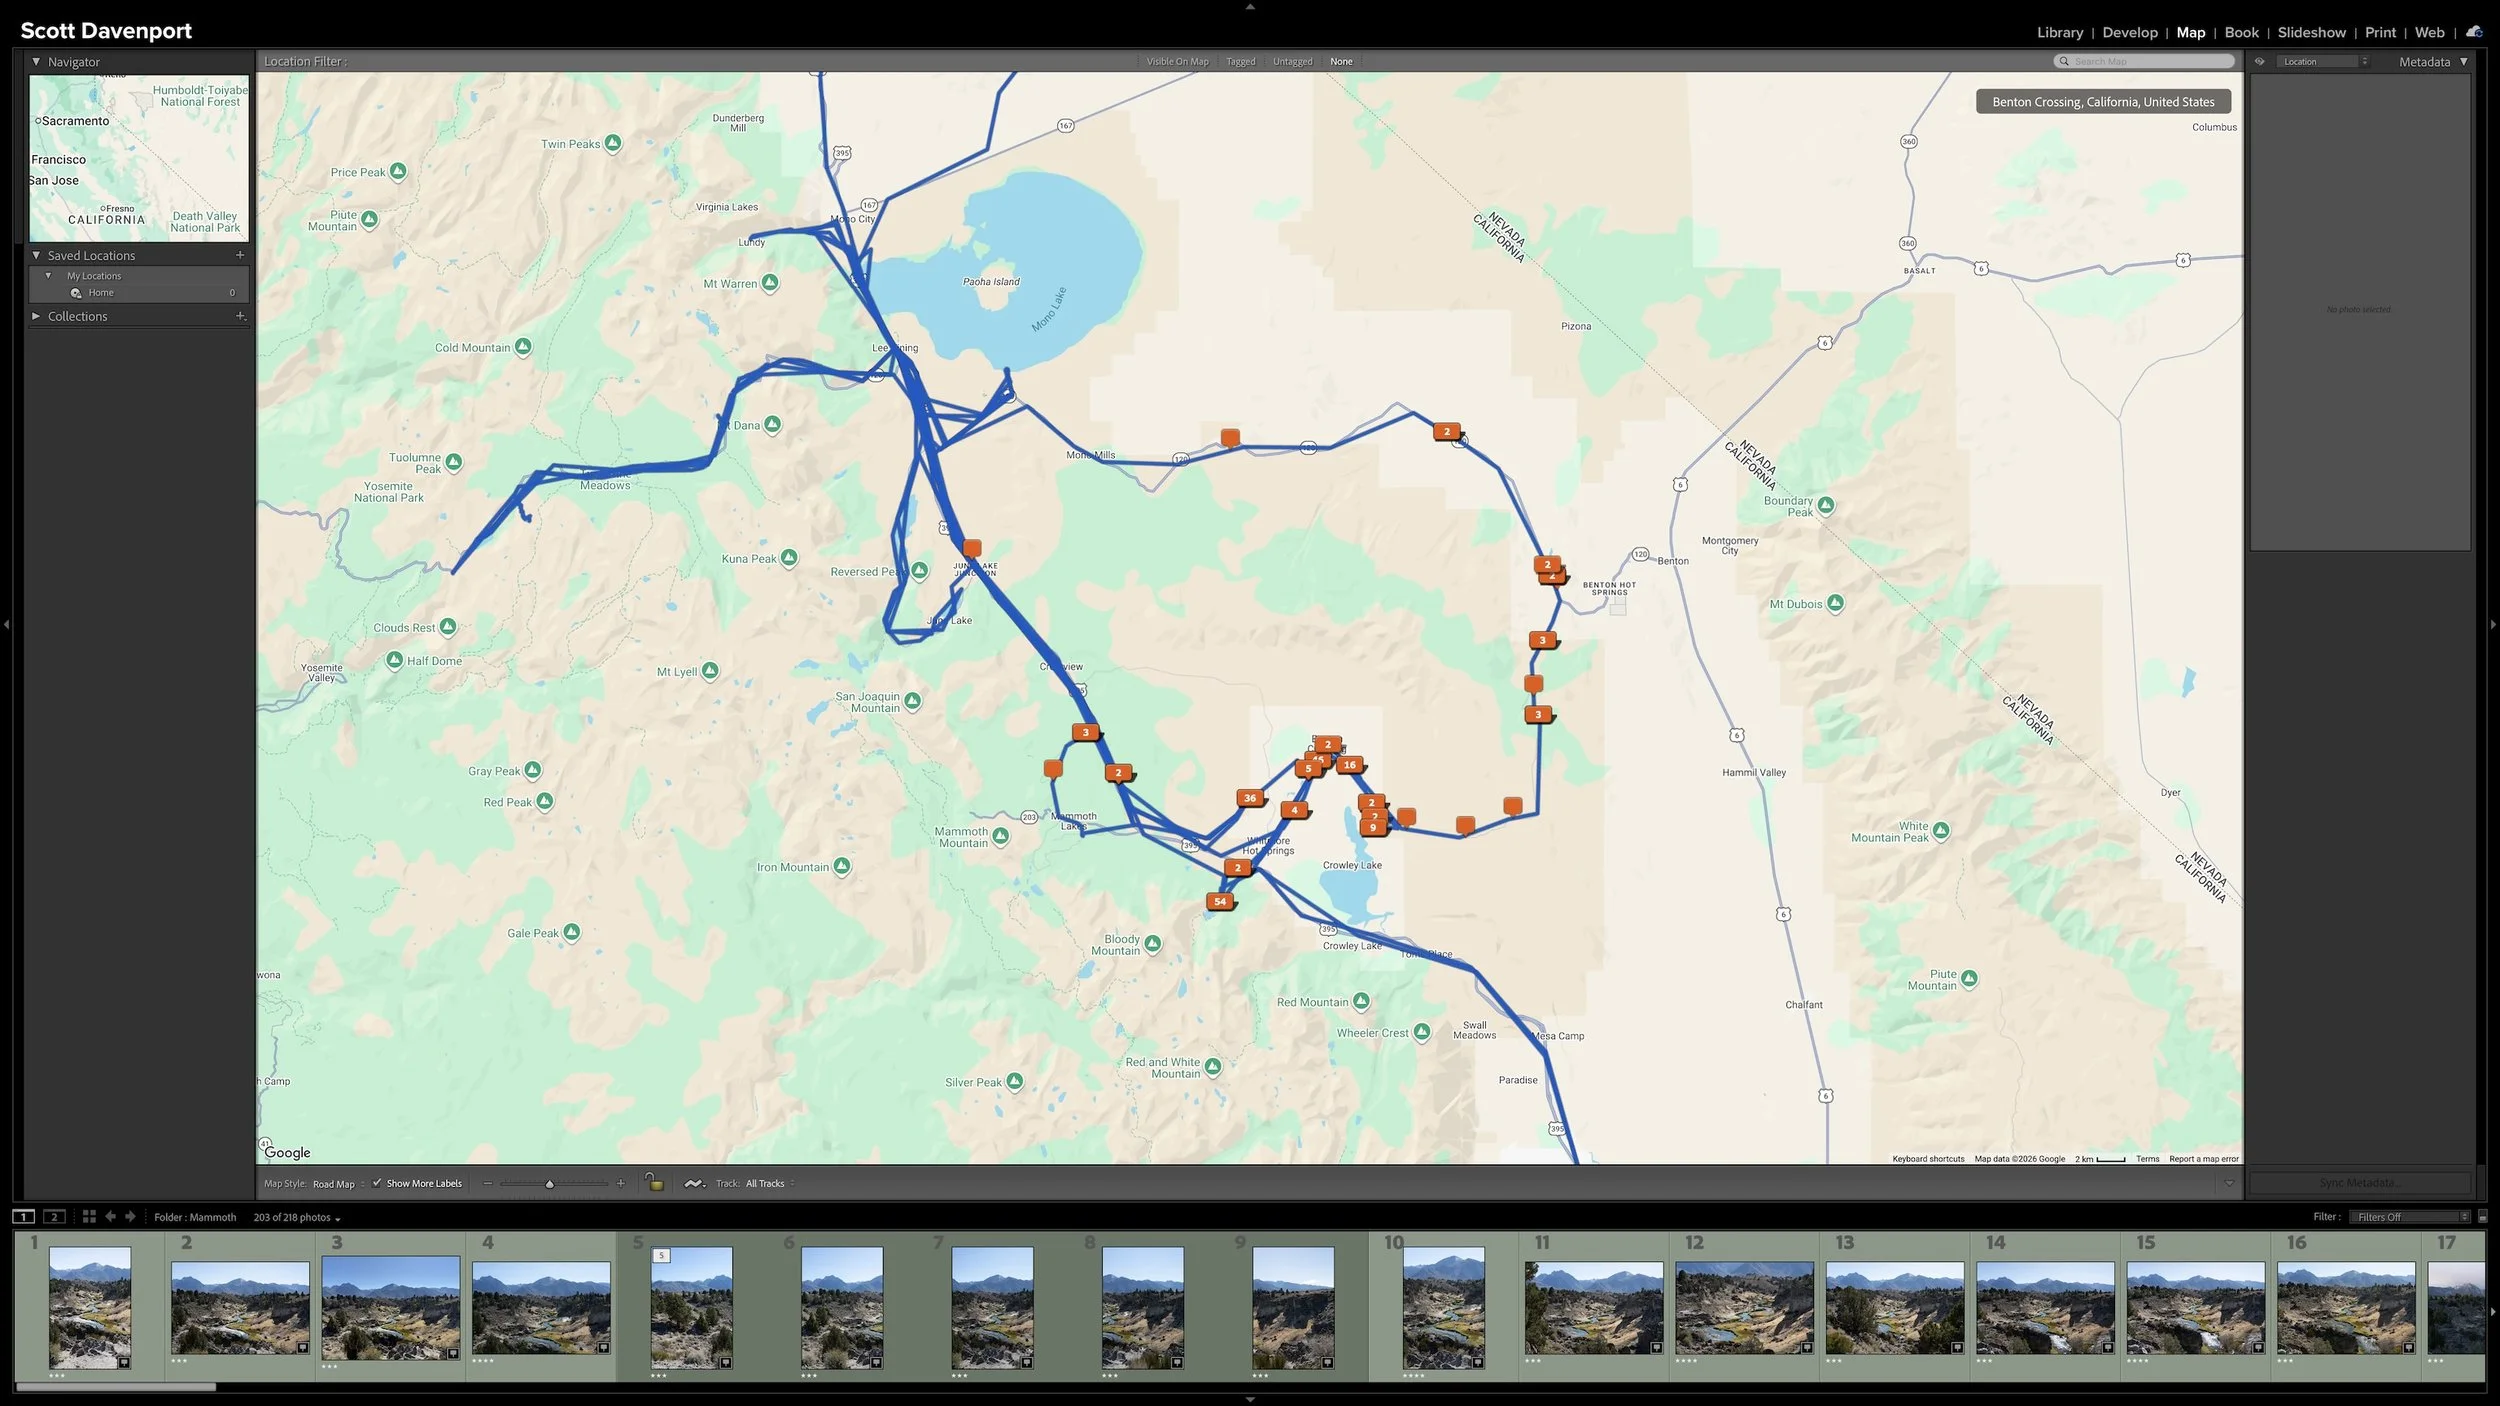
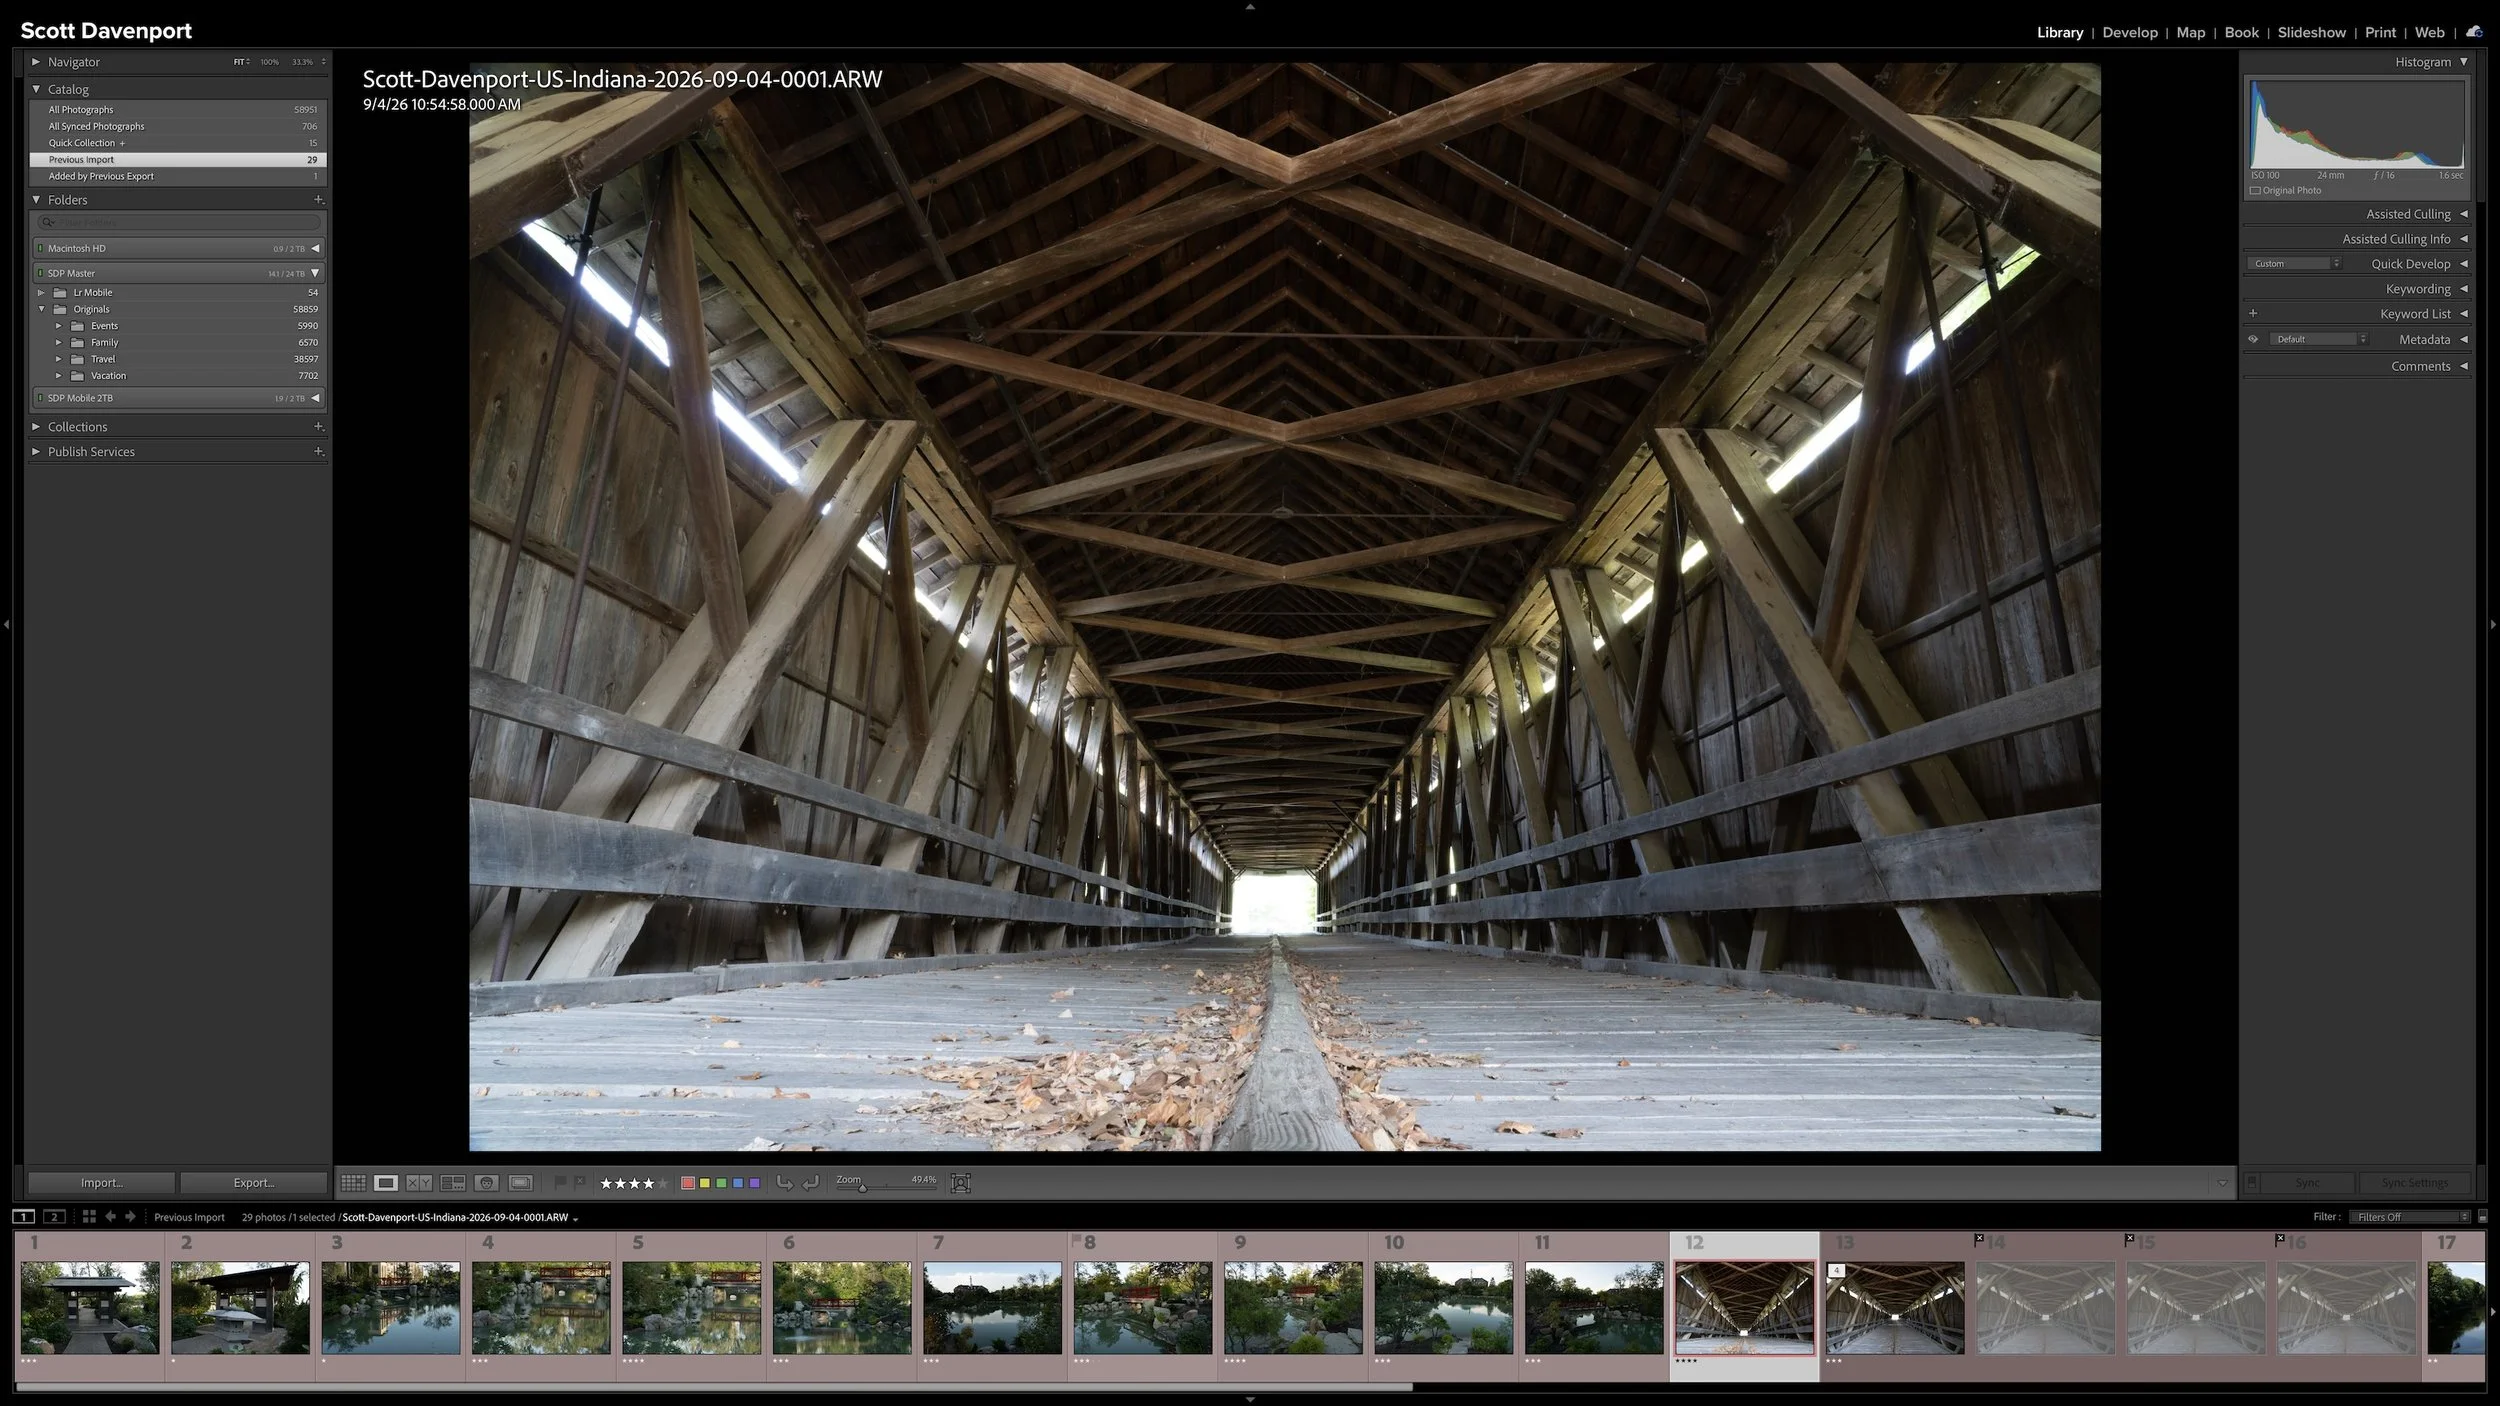

Sometimes the elements you want to adjust have little in common beyond their distance from the camera. Selecting them by subject, color, or brightness can mean building a mask from several pieces when your real goal is simply to work on a particular layer of the scene.
Lightroom’s Depth Range mask gives you another way to approach that decision. Learn how to select by relative depth, soften the transition into more distant areas, and combine masking tools to keep an adjustment where it belongs.