If You’re Not Using Intersect in Lightroom, You’re Missing Out
If you’re a Lightroom user and you’re not taking advantage of Intersect, you’re making your masking jobs harder than they need to be. Seriously. You might be spending extra time trying to isolate colors or tones that could be targeted in a few clicks.
Intersect isn’t a flashy new tool—it’s a workflow multiplier. Yet many photographers either overlook it or misunderstand what it actually does. In this tutorial, I’m going to break it down, show you how it works in theory, and then demonstrate it on a real photo so you can see the power in practice.
Understanding Intersect: The Theory
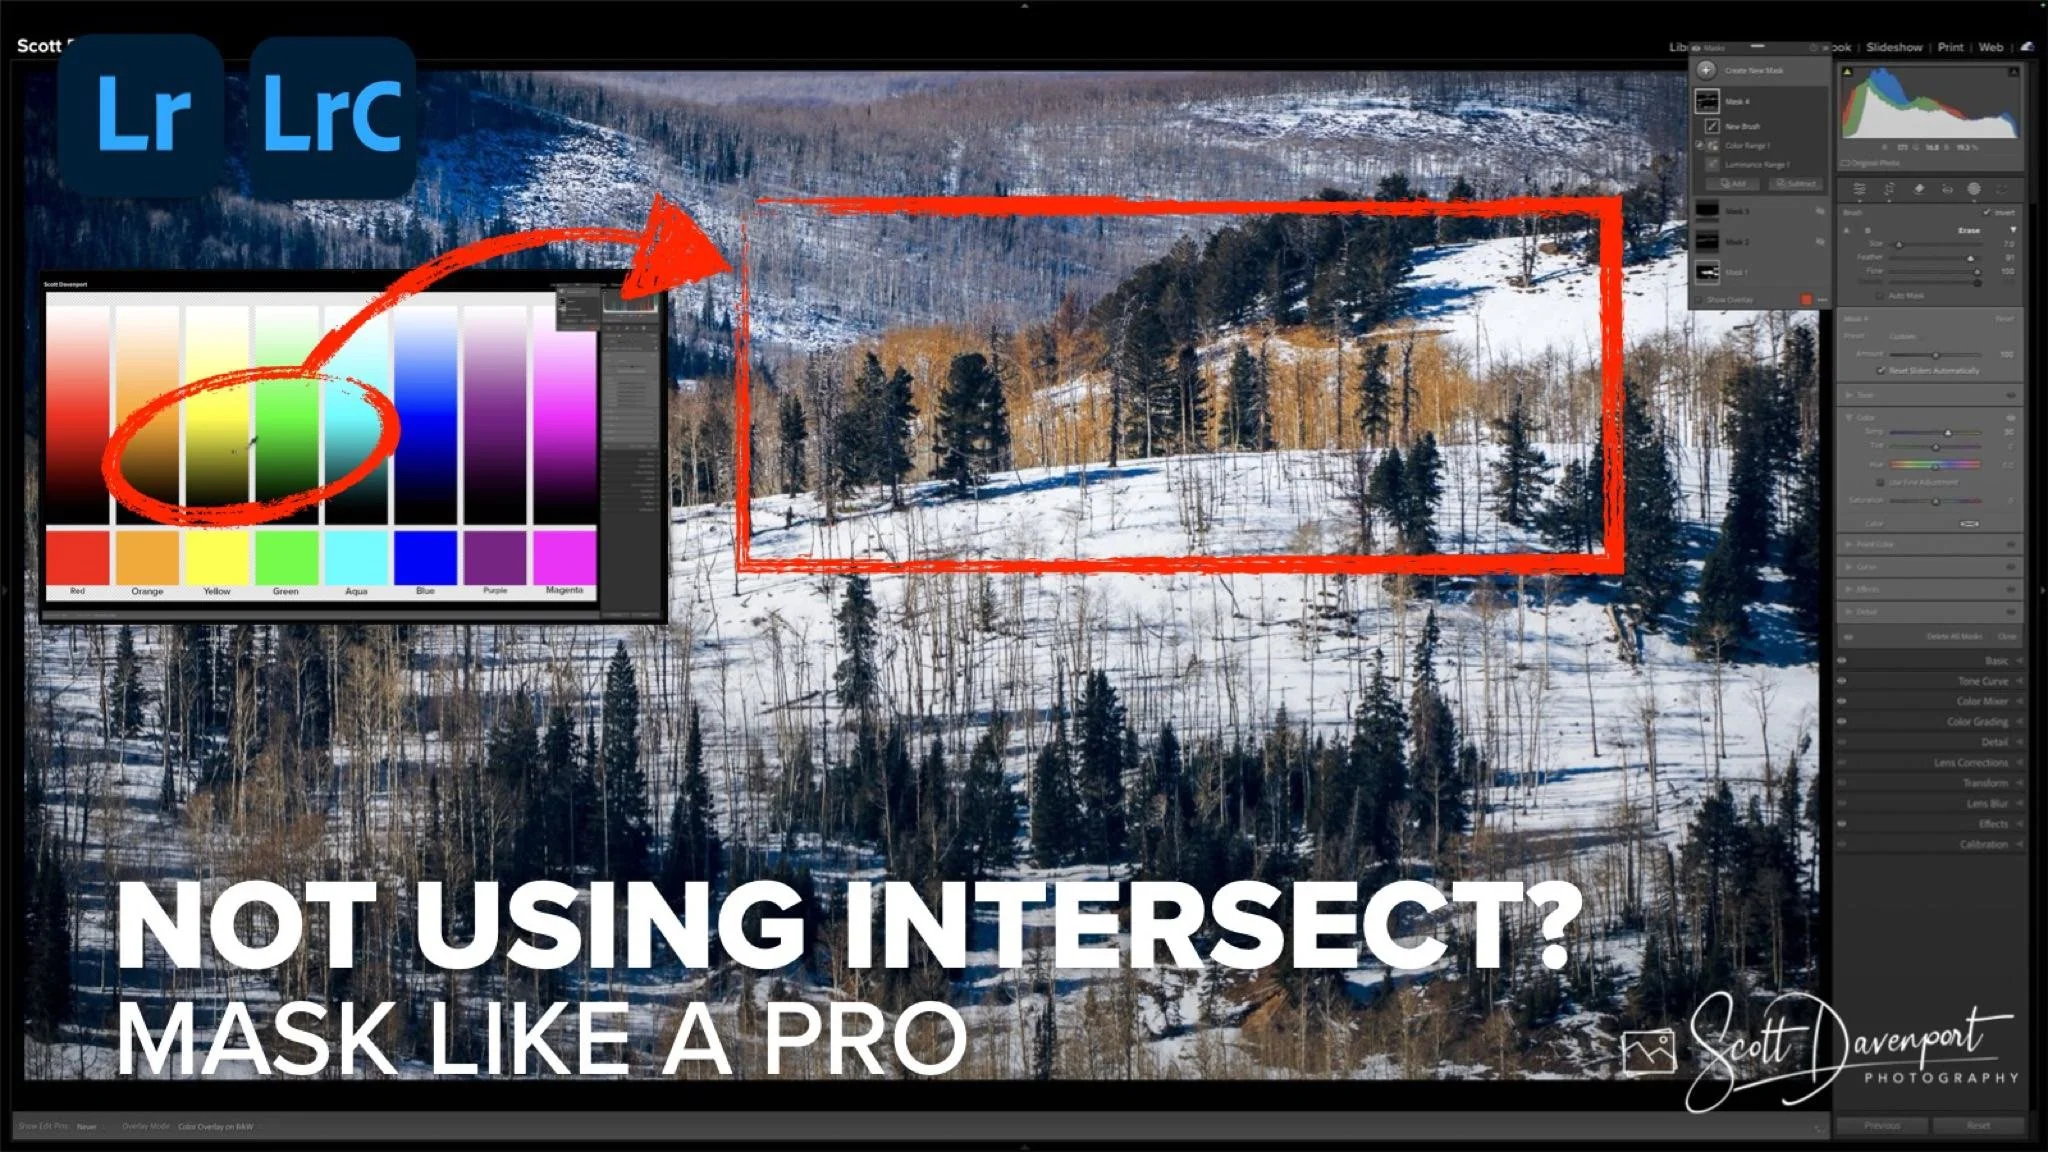
Here’s the simplest way to think about Intersect: imagine overlapping circles in a Venn diagram. Each circle represents a mask—a selection of pixels based on color, tone, or brush area.
The first circle might select all the pixels that fall within a certain luminance range.
The second circle might select a color range, like just the warm browns in a winter tree.
The third circle could be your brush selection, telling Lightroom exactly where to apply the adjustment.
Intersect takes only the pixels that appear in all of the selected circles—the exact overlap.
No guesswork. No broad masking. Just the precise area you want. Combine these intersections, and you get a supercharged mask that targets exactly the pixels you care about.
This approach is what makes Intersect so powerful. Instead of adjusting everything loosely and hoping for the best, you can pinpoint the exact tones, colors, and areas you want to affect.
Putting Intersect into Practice
Theory is one thing. Seeing it in a real-world scenario makes it stick. I applied the technique to a winter landscape with a ridge of leafless trees standing against snow. Normally, adding warmth to the trees risks affecting the surrounding snow or sky.
By combining:
A luminance range to isolate the trees’ tonal values
A color range to refine the selection further
A brush intersect to paint precisely where the adjustment is needed
…I was able to warm the trees without touching the snow or background, creating a subtle, natural effect that would have been much harder to achieve otherwise.
This is exactly what Intersect is designed for: making your masking workflow smarter, faster, and more precise.
Why You Should Be Using Intersect
If you’re serious about Lightroom, mastering Intersect will:
Save you time on masking tasks
Increase the precision of your edits
Reduce frustration when you’re working with complex scenes
Give you control over adjustments like never before
It’s a small tool with a big impact. And the best part? Once you get the hang of combining intersects, you’ll start using it on nearly every mask you create.
Quick Takeaway
Intersect isn’t just a checkbox in Lightroom. It’s a mindset shift for how you think about masking. Use it, and you’ll start editing smarter, not harder.
If you haven’t tried it yet, go open a photo, make a mask, and experiment with intersect. You’ll see what I mean—and you might kick yourself for not leveraging it sooner.
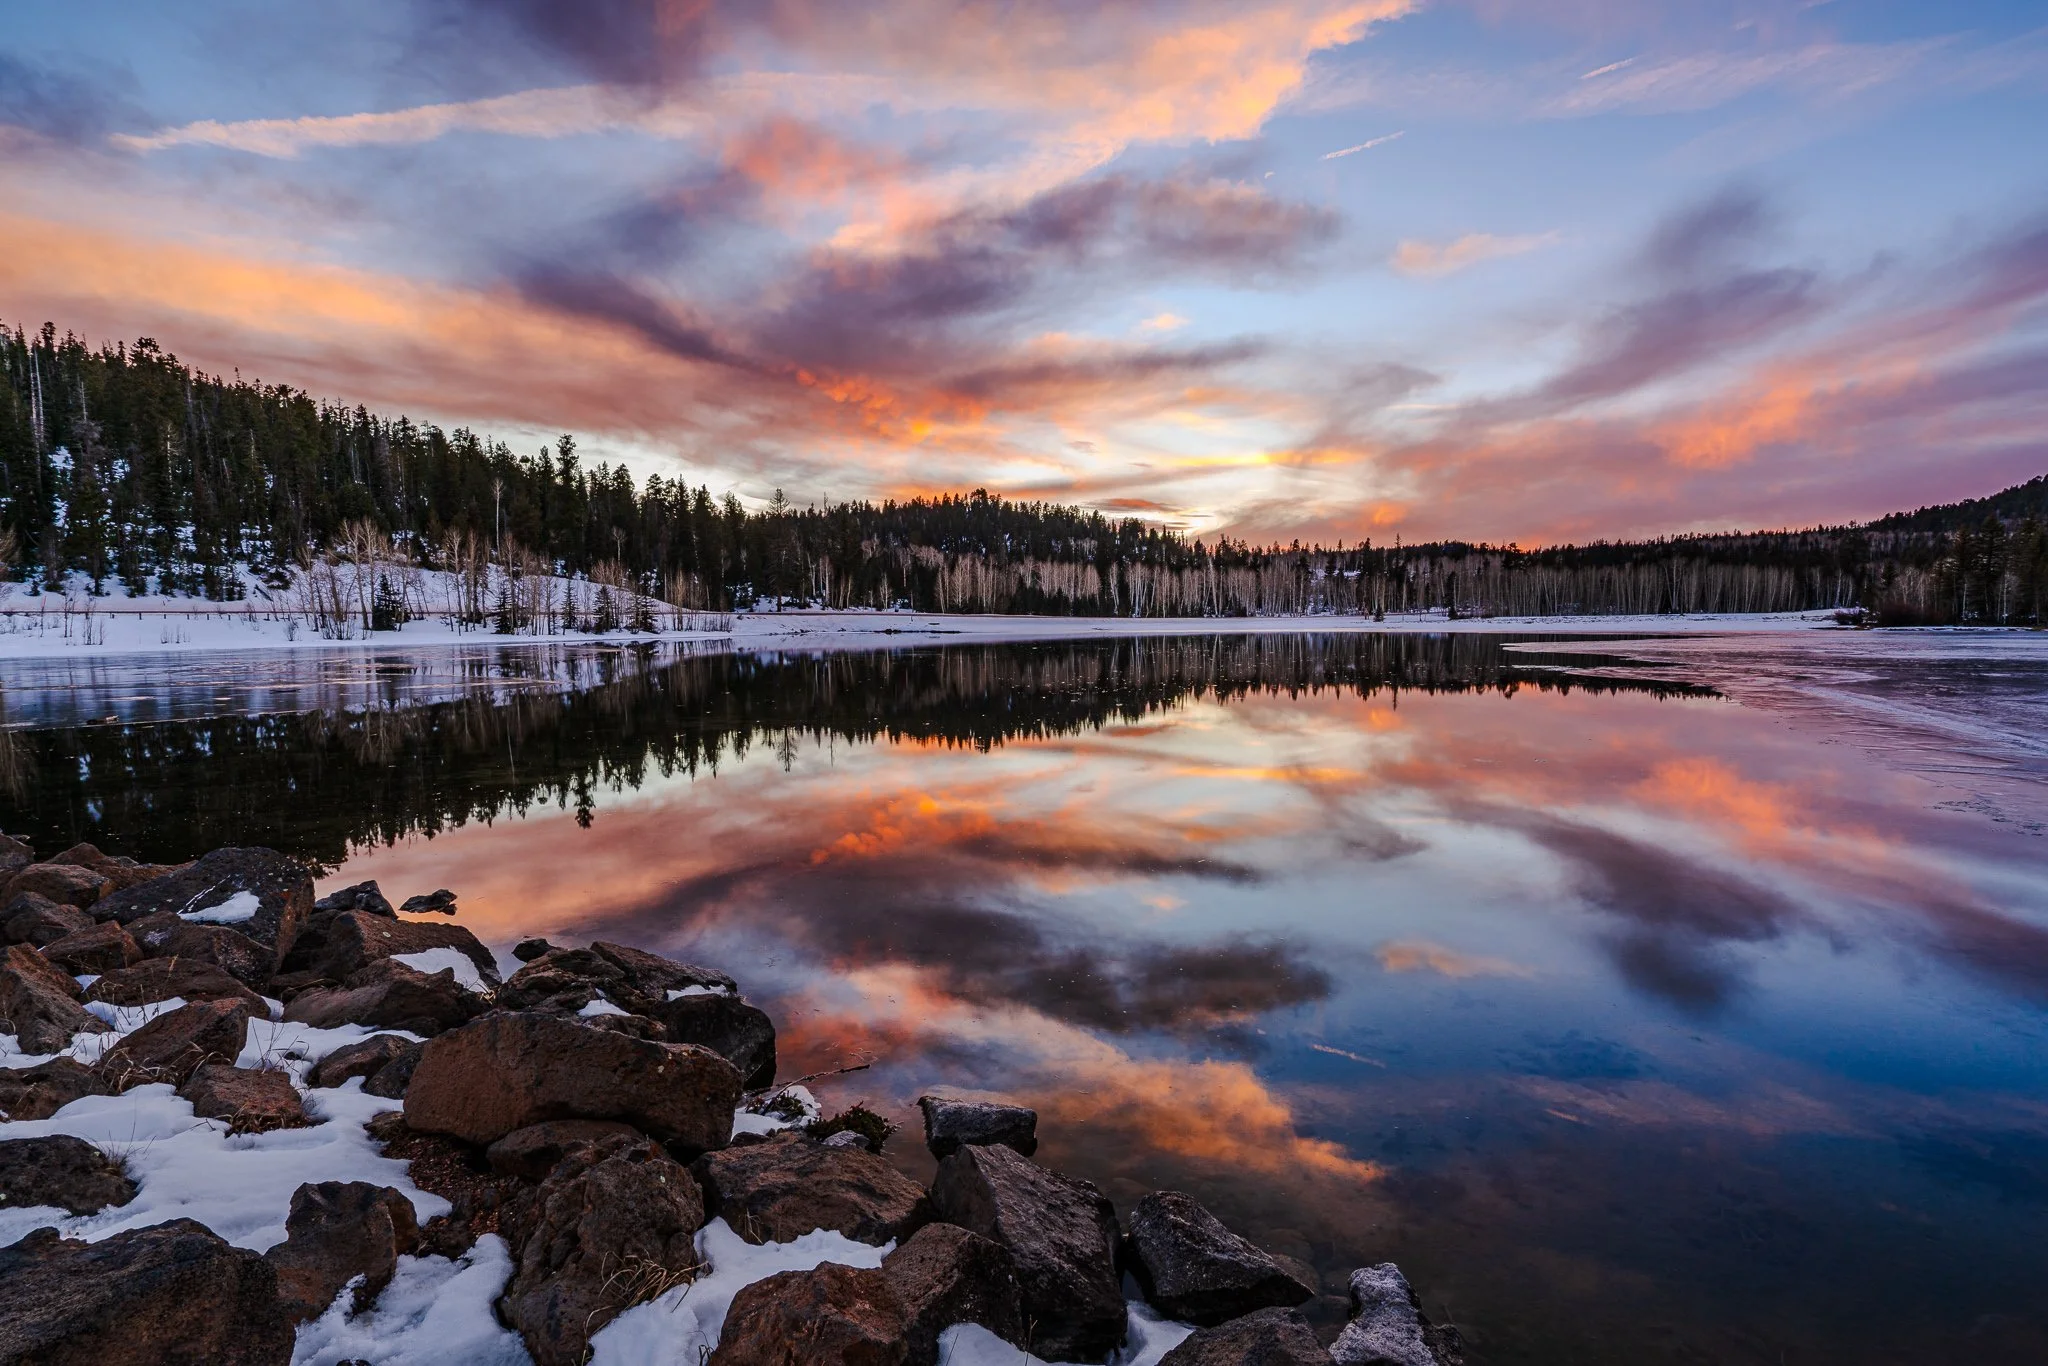
Winter Scene, Utah
Contact Scott to commission a print or license this image.