
ON1 Masking Panel Explained (And Why You Rarely Need It)
If you are trying ON1 Photo RAW, the ON1 plug-ins like ON1 Effects or ON1 HDR, or upgrading your ON1 software to a newer version, please consider using my affiliate link. There is no extra cost to you and it helps support my work and this website.
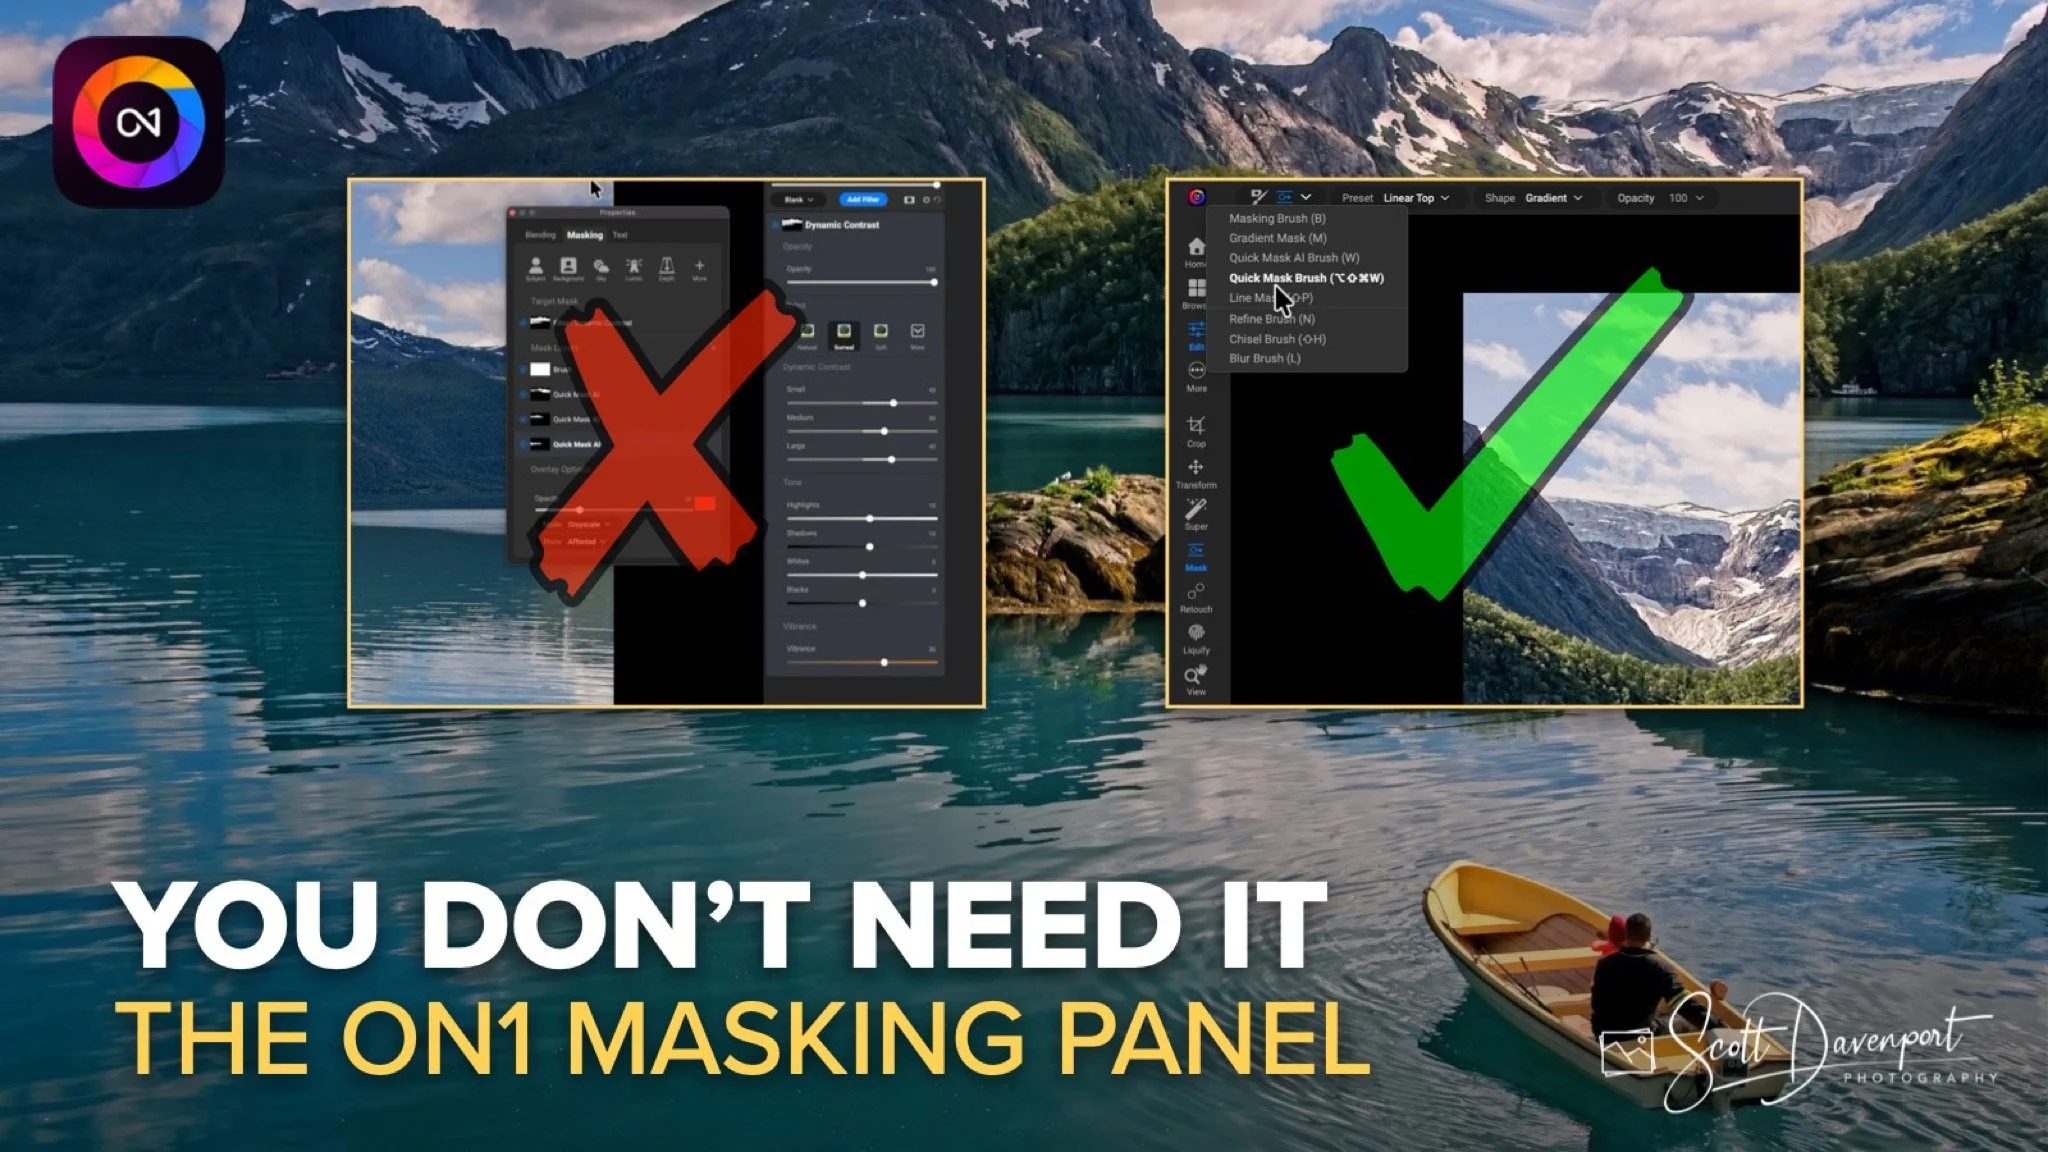
One of the most common questions I receive from ON1 Photo RAW users is about the Masking Panel. People open it up, see a stack of mask layers, strange thumbnails, and controls they don't fully understand, and immediately assume they're missing something important.
The good news is that you're probably not.
In fact, my advice for most photographers is surprisingly simple: if the Masking Panel confuses you, don't use it. Focus on the masking tools themselves. Super Select, Quick Mask AI, Brushes, Gradients, and Line Masks are where the real work happens. Those tools allow you to build the mask you need without ever opening the panel.
The Masking Panel isn't required to create good masks. It's simply showing you what's already been created behind the scenes.
Watch the video for a complete walkthrough of how the Masking Panel works, what its quirks are, and the few situations where it becomes genuinely useful.
What's Happening When You Build a Mask?
Every time you use a masking tool, ON1 adds another piece to the overall mask.
Let's say you use Super Select to target some foreground rocks. Then you use Quick Mask AI to add a mountain range. After that, you grab a brush to fill in a few areas that were missed. Each of those actions becomes part of the final mask.
What you see on the image is the combined result of all those masking decisions. The Masking Panel simply reveals the individual ingredients that make up the finished mask.
Understanding that one idea makes the panel much easier to understand. You're not creating masks in the panel. You're seeing a record of masks you've already created elsewhere.
Why the Masking Panel Feels Confusing
Part of the confusion comes from some of the panel's quirks.
You may see mask thumbnails that don't seem to accurately represent what you painted. Certain masking operations can behave differently depending on the order they were created. Sometimes disabling one mask layer produces a result that isn't immediately obvious.
If you've ever looked at the panel and thought, "That doesn't seem to match what I just did," you're not alone.
The important thing to remember is that the visual representation in the panel isn't nearly as important as the actual mask being applied to your image. As long as your mask is doing what you want, you don't need to spend much time worrying about how the panel chooses to display it.




When the Masking Panel Is Actually Useful
There are a couple of situations where I regularly open the Masking Panel.
The first is Intersect Mode.
Intersect Mode allows you to combine masks together in ways that create much more precise selections. It's one of the more advanced masking techniques available in ON1 Photo RAW, and it can be incredibly powerful when you're working with luminosity masks, brushes, or other targeted adjustments.
The second reason is to refine a mask after it's already been created.
Once I've built a mask, I sometimes want to adjust the way it blends into the rest of the image. That's where the panel becomes genuinely useful.
Density and Feather: My Favorite Refinements
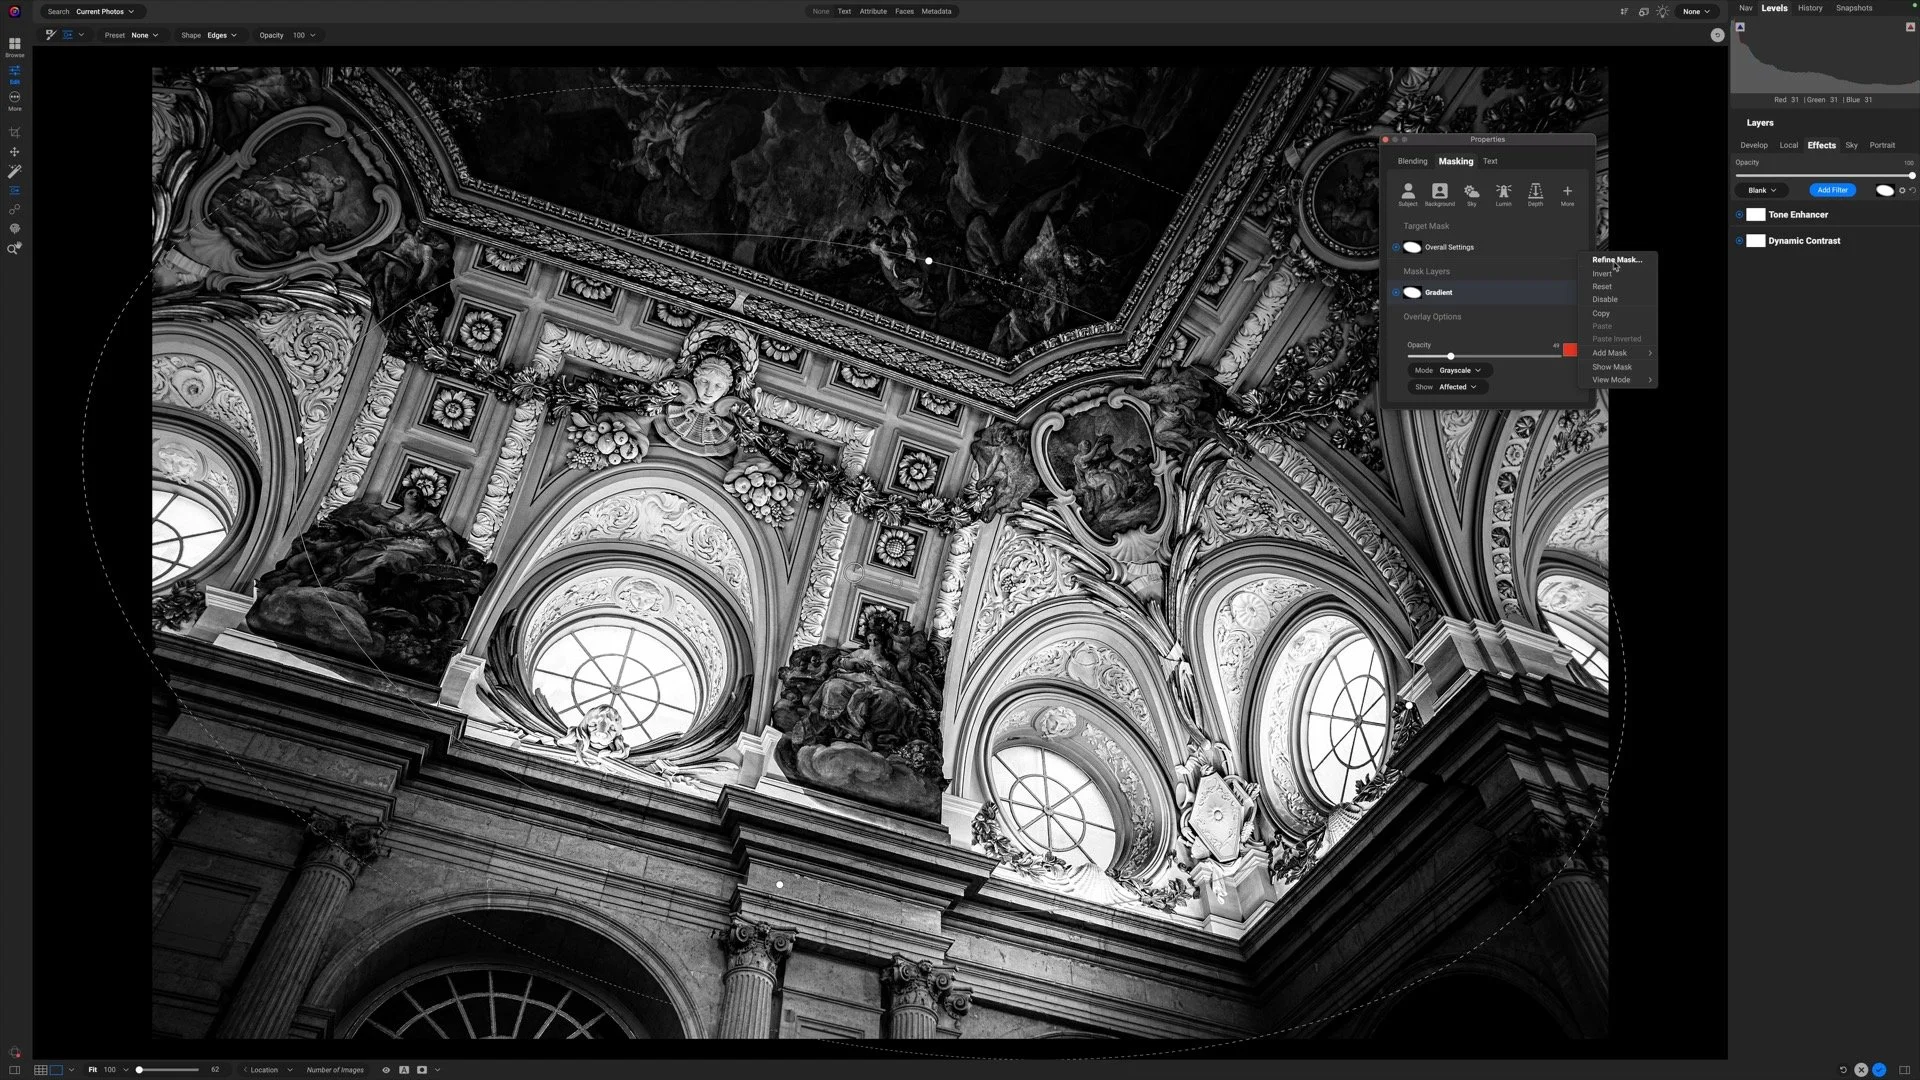
The Refine Mask controls give you access to Density and Feather, two adjustments that can help a mask blend more naturally.
Density allows you to reduce the overall strength of the mask. Instead of affecting only the areas you've specifically selected, some of that adjustment can gently spill into surrounding regions. This is a great way to create more natural-looking transitions.
Feather softens the edges of the mask. It doesn't blur the image itself. Instead, it smooths the transition between areas receiving the adjustment and areas that are not.
Used together, Density and Feather can help effects blend more naturally and avoid harsh transitions.
For me, this is where the Masking Panel provides the most value. Not as a place to create masks, but as a place to fine-tune them.
Final Thoughts
If the Masking Panel has ever felt intimidating, consider this your permission to ignore it.
Build your masks using the tools that make sense to you. Focus on selecting the parts of the image you want to adjust. Let ON1 handle the bookkeeping in the background.
When you're ready for advanced techniques like Intersect Mode or final refinements using Density and Feather, the Masking Panel will be there waiting for you.
Until then, don't feel obligated to use it just because it's there.









The ON1 Masking Panel generates more questions than almost any other feature in Photo RAW. Here's the funny thing: most photographers don't actually need to use it.