Taking Advantage Of Depth Masks In ON1 Photo RAW
If you are trying ON1 Photo RAW, the ON1 plug-ins like ON1 Effects or ON1 HDR, or upgrading your ON1 software to a newer version, please consider using my affiliate link. There is no extra cost to you and it helps support ON1 tutorials like this one. Ready to buy? Use the offer code SDP20 at checkout and SAVE 20%!
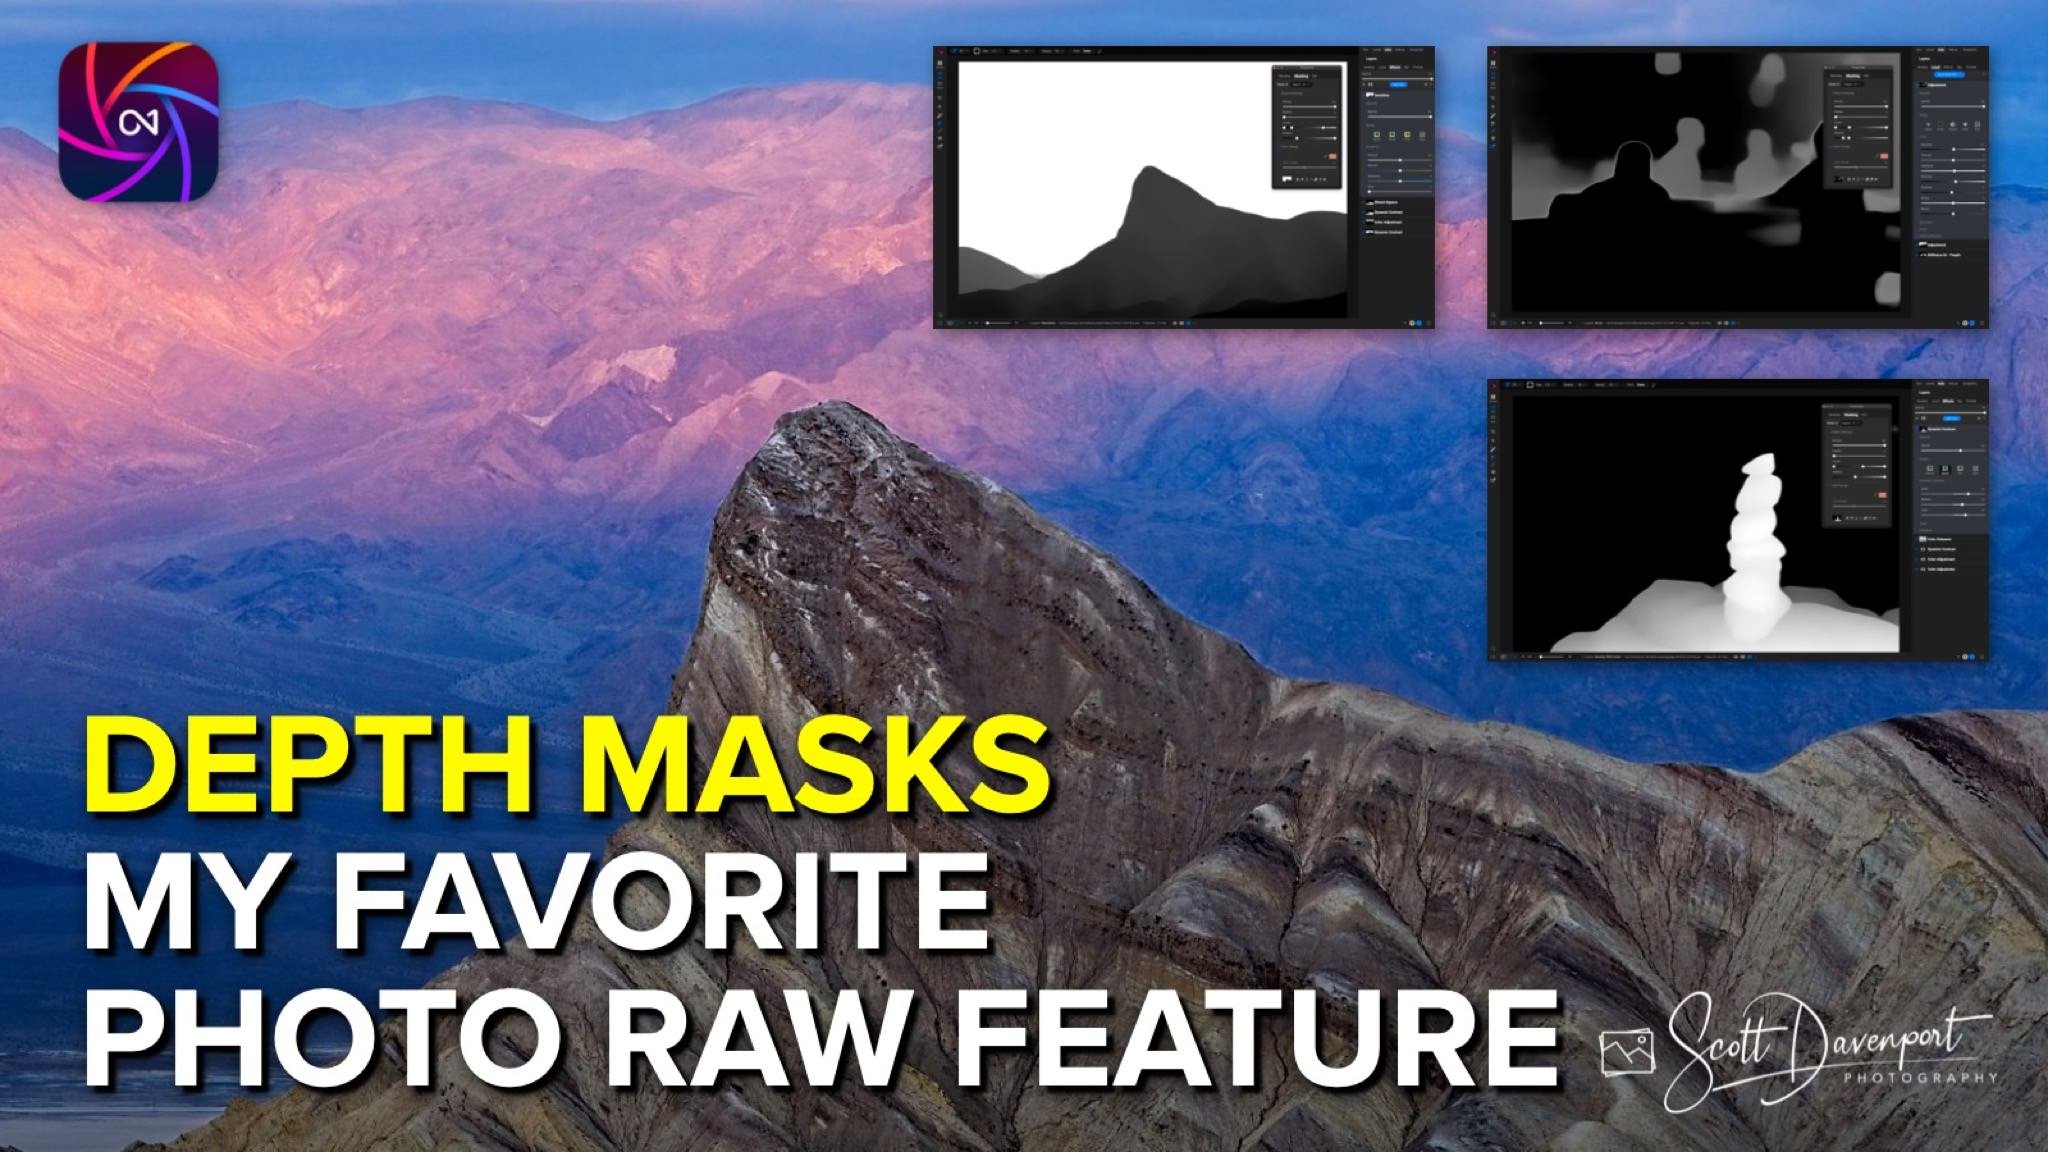
My favorite new feature in ON1 Photo RAW 2025 is Depth Masks. Why? Depth masks open up new, creative ways to select regions of your photos based on how near or far they are from the lens. The selections are nuanced yet natural, and speed up your editing workflow.
What Is A Depth Mask?
A Depth Mask is a special type of mask automatically made for you by ON1 Photo RAW. ON1 analyzes your photo and determines what elements are closer to the camera vs. farther away. Photo RAW analyzes the depth in the scene and allows you to refine a mask based on that analysis. Like all masks, portions of the photo are revealed (masked white) and other areas are concealed (masked black), with varying levels of opacity in between (masked shades of gray). Also, you can modify depth masks using the other ON1 masking tools, like gradients and brushes.
A depth mask in ON1 Photo RAW does not require your camera to capture and embed depth metadata into your RAW images. The analysis is AI-powered and you can use this new masking approach with any of your photos.
How Do I Use Depth Masks?
You can create a depth mask in ON1 Photo RAW for an Effects filter, Local Adjustment, or Layer. Click the Depth Mask icon in the tools at the bottom of the masking panel.
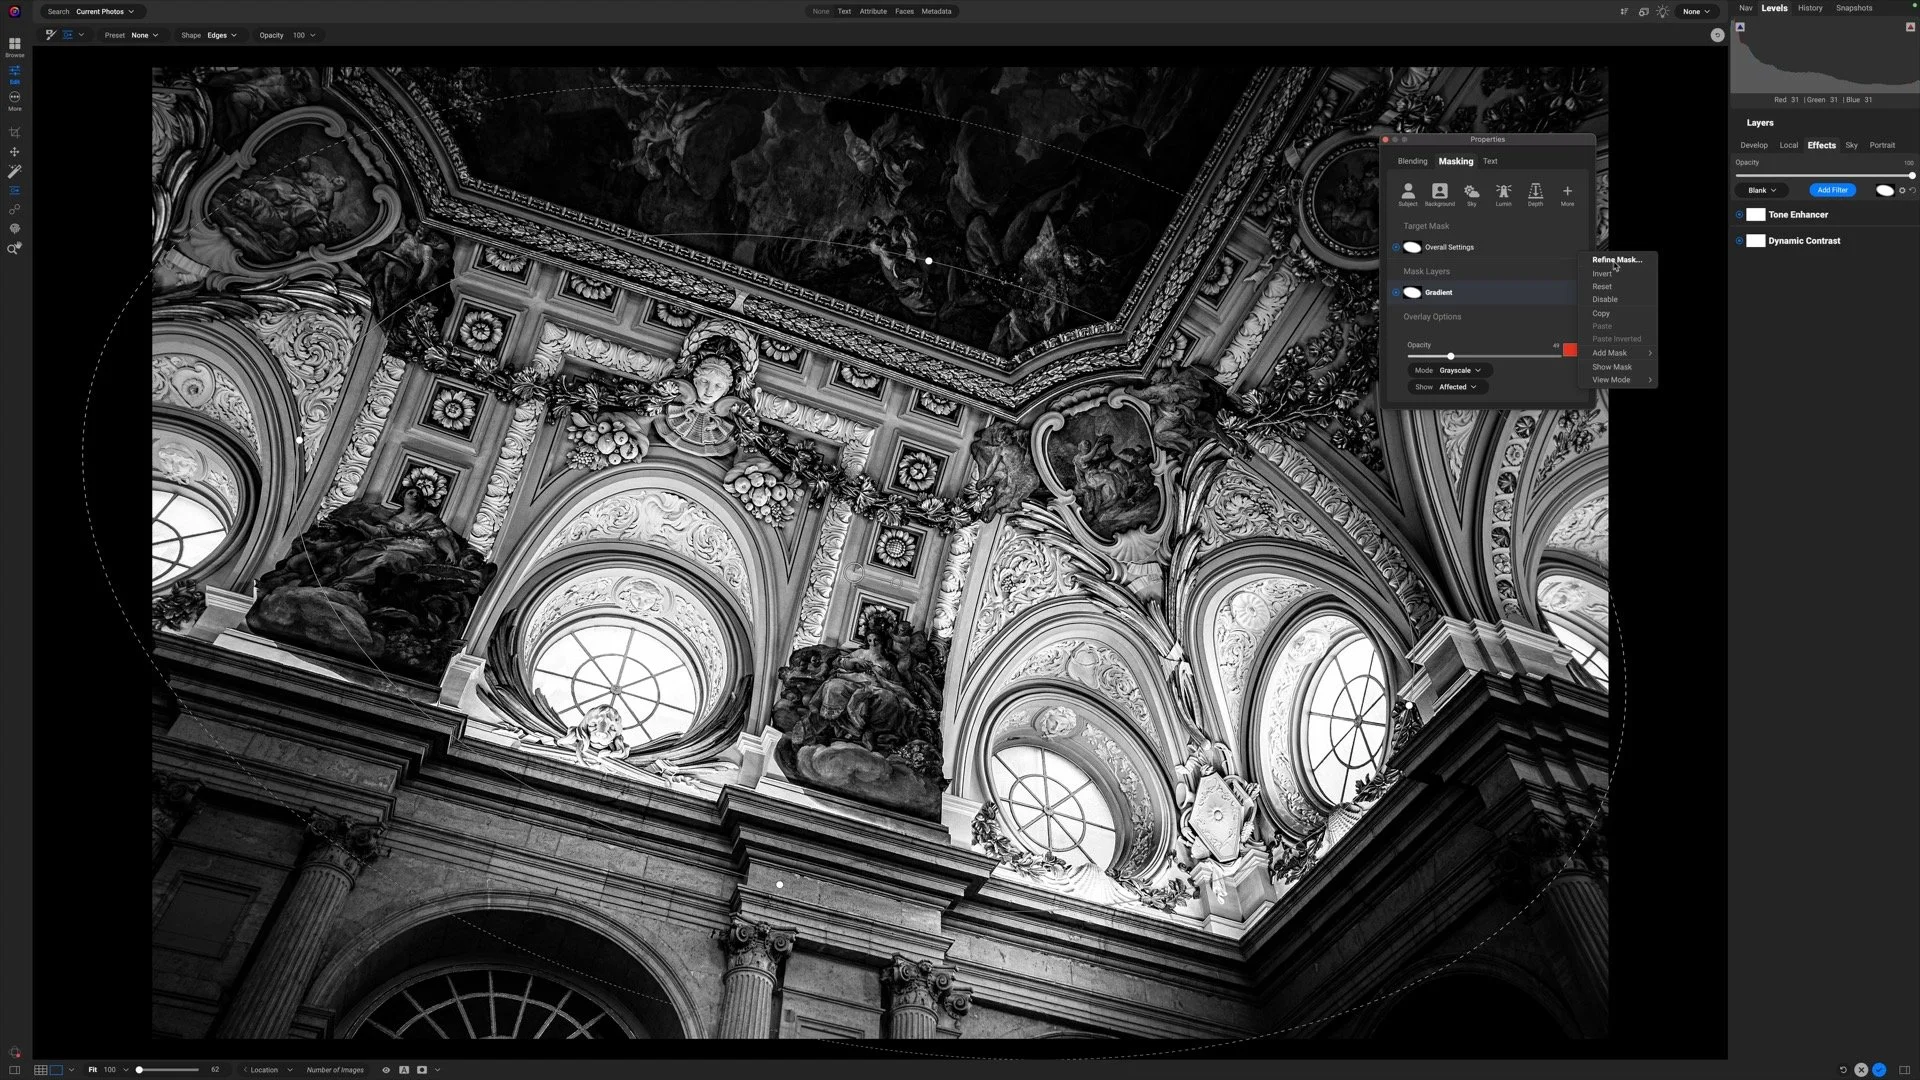
Depth Masks are found in the masking panel and you can use them anywhere you can mask in ON1. You can apply a depth mask to an Effects filter, a Local Adjustment, or a Layer. In the masking panel, there is a new icon for the Depth mask. Click the Depth Mask icon and then your photo is analyzed and the mask is created.
By default, the depth mask select elements in the foreground, masking those white or light gray. Adjust the Levels and Window sliders in the making panel to change what is masked. You can push the brighter areas of the mask to the midground or background and limit how much of the areas are affected. Work visually with a mask overlay while refining your depth mask to target just the elements you want to affect.
My recommended workflow is:
Decide what elements you want to impact with a filter or adjustment
Click the Depth Mask icon
Turn on the Mask View using the grayscale overlay
Adjust the Levels and Window sliders in the masking panel to refine the mask
Once you have your selection, push and pull the filter or adjustment sliders to apply style to the masked area.
Creating A Foreground Depth Mask
Selecting a foreground with a depth mask is straightforward because, by default, the depth masks targets foreground elements. In the photo below, a depth mask is used to apply more detail and local contrast to the cairn and foreground rocks. The workflow for this image was:
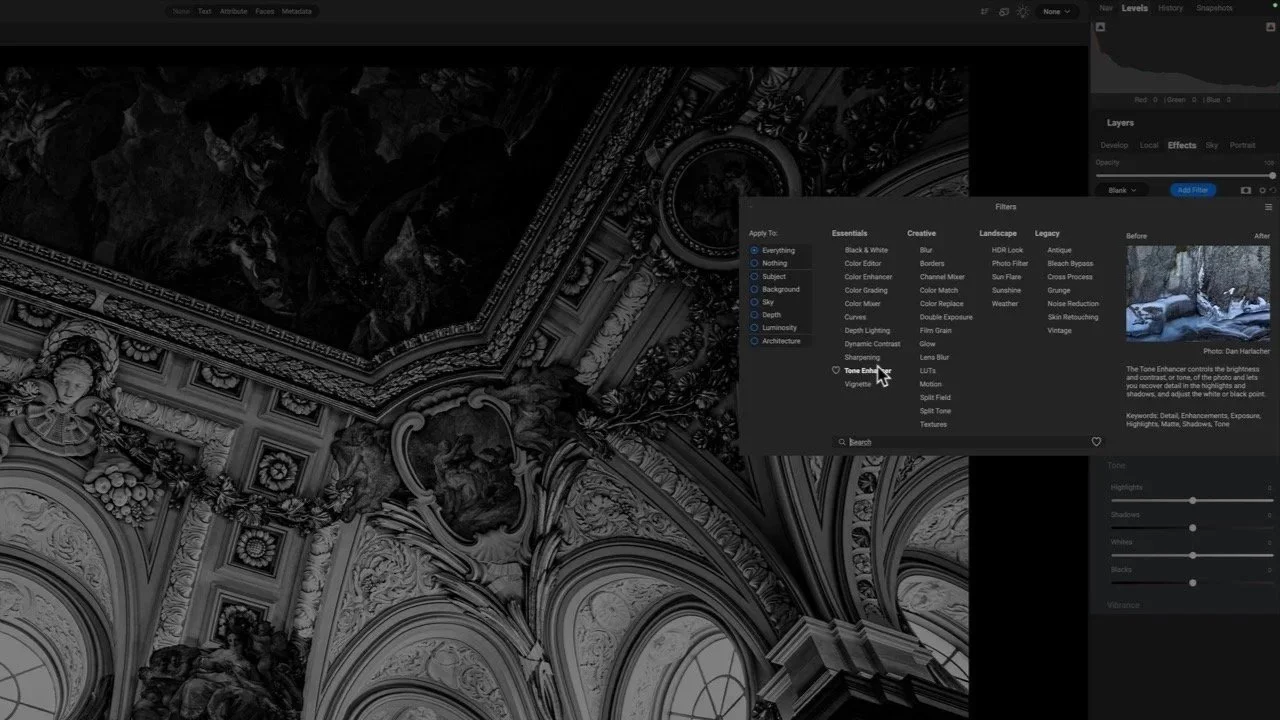
Add Dynamic Contrast to the filter stack and click its masking icon
Click the Depth Mask icon in the masking panel and turn on the mask view
Adjust the Levels and Window sliders to limit the mask to only the foreground cairn and rock (no beach)
Turn off the mask view and adjust the style of Dynamic Contrast (Surreal worked well for this image)
Pro tip: While Super Select AI can select an object or region, a depth mask provides a more nuanced mask with varying levels of impact (notice the shades of gray in the mask below).
Initial photo
A depth mask selecting foreground elements
Detail selectively applied to the foreground in a smooth, natural way
Creating A Background Depth Mask
You can target the background of your photo with a depth mask, too. However, you may not be able to affect the background with just Levels and Window sliders adjustments. Instead, apply the depth mask and then invert it. By default, the depth mask will affect elements in the foreground. Inverting the mask switches that to affect the background.
In the photo below, a Sunshine glow was added to the just the background. The workflow for this photo was:
Add a Sunshine filter to the filter stack and click its masking icon
Click the Depth Mask icon in the masking panel and turn on the mask view
Adjust the Levels and Window sliders to limit the mask to only the foreground cairn and rock (no beach)
Turn off the mask view and adjust the style of Sunshine filter
Pro tip: Invert a depth mask to target background elements in your photo.
Initial image
A depth mask selecting the background
Warmth and a little vibrance added to the background with a depth range mask
Creating A Midground Depth Mask
Midground selections may take a little more work yet are well within reach after a couple of clicks and slider adjustments. Create the depth mask and adjust the Window and Levels sliders. If the elements in the midground cannot be targeted to your satisfaction, invert the mask. Then, continue using the Window and Levels sliders to refine the mask. This is where working visually with the grayscale mask overlay is helpful to visualize what parts of your photo are masked.
In the photo below, a slight brightening was added to the two people behind the bar. The workflow for this photo was:
Add a Local Adjustment and click its masking icon
Click the Depth Mask icon in the masking panel and turn on the mask view
Adjust the Levels and Window sliders so the people behind the bar are mostly masked white
Refine the mask with a Gradient Mask and Masking Brush to paint out any straggling areas of the mask
Turn off the mask view and adjust the style of the Local Adjustment
Pro tip: After crafting your depth mask, use the other masking tools to refine the mask.
Initial image
A depth mask selecting the midground
A slight brightening of the people behind the bar with a depth mask
Conclusion
Depth Masks are versatile and easy to create with ON1 Photo RAW 2025. It’s a great tool to build complex masks quickly and target elements on a given focal plane. Even in cases where Super Select AI can select an object readily, depth masks provide another option for masking.
