

ON1 Learning Center

Save 20% off ON1 Photo RAW. Use the offer code SDP20 at checkout.
ON1 Photo RAW is a blazingly fast RAW photo editor that enables you to create amazing photos. Its Effects module is a major component of my photography workflow. Whether you are looking for a standalone editor or a plugin to your existing workflow, this page has a series of FREE tutorials to get you moving quickly.
If you are trying ON1 Photo RAW or other ON1 products, please consider using my affiliate link. There is no extra cost to you and it helps support ON1 tutorials like these. Use the offer code SDP20 at checkout and SAVE 20%!
Recent ON1 Tutorials
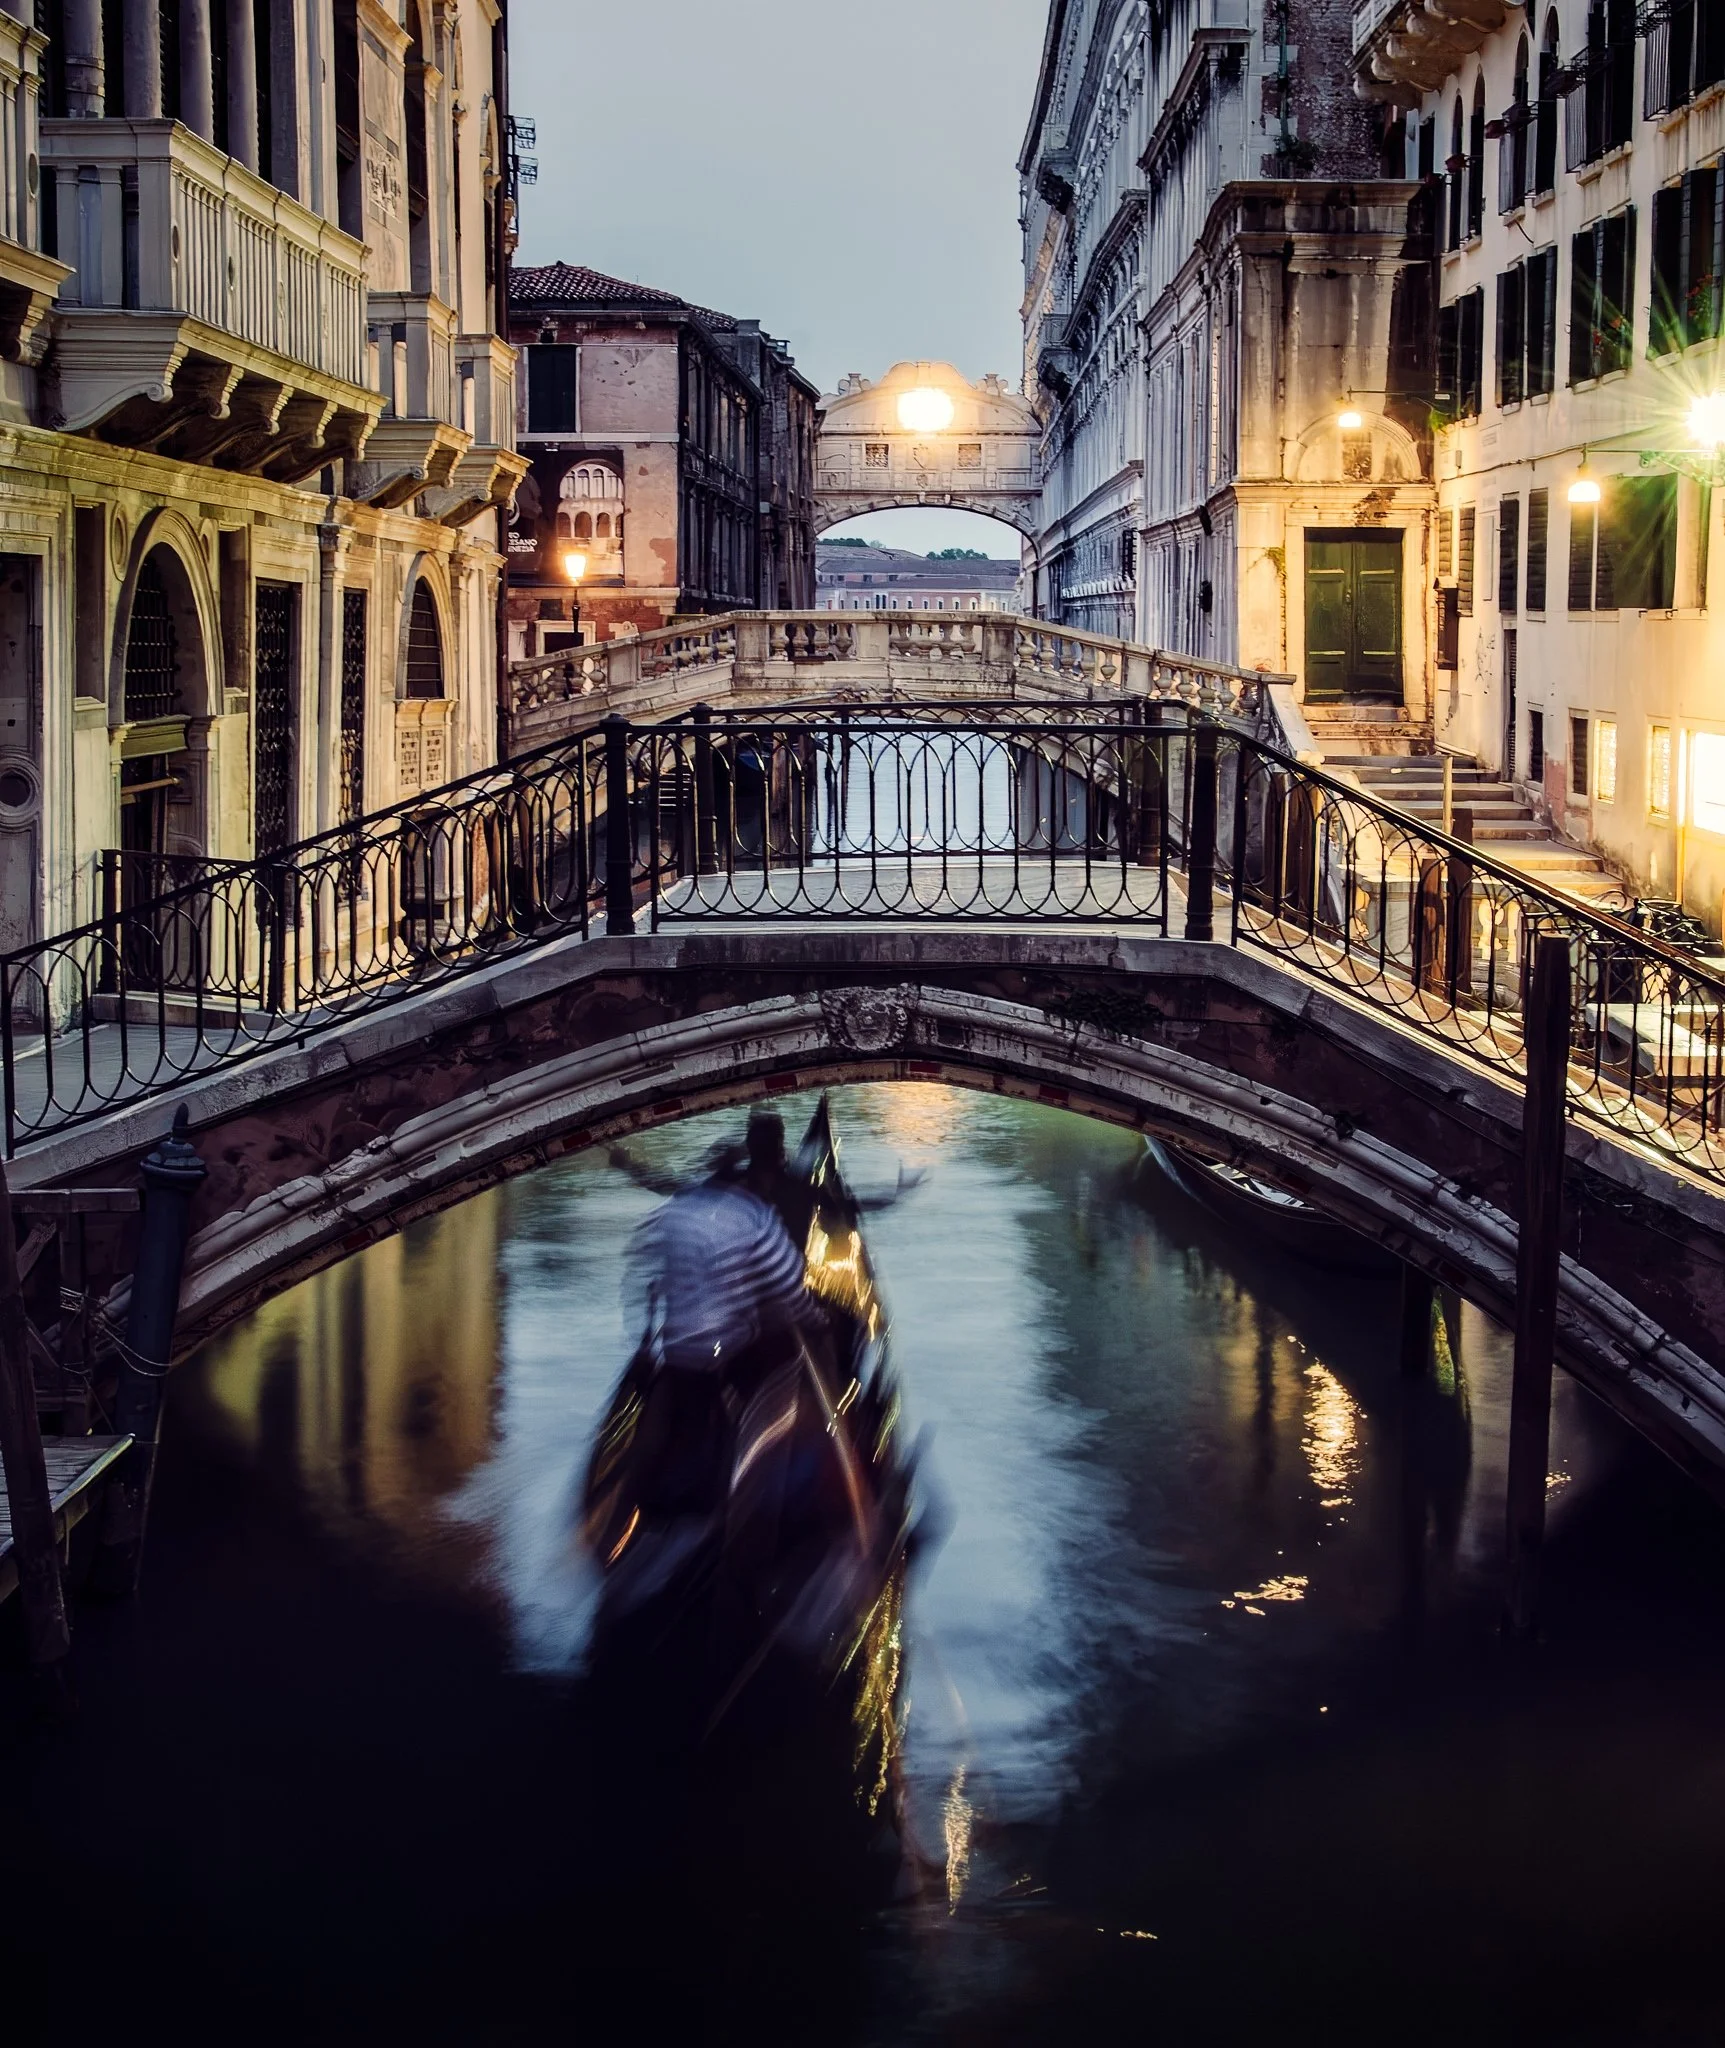
Tack Sharp can correct camera shake remarkably well, but applying it across an entire photograph can sharpen areas you intentionally want to keep soft. Water, reflections, and moving subjects can quickly lose their natural character.
By combining Tack Sharp with layers and masks in ON1 Photo RAW, you can correct softness selectively. This approach preserves intentional motion while sharpening the stationary parts of the scene that need help.
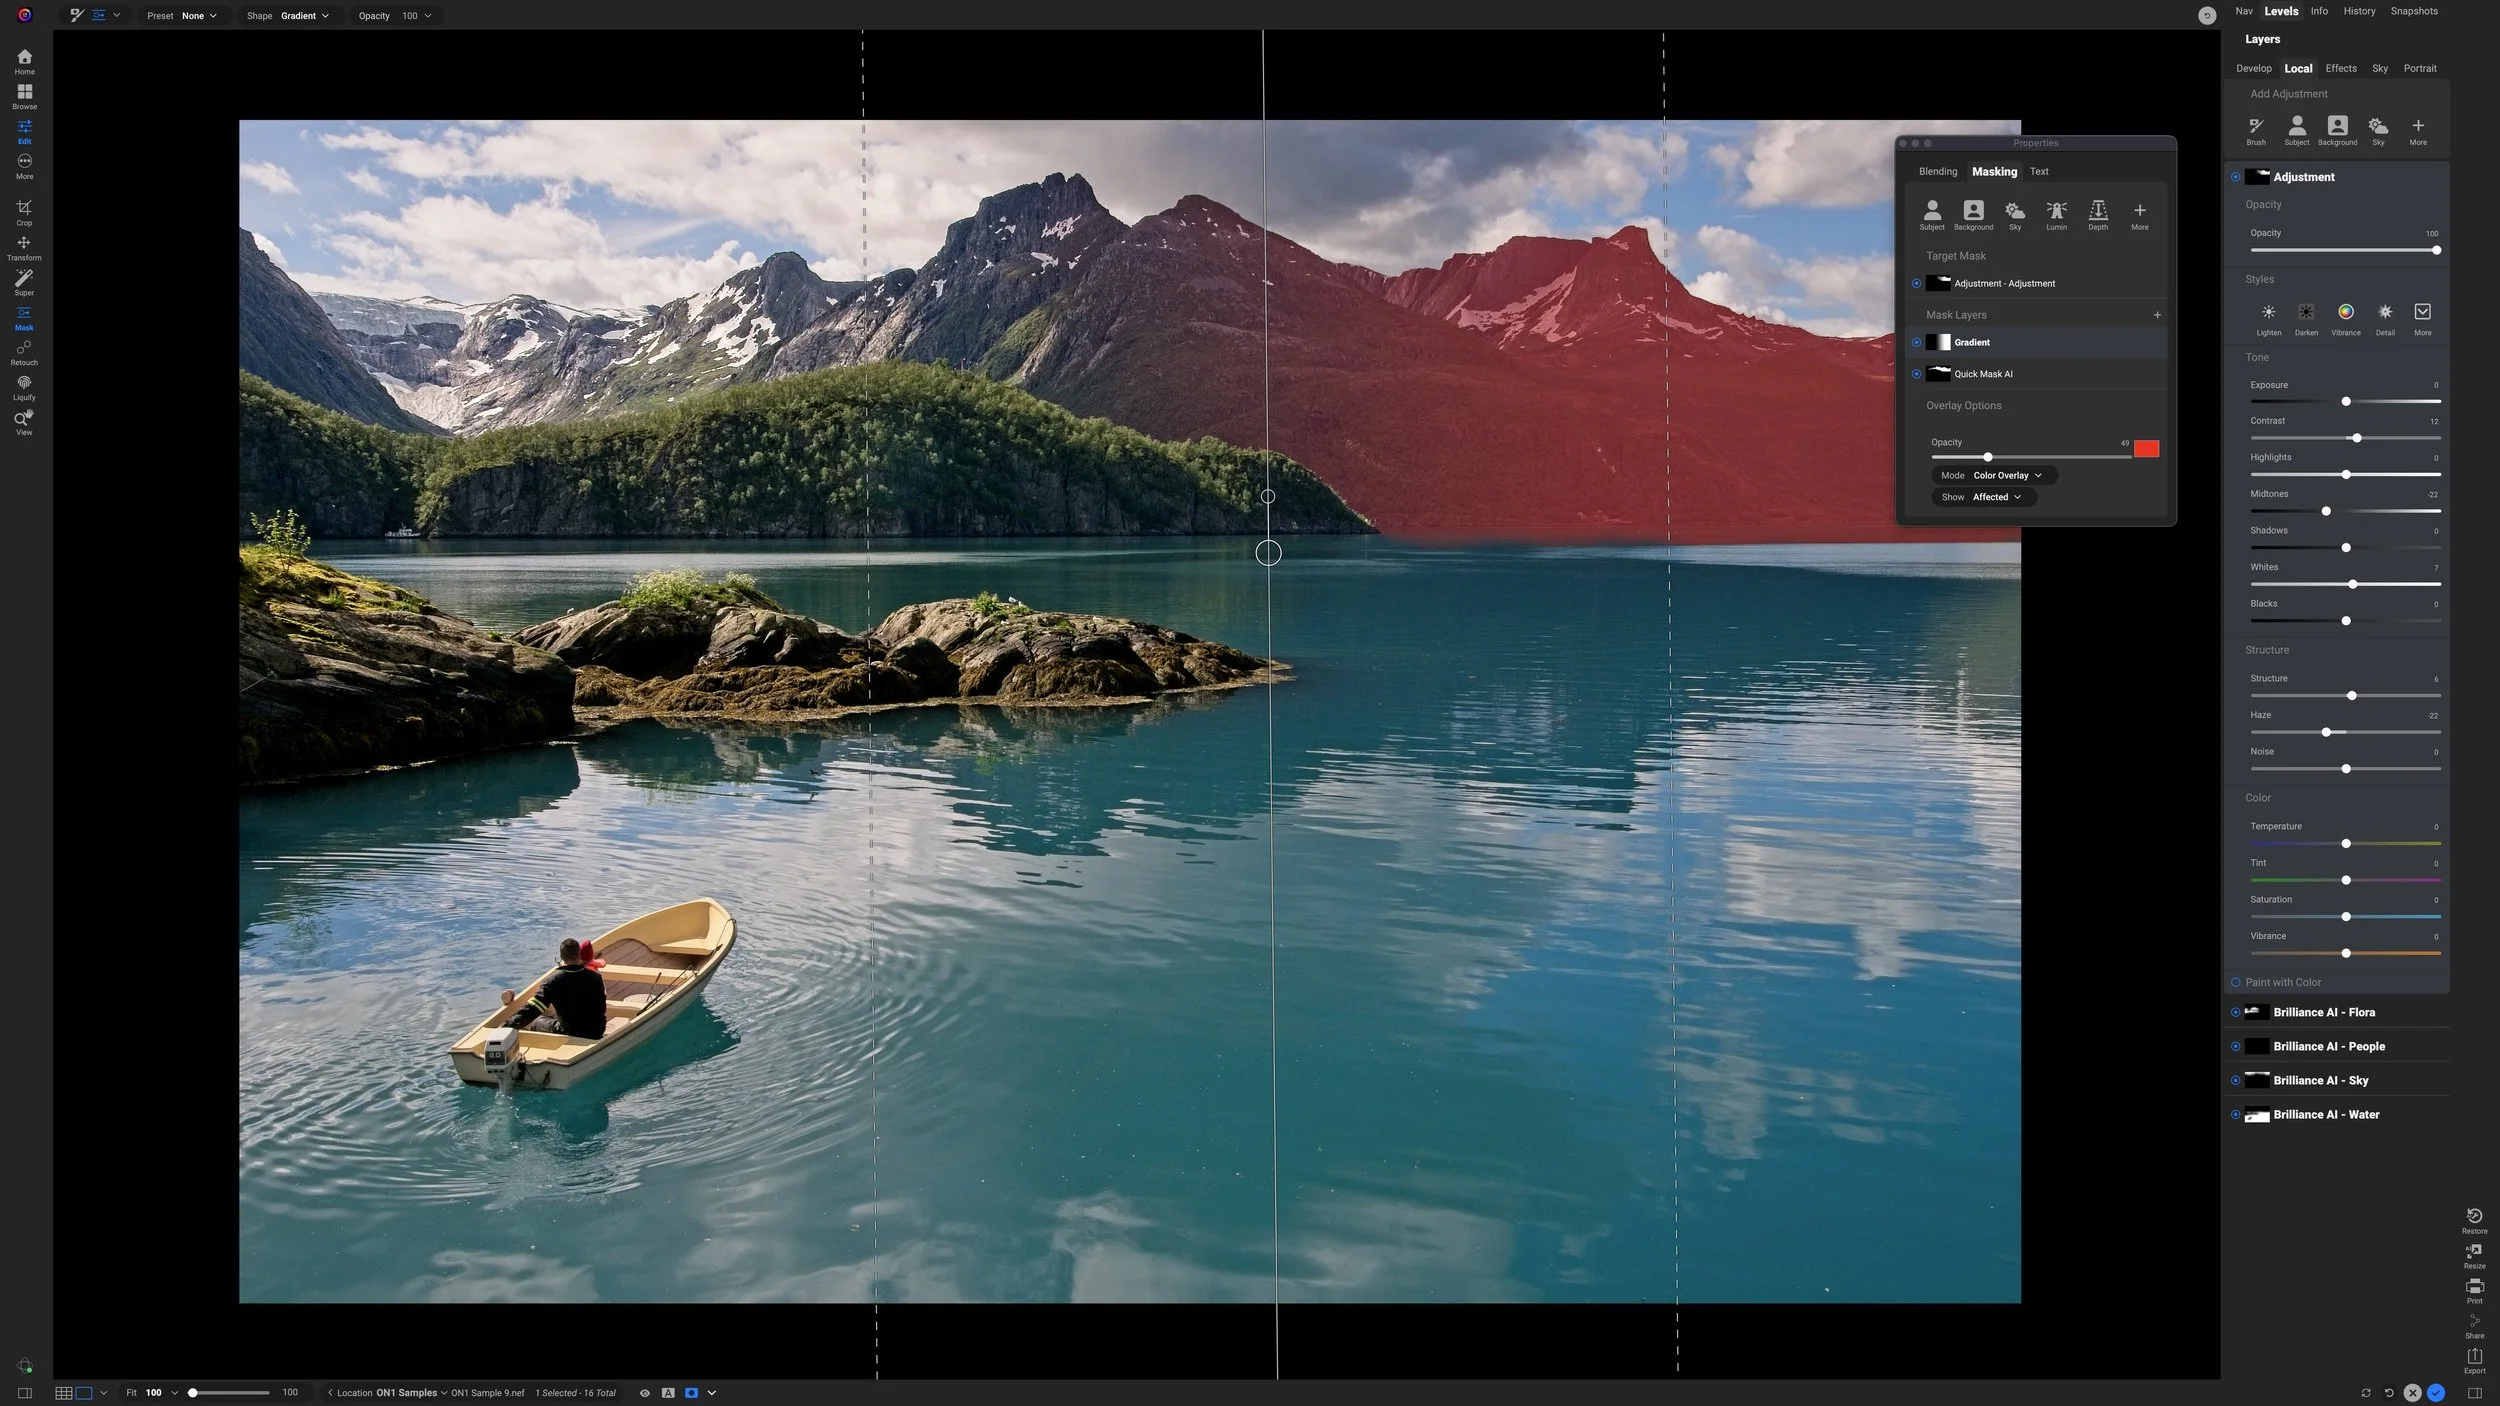
What if your mask selects the right subject, but you don’t want the adjustment applied evenly across all of it?
In this tutorial, I combine an AI mask with a gradient using Intersect mode in ON1 Photo RAW. The result keeps the adjustment confined to the mountains while letting its strength fade naturally across the scene.
The ON1 Masking Panel generates more questions than almost any other feature in Photo RAW. Here's the funny thing: most photographers don't actually need to use it.

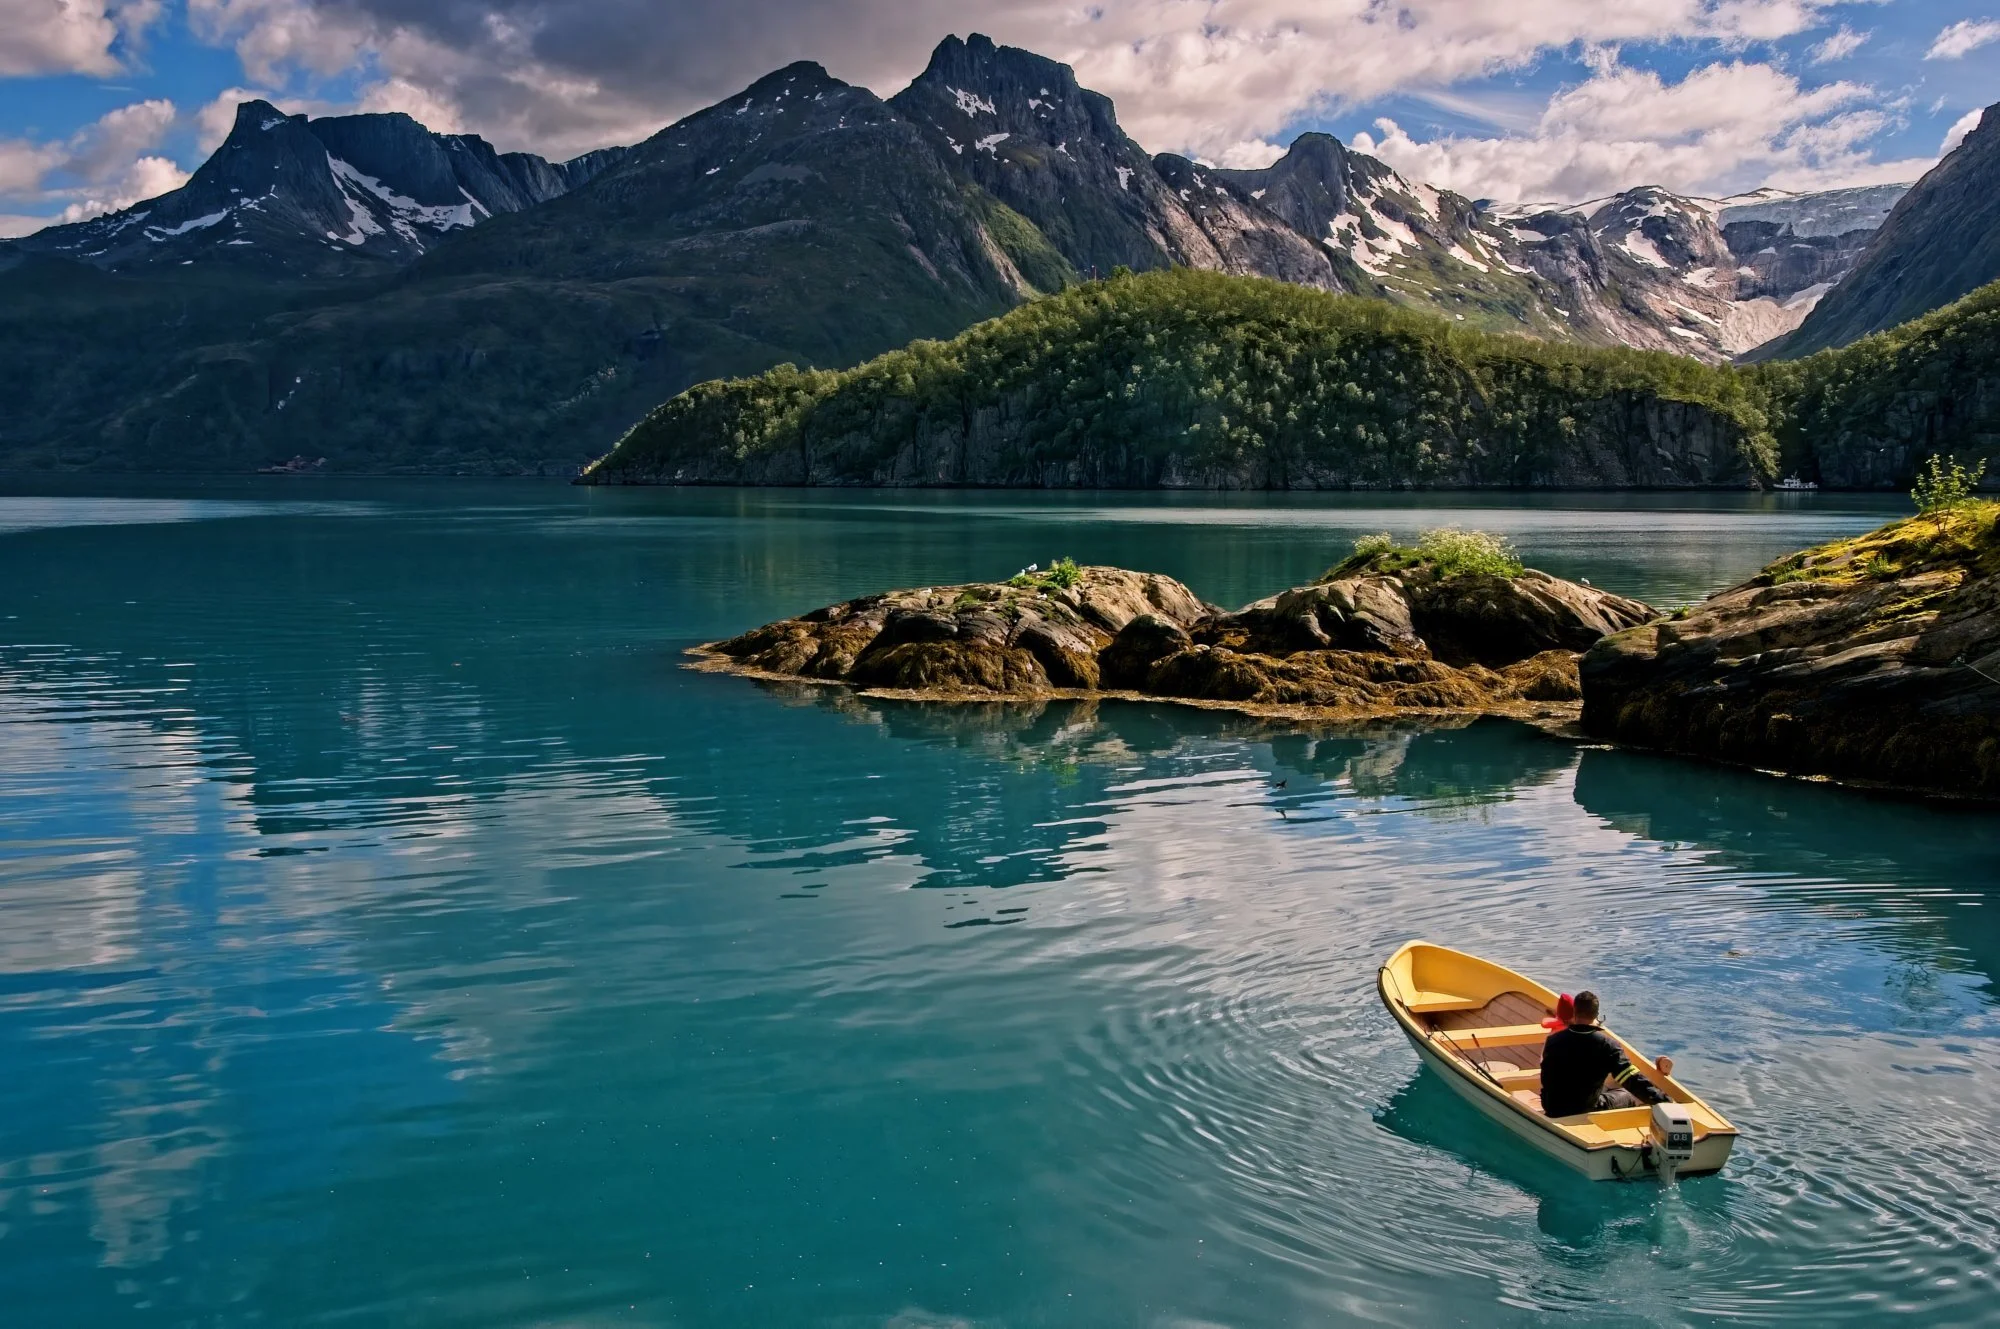
A subtle color shift can completely change the mood of a landscape photo. In this new ON1 Effects tutorial, I build a cool-toned Winter Chill look that better matches the cold, misty feeling of the scene.
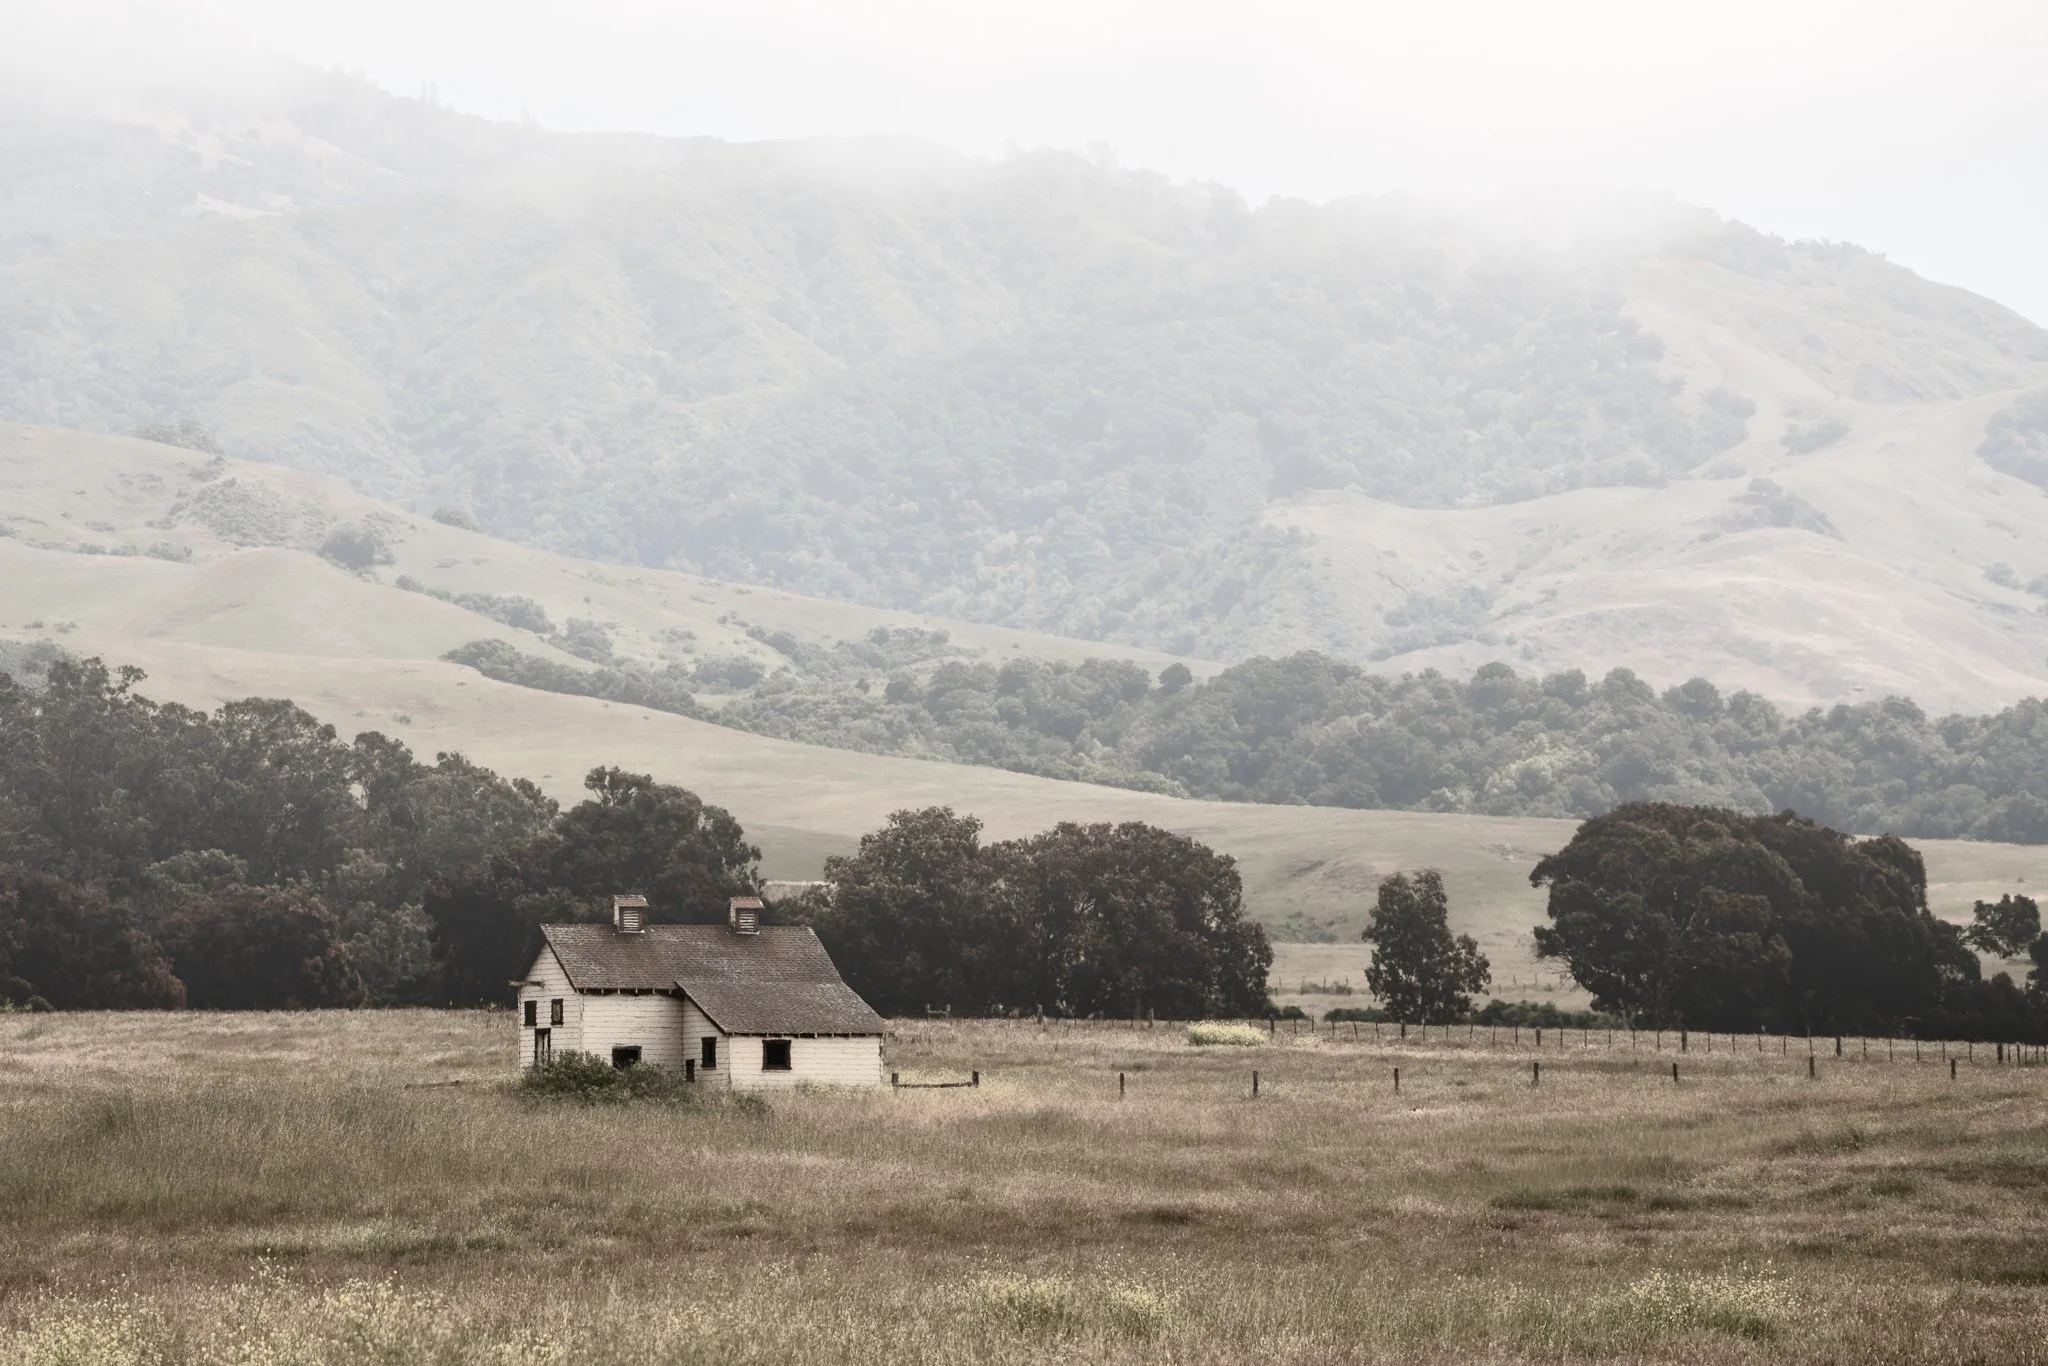
Fog is easy to add—but making it look natural takes more control than a single filter. Use Depth Mask in ON1 Effects to shape atmosphere with distance and bring realism back into the scene.
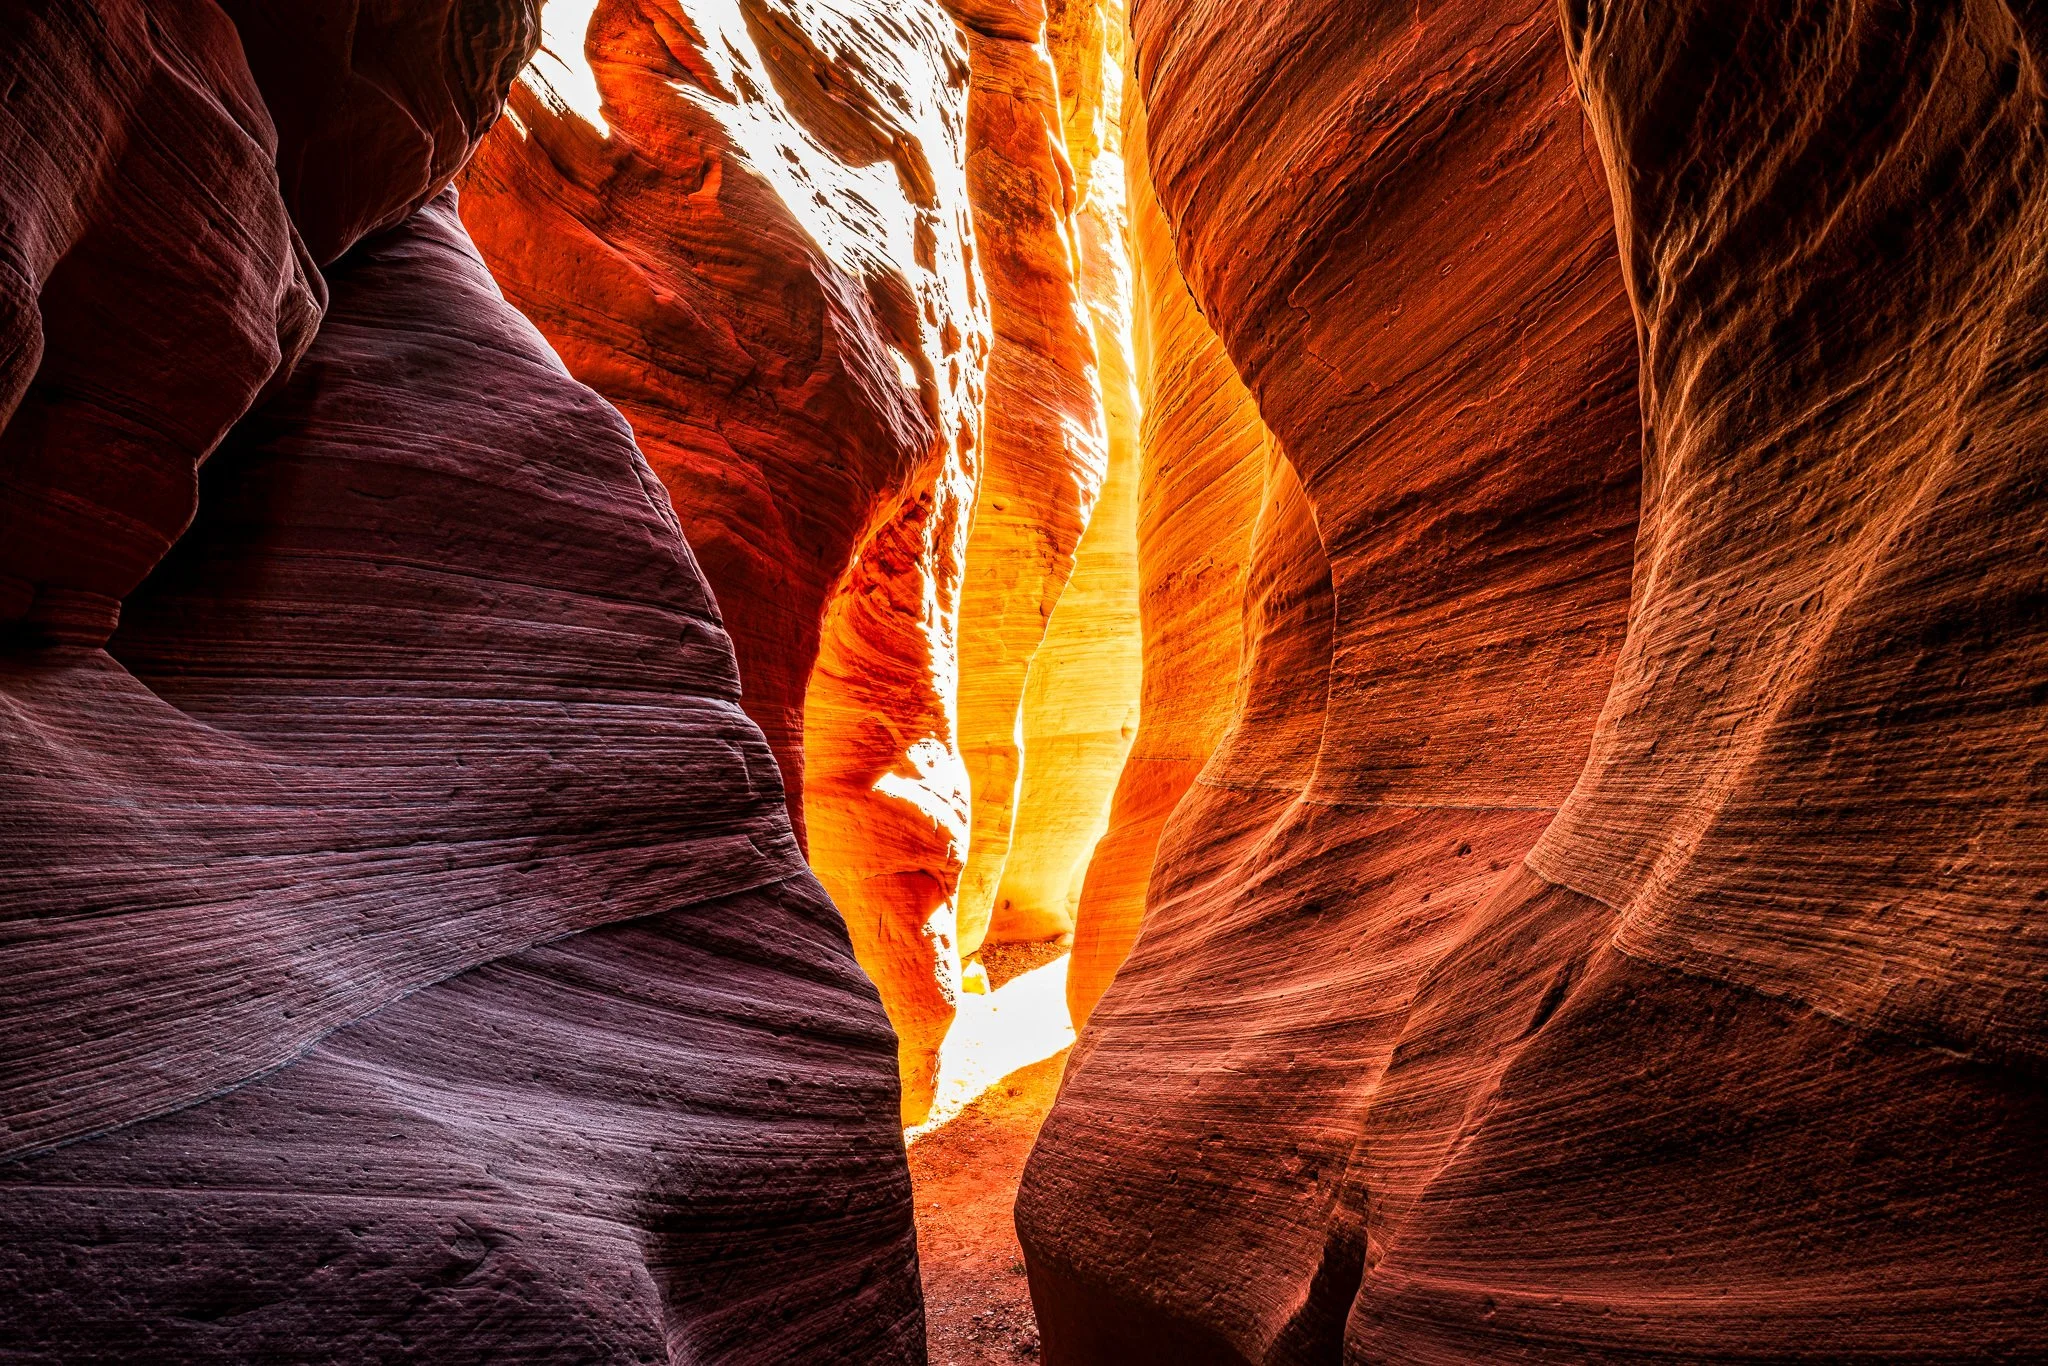
Want to edit foreground and background separately without brushing? In this video, I show how ON1’s Depth Mask lets you apply contrast up close and glow in the distance using a single slider—perfect for deep scenes like slot canyons.
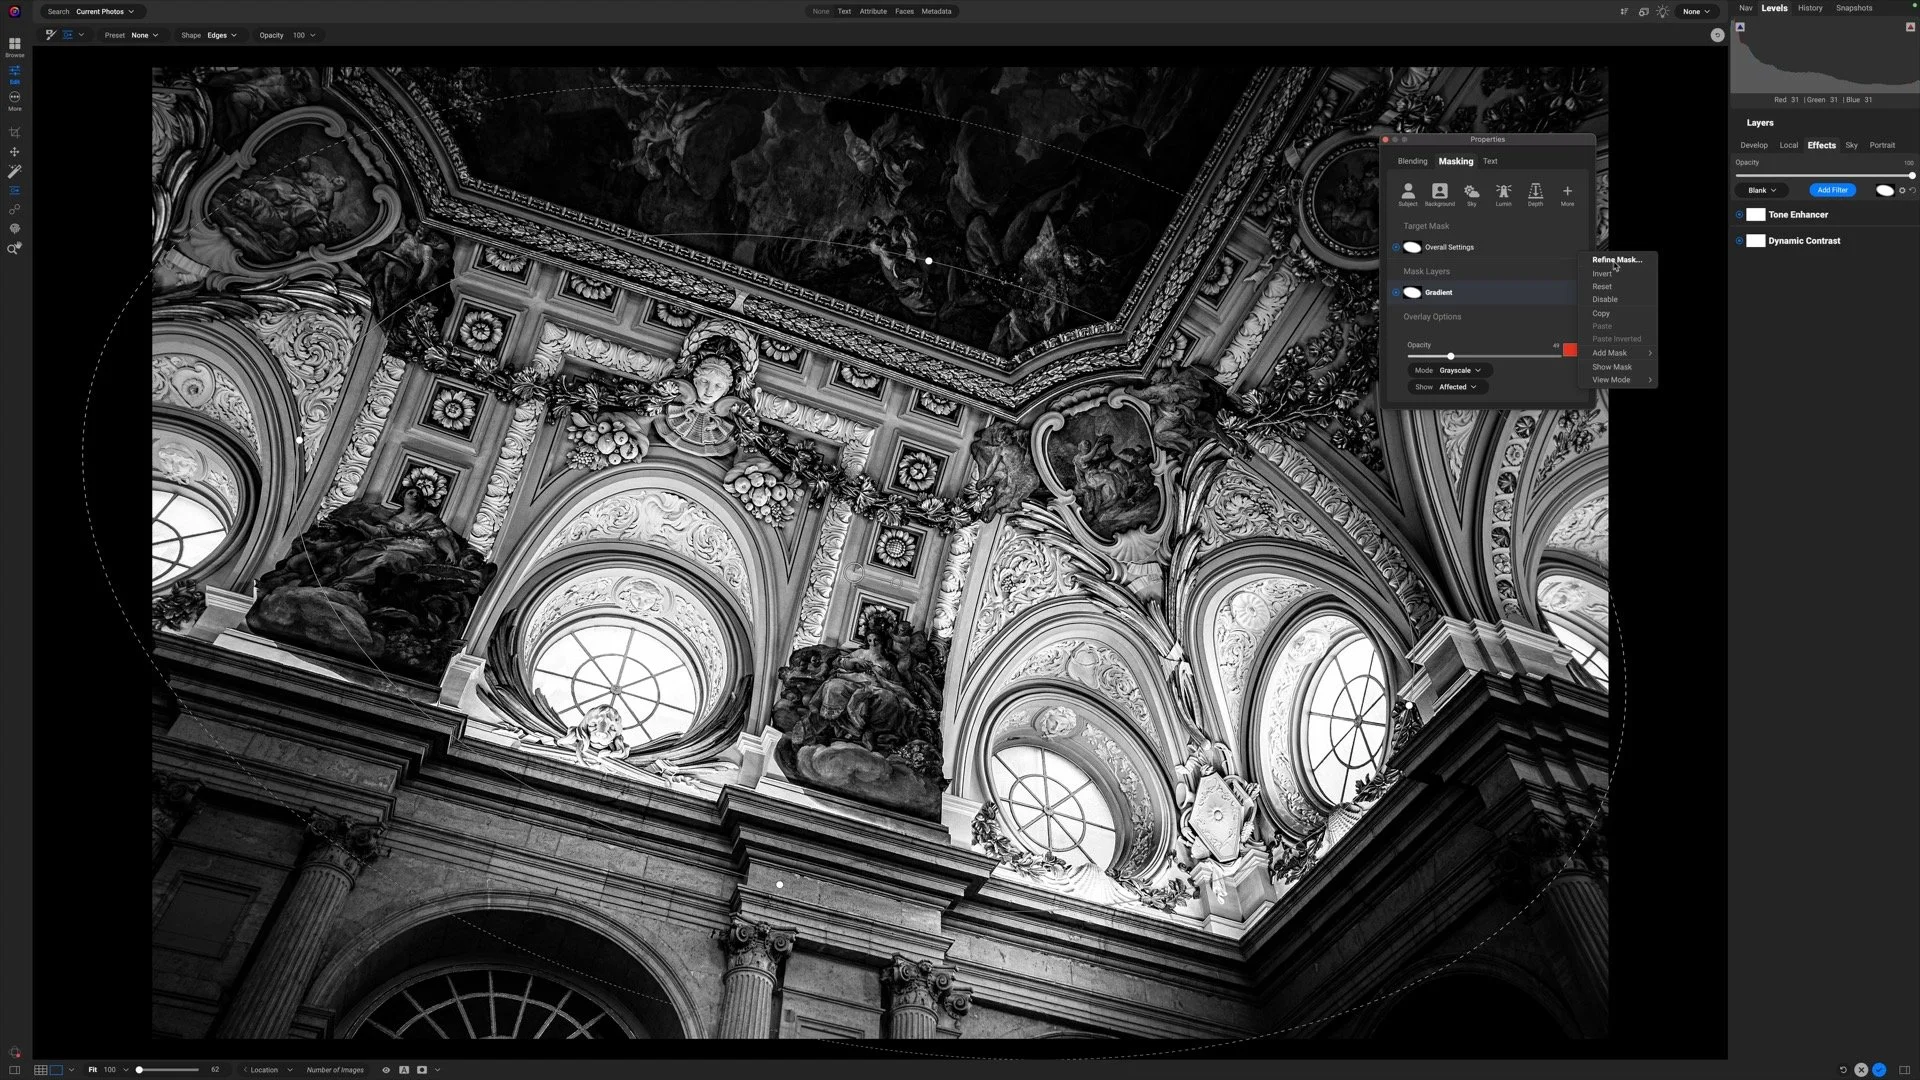
Selective detail can make or break a black and white photograph. In this video, I show how to focus attention where it matters most while keeping the rest of the image soft and cohesive.
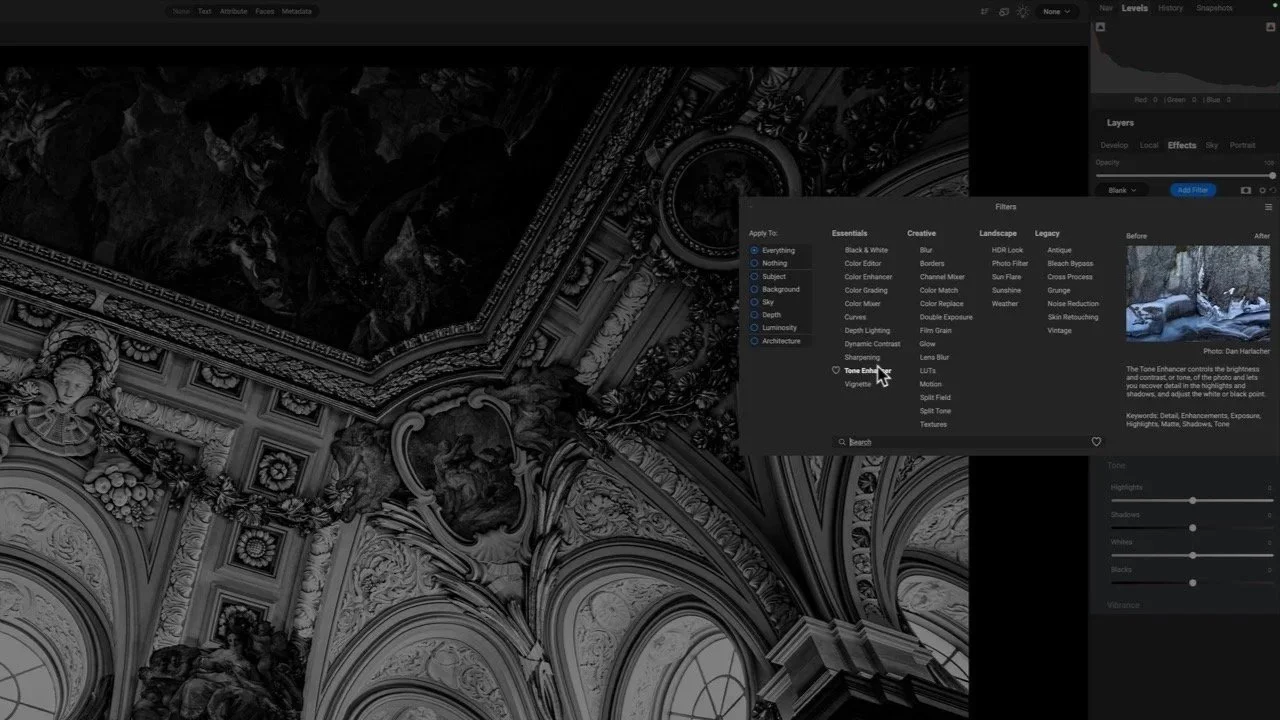
This image is packed with beautiful detail—but it needs a thoughtful touch to shine. I’ll show how Dynamic Contrast and Tone Enhancer in ON1 bring out texture and structure without pushing the photo too far.
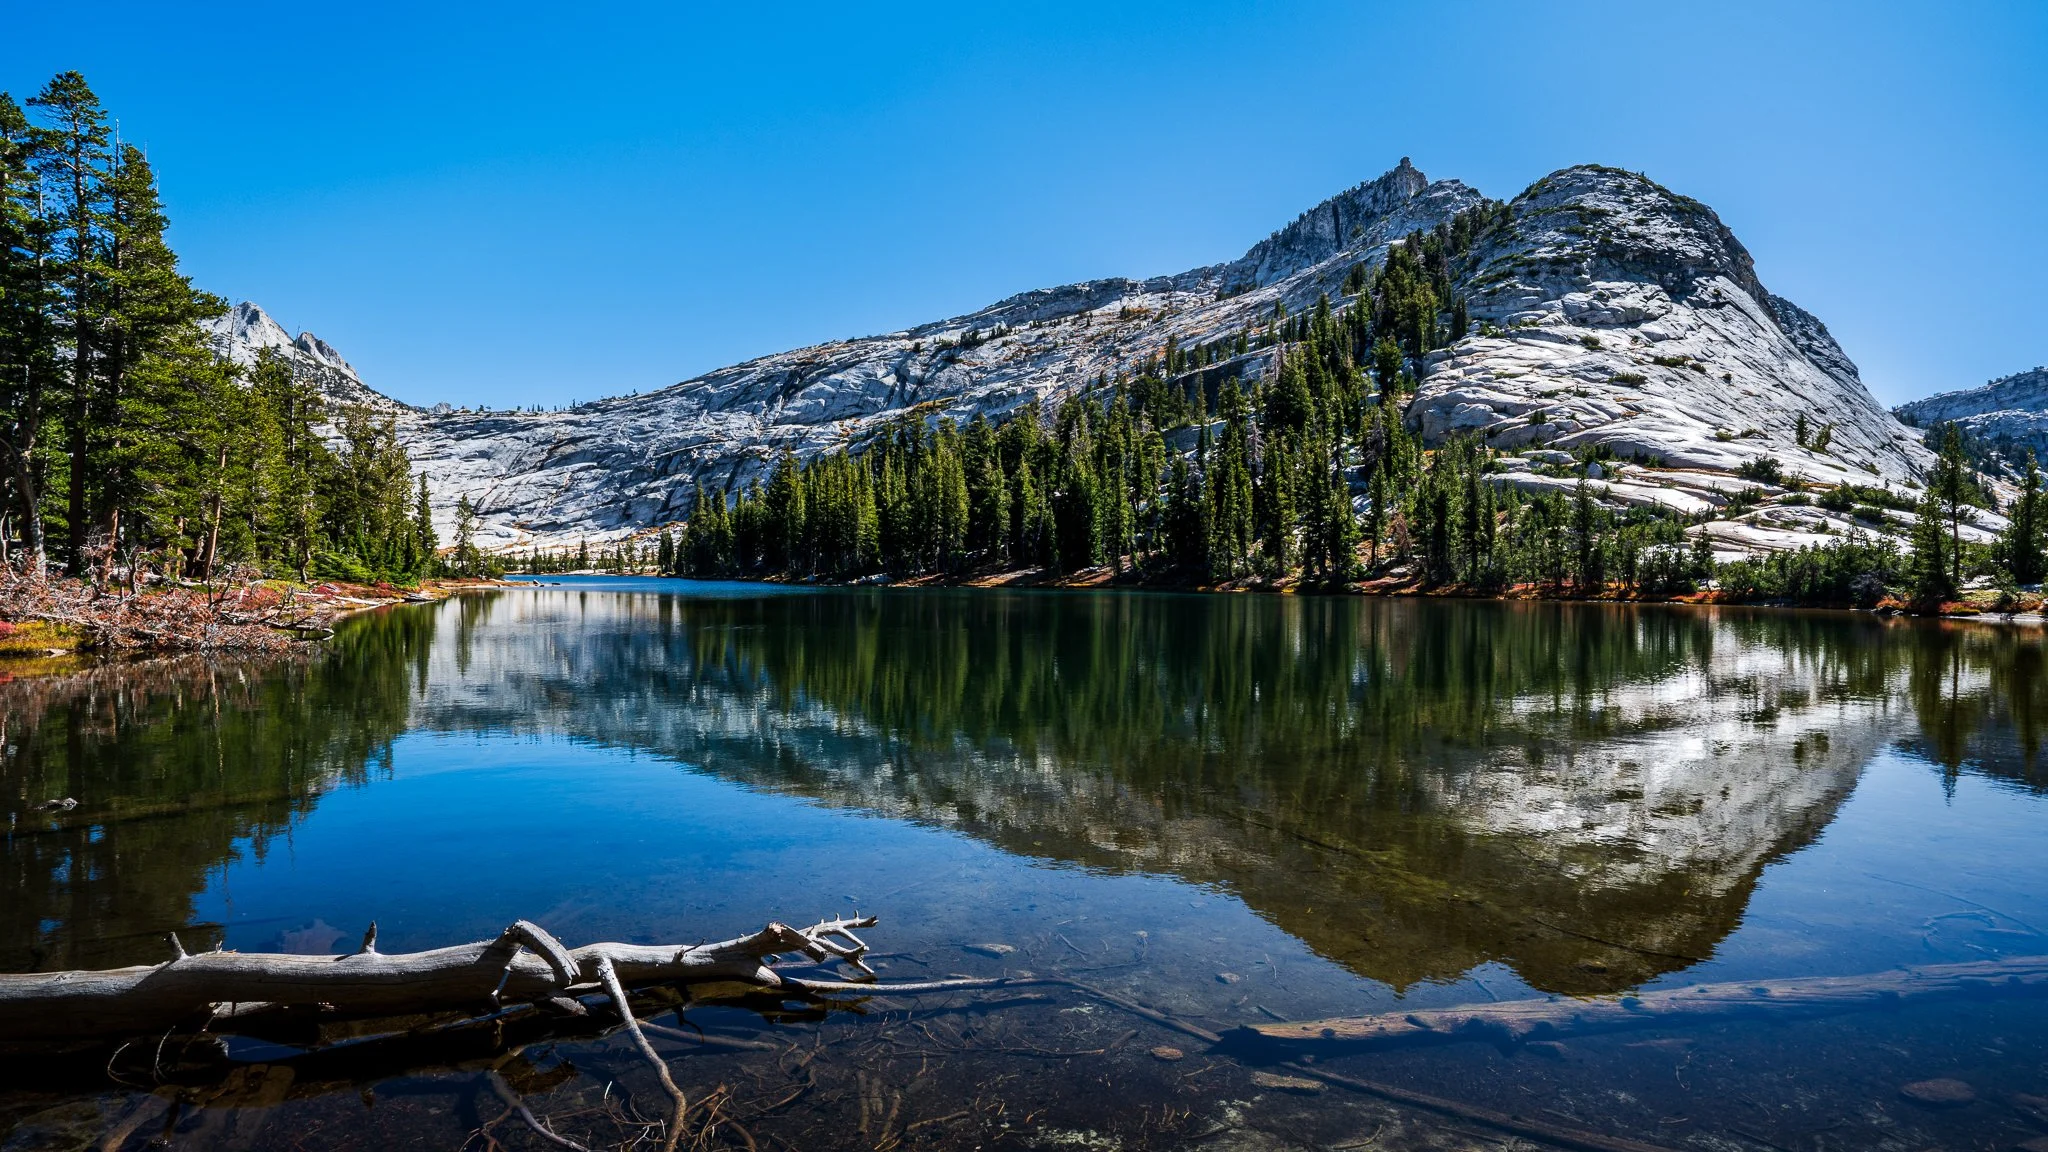
Learn how to brighten highlights in reflections without affecting the shadows or midtones. In this tutorial, I walk through a precise masking approach using a luminosity mask and a brush tool to keep the adjustment clean and natural.
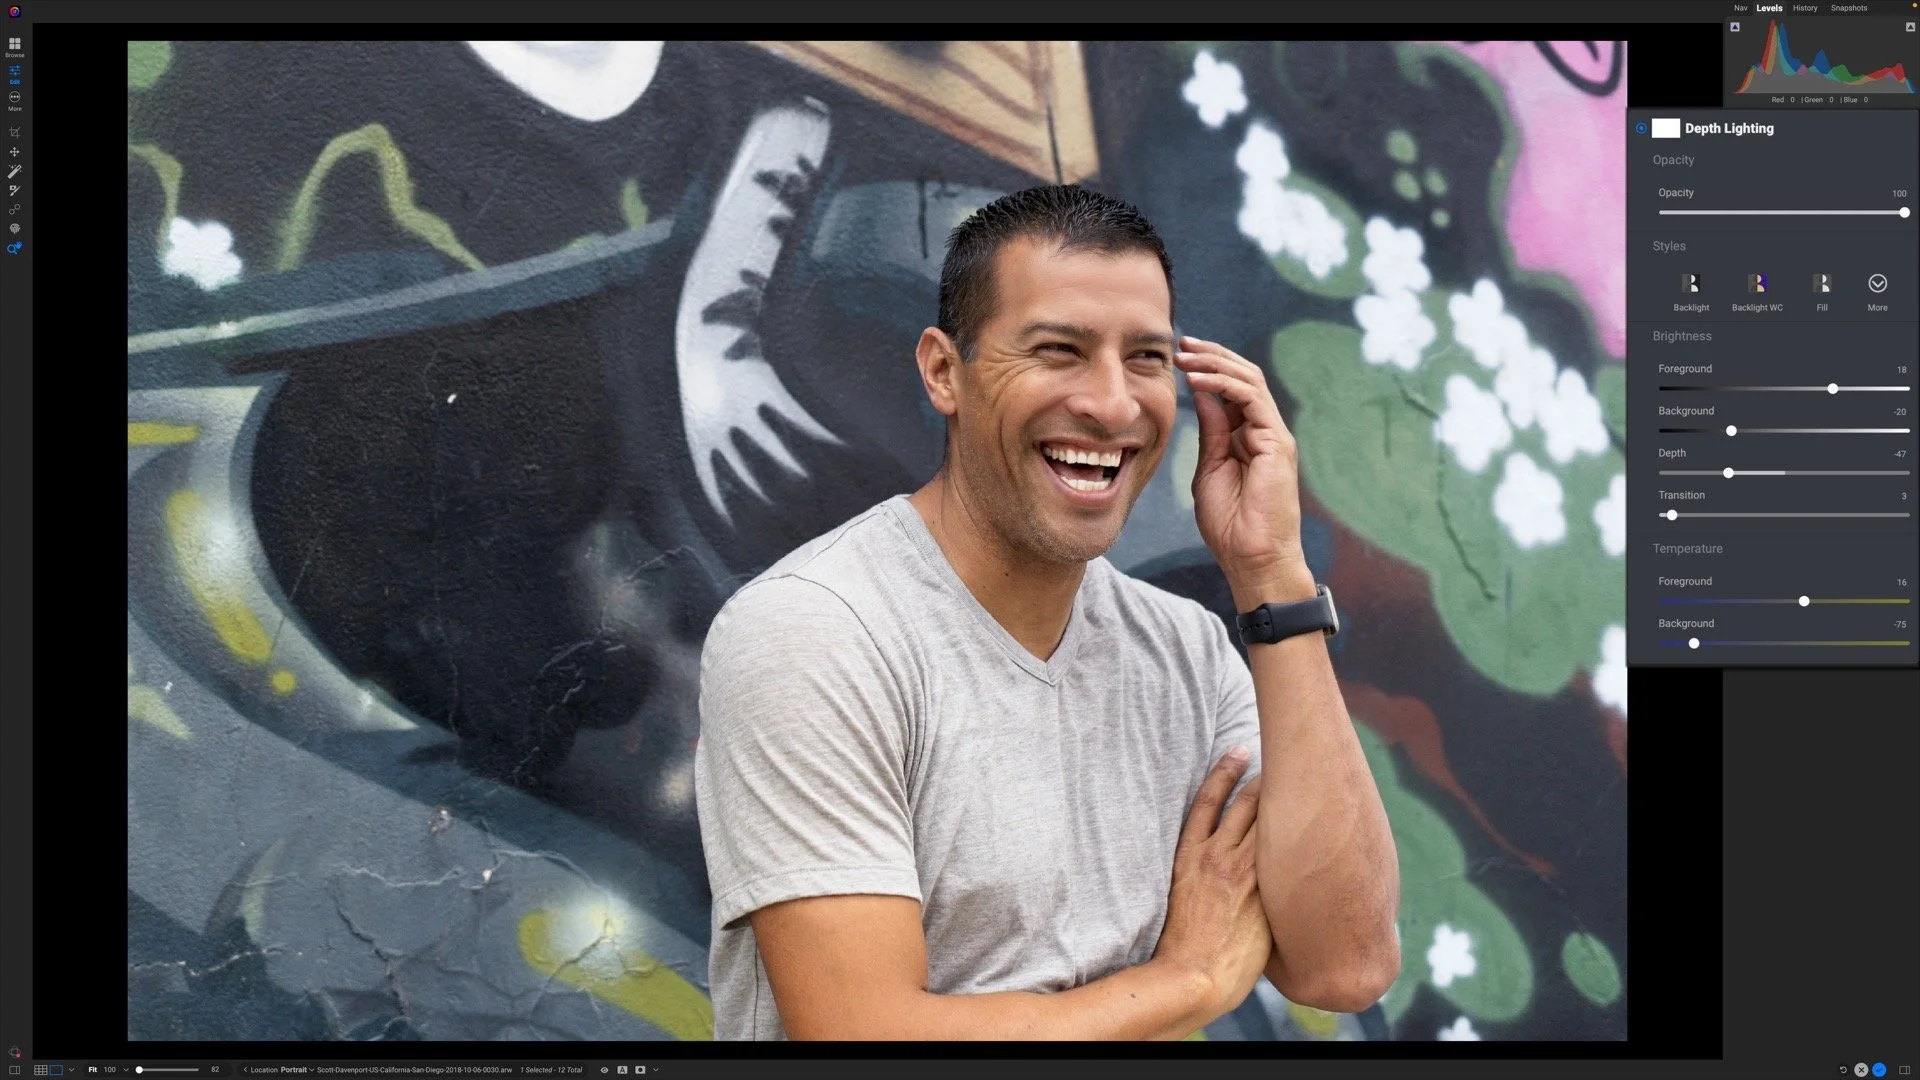
The new Depth Lighting filter in ON1 Photo RAW 2026 lets you shape light with incredible realism — no manual masking required.

The new Intersect mode in ON1 Photo RAW 2026 makes it simple to craft precise, detailed masks in seconds. Learn how to combine multiple selections to isolate exactly where your adjustments apply — with total control and minimal effort.
ON1 Masking Mini-Series

The Exclusion blending mode is a challenging one to explain without diving into math. And I won’t do that. Instead, I’ll show you how to use it for color grading.

Difference, as its name suggests, measures differences between two layers. I use this blending mode when I need to manually align layers.

If an ON1 Effects filter shifts color in an unwanted way, try using the Luminosity blending mode. Luminosity deals only with brightness values, protecting your photo’s hue and saturation.

The contrast increase from Vivid Light is a strong one and can overpower a scene. Temper its Opacity - and try it out for color grading (my preferred use for this blending mode).

The Soft Light blending mode has a more subdued touch than the Overlay mode. I like this mode for subtler texture blends.
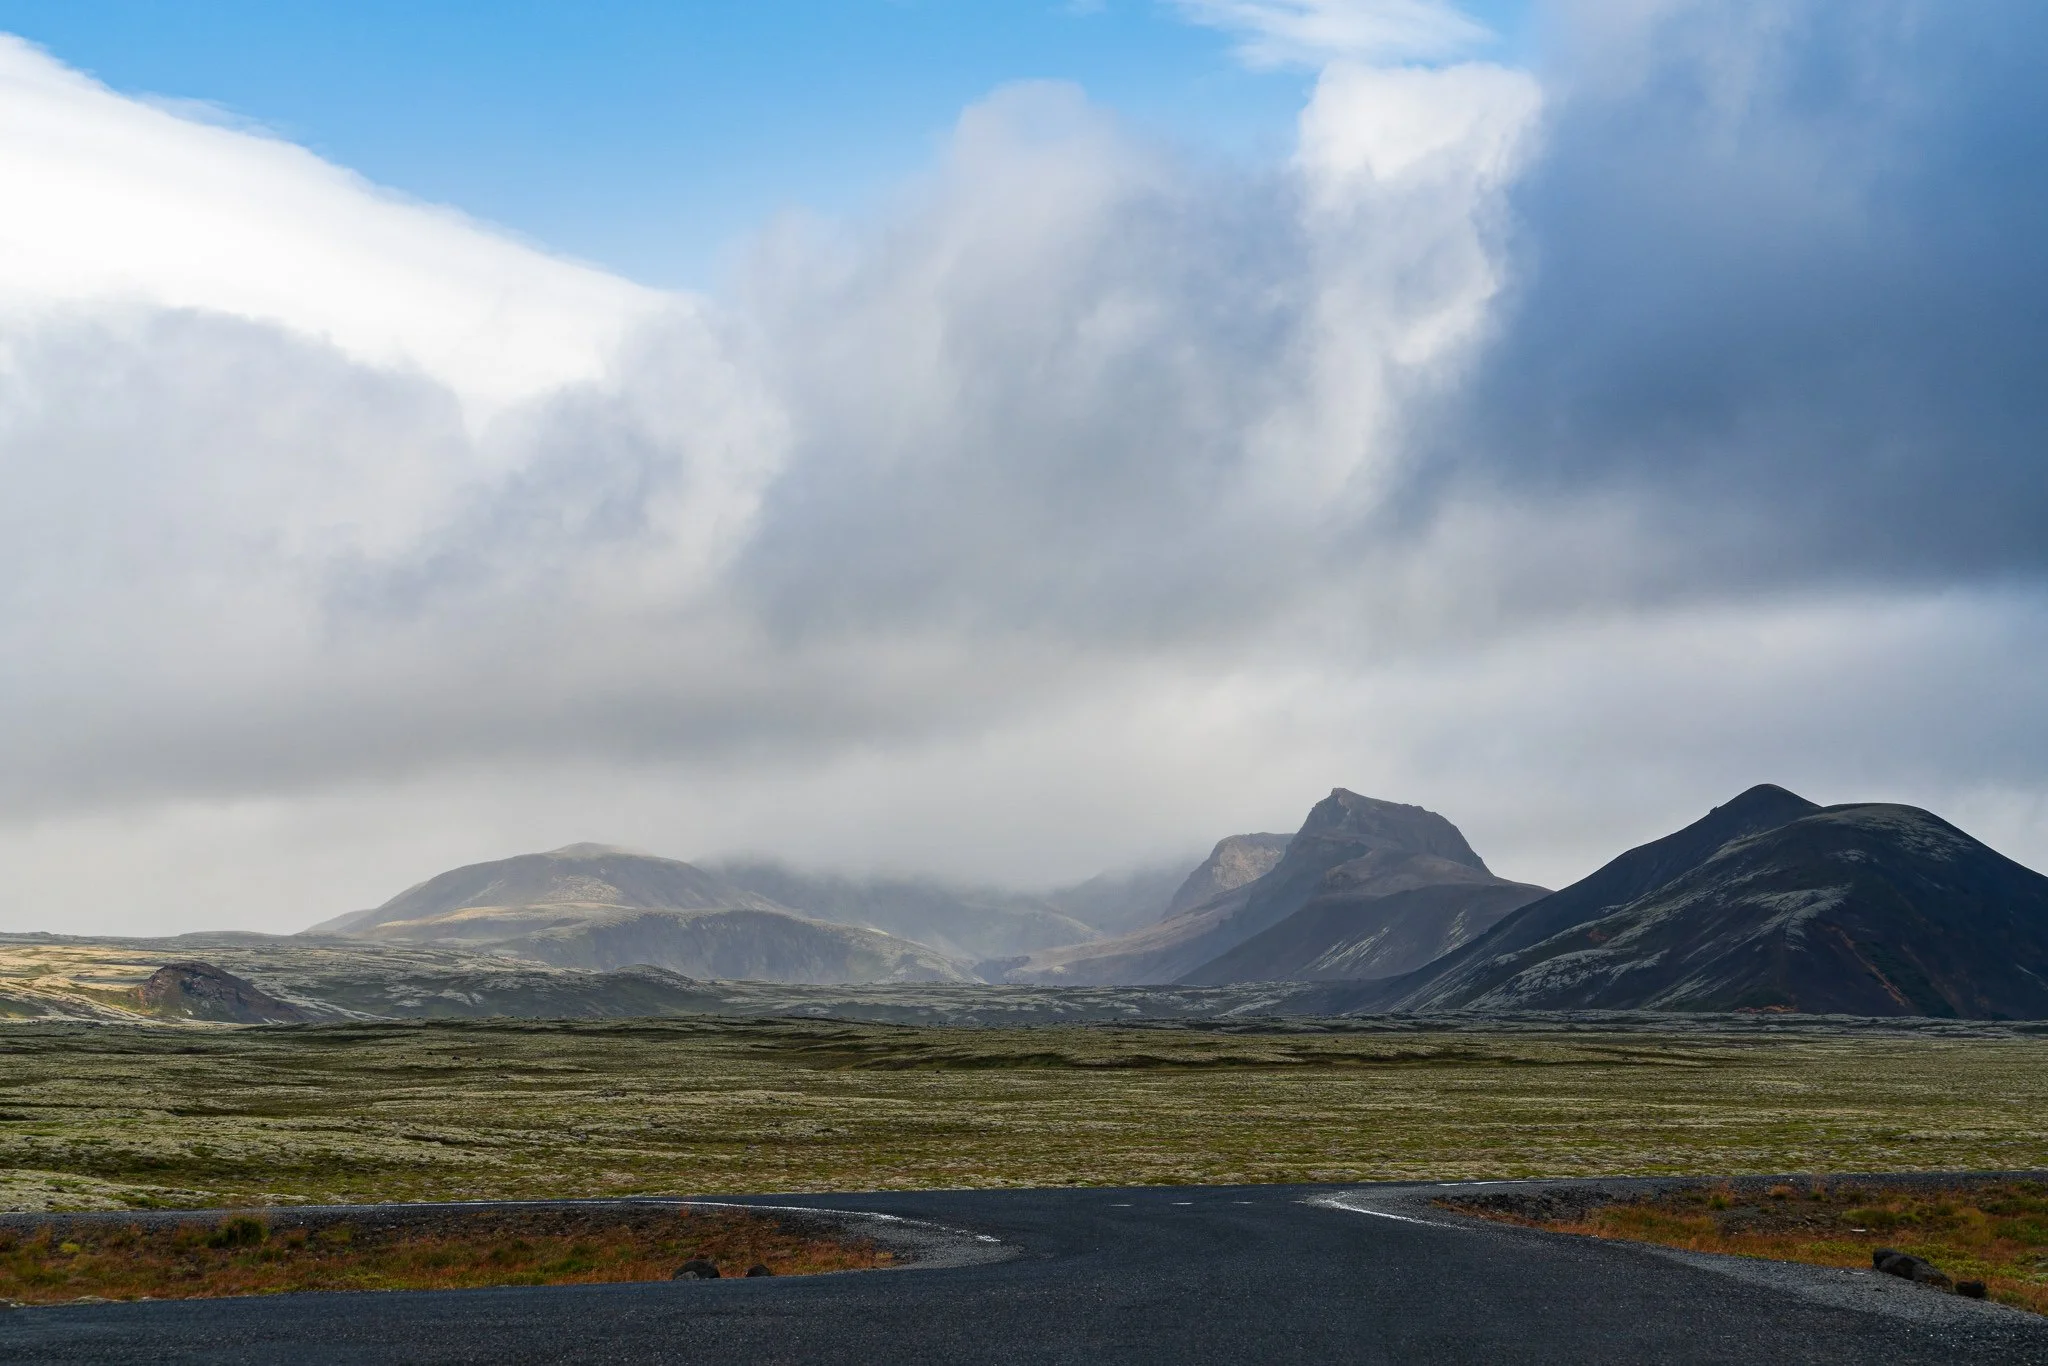
The Overlay blending mode is one you should know. An excellent way to pop contrast and blend exposures, it is one of the most popular blending modes.

Color Dodge is a useful blending mode for creative and unique color grading. Its results can be harder to predict, so do be prepared for some experimentation.

Take your cityscape photos to a new level with a little field prep and the Lighten blending mode.

The default blending mode of Normal makes no special changes to the pixels in a layer. It is perfect for exposure blending and double-exposure looks.
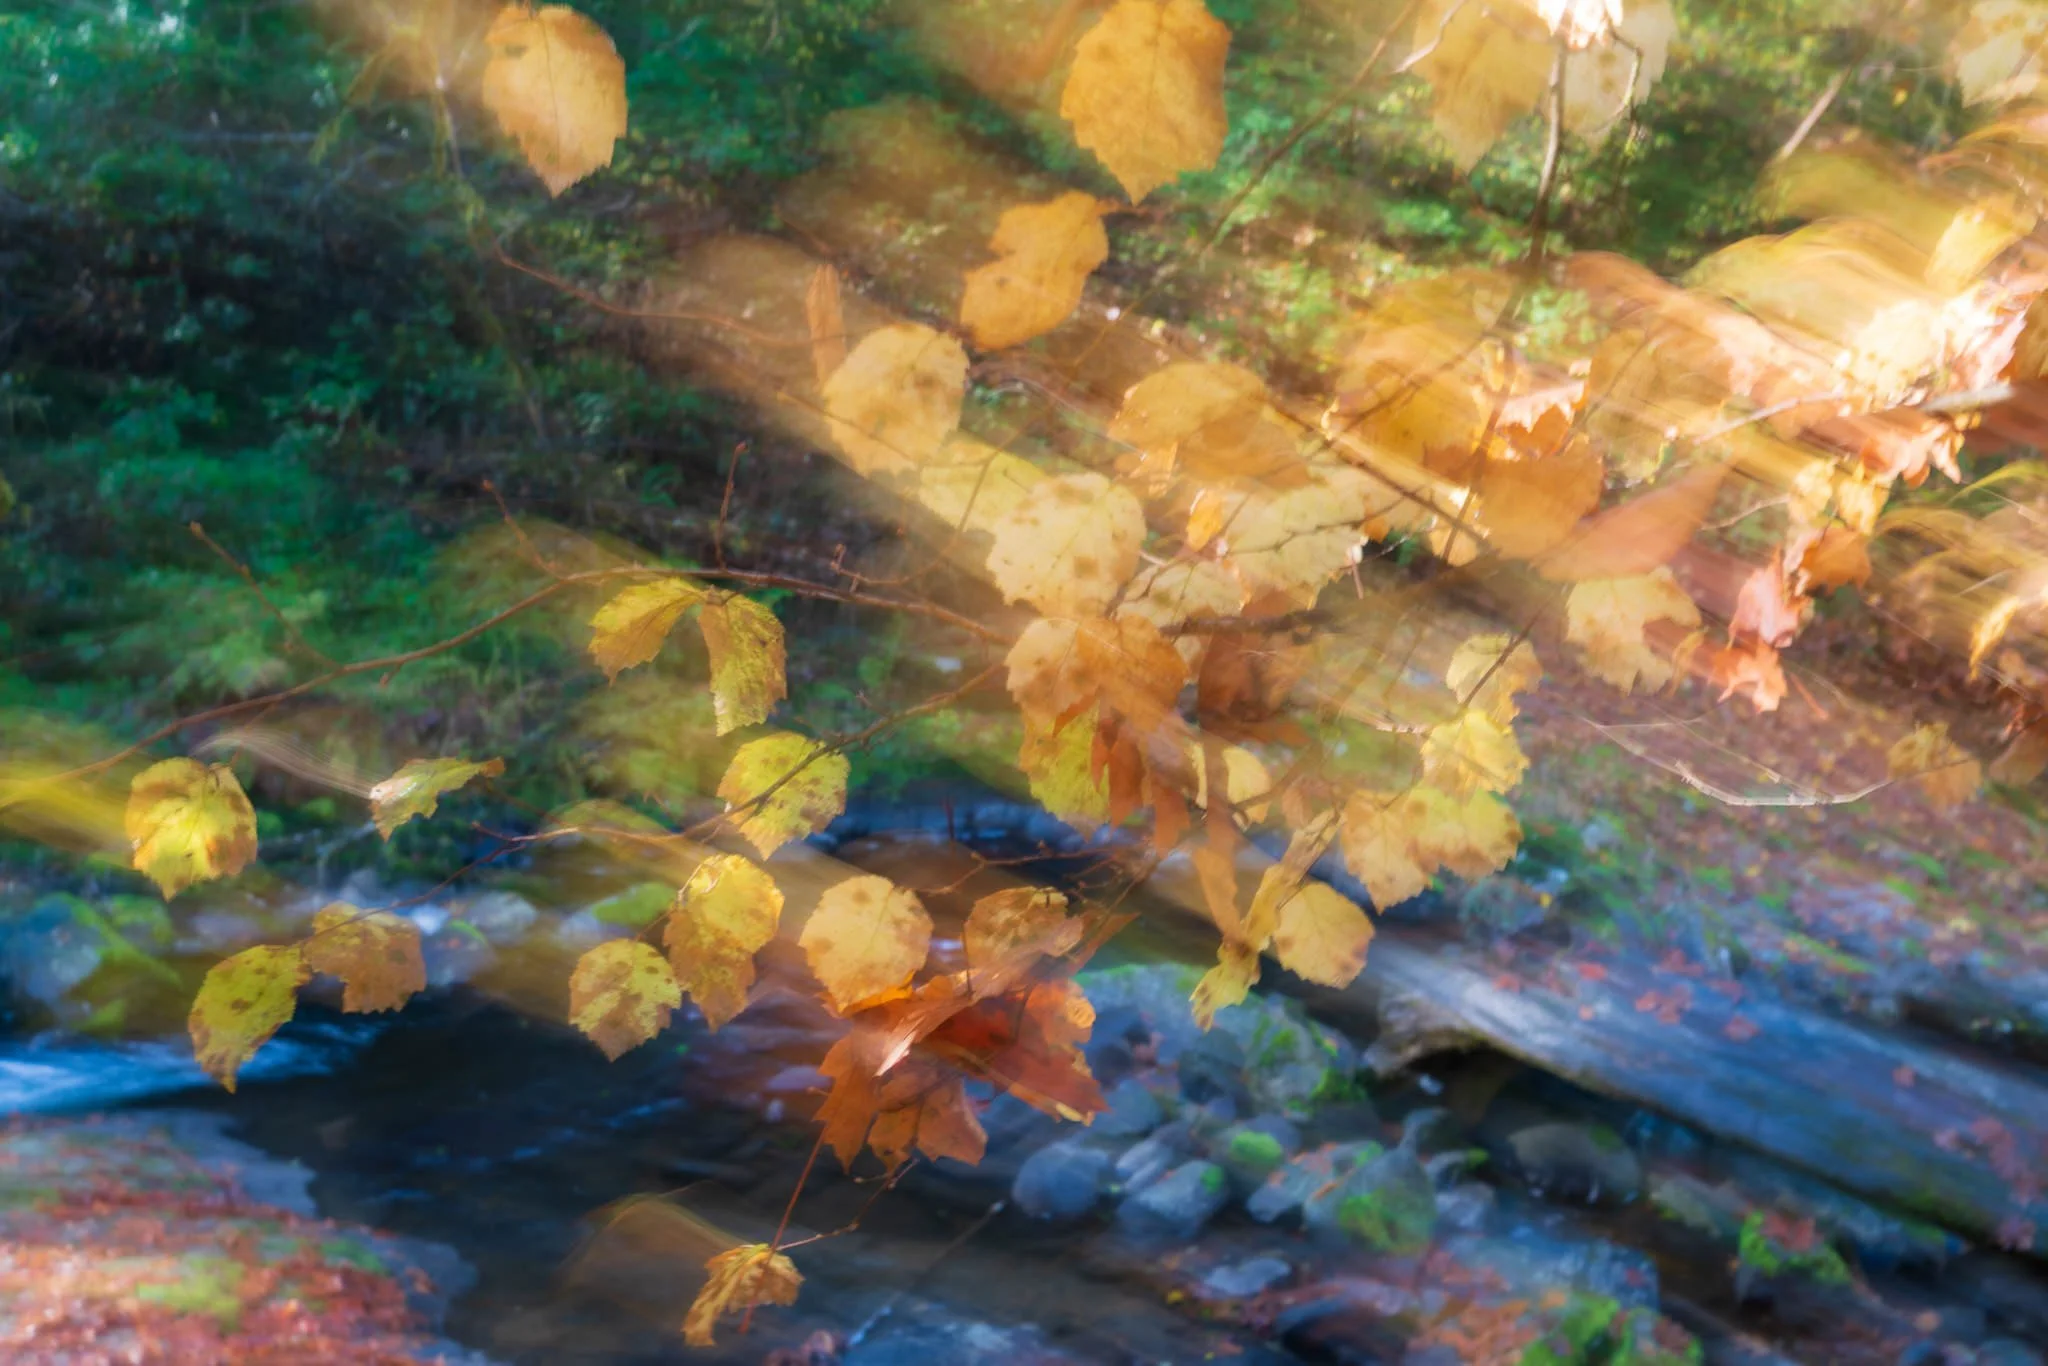
The blending modes in ON1 change the way filters and layers interact with one another. They can be mysterious. Join me for a series of videos and articles that show practical uses for blending modes.
The new Intersect mode in ON1 Photo RAW 2026 makes it simple to craft precise, detailed masks in seconds. Learn how to combine multiple selections to isolate exactly where your adjustments apply — with total control and minimal effort.

ON1 Photo RAW 2026 takes masking to the next level with the all-new Mask Layers. Learn how to combine, refine, and control each mask component independently for precise, creative adjustments in your landscapes.
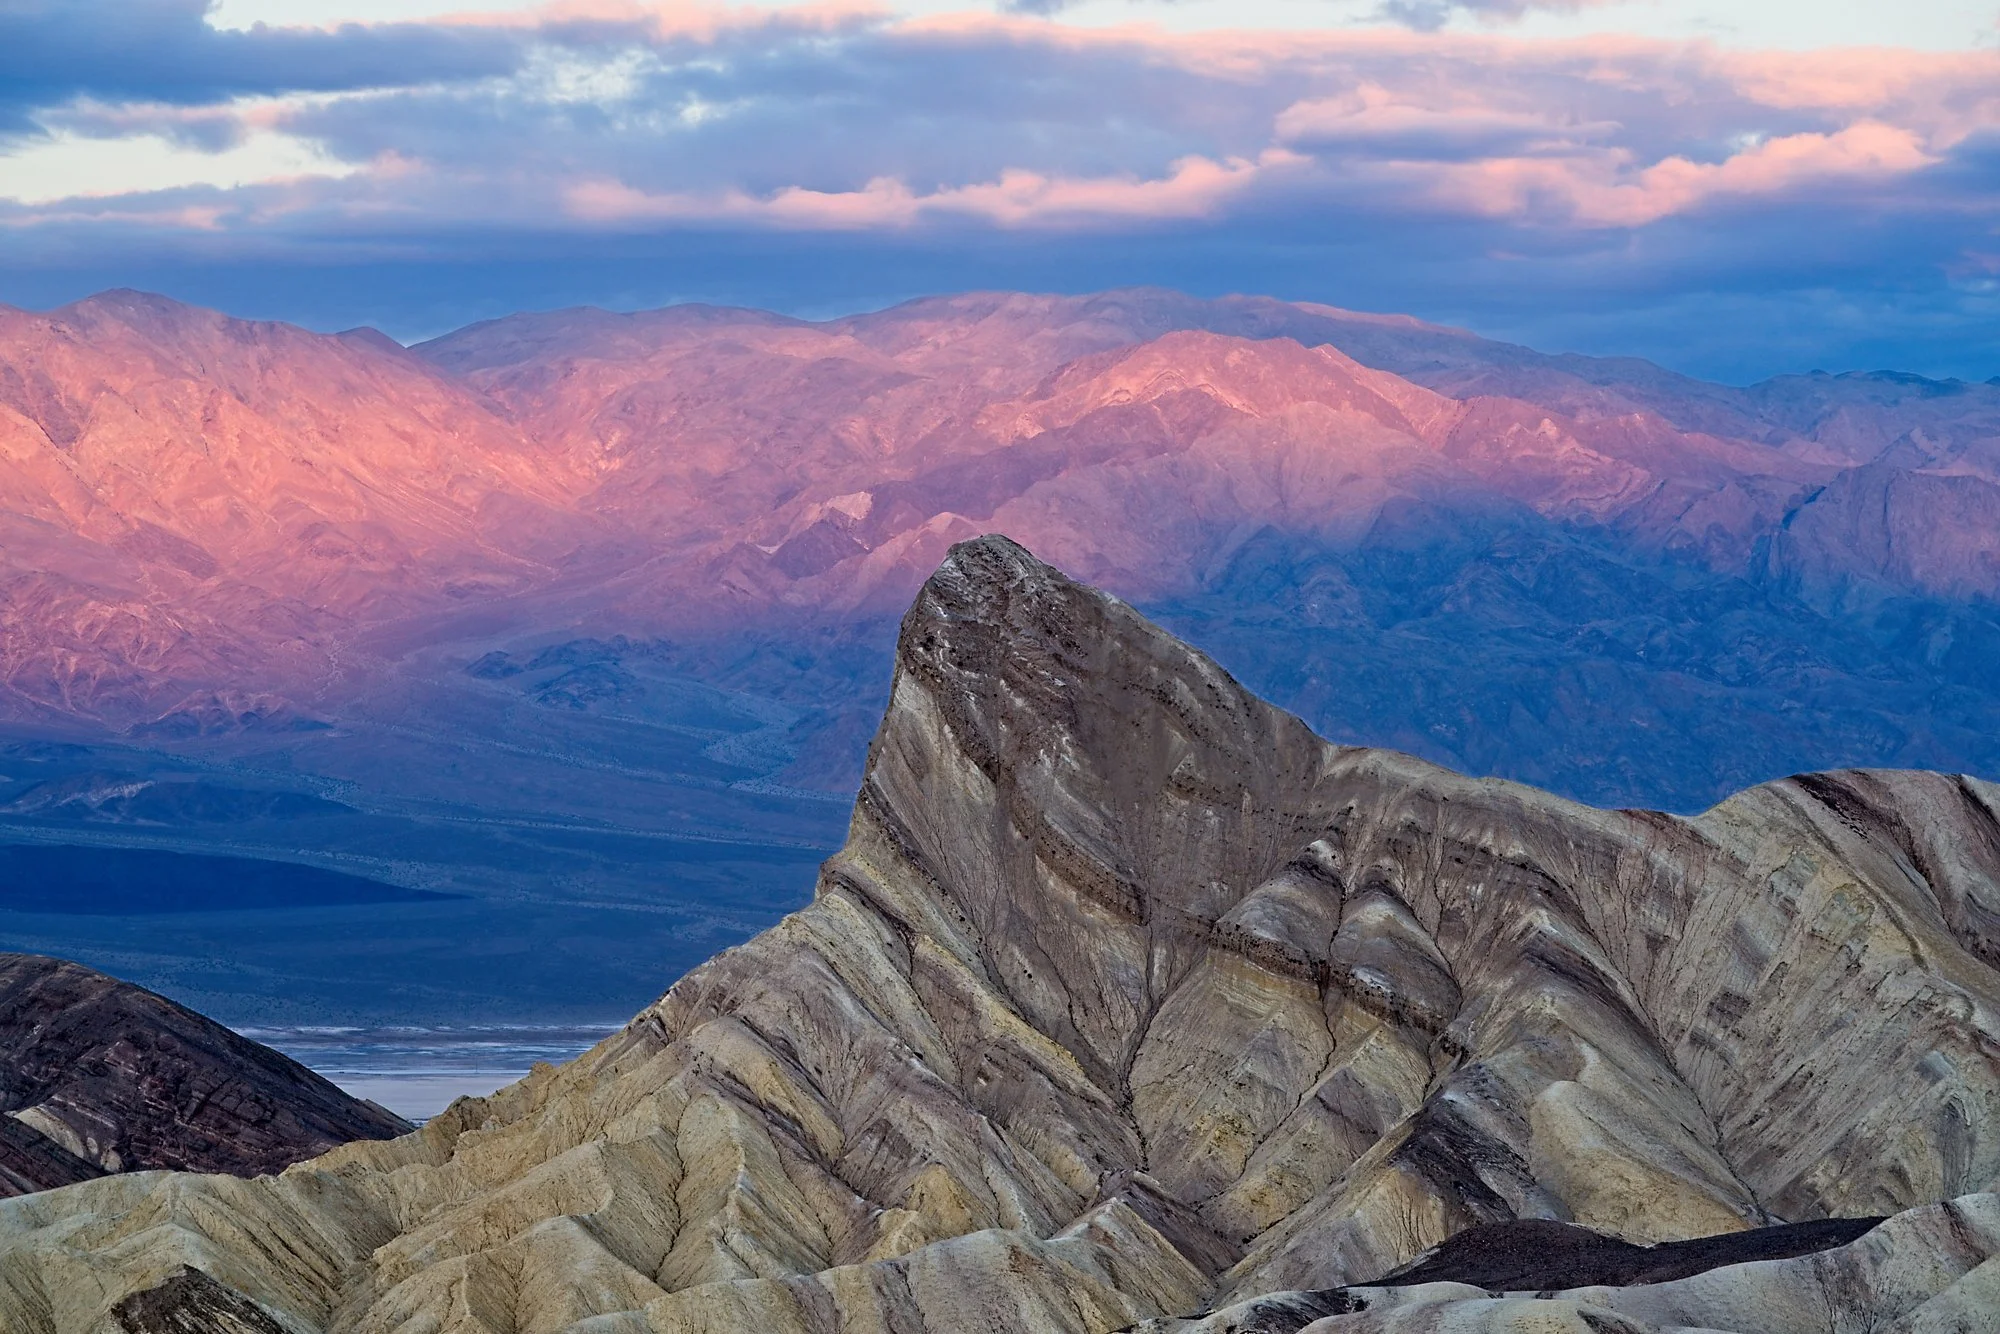
My favorite feature of ON1 Photo RAW 2025 is Depth Masks. These masks open up new, creative ways to select and adjust elements in your photos. Learn how you can take advantage of them.
Presets are great because they speed up workflow. And yes! You can incorporate masks into your presets - though there are some guidelines to follow.
Masks usually need a little refinement to finish them off. ON1's Refine Group has you covered.

Yes, you can combine the ON1 masking tools and create amazing, intricate masks with ease. However, the order in which you use the masking tools matters.
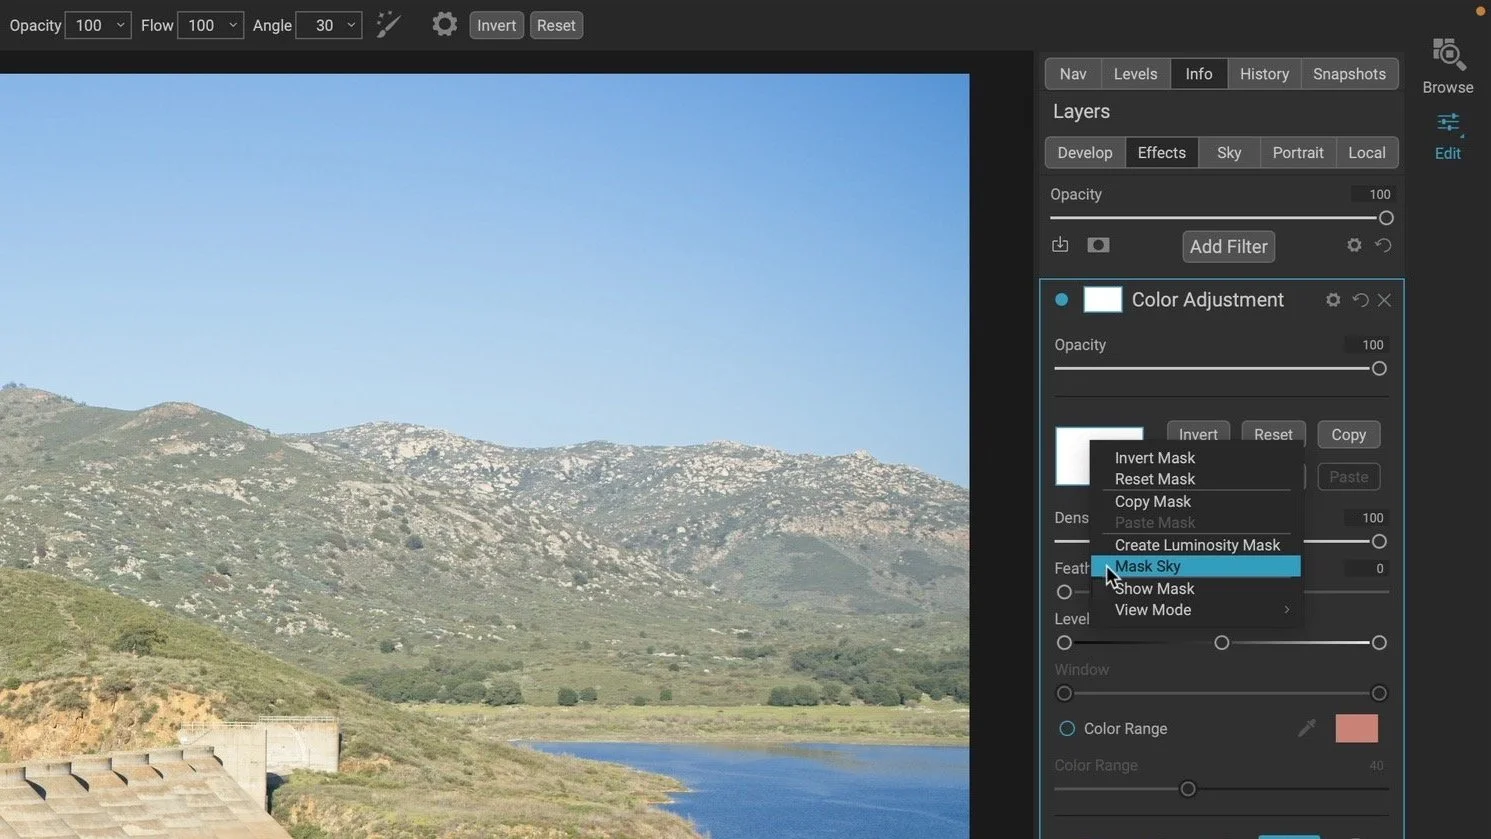
The Sky Swap AI for sky replacement arrived in Photo RAW 2022. Did you know those AI smarts can be used to quickly create masks for skies, too?

Luminosity masks kick the doors wide open for expertly-nuanced and creative edits. I want to help you understand them.

Use the Color Range mask option in any filter or adjustment to quickly make a mask that matches a color in your photo.

The Line Mask is the perfect masking tool for straight-edged subjects like architecture. But don’t let the Line Mask fool you! It has uses beyond cookie cutter shapes.

Creatively blend layers, stamp silhouettes, and watermark your photos using Custom Brushes in ON1.

For precision brush strokes, turn on the Perfect Brush in the ON1 Masking Tool for edge detection.

Confused about opacity and flow in the ON1 Masking Brush? Give me 6 minutes, I’ll explain.

Make hand-painted masks using the Masking Brush in ON1. I’ll show you all the controls and options.

Target subjects and create off-camera lighting accents using the Center and Edges shapes of the ON1 Masking Bug.

Mask horizontal or vertical sweeps of your photo quickly in ON1 using the Reflected Gradient shape of the Masking Bug tool.

Mask large areas of your photo quickly in ON1 using the Gradient shape of the Masking Bug tool.


The first article in a mini-series about masking in ON1 tools including ON1 Photo RAW and ON1 Effects.
A little glow can bring atmosphere to a landscape photo, but spreading it everywhere can weaken the scene. How do you give that light a direction while keeping the shadows quiet and the brightest details intact?
Using the Sunshine filter in ON1 Effects, I shape a soft glow through a forest scene toward the water. The approach builds on an editing vision and shows how a few complementary masking tools can help you follow through on it.