

If you are trying ON1 Photo RAW, the ON1 plug-ins like ON1 Effects or ON1 HDR, or upgrading your ON1 software to a newer version, please consider using my affiliate link. There is no extra cost to you and it helps support my work and this website.
This is Part 2 of a three-part black and white architecture editing series. After establishing the light in Part 1, this video focuses on bringing the architecture to life using ON1’s Dynamic Contrast and Tone Enhancer filters—boosting texture and structure while maintaining smooth, natural tones.
In Part 3, we’ll refine the image further by selectively controlling where detail is strongest using Filter Stack masking and the Density slider.
Details, Royal Palace, Madrid, Spain
Contact Scott to commission a print or license this image.

Tell compelling stories. Become a better photographer.
Story And Vision will help you be a stronger visual storyteller and a better photographer. This 12 chapter video course guides you on how to examine your unprocessed photos more critically and understand the story the subjects tell. Then, pivot your post-processing approach to accentuate, emphasize, and reinforce that story.
11th Edition - Revised for ON1 Photo RAW 2024
Organize, edit, and share your photos with ON1 Photo RAW. This well-illustrated, no-nonsense book explains everything you need to learn ON1 Photo RAW. It is the most comprehensive book on Photo RAW out there.
ON1 Photo RAW Essentials: The Photographer’s Guide To Learning ON1 Photo RAW 2024

ON1 Effects and its 30+ filters make it easy to add style and create the mood you want for your images. The 10 learn-by-example tutorials show you how to get more pop with contrast, audition and blend LUTs, correct color casts, and more.
Adding Style With ON1 Effects will help you craft your signature style and tell your story.
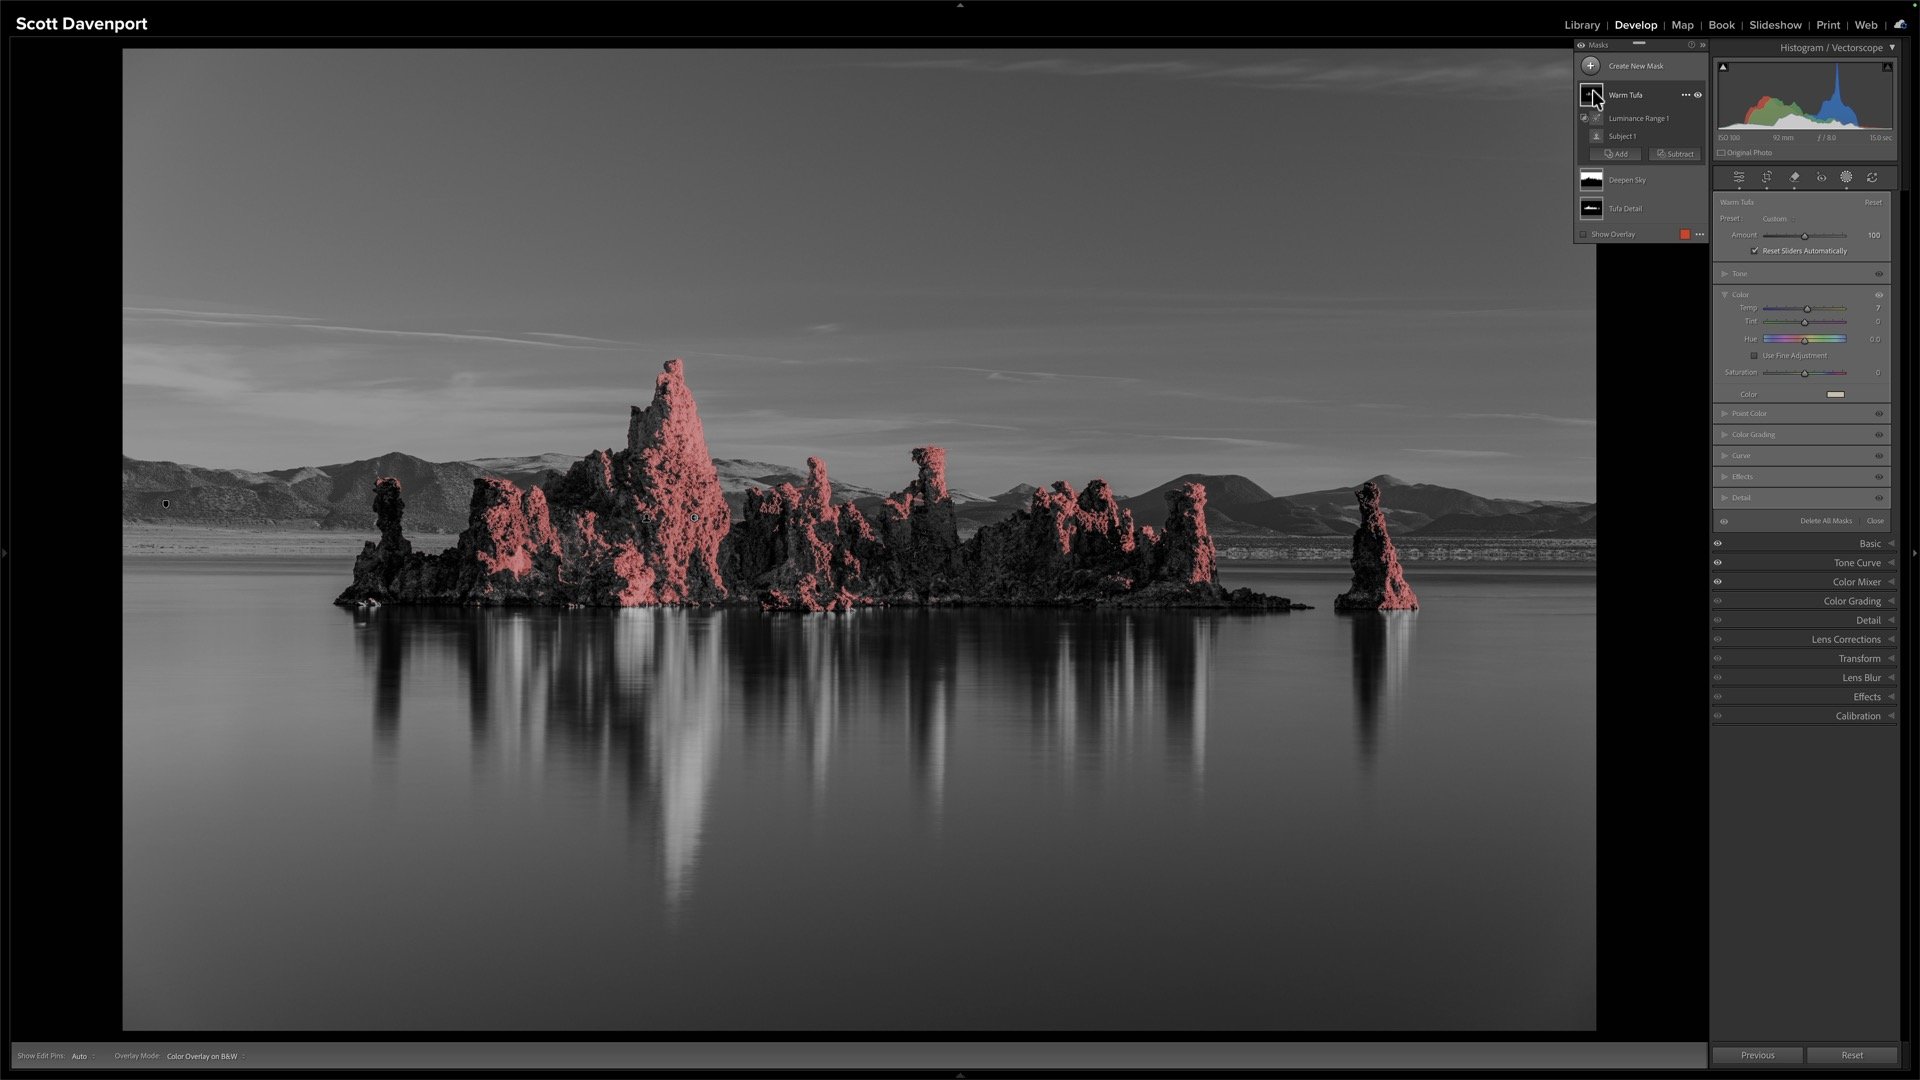
A little warmth can bring out the color of the light in a photo. Sometimes the Temperature slider gets you close and you still want a more specific color in one part of the frame.
Lightroom’s Color swatch lets you choose that hue and control how strongly it comes through. Paired with a mask, it’s a way to add a subtle color accent right where the light calls for it.
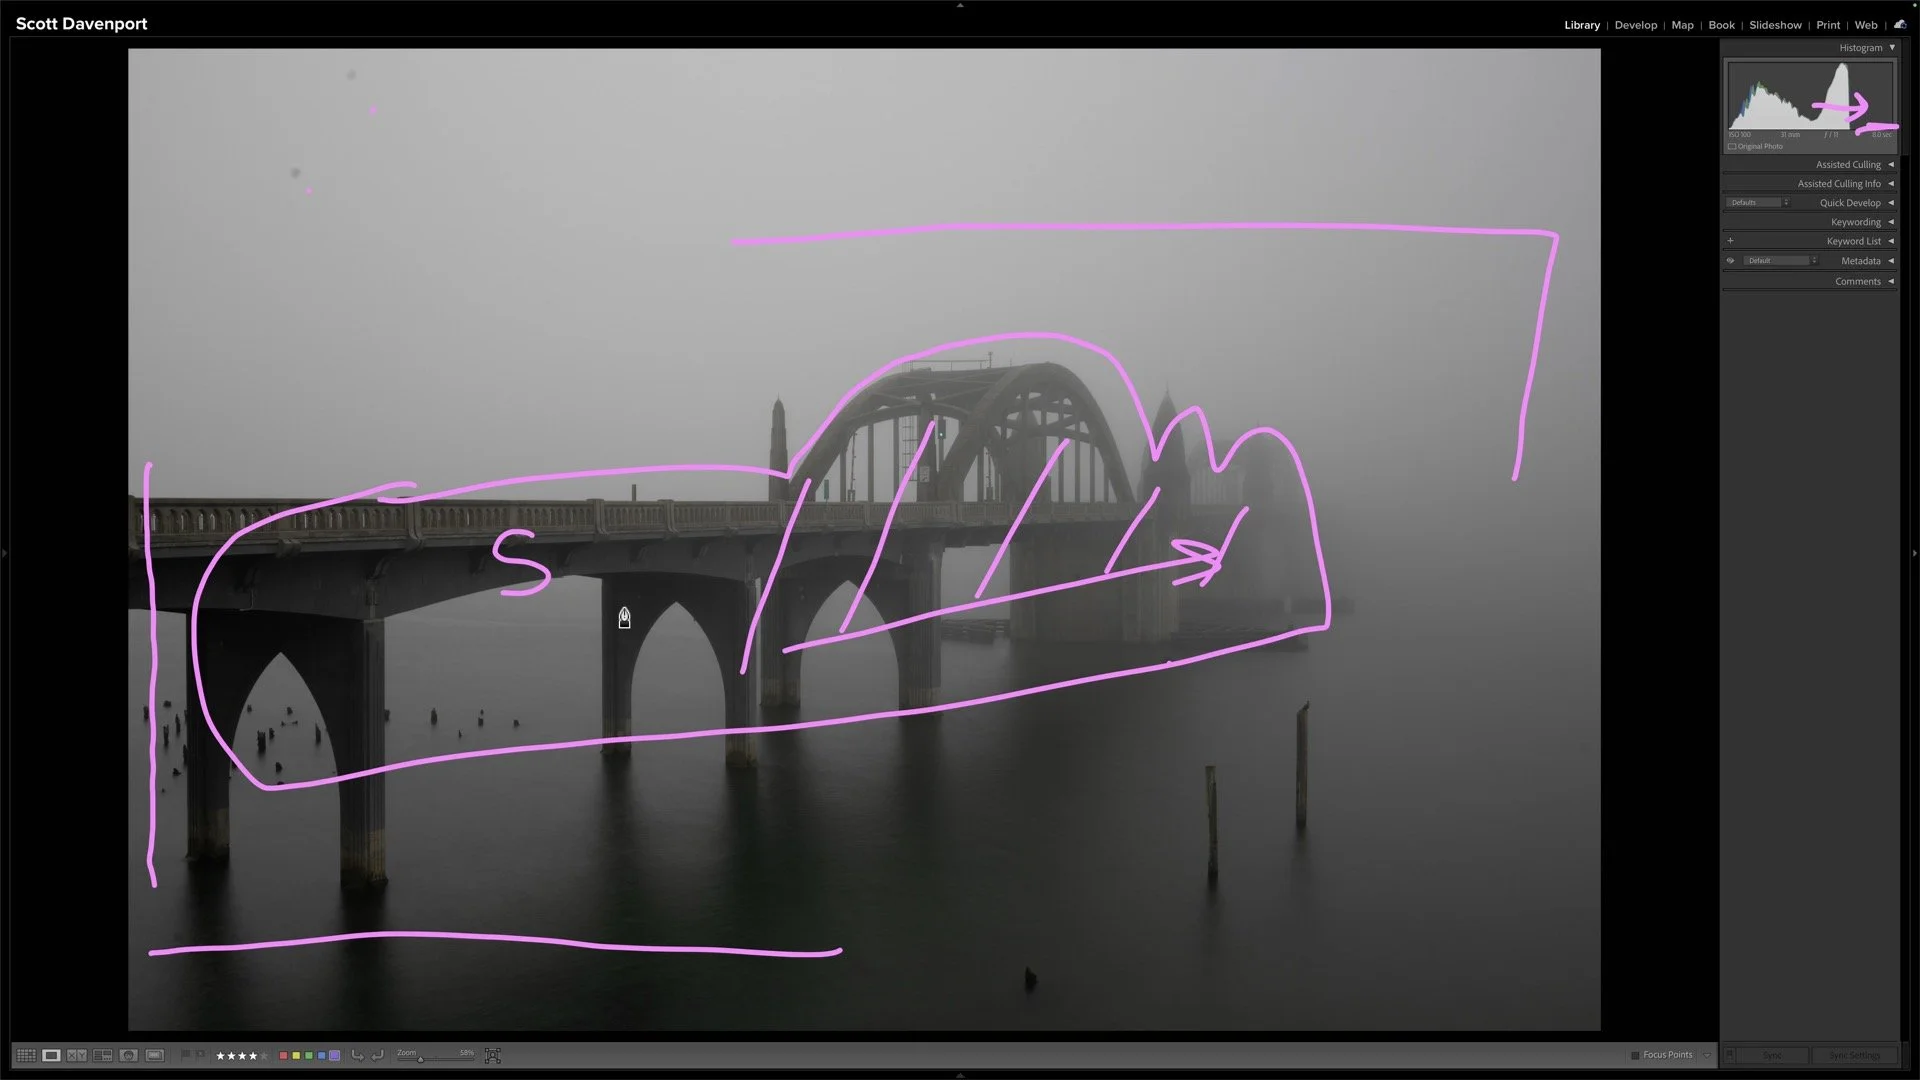
Knowing how to use your editing tools doesn’t always tell you where to begin. Taking a moment to consider what your photo needs can give your adjustments a clearer purpose.
I explain how I approach an unedited photograph, working out what to emphasize, what to simplify, and what to preserve. It’s a practical way to give your edit a direction while leaving room to experiment.
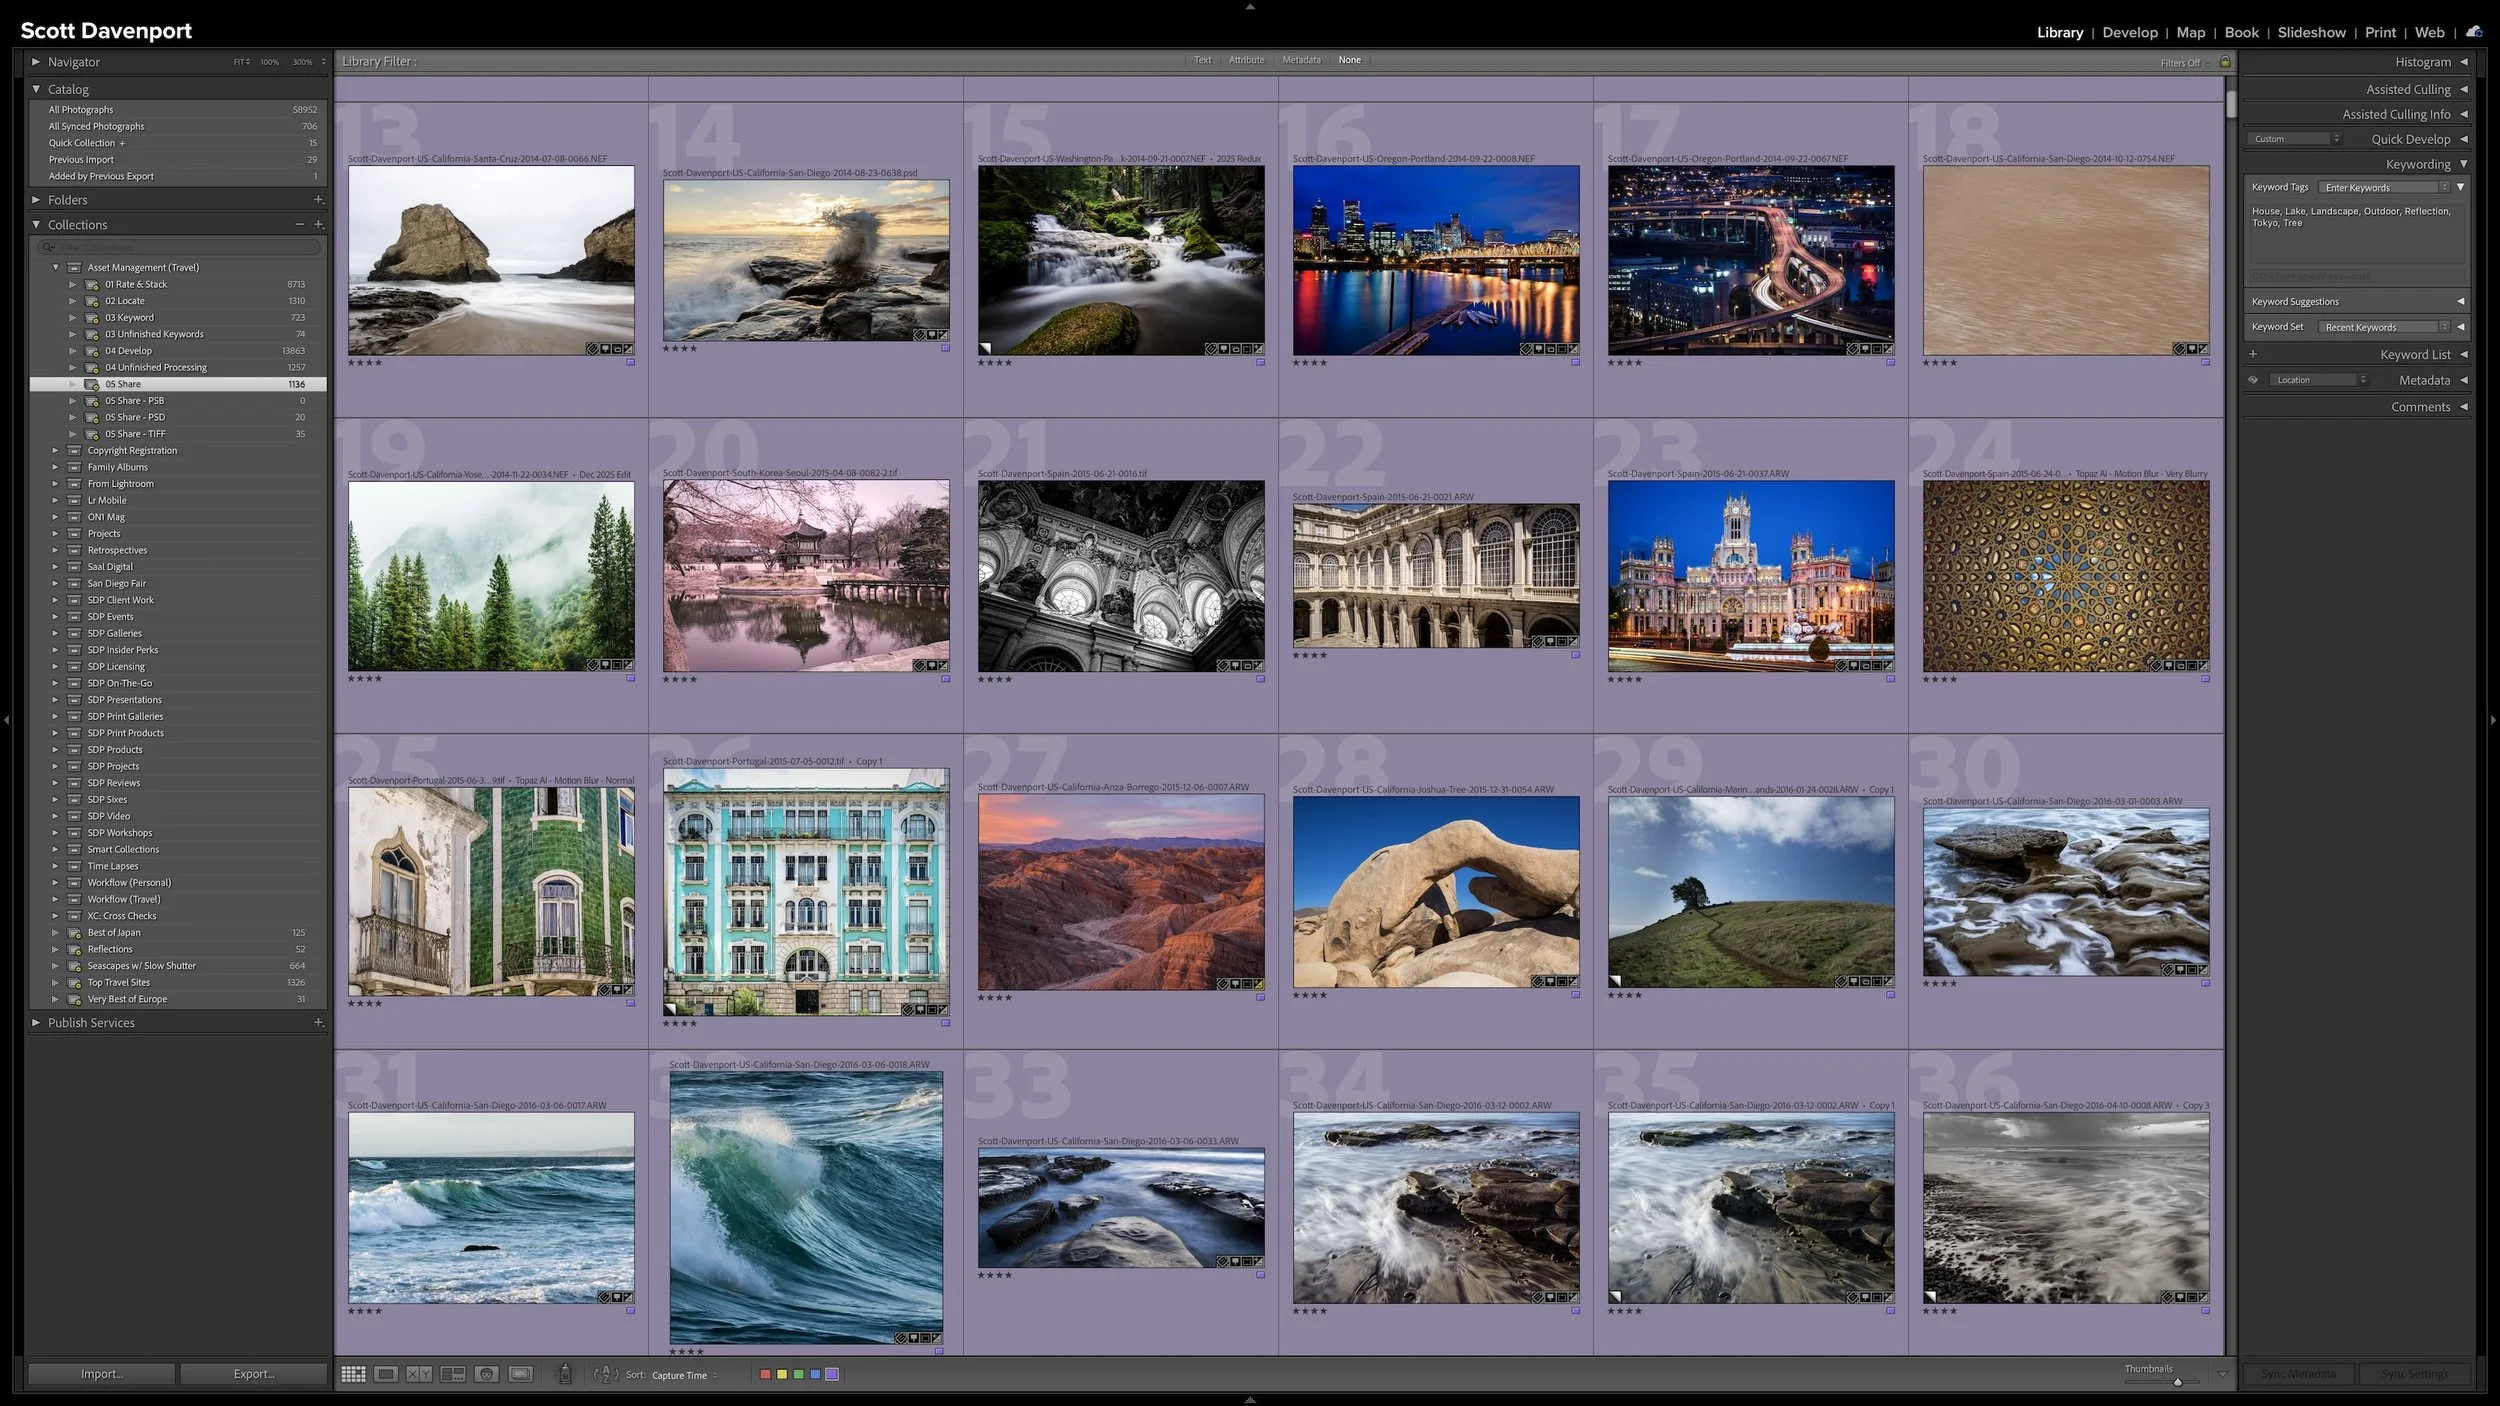
A workflow is dependable when Lightroom can show what still needs attention without requiring you to remember where you stopped. Color labels provide visible guidance, but ratings, GPS coordinates, keywords, and Develop adjustments record what has actually happened to each photograph.
I use Smart Collections to compare those two kinds of information. They gather unfinished work, preserve photographs in transitional stages, and reveal places where the catalog metadata and the expected color label disagree. You can adapt the same principle to the evidence and stages that matter in your own workflow.
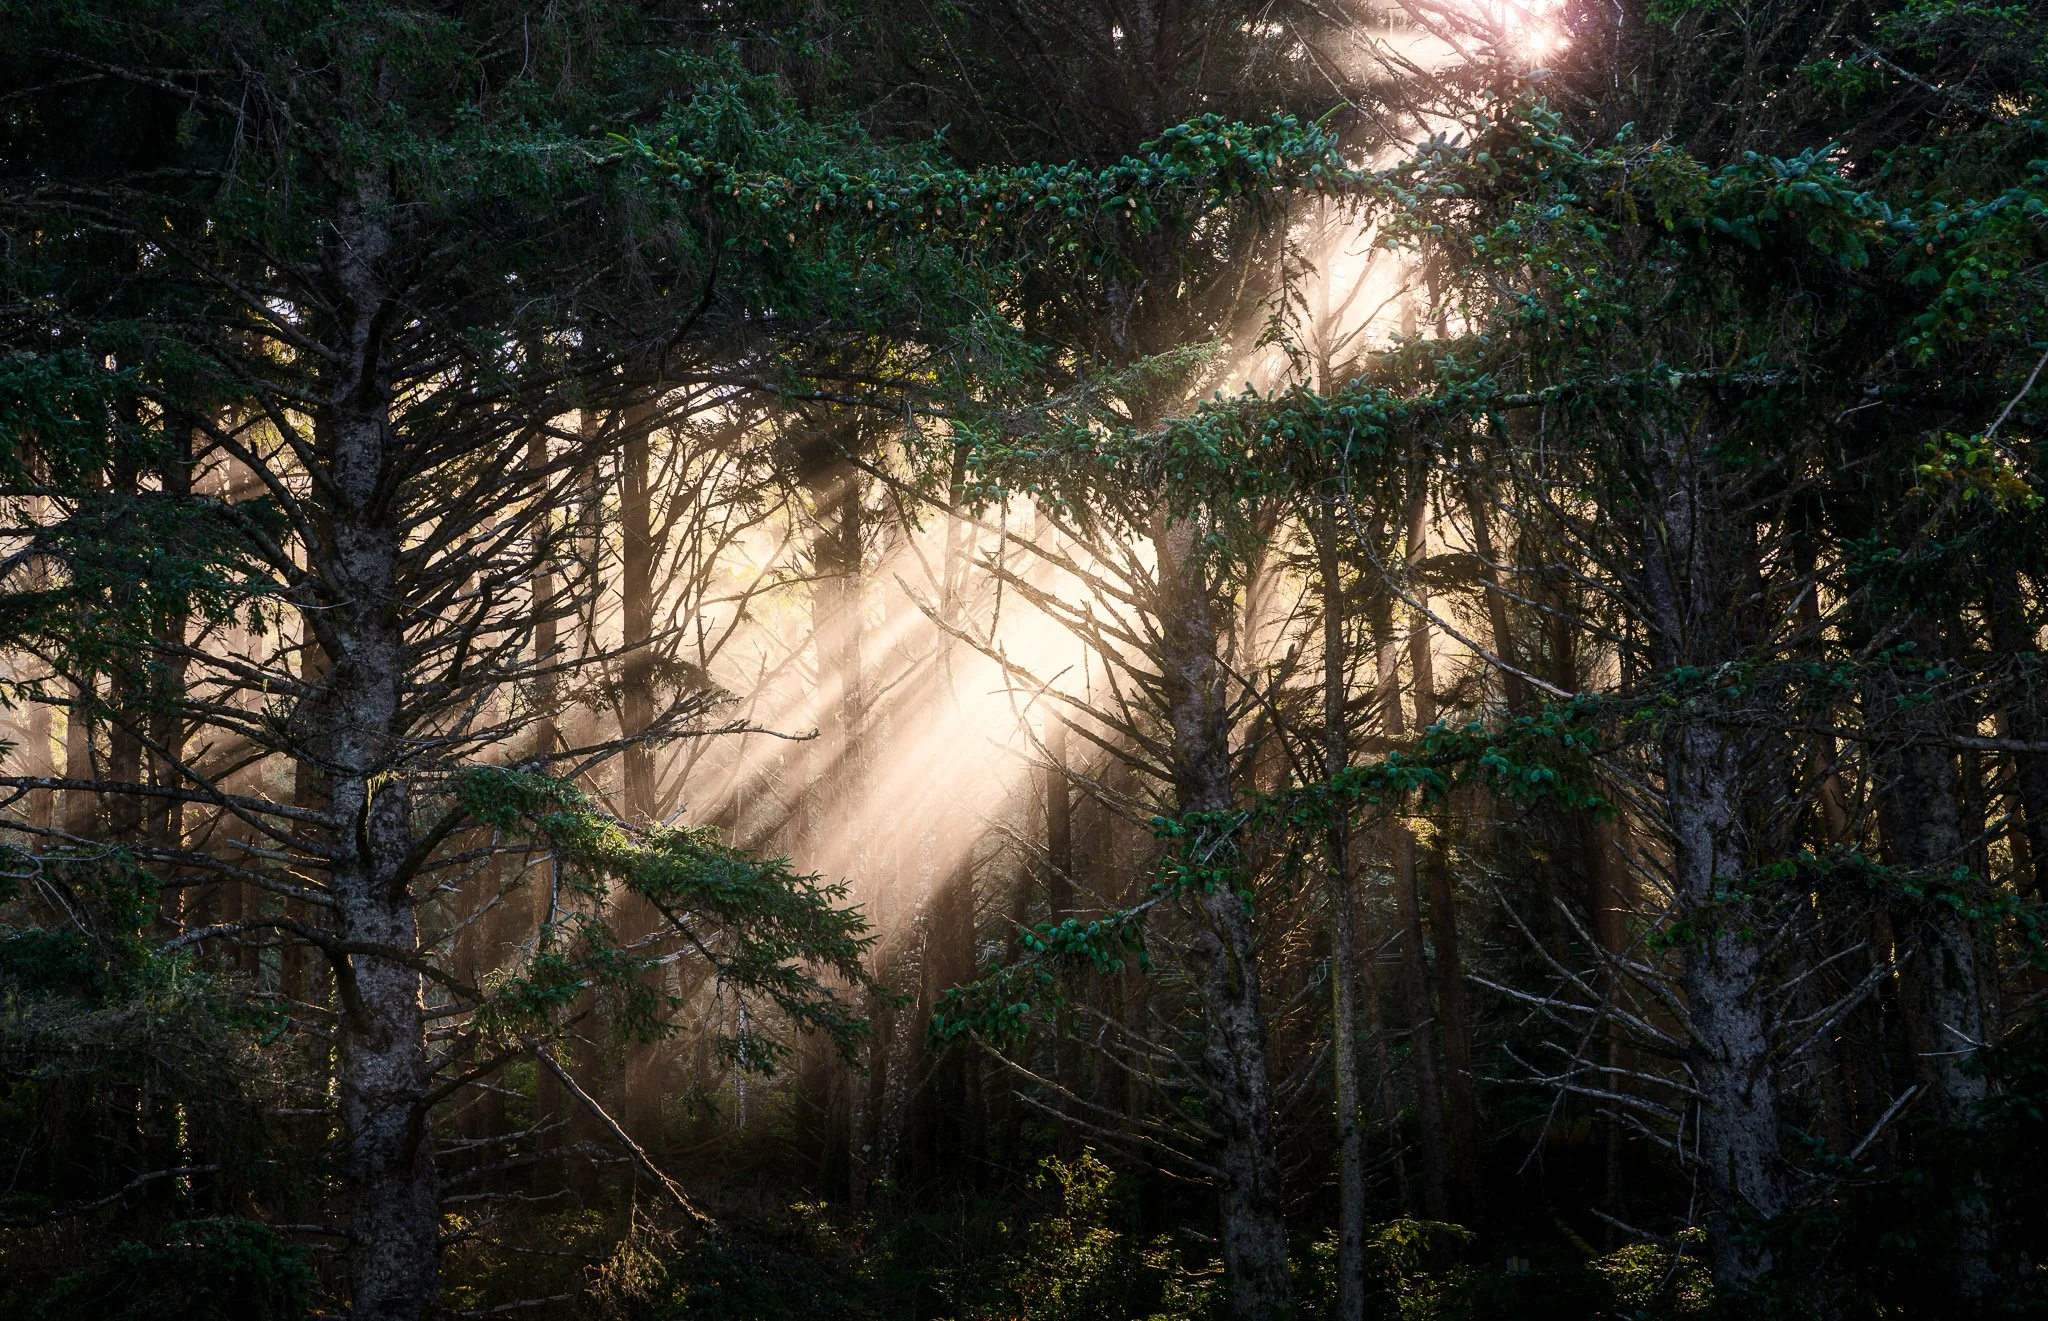
Want a little more luminosity in your photos without softening everything? Lightroom’s Glow styles offer several ways to shape light, from a gentle radiance around highlights to a broader atmospheric treatment.
Learn how I choose a glow style for landscapes and cityscapes, use the controls to refine its character, and apply masking to keep attention where it belongs. There’s also an important limitation to understand before you start creating separate glow masks.
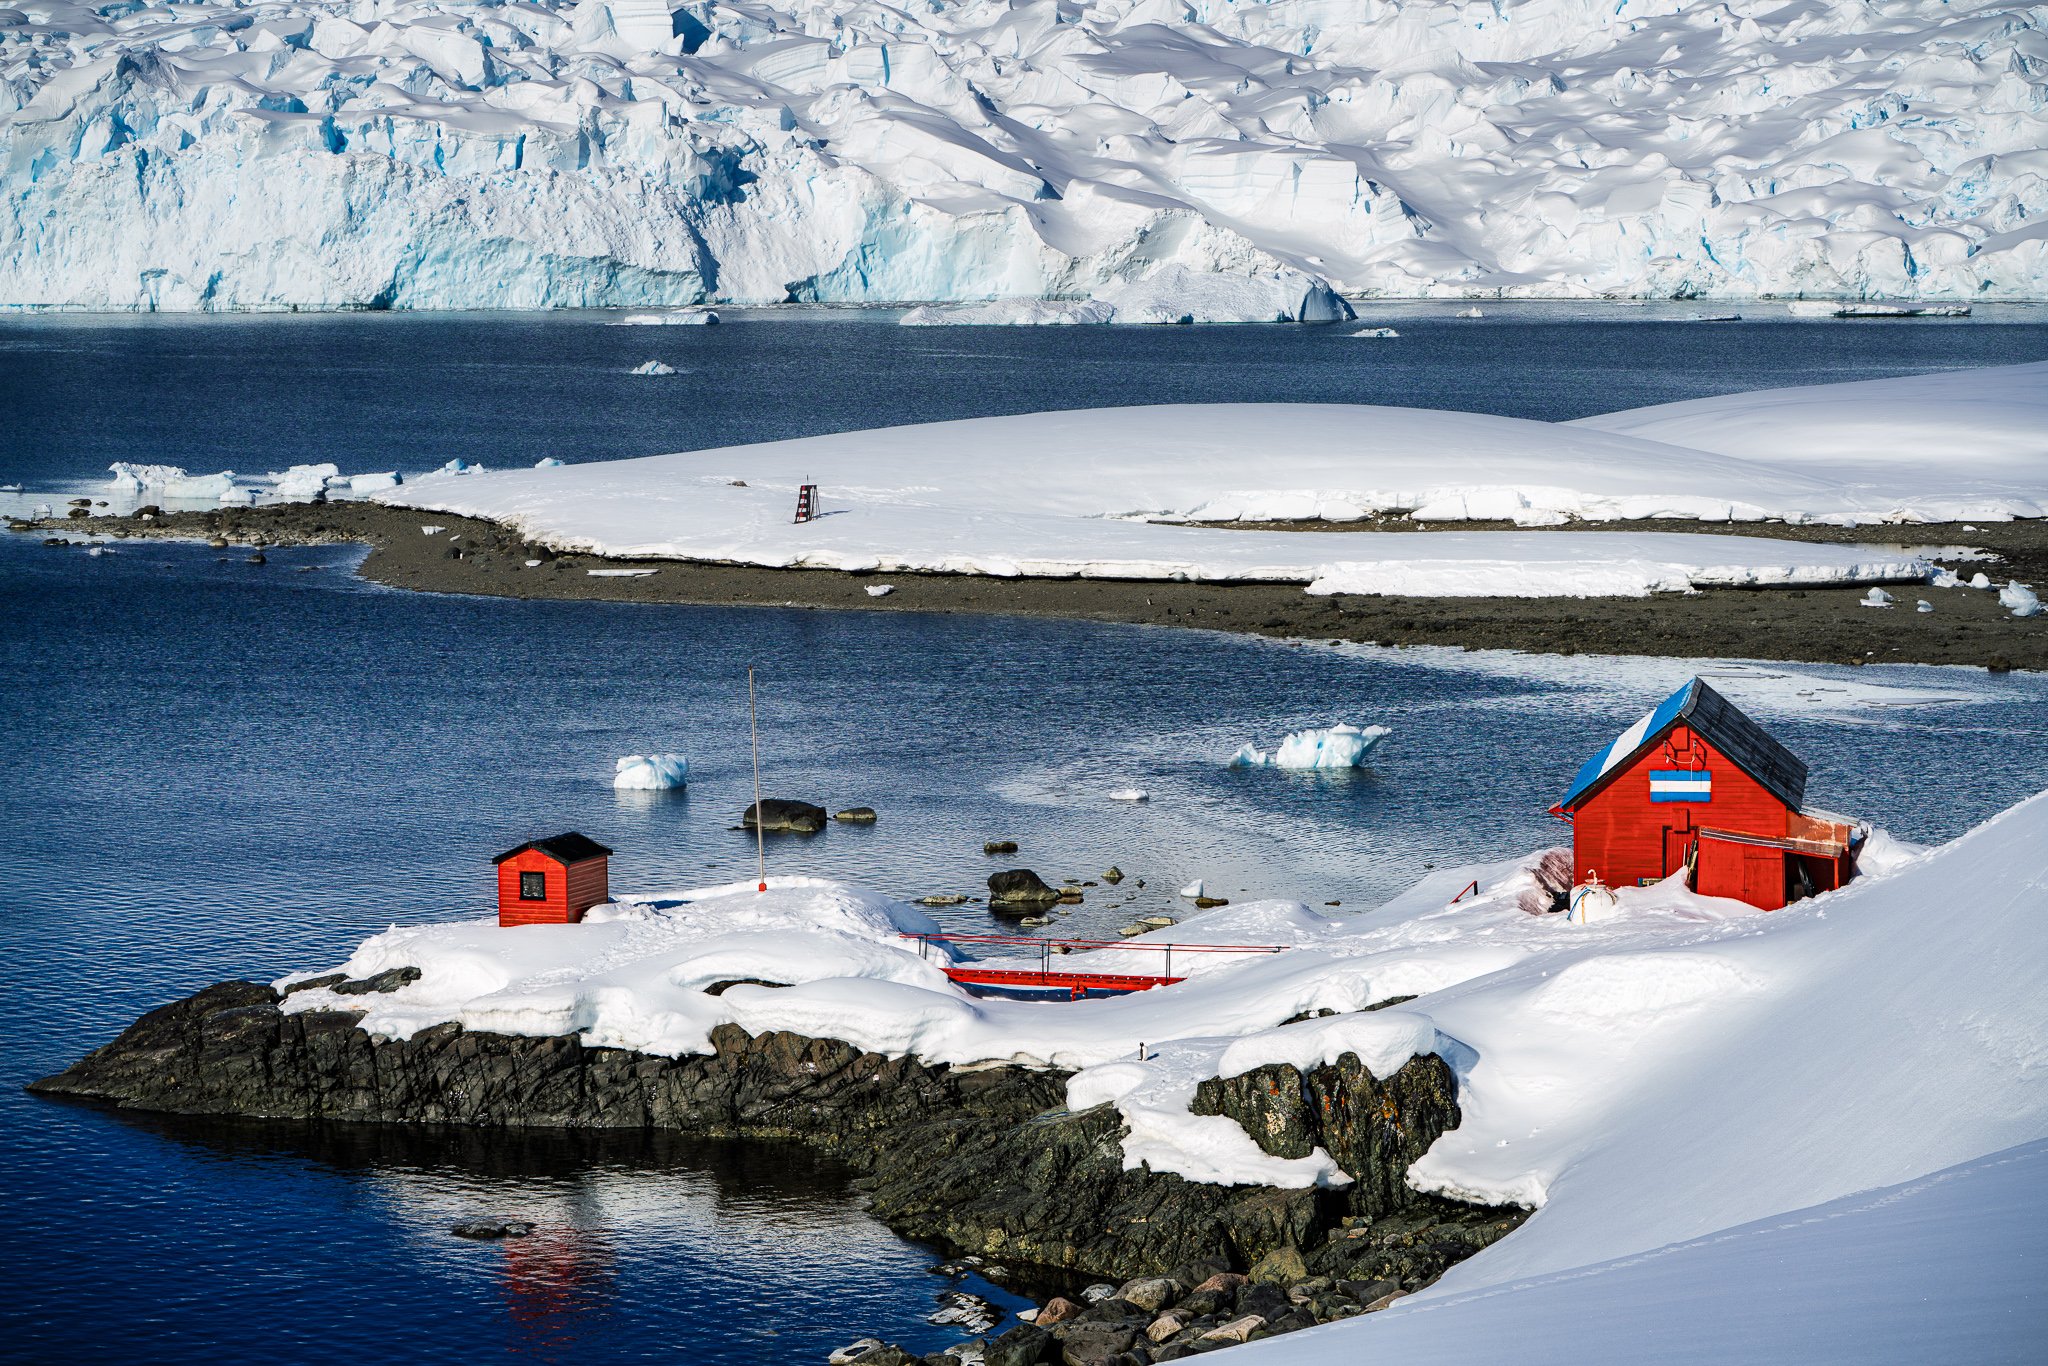
Sometimes the elements you want to adjust have little in common beyond their distance from the camera. Selecting them by subject, color, or brightness can mean building a mask from several pieces when your real goal is simply to work on a particular layer of the scene.
Lightroom’s Depth Range mask gives you another way to approach that decision. Learn how to select by relative depth, soften the transition into more distant areas, and combine masking tools to keep an adjustment where it belongs.
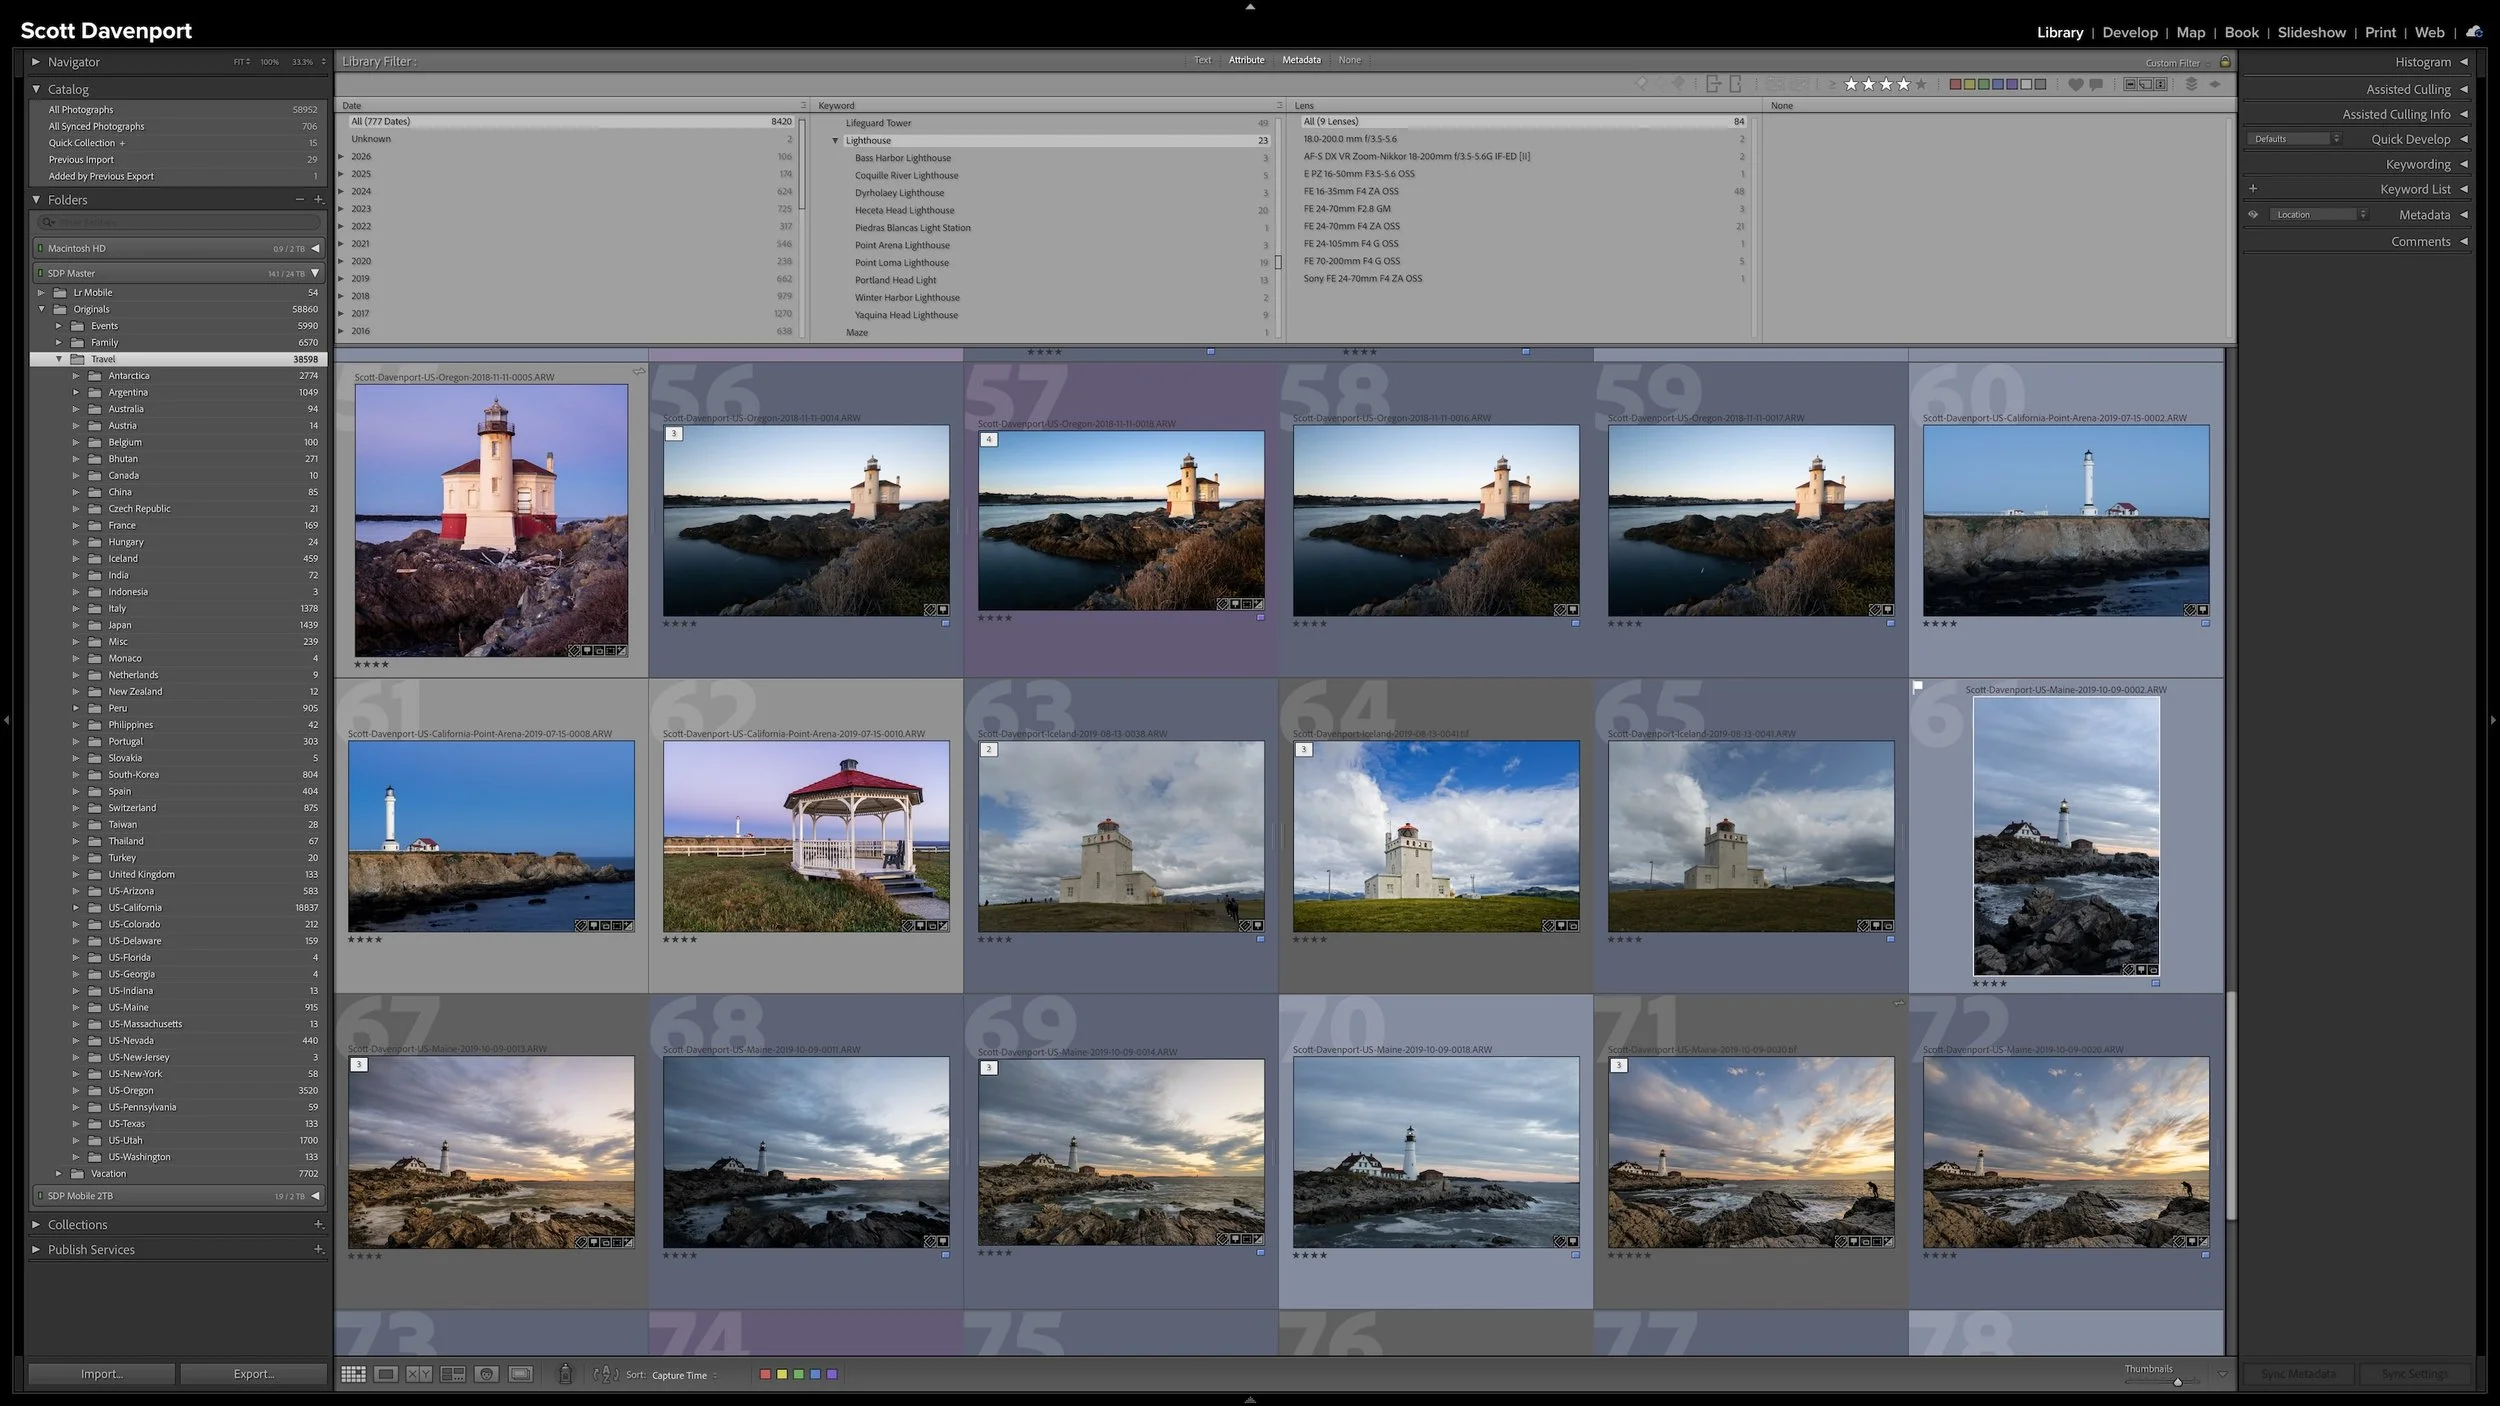
You remember the photograph, but not its filename, folder, or exact capture date. A large Lightroom Classic catalog can feel difficult to search when the only clues you have are fragments: a location, a subject, a rating, or perhaps the lens you used.
The Library Filter lets you combine those fragments and progressively narrow the catalog. The metadata added throughout a practical workflow creates several paths back to the same photograph—without requiring perfect metadata or a perfect memory.
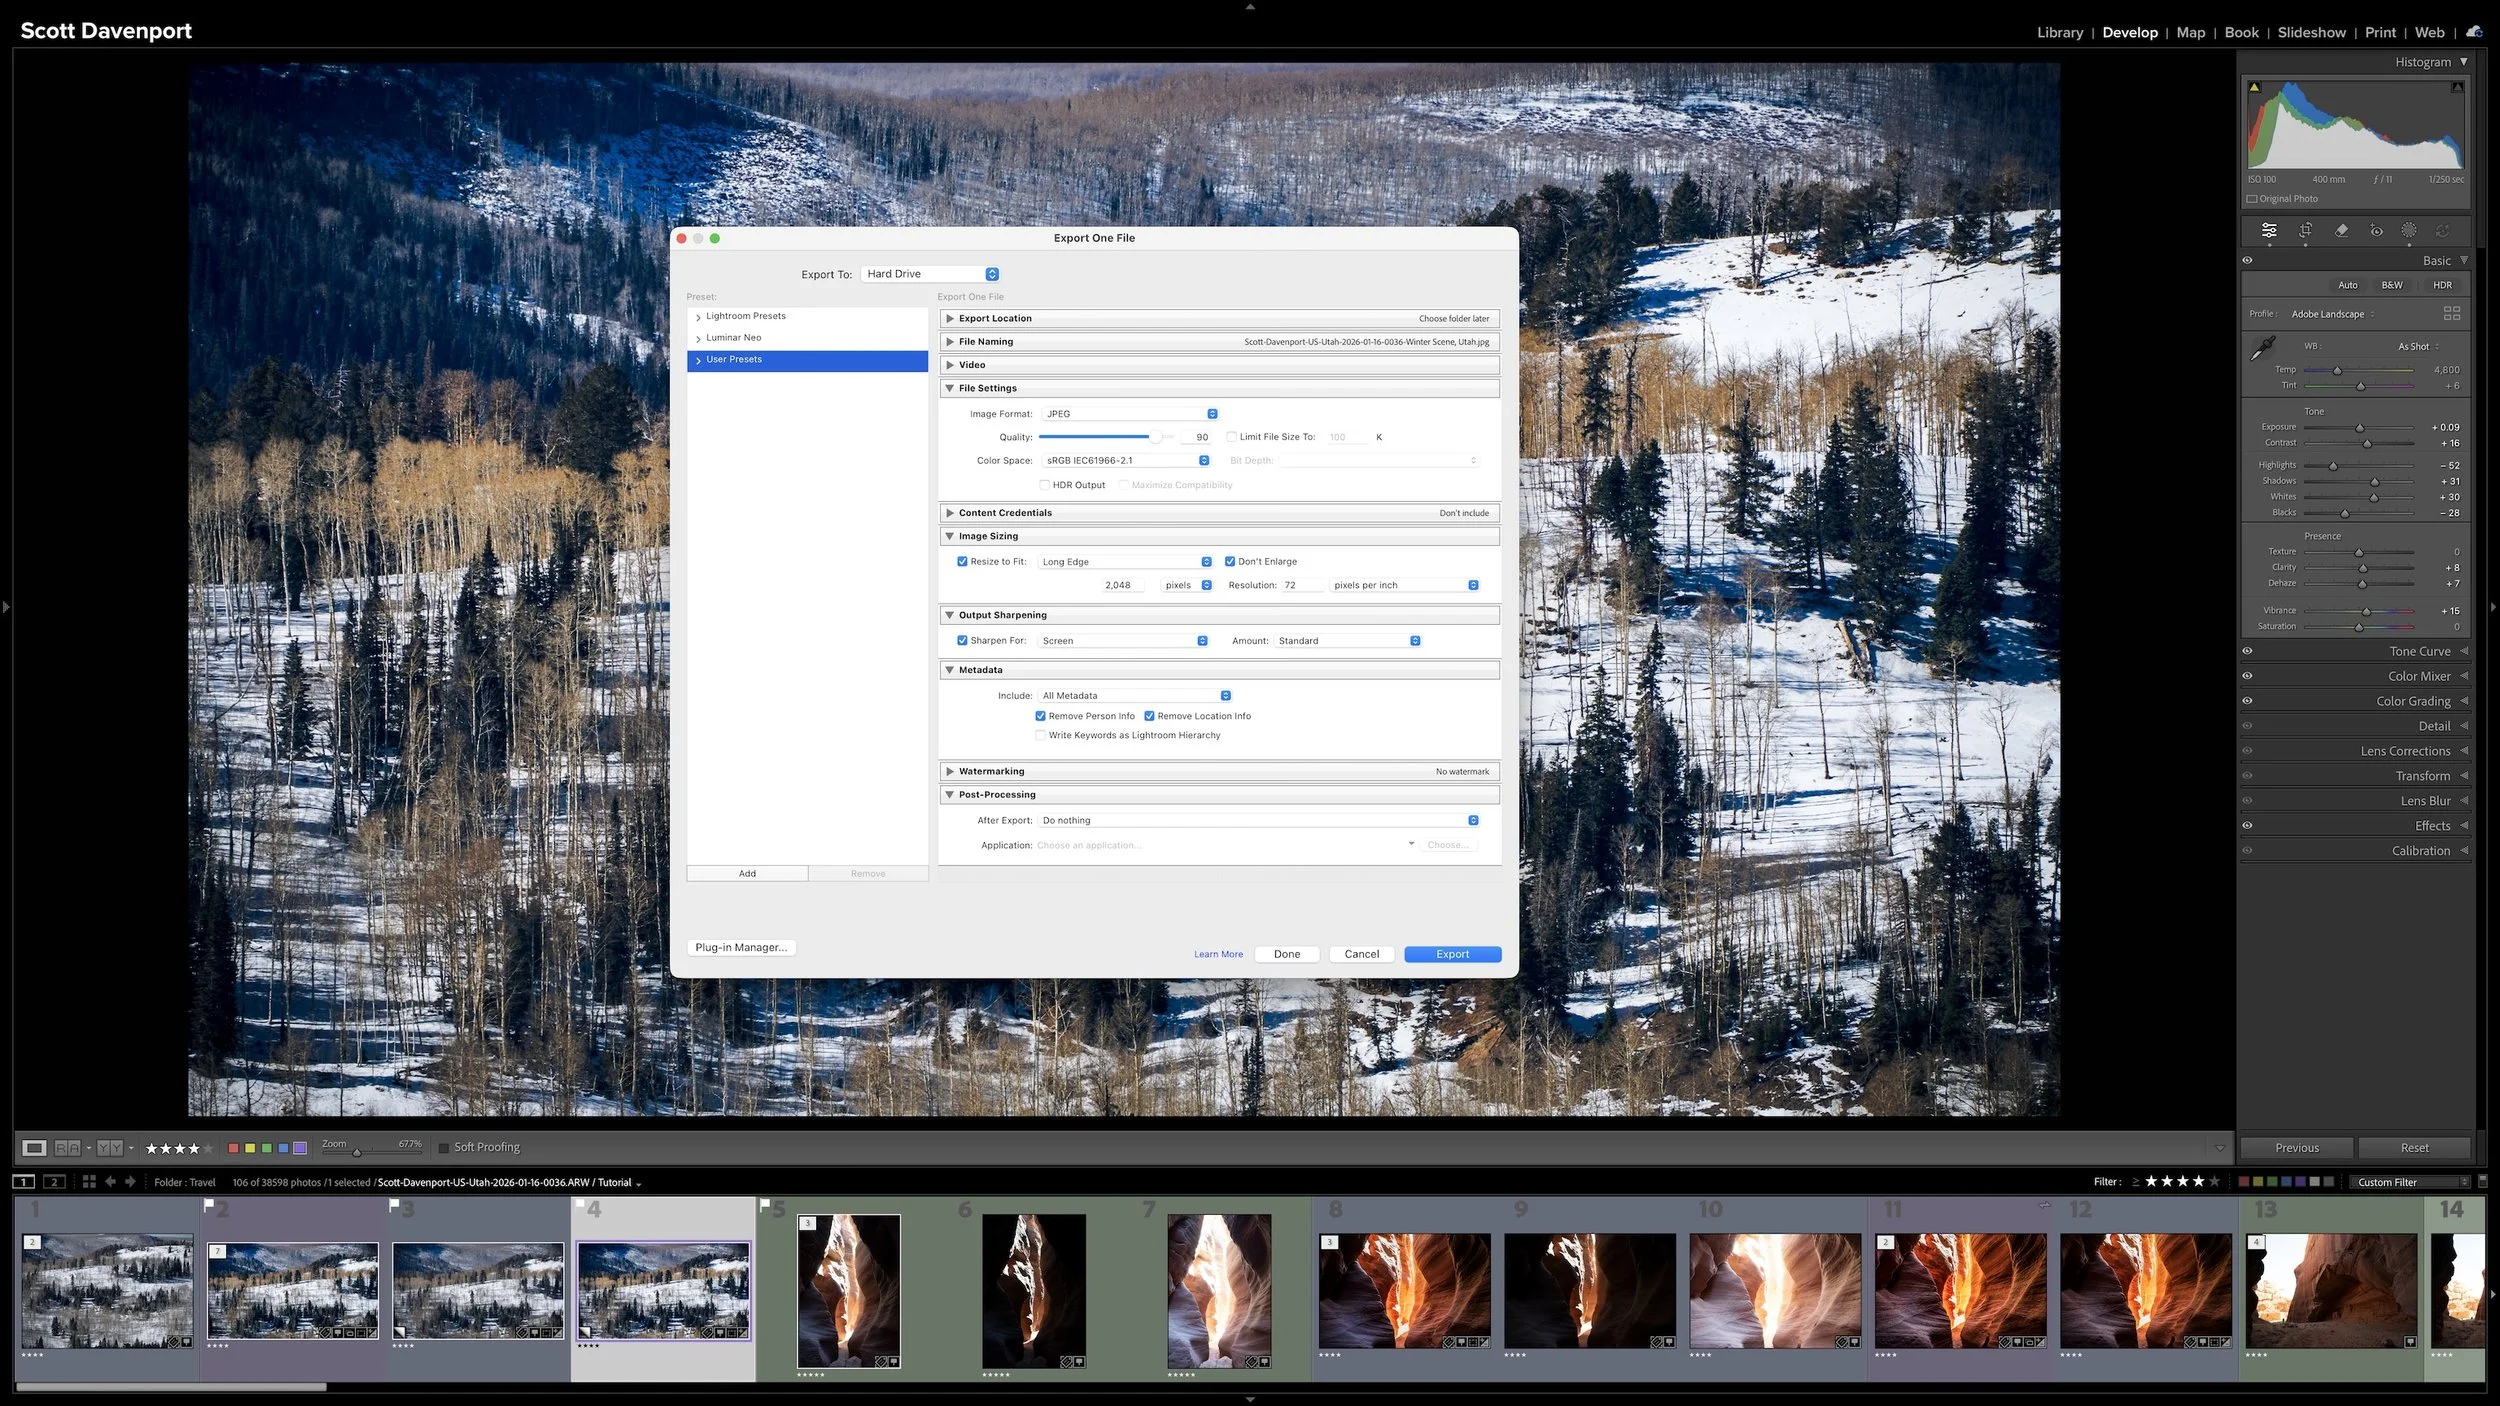
Organizing a photograph and making it searchable are important parts of asset management, but they aren't the end of the photograph's journey. The strongest images still need the creative attention that turns a RAW file into a finished photograph and prepares it for an audience.
Developing, preparing an output, sharing, and marking the work complete are four distinct decisions. Keeping those decisions inside the workflow helps you know what each photograph needs next without treating an exported file as a replacement for the original.
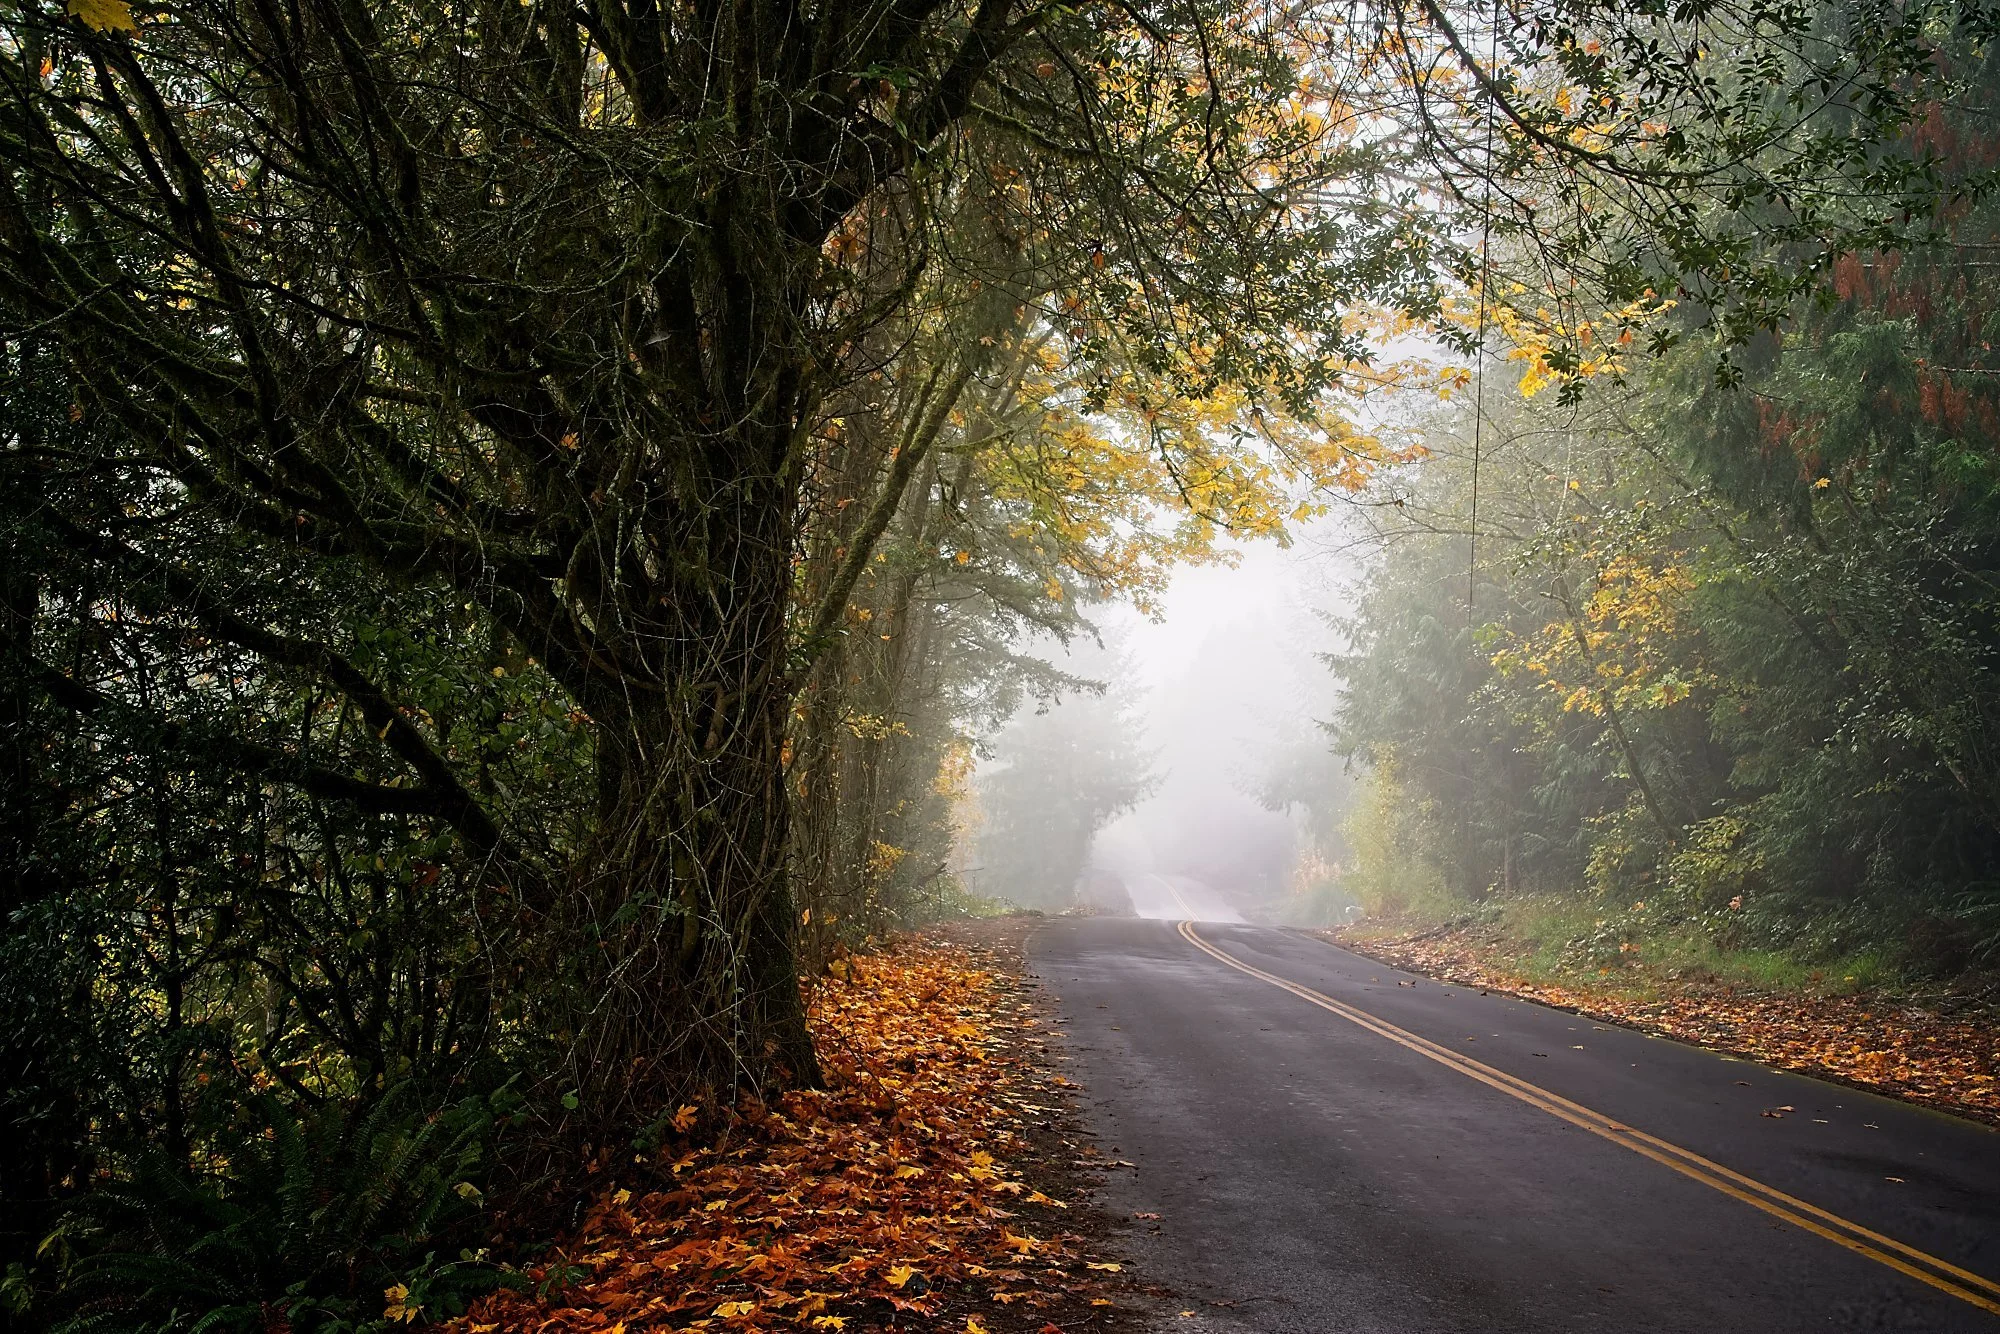
A quick AI selection can get you most of the way to a good mask. The work that’s left might be a patch of gravel the selection missed, a group of trees that picked up too much contrast, or a rock face you want to darken without touching the brighter stone around it.
ON1 Photo RAW 2027 makes that refinement easier by putting Add, Subtract, and Intersect right where you’re editing. Three landscape examples show how I decide what a mask needs and which tool will get me there.
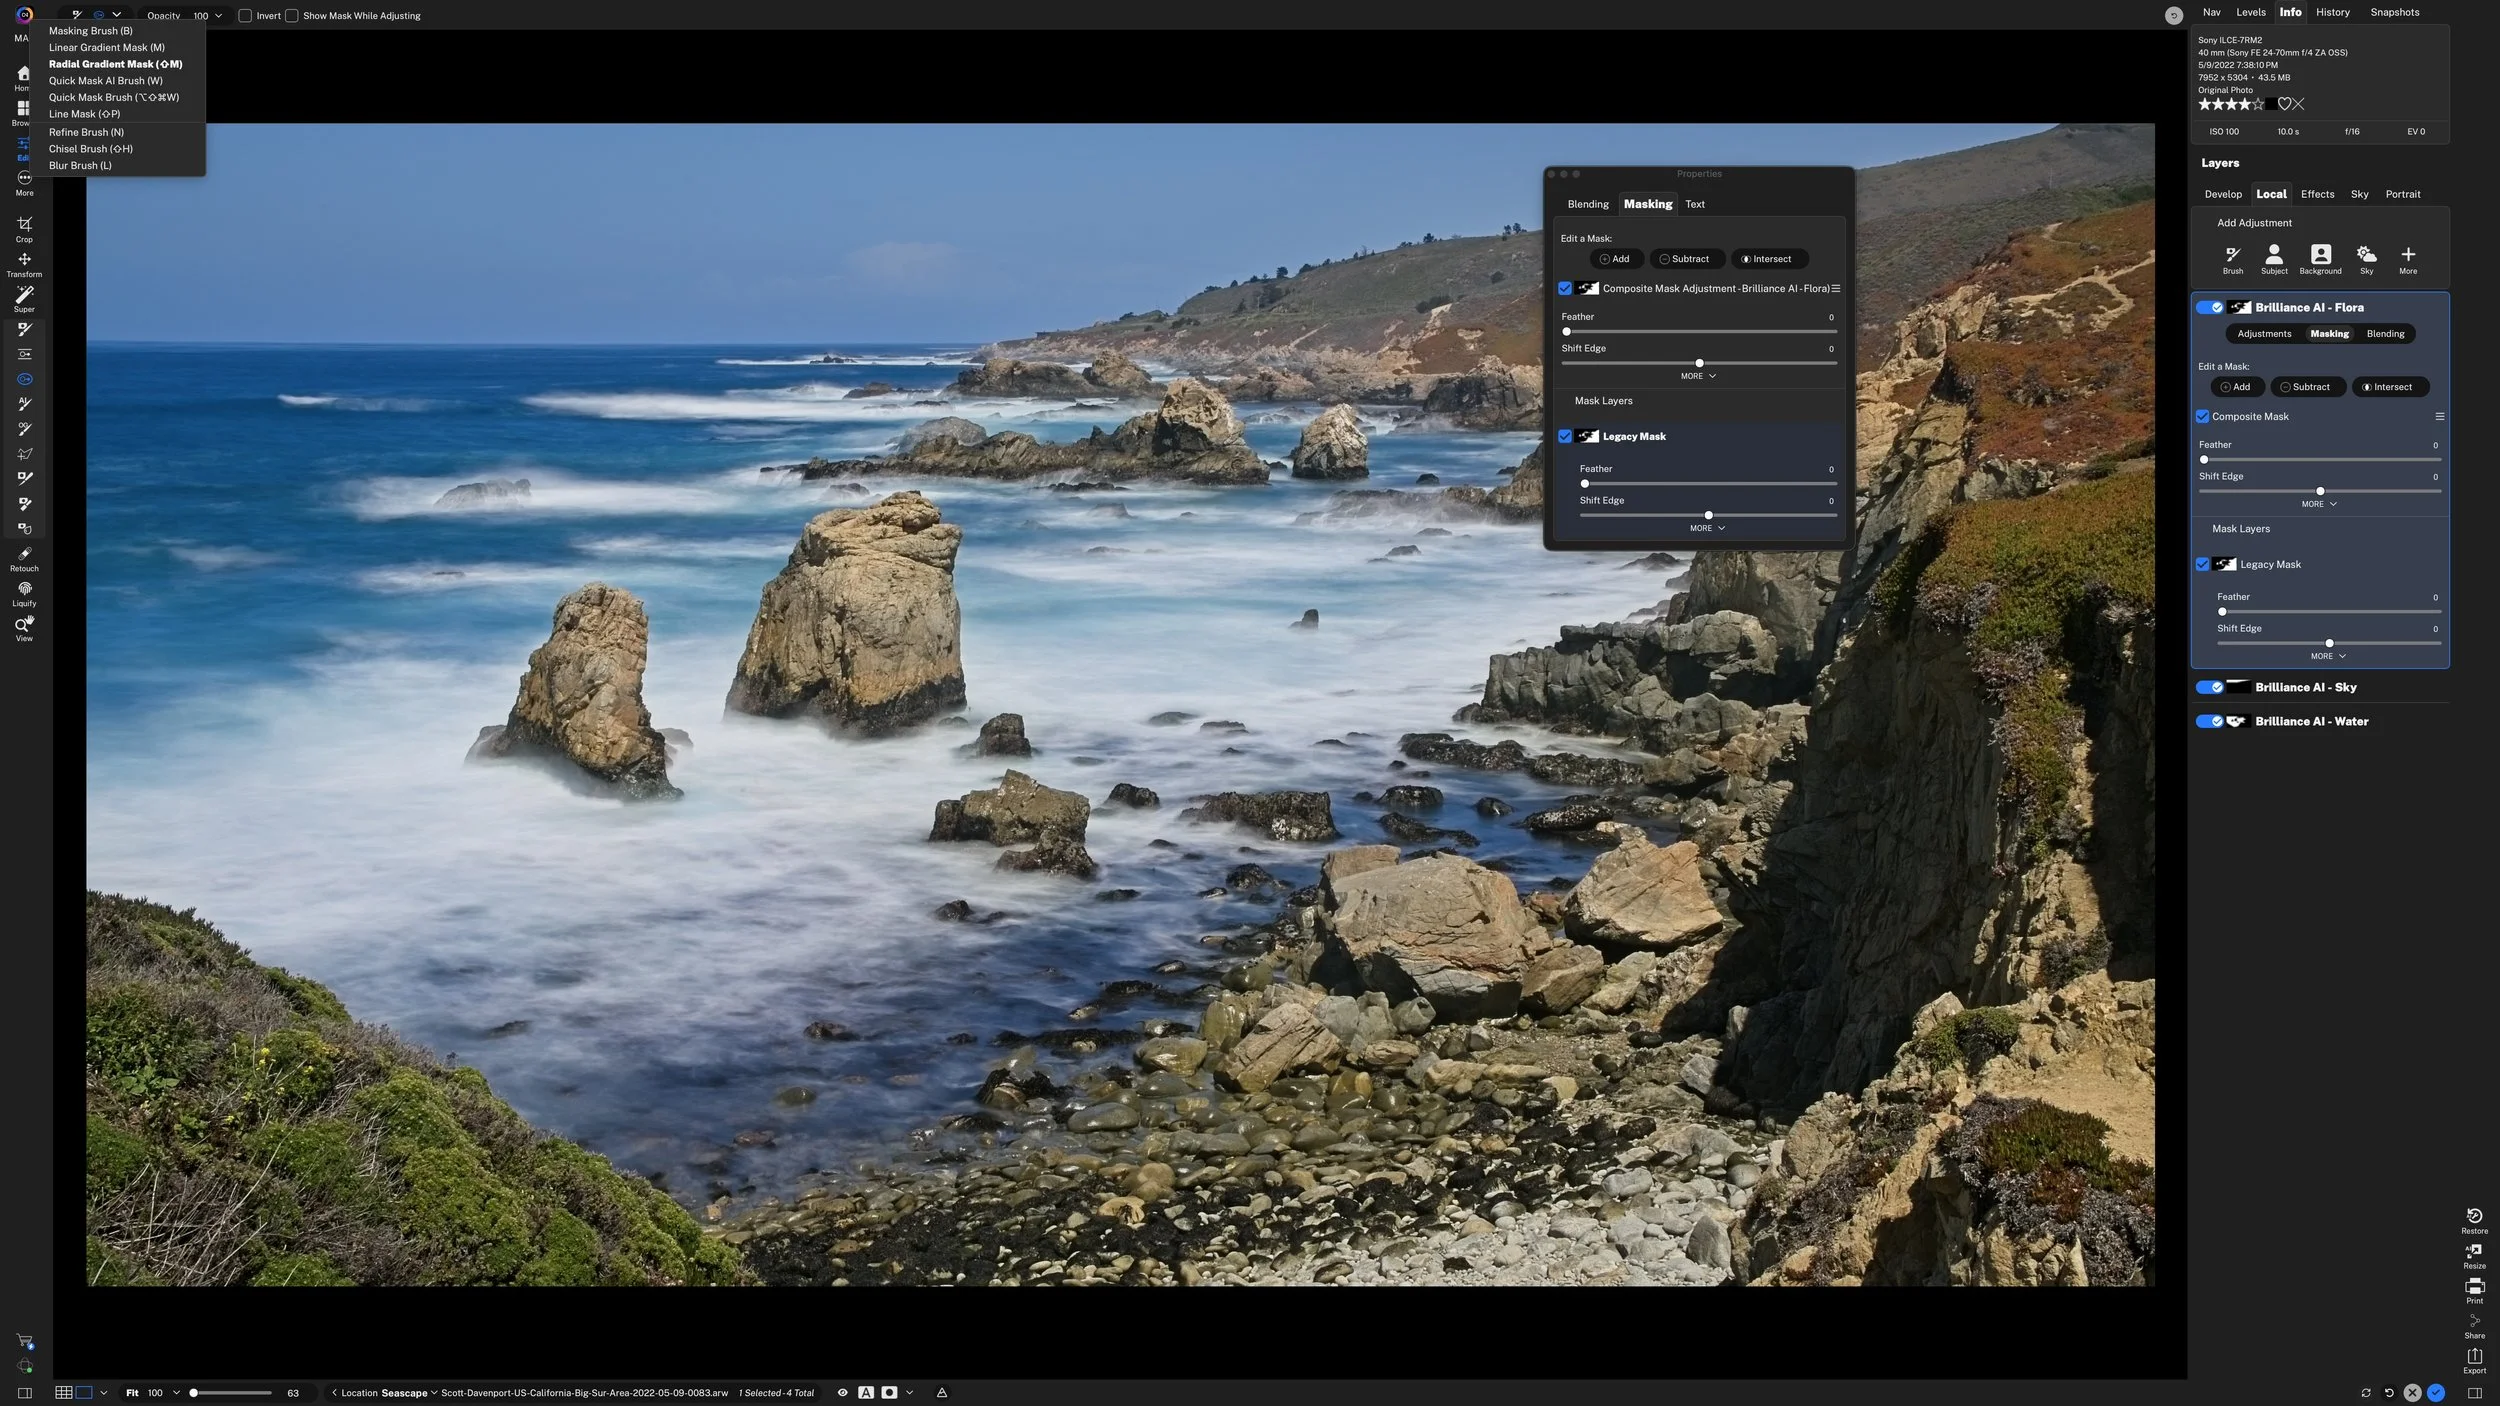
Looking for the Masking Bug in ON1 Photo RAW 2027? Its controls are now split between two tools, Linear Gradient and Radial Gradient. You can also click and drag either gradient directly on the photo to shape it as you place it.
Mask properties have moved closer to the edit, too. You can refine the full mask or an individual mask layer right inside a local adjustment or Effects filter, with Add, Subtract, and Intersect in plain sight.
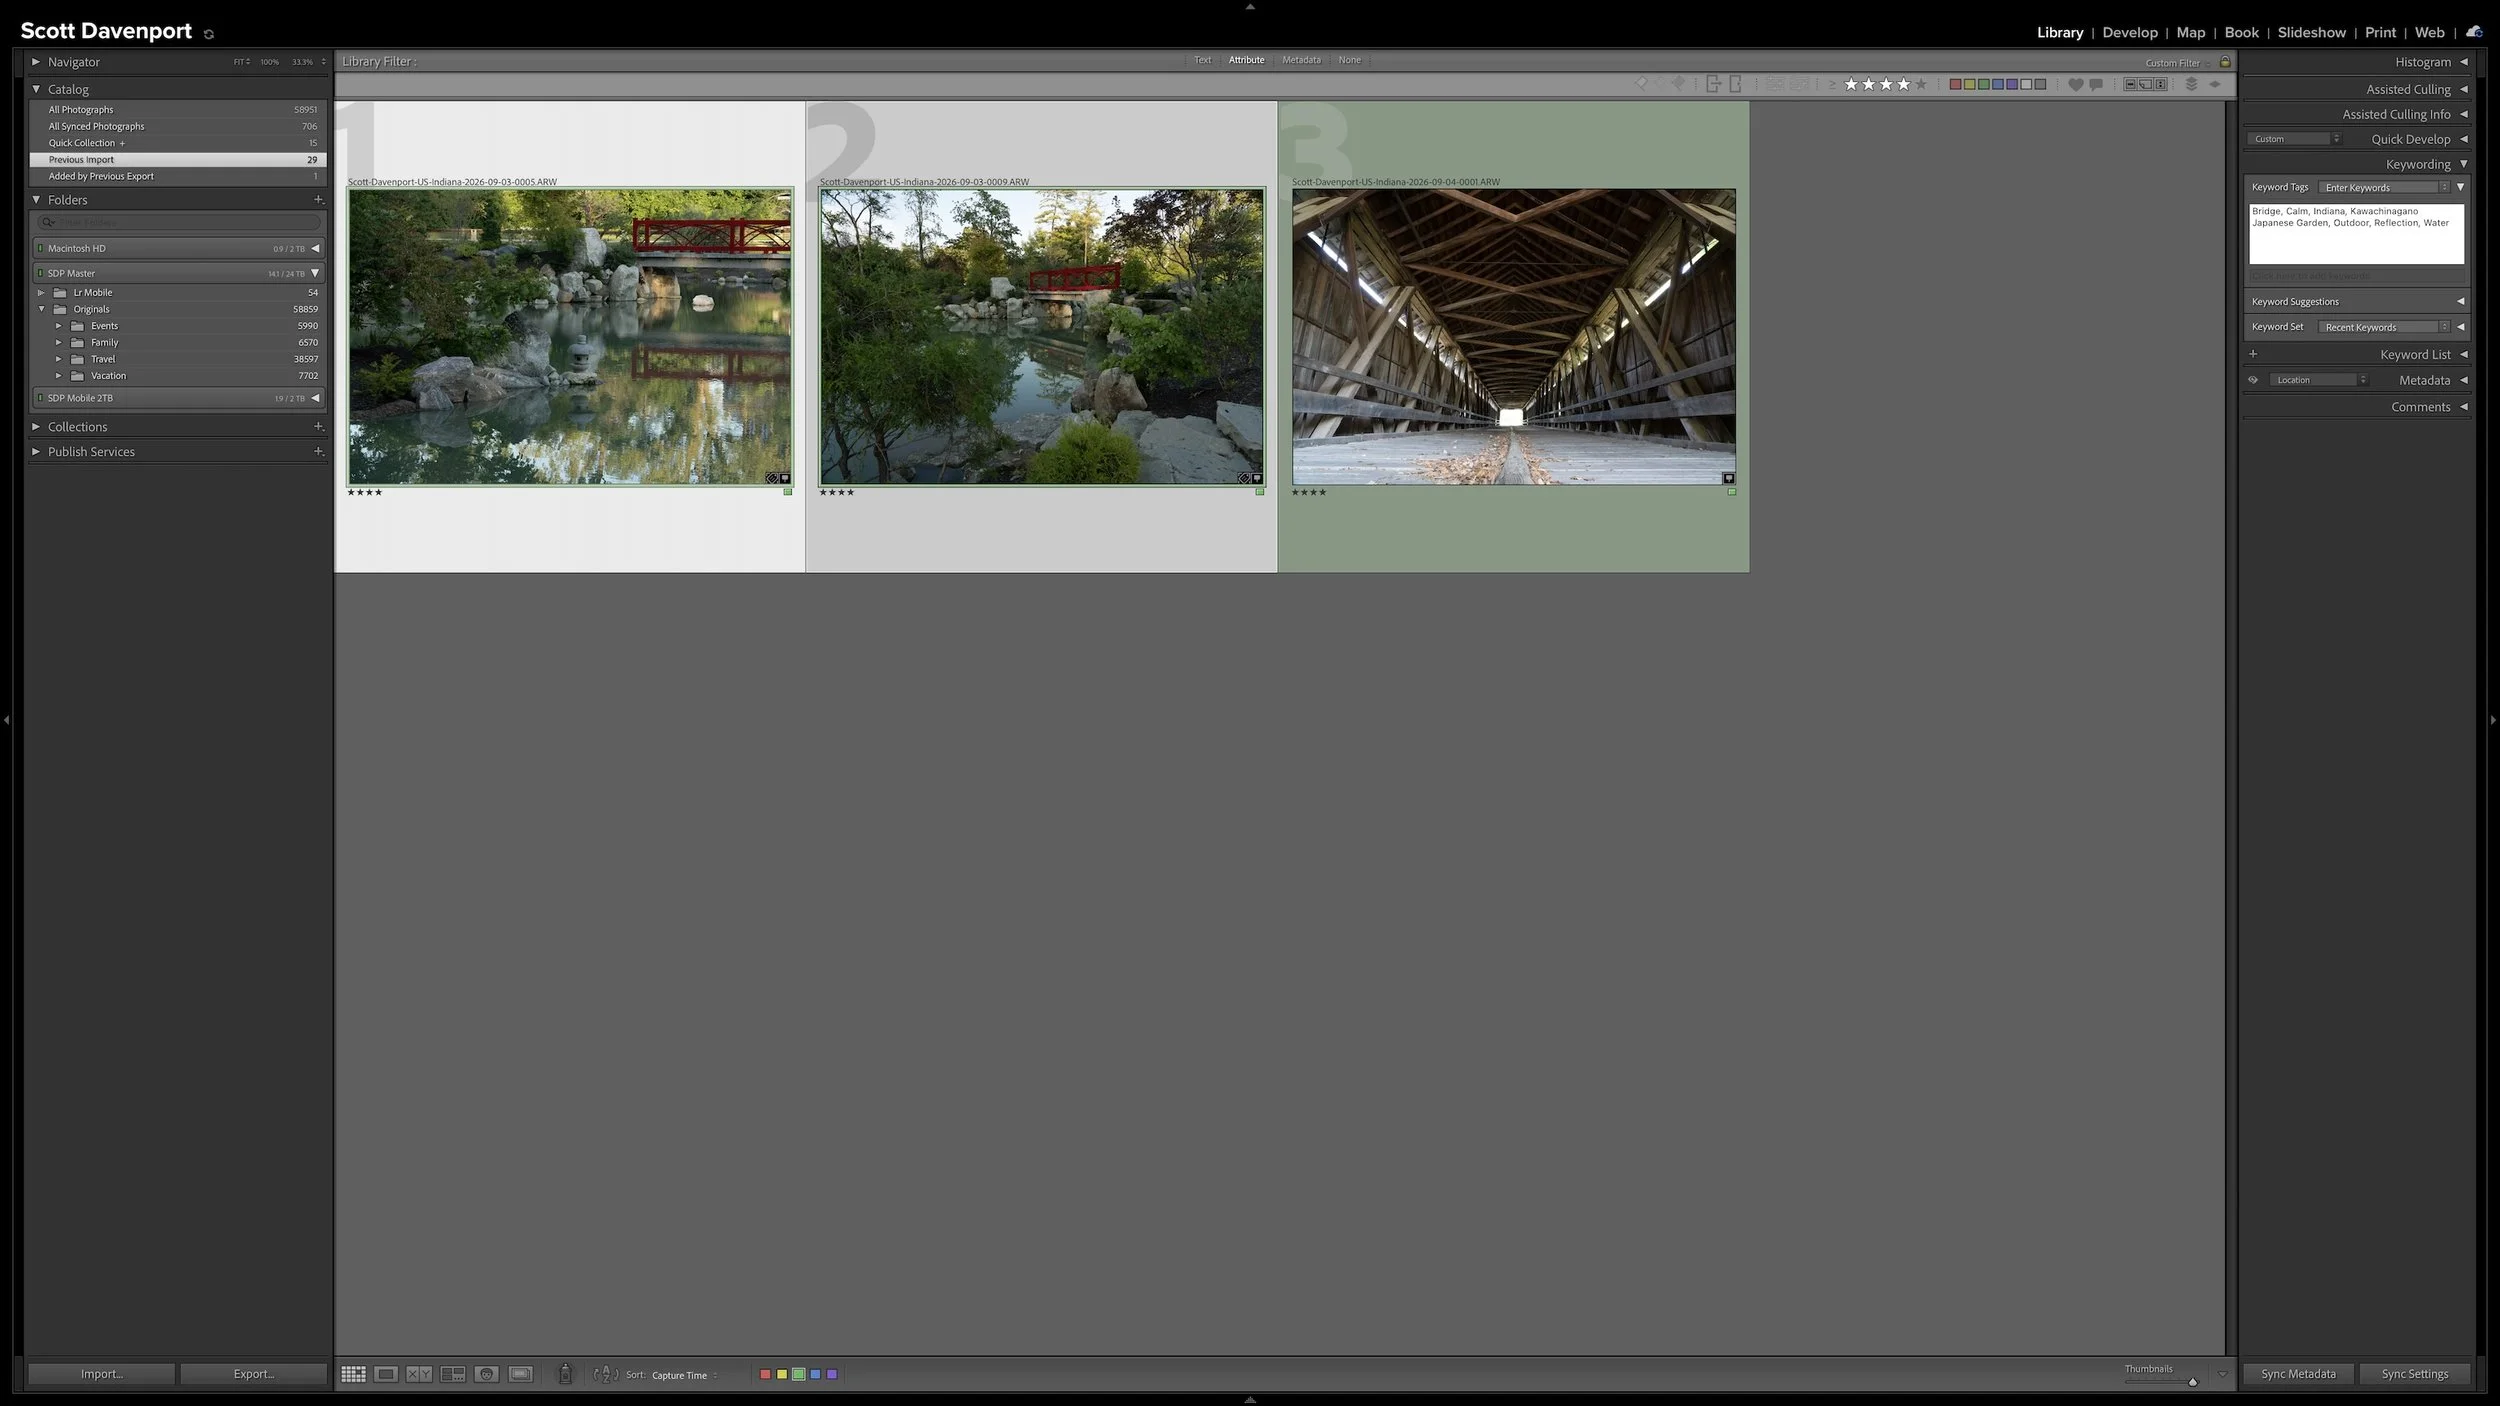
Every photograph I import receives some initial attention, but that doesn't mean every photograph needs the same amount of work. Rating, stacking, and adding shared location information can happen broadly and efficiently across a shoot.
As my workflow moves into keywording, developing, and sharing, I concentrate more effort on the best photographs from the shoot. This narrowing protects my time without deleting photographs, closing doors, or preventing me from reconsidering an image later.

Shape The Light – Tell Your Story
Light shapes your story, and Lightroom gives you the tools to mold it. In Mastering Light & Shadow, we’ll dive into how to read the light in your photos, control it with intention, and shape it to match the story you want to tell. You’ll walk away with practical techniques, clear workflows, and the confidence to interpret your photos and bring your creative vision to life.