Luminosity Masks In ON1 Photo RAW And ON1 Effects
If you are trying ON1 Photo RAW, the ON1 plug-ins like ON1 Effects or ON1 HDR, or upgrading your ON1 software to a newer version, please consider using my affiliate link. There is no extra cost to you and it helps support ON1 tutorials like this one. Ready to buy? Use the offer code SDP20 at checkout and SAVE 20%!
This article is part of a mini-series about the masking features in ON1 Photo RAW and ON1 Effects. In this article, we explore using Luminosity Masks.
What Is A Luminosity Mask?
A luminosity mask is a mask that is automatically generated using the luminance, or brightness, values of your photo. The mask is built on a pixel-by-pixel basis. Very dark or black pixels result in a black or dark gray spot on the mask, and very bright or white pixels result in a white or light gray spot on the mask.
And what do we know about masks? Recall from the introduction to masking article, a black mask conceals and a white mask reveals. When you create a luminosity mask, you get a very intricate mask with nuanced levels of concealing and revealing. The mask looks like a grayscale version of your image - but it is a mask. Luminosity masks open the doors for very creative editing and adjustments targeted to specific tonal regions of your photo.
An example photo. Notice areas in the sky are very bright, like the clouds, and the trees at the horizon line are very dark.
The luminosity mask for the photo (this is not a grayscale image, this is a mask). See how the bright pixels are mapped a light gray/white mask (reveal) and the dark pixels to a dark gray/black (conceal) mask.
Creating And Controlling Luminosity Masks In ON1
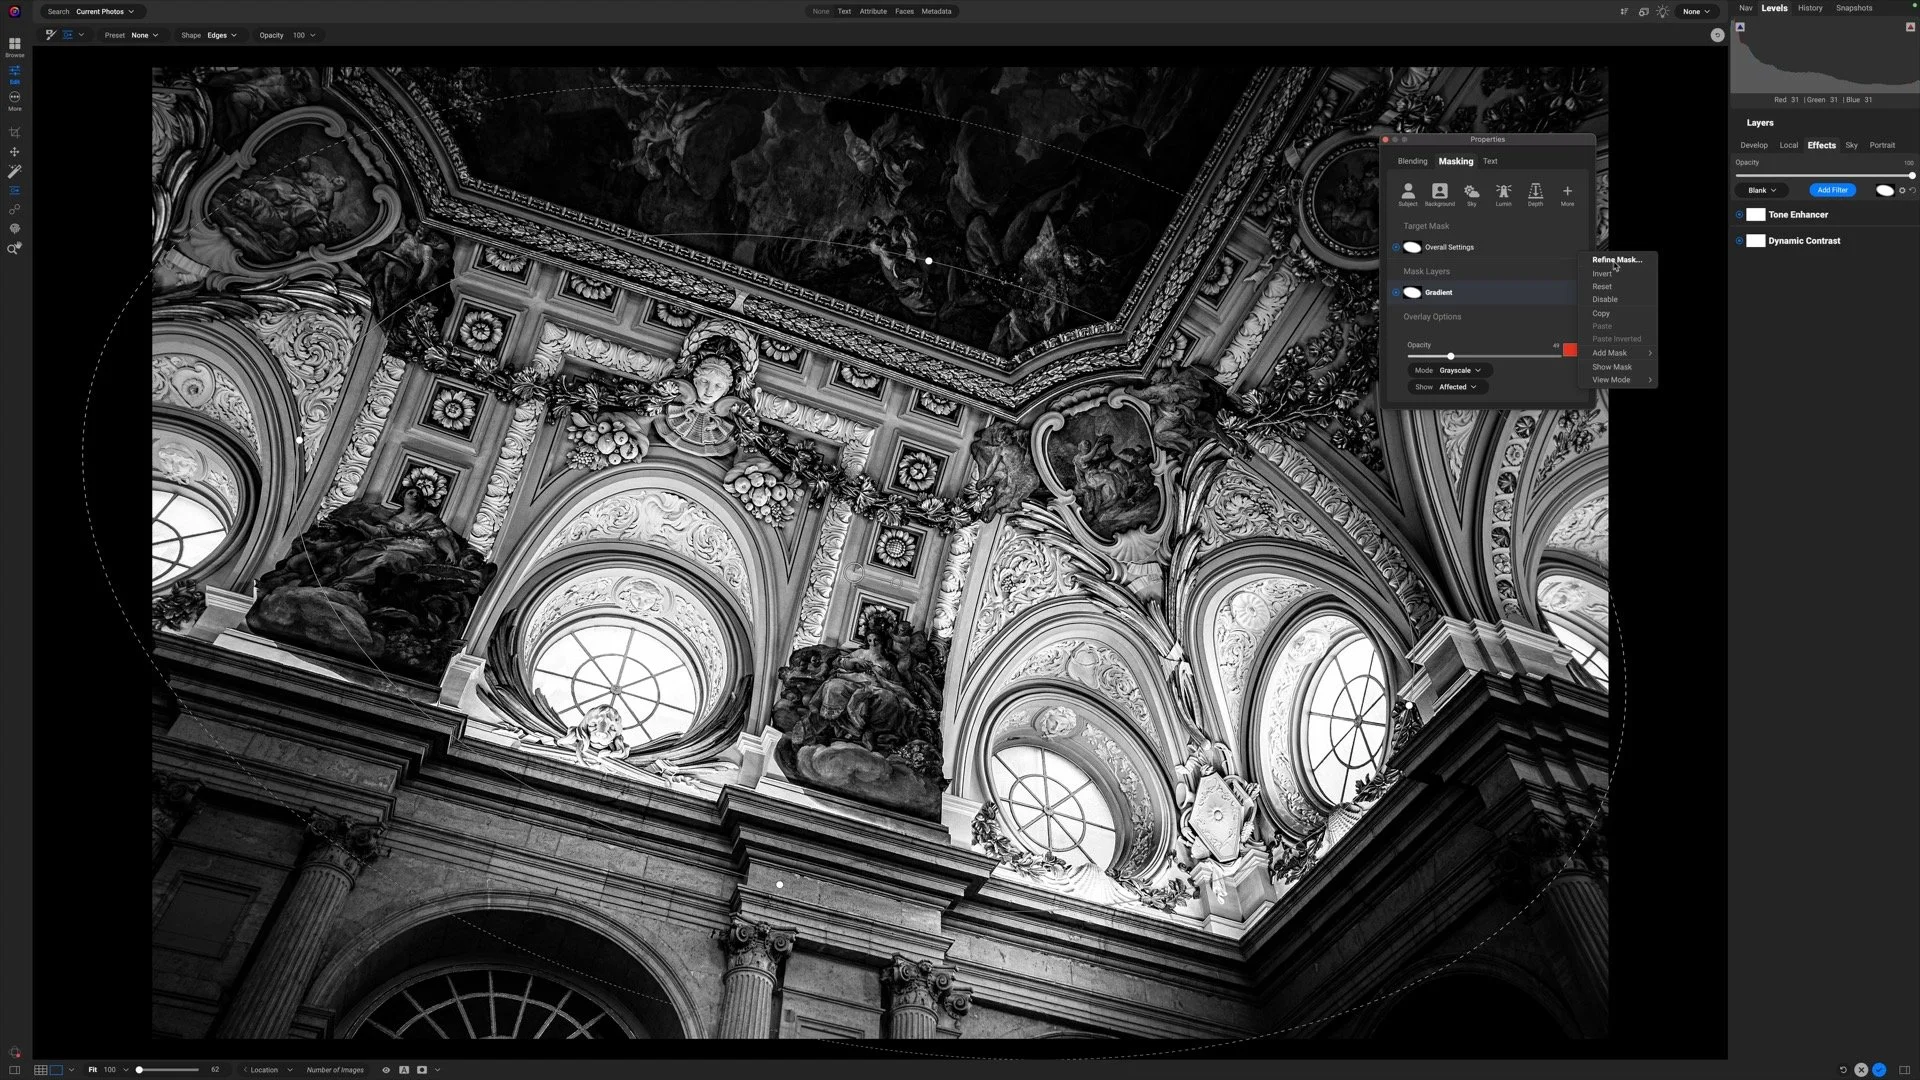
A luminosity mask can be applied to any Effects filter, Local Adjustment, or Layer in ON1. Creating a luminosity mask in ON1 is very easy. Open the Masking Options for the filter, adjustment, or layer you are working with and click the Lumen button. Boom! You have a luminosity mask.
In addition to the standard masking controls discussed in the introduction article, there are two controls for luminosity masks, Window and Levels. Use these sliders to limit the mask to specific tonal regions in your photo.
Window - include or exclude luminance ranges used in the mask. The slider has two control points at the far left and right. Moving the points inward toward the center reduce the breadth, or window, of tones included in the mask.
Levels - bias the mask toward highlights or shadows, and adjust the transition. This slider has three control points. The middle point adjust the bias of the mask toward highlights or shadows. The left and right controls adjust how gradual or harsh the transition is between tones included in the mask to those excluded in the mask.
The Window slider is reasonably intuitive. The Levels slider is a more difficult concept to wrap your mind around. My recommended workflow is to adjust the window to consider the tones you want to affect with your adjustment, and then work visually with the Levels sliders. Watch your photo as you make adjustments and when your photo looks how you want it, stop adjusting. Slider positions don’t matter, the look of the photo does.
See this in action in the video accompanying this article.
Limiting a luminosity mask to specific tonal areas using the Window and Levels controls in the ON1 Masking Options area.
Luminosity Masking Examples
Luminosity masks are ultra-useful for editing because they give you immense control over what tones are and are not impacted by a filter or adjustment. I use them all the time. I use them for a variety of purposes, including but not limited to:
Dodging and burning
Color tinting and grading
Refined, natural glow looks
… the list goes on and on
Below are just two examples of photos where luminosity masks helped shape the final look of the photo, targeting adjustments to specific tonal regions without having to hand-paint masks. In the sunrise photo, a luminosity mask was used to darken (burn) the shadow areas of the grasses in the foreground, creating more depth in the scene. In the second, a luminosity mask targeted a contrast boost to the rock and whitewash int he foreground, making the subject pop.
Sunrise In Santa Ysabel Valley
Contact Scott to commission a print or license this image.
Garrapata Beach California
Contact Scott to commission a print or license this image.
Up Next
There is one more masking tool to discuss - and it’s in Photo RAW only. It’s the Sky Swap AI masking tool.
