

If you are trying ON1 Photo RAW, the ON1 plug-ins like ON1 Effects or ON1 HDR, or upgrading your ON1 software to a newer version, please consider using my affiliate link. There is no extra cost to you and it helps support my work and this website.
The new Split Field filter in ON1 Photo RAW 2026 brings a creative split-diopter look to your editing — without layers or complex masking. It gives you the ability to magnify one area of your photo while leaving another untouched, opening up some really interesting possibilities for focus and depth. This filter is especially useful for wide angle photos to magnify objects in the background that would otherwise feel tiny.
Split Field Filter Controls
There are two sections of controls in this filter. The Appearance section has two sliders:
Scale: Control the magnification of the affected area of your photo
Blur: Apply a blur to the magnified area
The Position section has four controls:
Adjust Magnified Region: Click the crosshairs and then drag the magnified portion of the photo in the preview area. This is helpful to balance your composition after magnification.
Distance: Set the division line between what areas of your photo are magnified vs. unaffected. By default, areas above the distance line are magnified.
Angle: Set the angle of the division line.
Transition: Control how smooth or crisp the shift from magnified to unaffected is.
You can also use the on-screen gradient bug to control Distance, Angle, and Transition. The large center cirlce of the gradient sets the Distance and the smaller circle controls the angle. Click and drag the dashed lines of the gradient to control Transition.
Usage Tips
The Split Field filter works best on photos that have a reasonably uniform area in the midground, with no primary or secondary subjects encroaching into that area. Photos with busier midgrounds are more likely to produce unnatural artifacts such as partially-magnified objects or ghosting. Experiment with the Transition slider to create a smooth
Try this filter on landscapes you’ve captured with a wide angle lens. Wide angle photos will make distant subjects look very small and Split Field helps compensate for that.

Tell compelling stories. Become a better photographer.
Story And Vision will help you be a stronger visual storyteller and a better photographer. This 12 chapter video course guides you on how to examine your unprocessed photos more critically and understand the story the subjects tell. Then, pivot your post-processing approach to accentuate, emphasize, and reinforce that story.
11th Edition - Revised for ON1 Photo RAW 2024
Organize, edit, and share your photos with ON1 Photo RAW. This well-illustrated, no-nonsense book explains everything you need to learn ON1 Photo RAW. It is the most comprehensive book on Photo RAW out there.
ON1 Photo RAW Essentials: The Photographer’s Guide To Learning ON1 Photo RAW 2024

ON1 Effects and its 30+ filters make it easy to add style and create the mood you want for your images. The 10 learn-by-example tutorials show you how to get more pop with contrast, audition and blend LUTs, correct color casts, and more.
Adding Style With ON1 Effects will help you craft your signature style and tell your story.
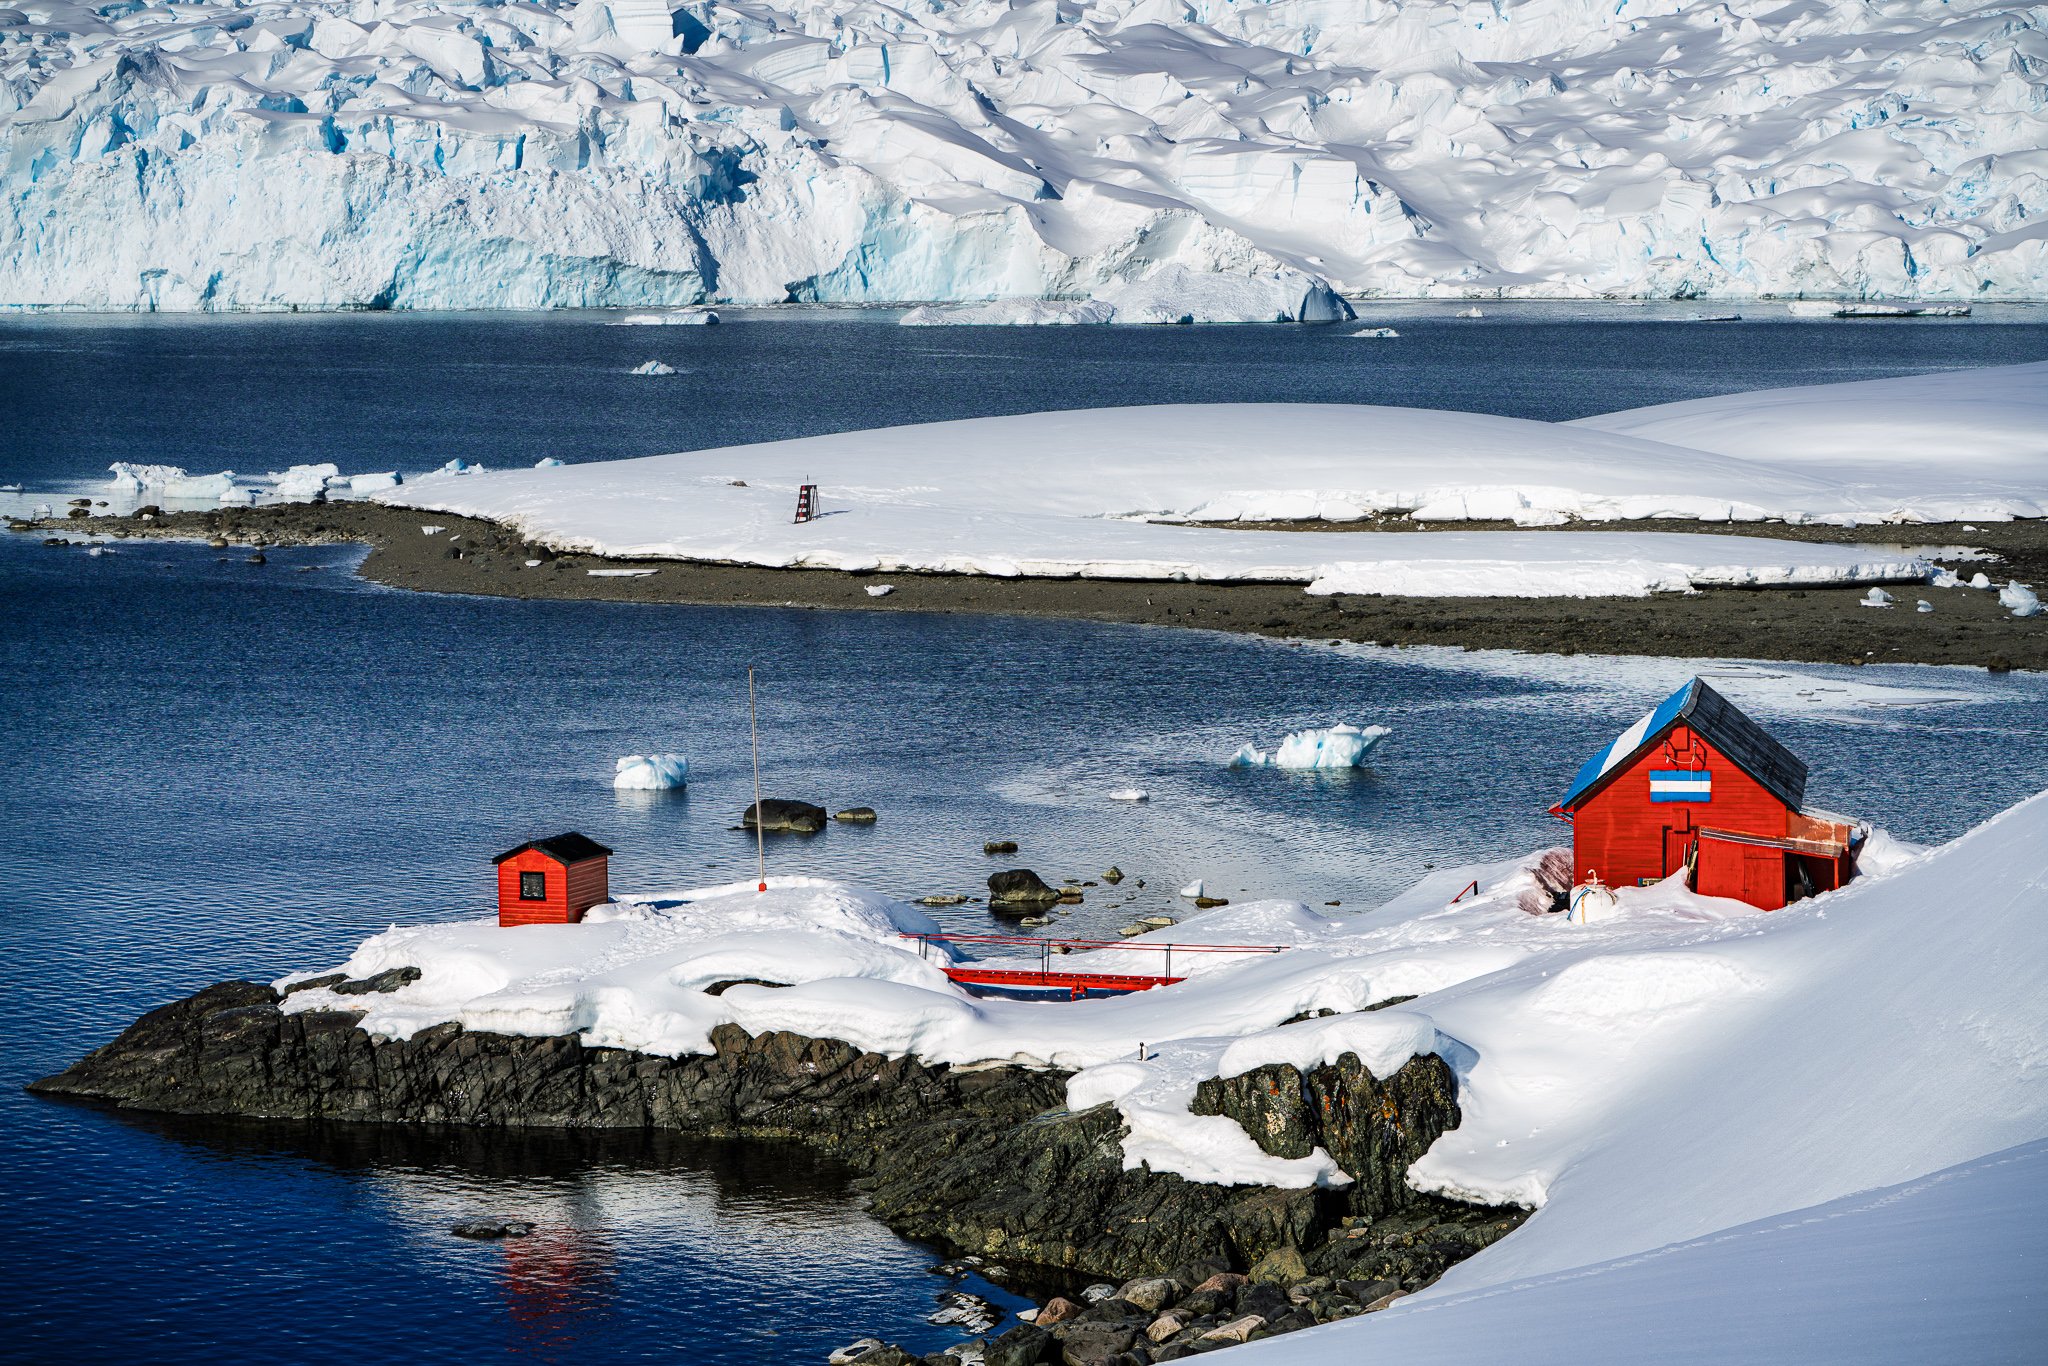
Sometimes the elements you want to adjust have little in common beyond their distance from the camera. Selecting them by subject, color, or brightness can mean building a mask from several pieces when your real goal is simply to work on a particular layer of the scene.
Lightroom’s Depth Range mask gives you another way to approach that decision. Learn how to select by relative depth, soften the transition into more distant areas, and combine masking tools to keep an adjustment where it belongs.
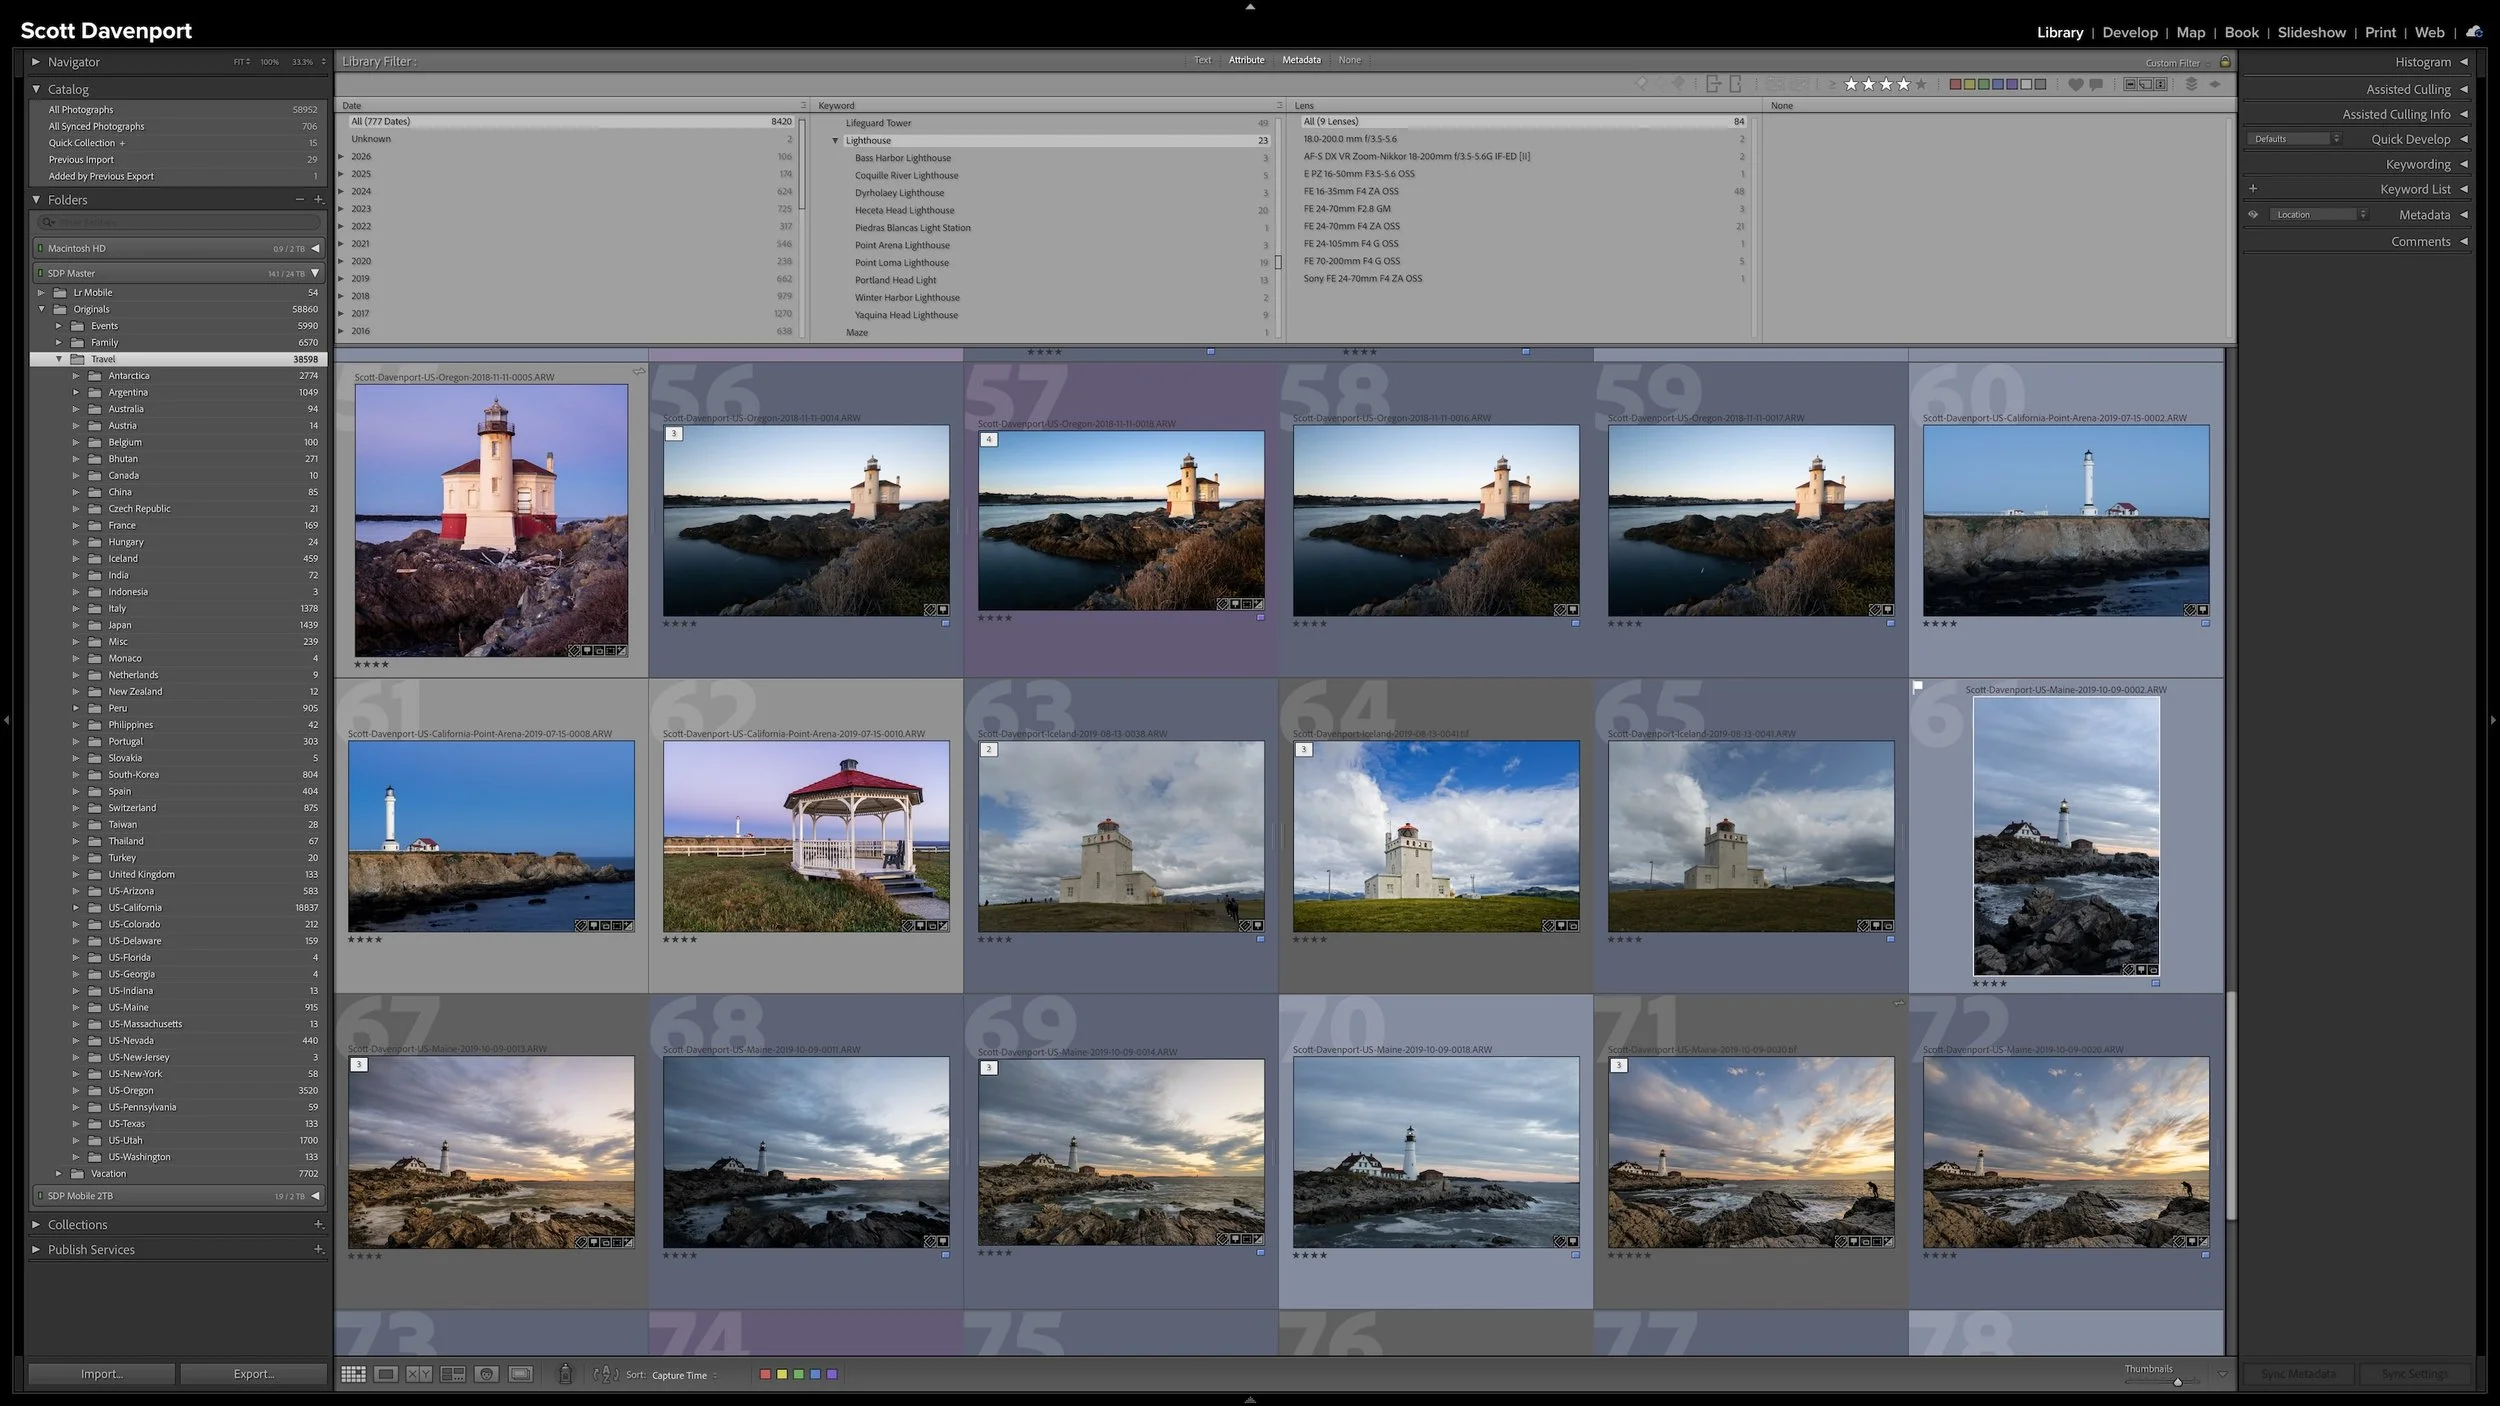
You remember the photograph, but not its filename, folder, or exact capture date. A large Lightroom Classic catalog can feel difficult to search when the only clues you have are fragments: a location, a subject, a rating, or perhaps the lens you used.
The Library Filter lets you combine those fragments and progressively narrow the catalog. The metadata added throughout a practical workflow creates several paths back to the same photograph—without requiring perfect metadata or a perfect memory.
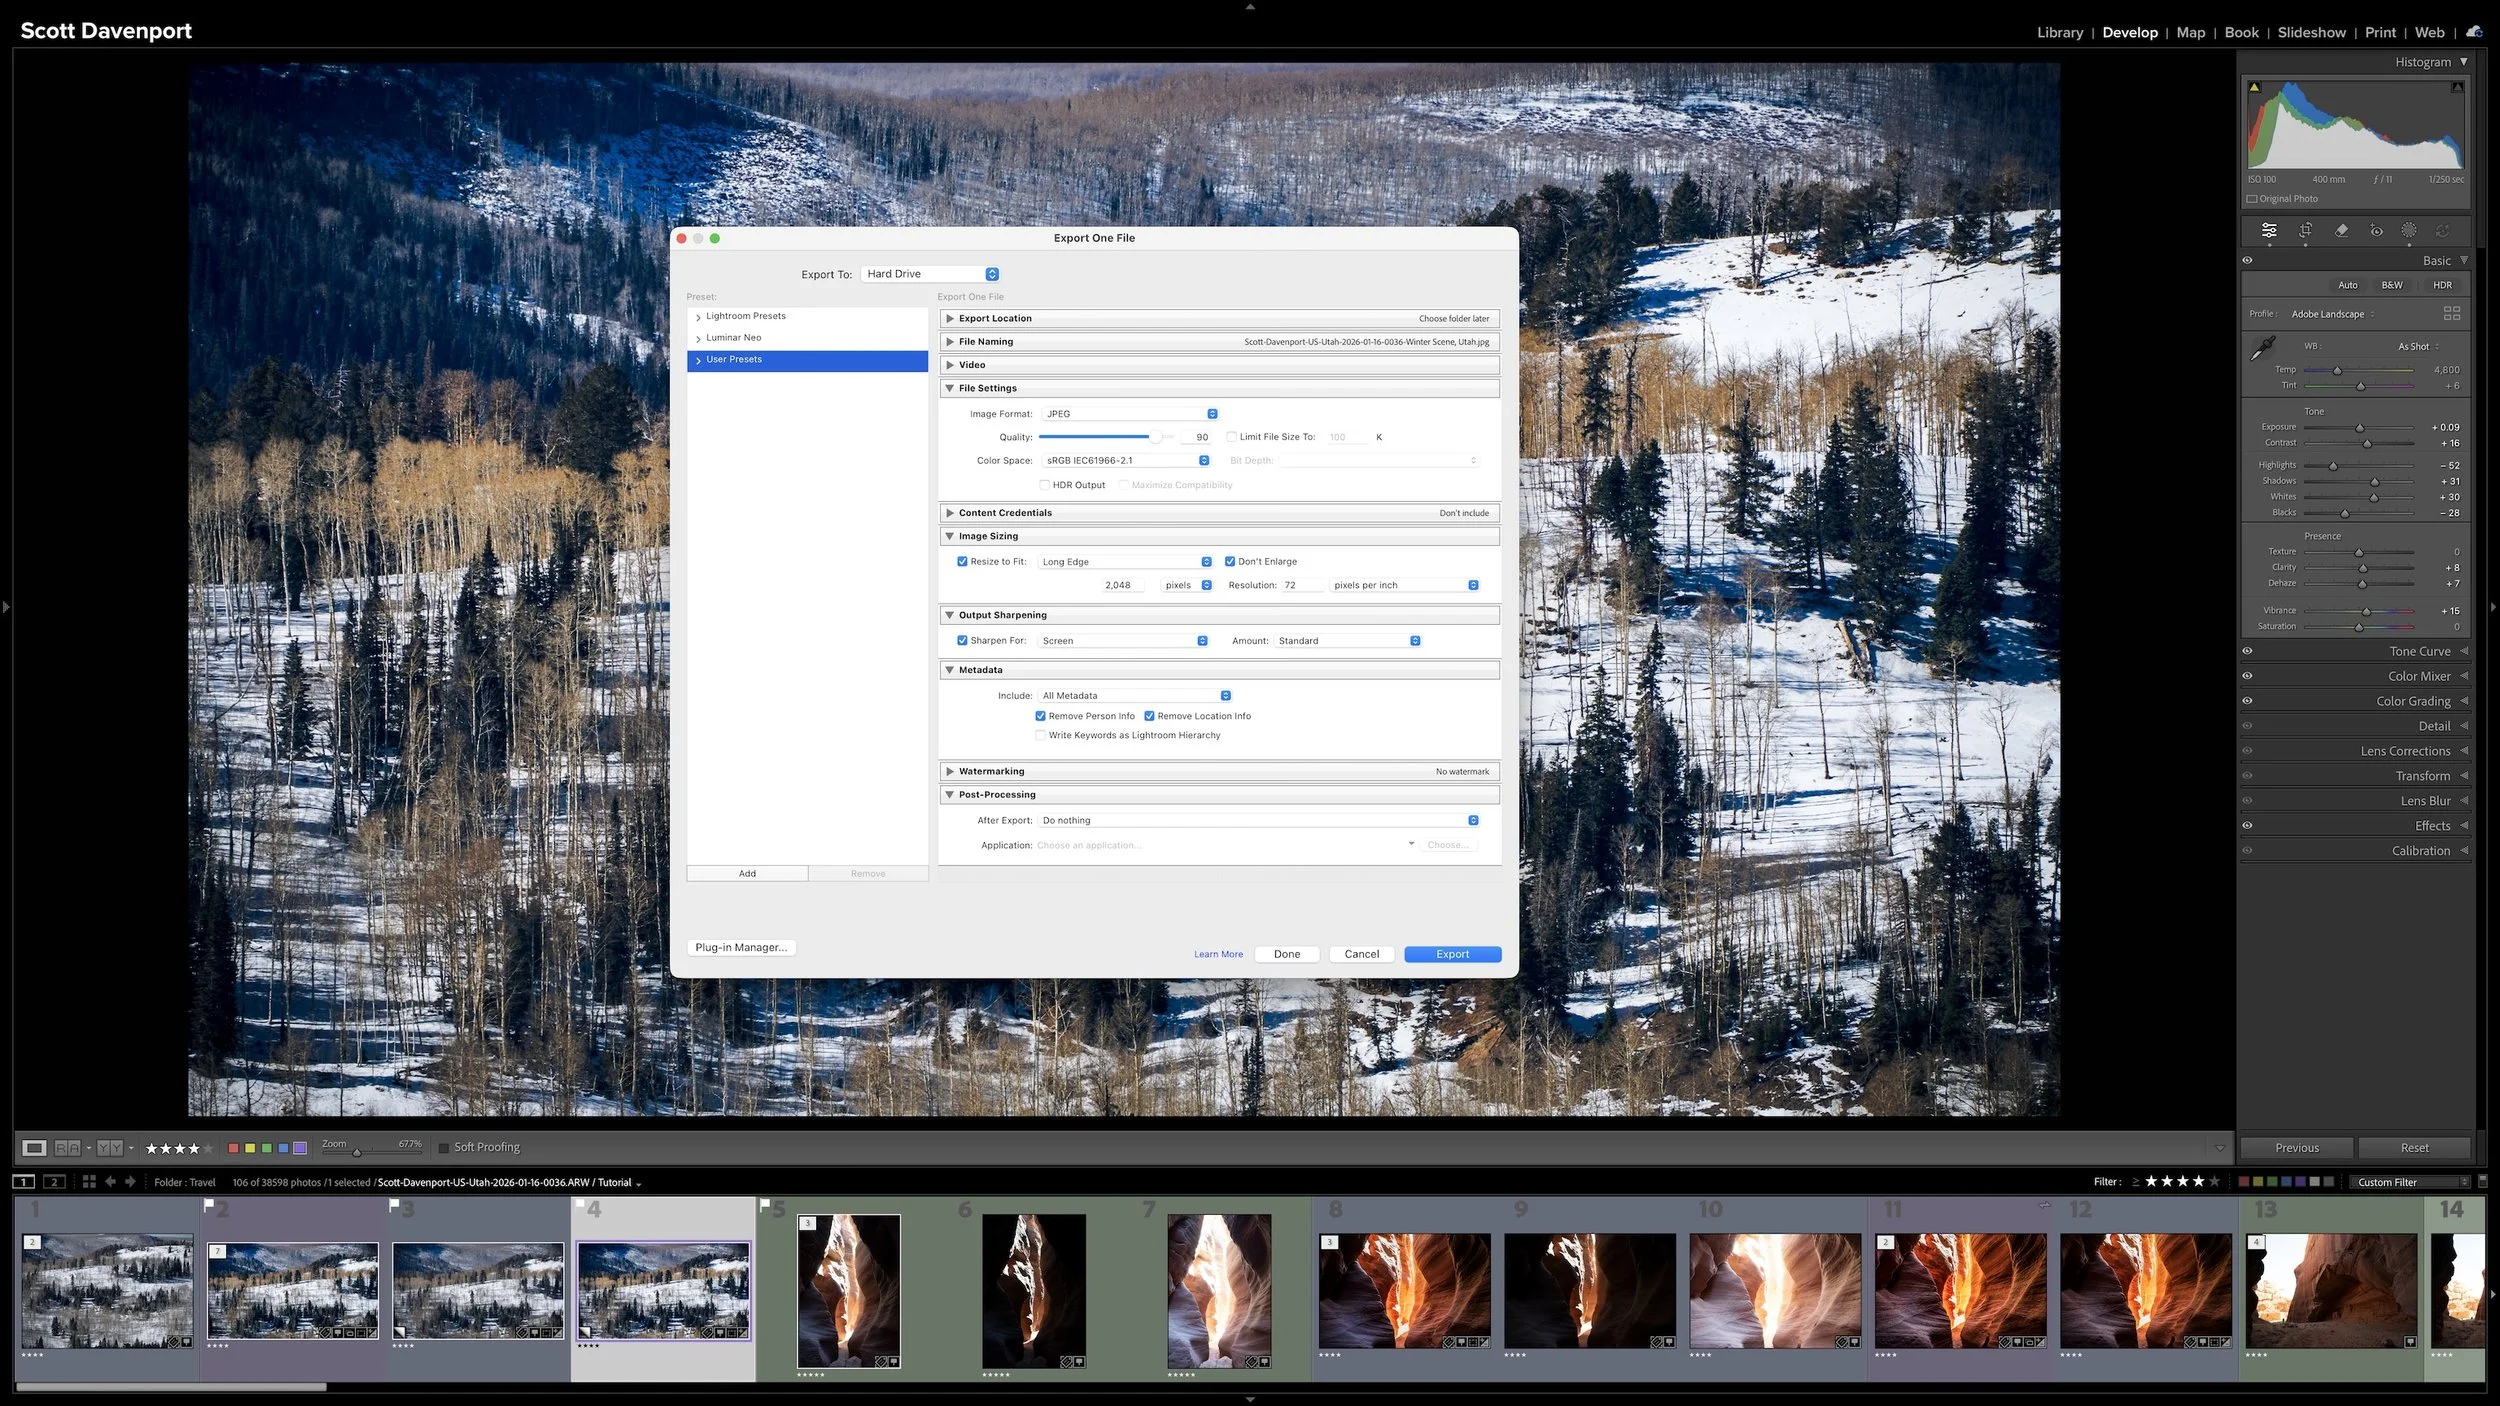
Organizing a photograph and making it searchable are important parts of asset management, but they aren't the end of the photograph's journey. The strongest images still need the creative attention that turns a RAW file into a finished photograph and prepares it for an audience.
Developing, preparing an output, sharing, and marking the work complete are four distinct decisions. Keeping those decisions inside the workflow helps you know what each photograph needs next without treating an exported file as a replacement for the original.
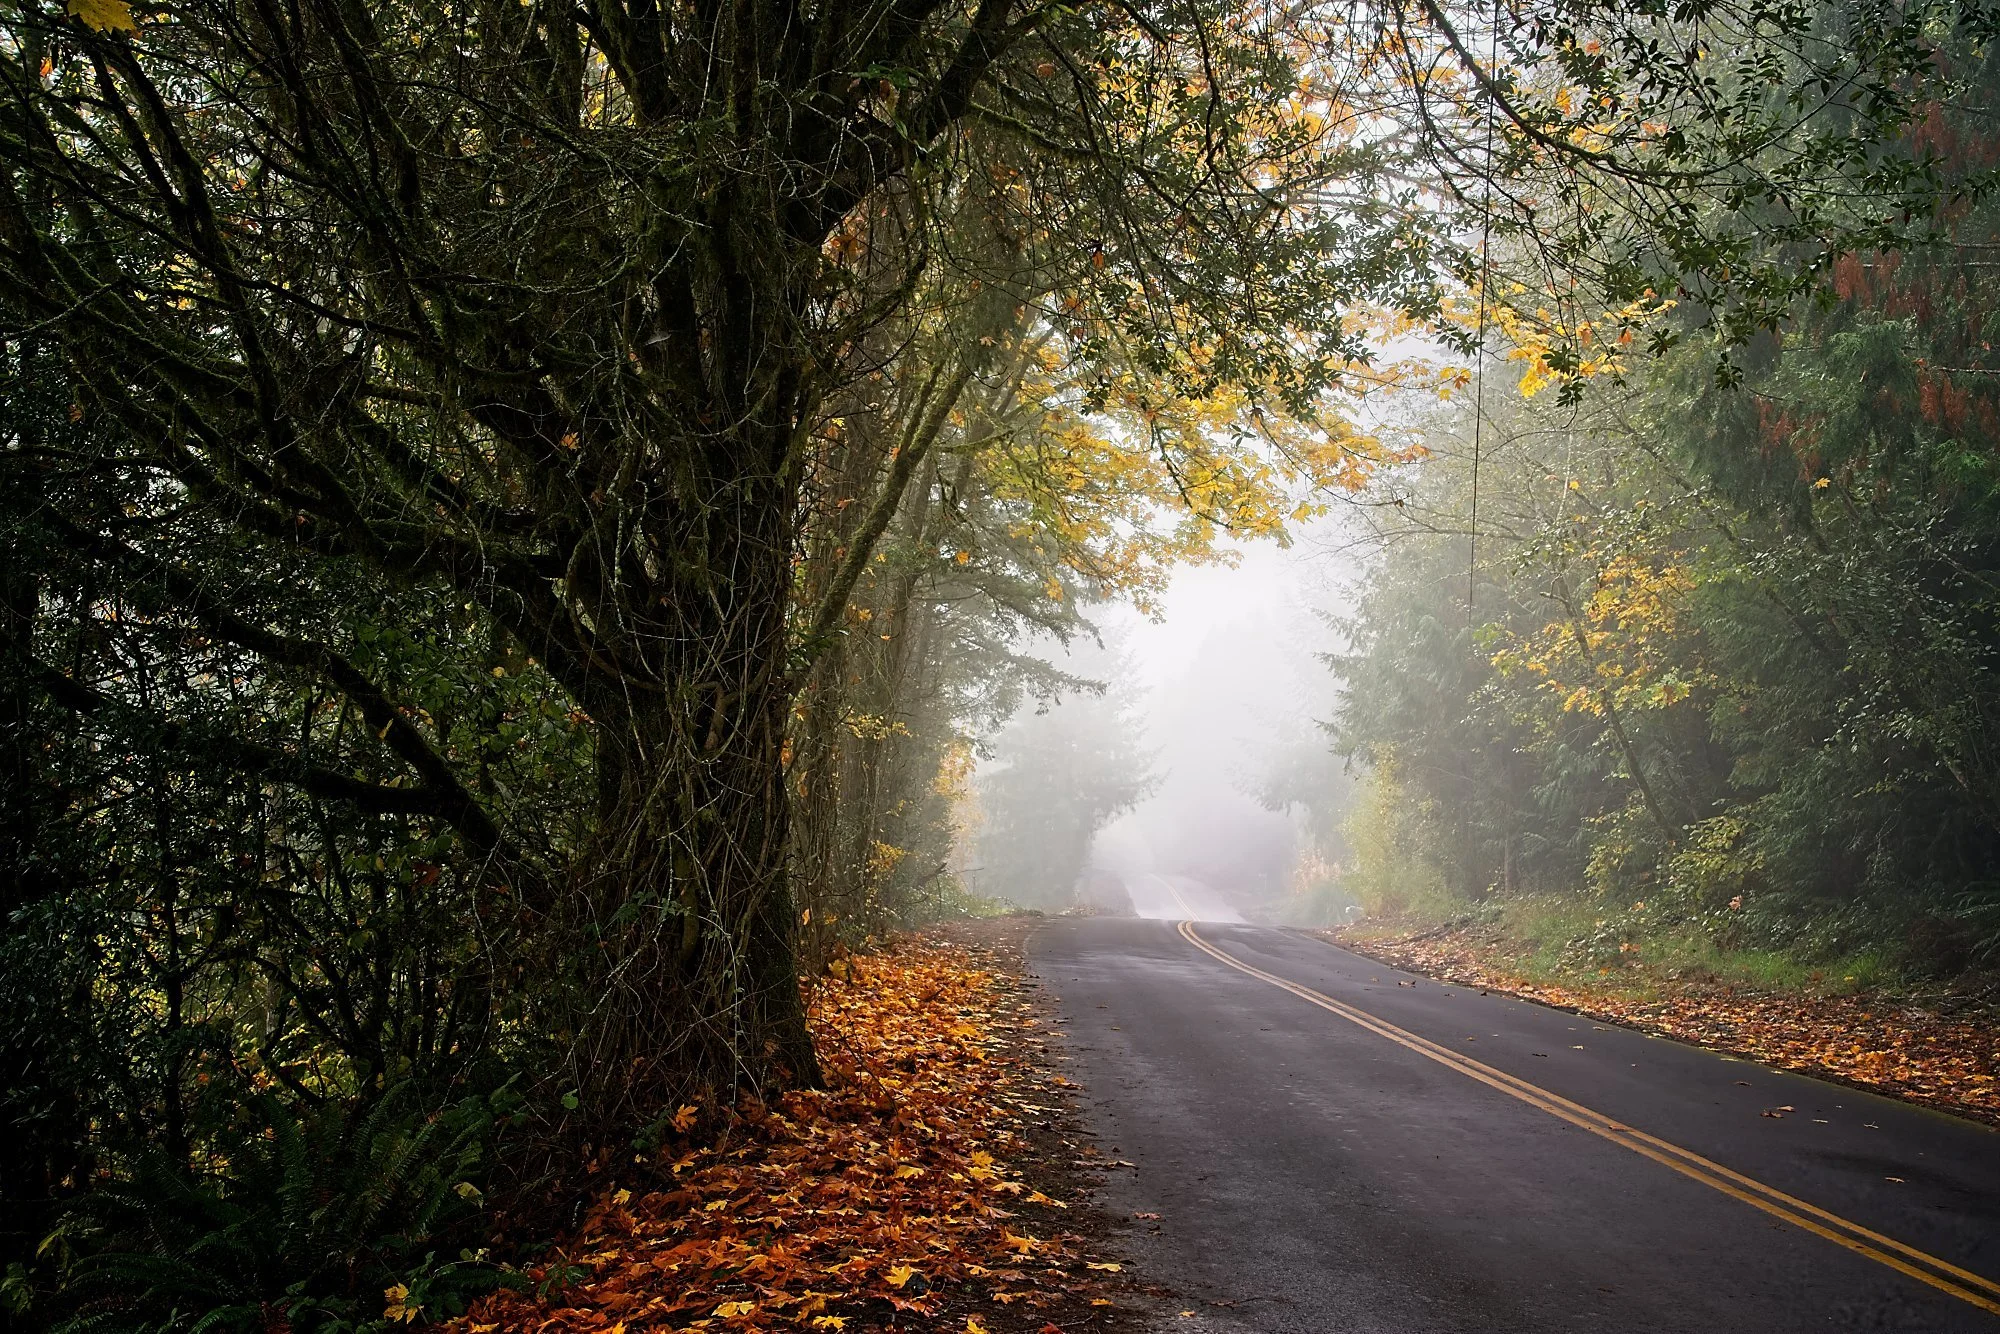
A quick AI selection can get you most of the way to a good mask. The work that’s left might be a patch of gravel the selection missed, a group of trees that picked up too much contrast, or a rock face you want to darken without touching the brighter stone around it.
ON1 Photo RAW 2027 makes that refinement easier by putting Add, Subtract, and Intersect right where you’re editing. Three landscape examples show how I decide what a mask needs and which tool will get me there.
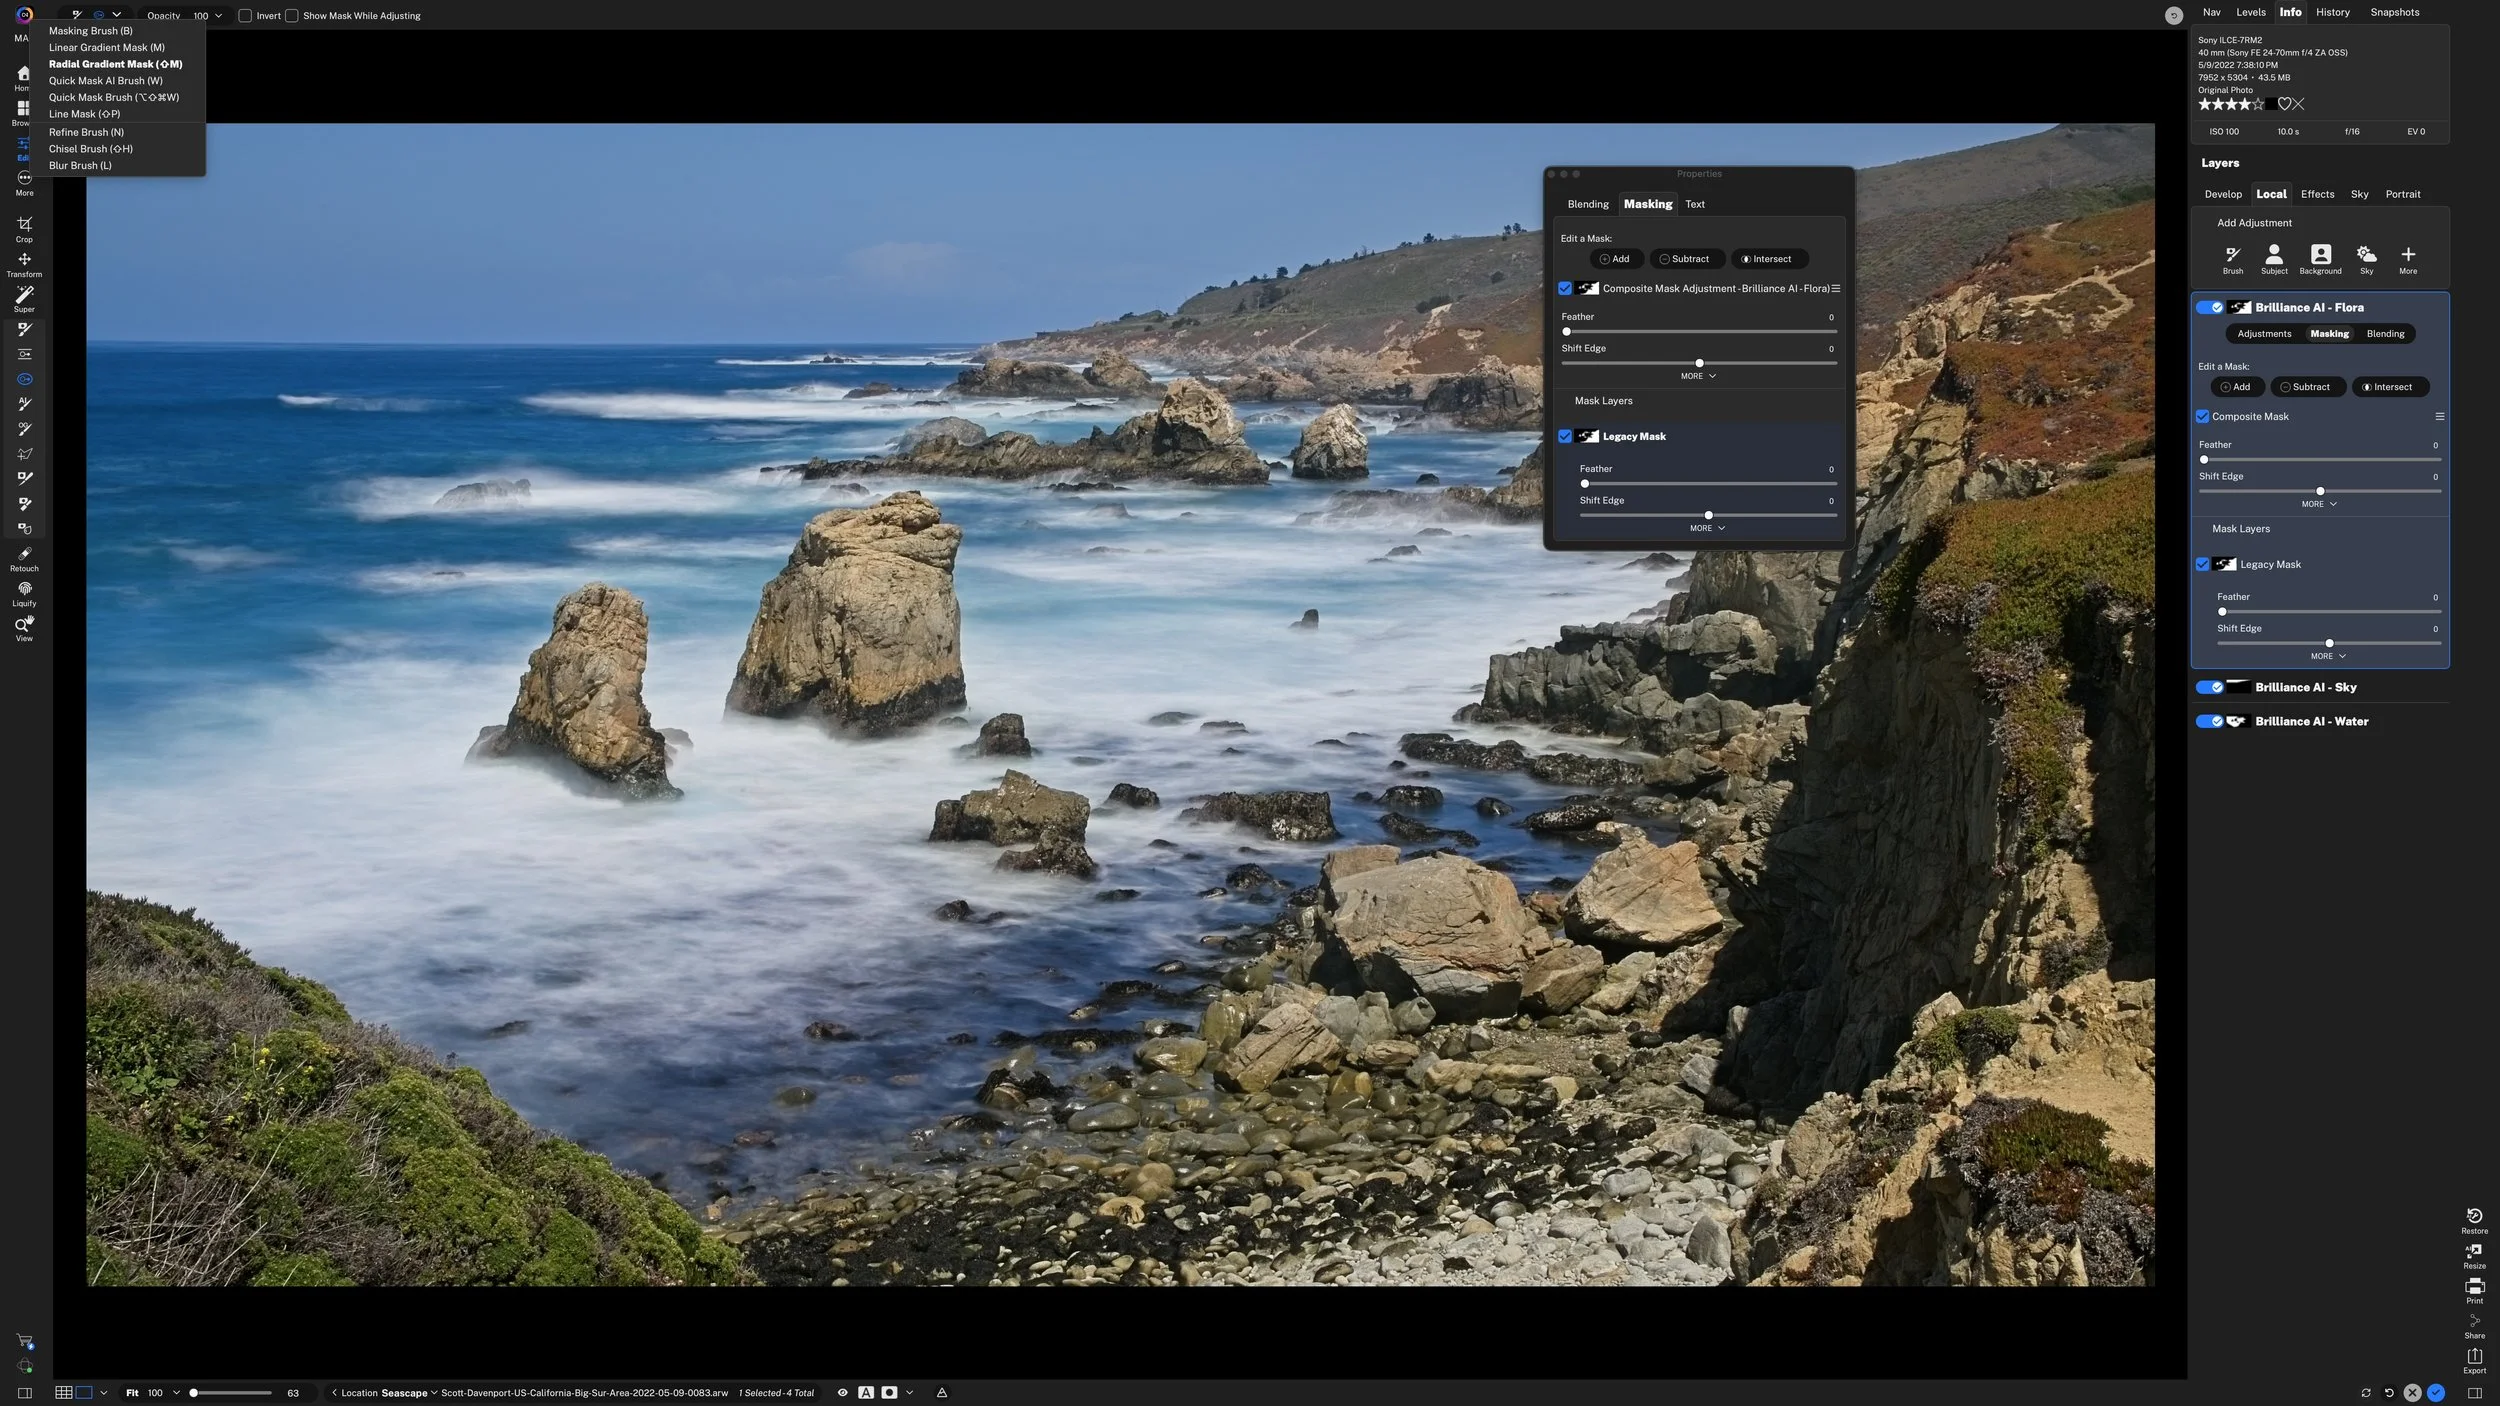
Looking for the Masking Bug in ON1 Photo RAW 2027? Its controls are now split between two tools, Linear Gradient and Radial Gradient. You can also click and drag either gradient directly on the photo to shape it as you place it.
Mask properties have moved closer to the edit, too. You can refine the full mask or an individual mask layer right inside a local adjustment or Effects filter, with Add, Subtract, and Intersect in plain sight.
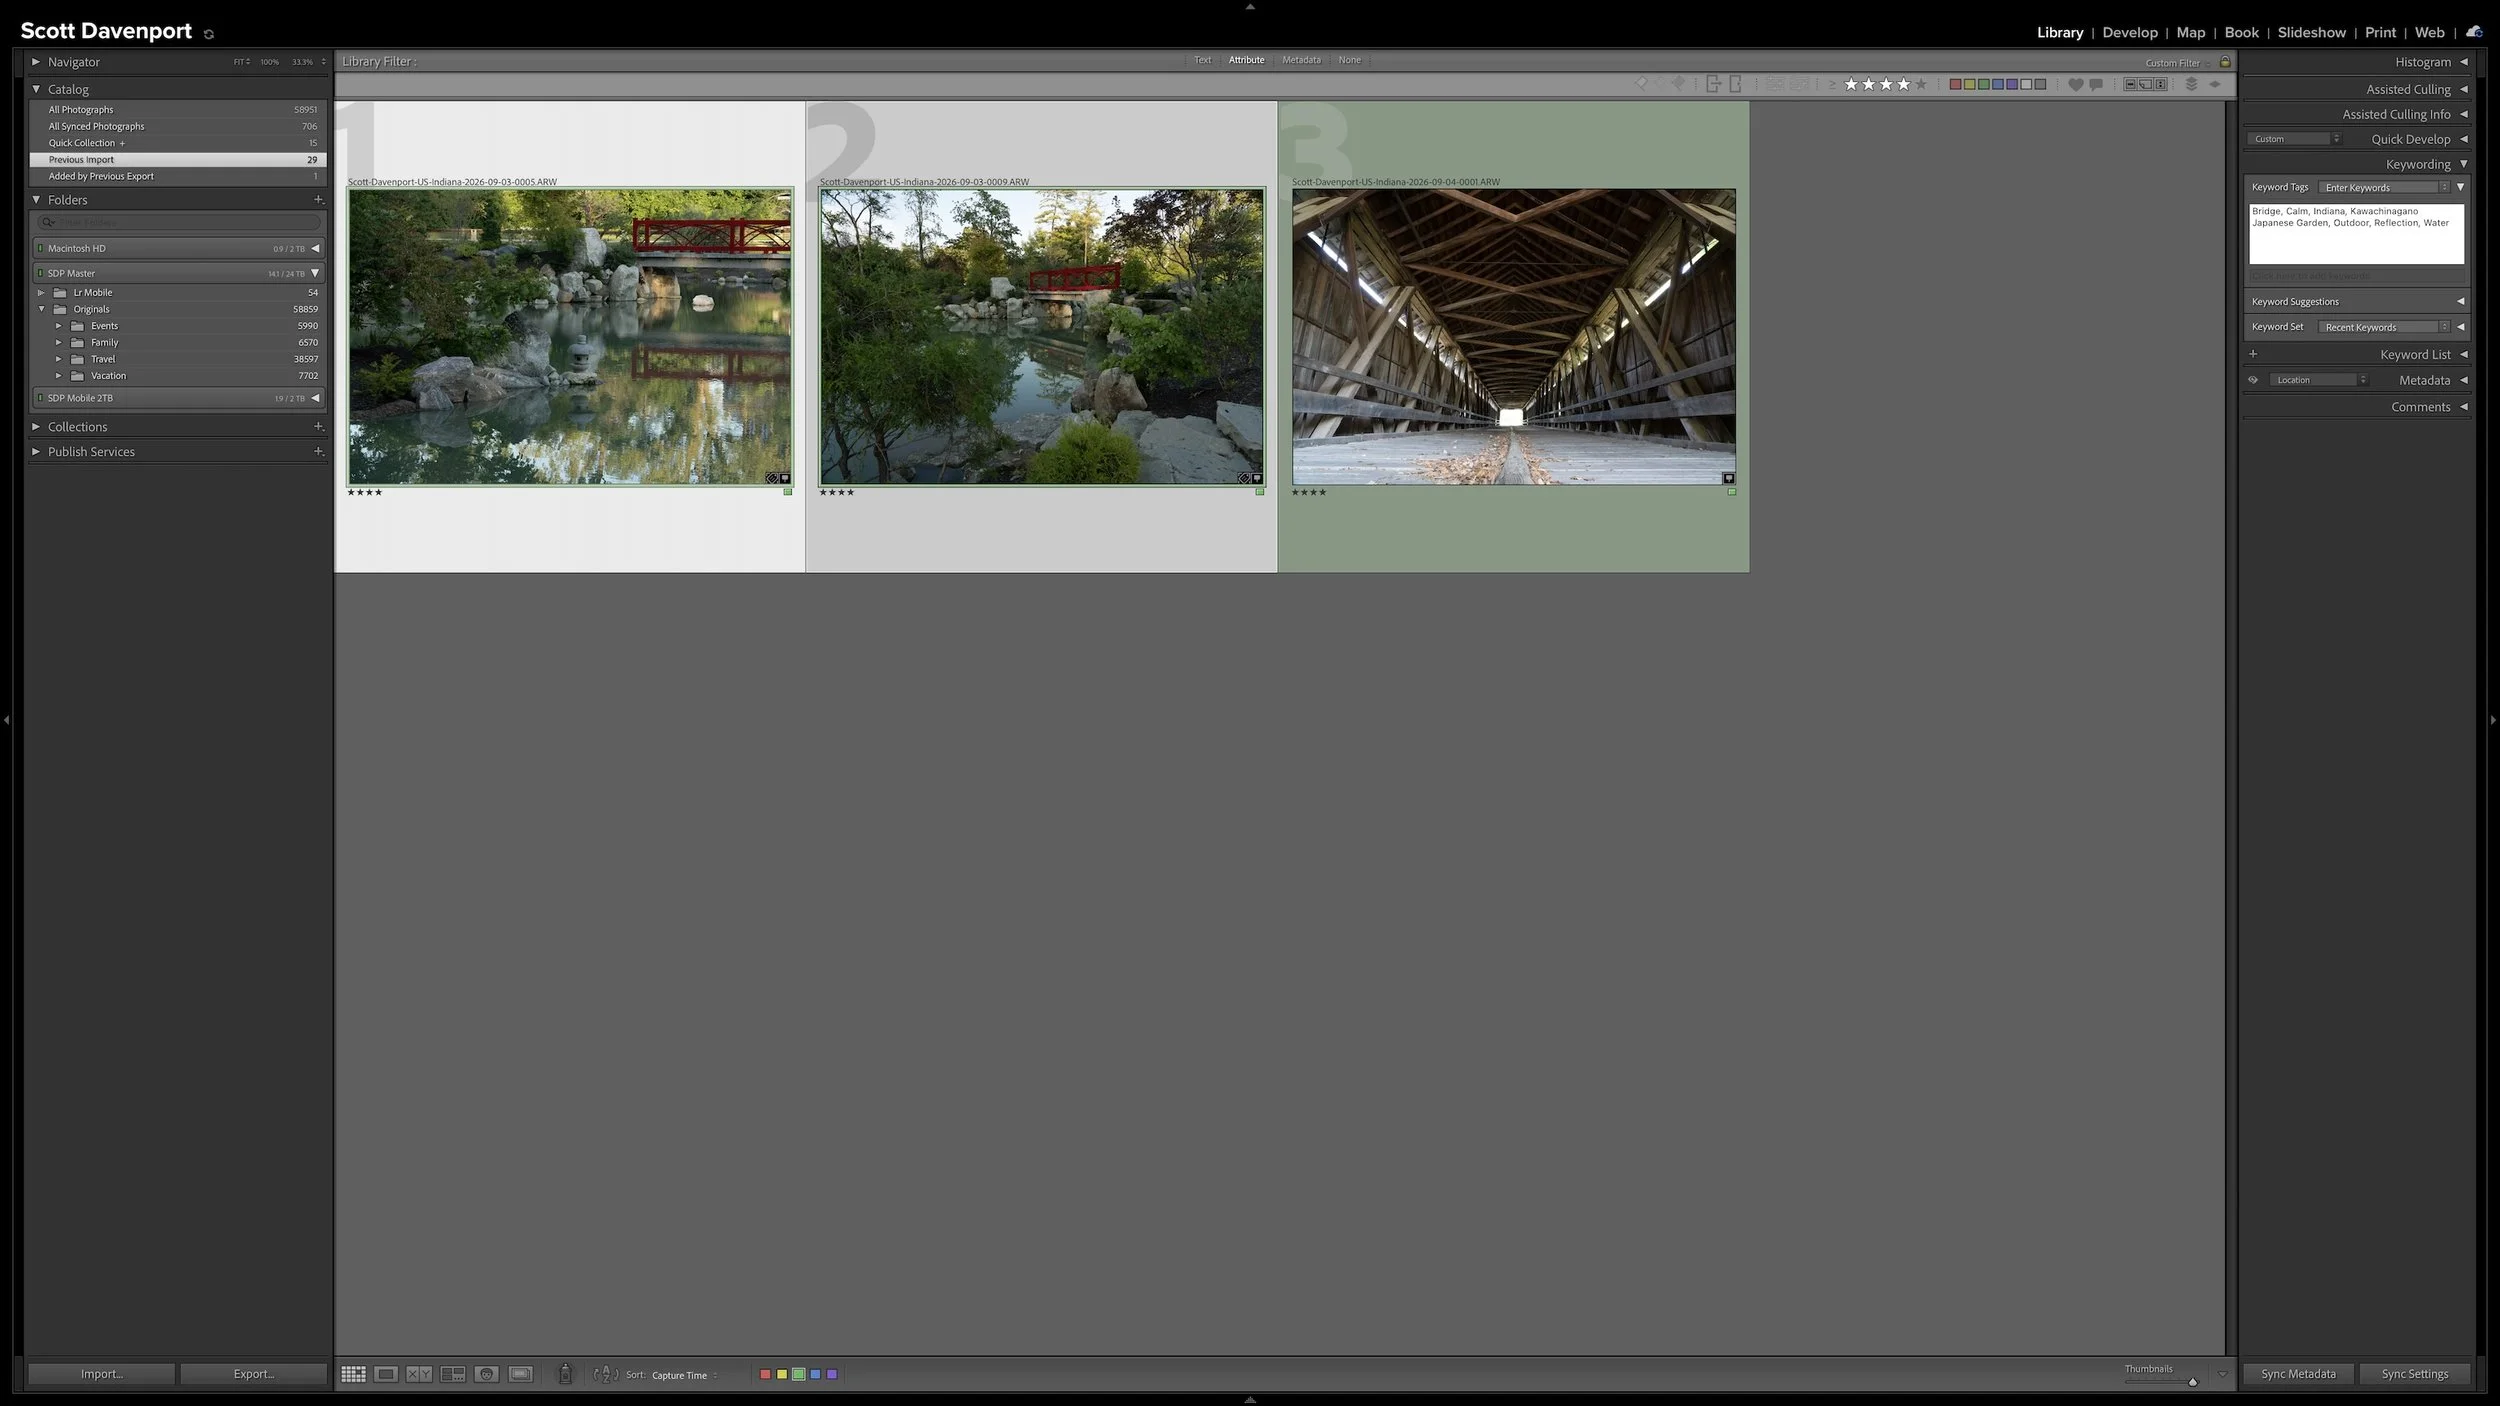
Every photograph I import receives some initial attention, but that doesn't mean every photograph needs the same amount of work. Rating, stacking, and adding shared location information can happen broadly and efficiently across a shoot.
As my workflow moves into keywording, developing, and sharing, I concentrate more effort on the best photographs from the shoot. This narrowing protects my time without deleting photographs, closing doors, or preventing me from reconsidering an image later.
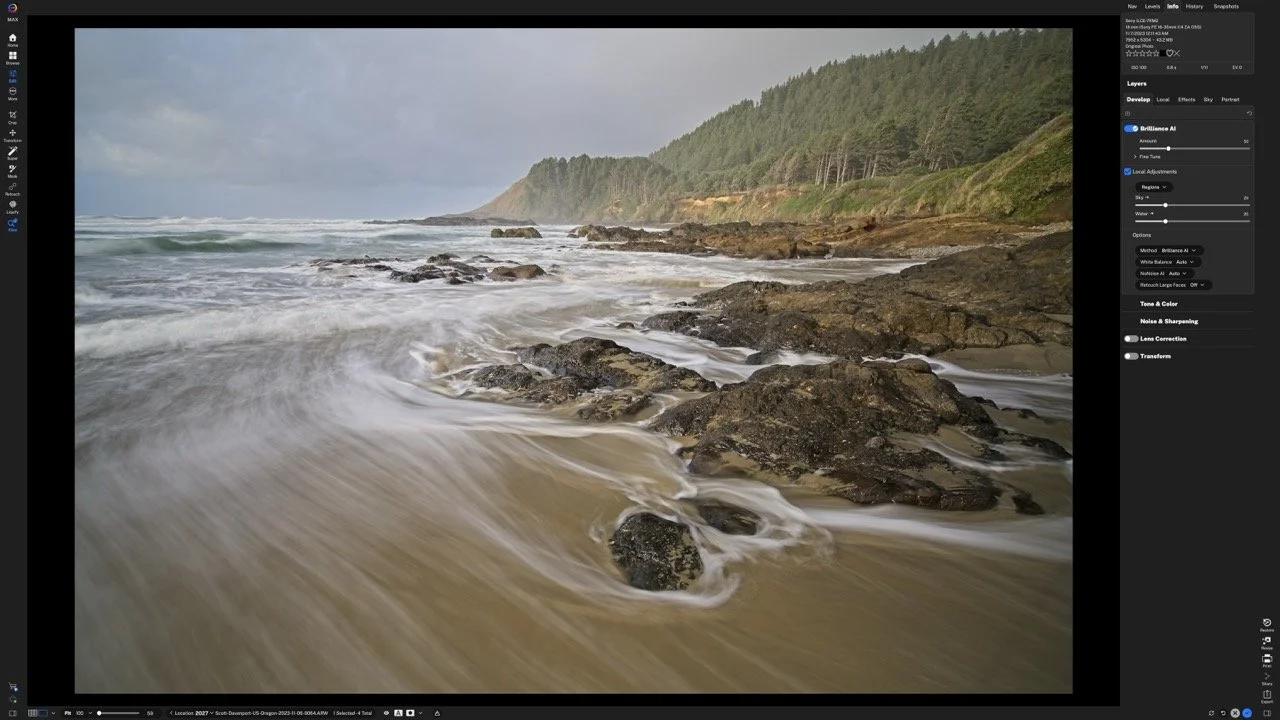
Does a new RAW processing engine make a practical difference to your editing? My comparisons in ON1 Photo RAW 2027 show a welcome improvement in the starting image, with richer color and contrast before I move a slider.
That stronger foundation also has me taking another look at Brilliance AI. Here’s how to compare the RAW engines on your own photos, what I’m seeing in my results, and why existing edits deserve a little care.
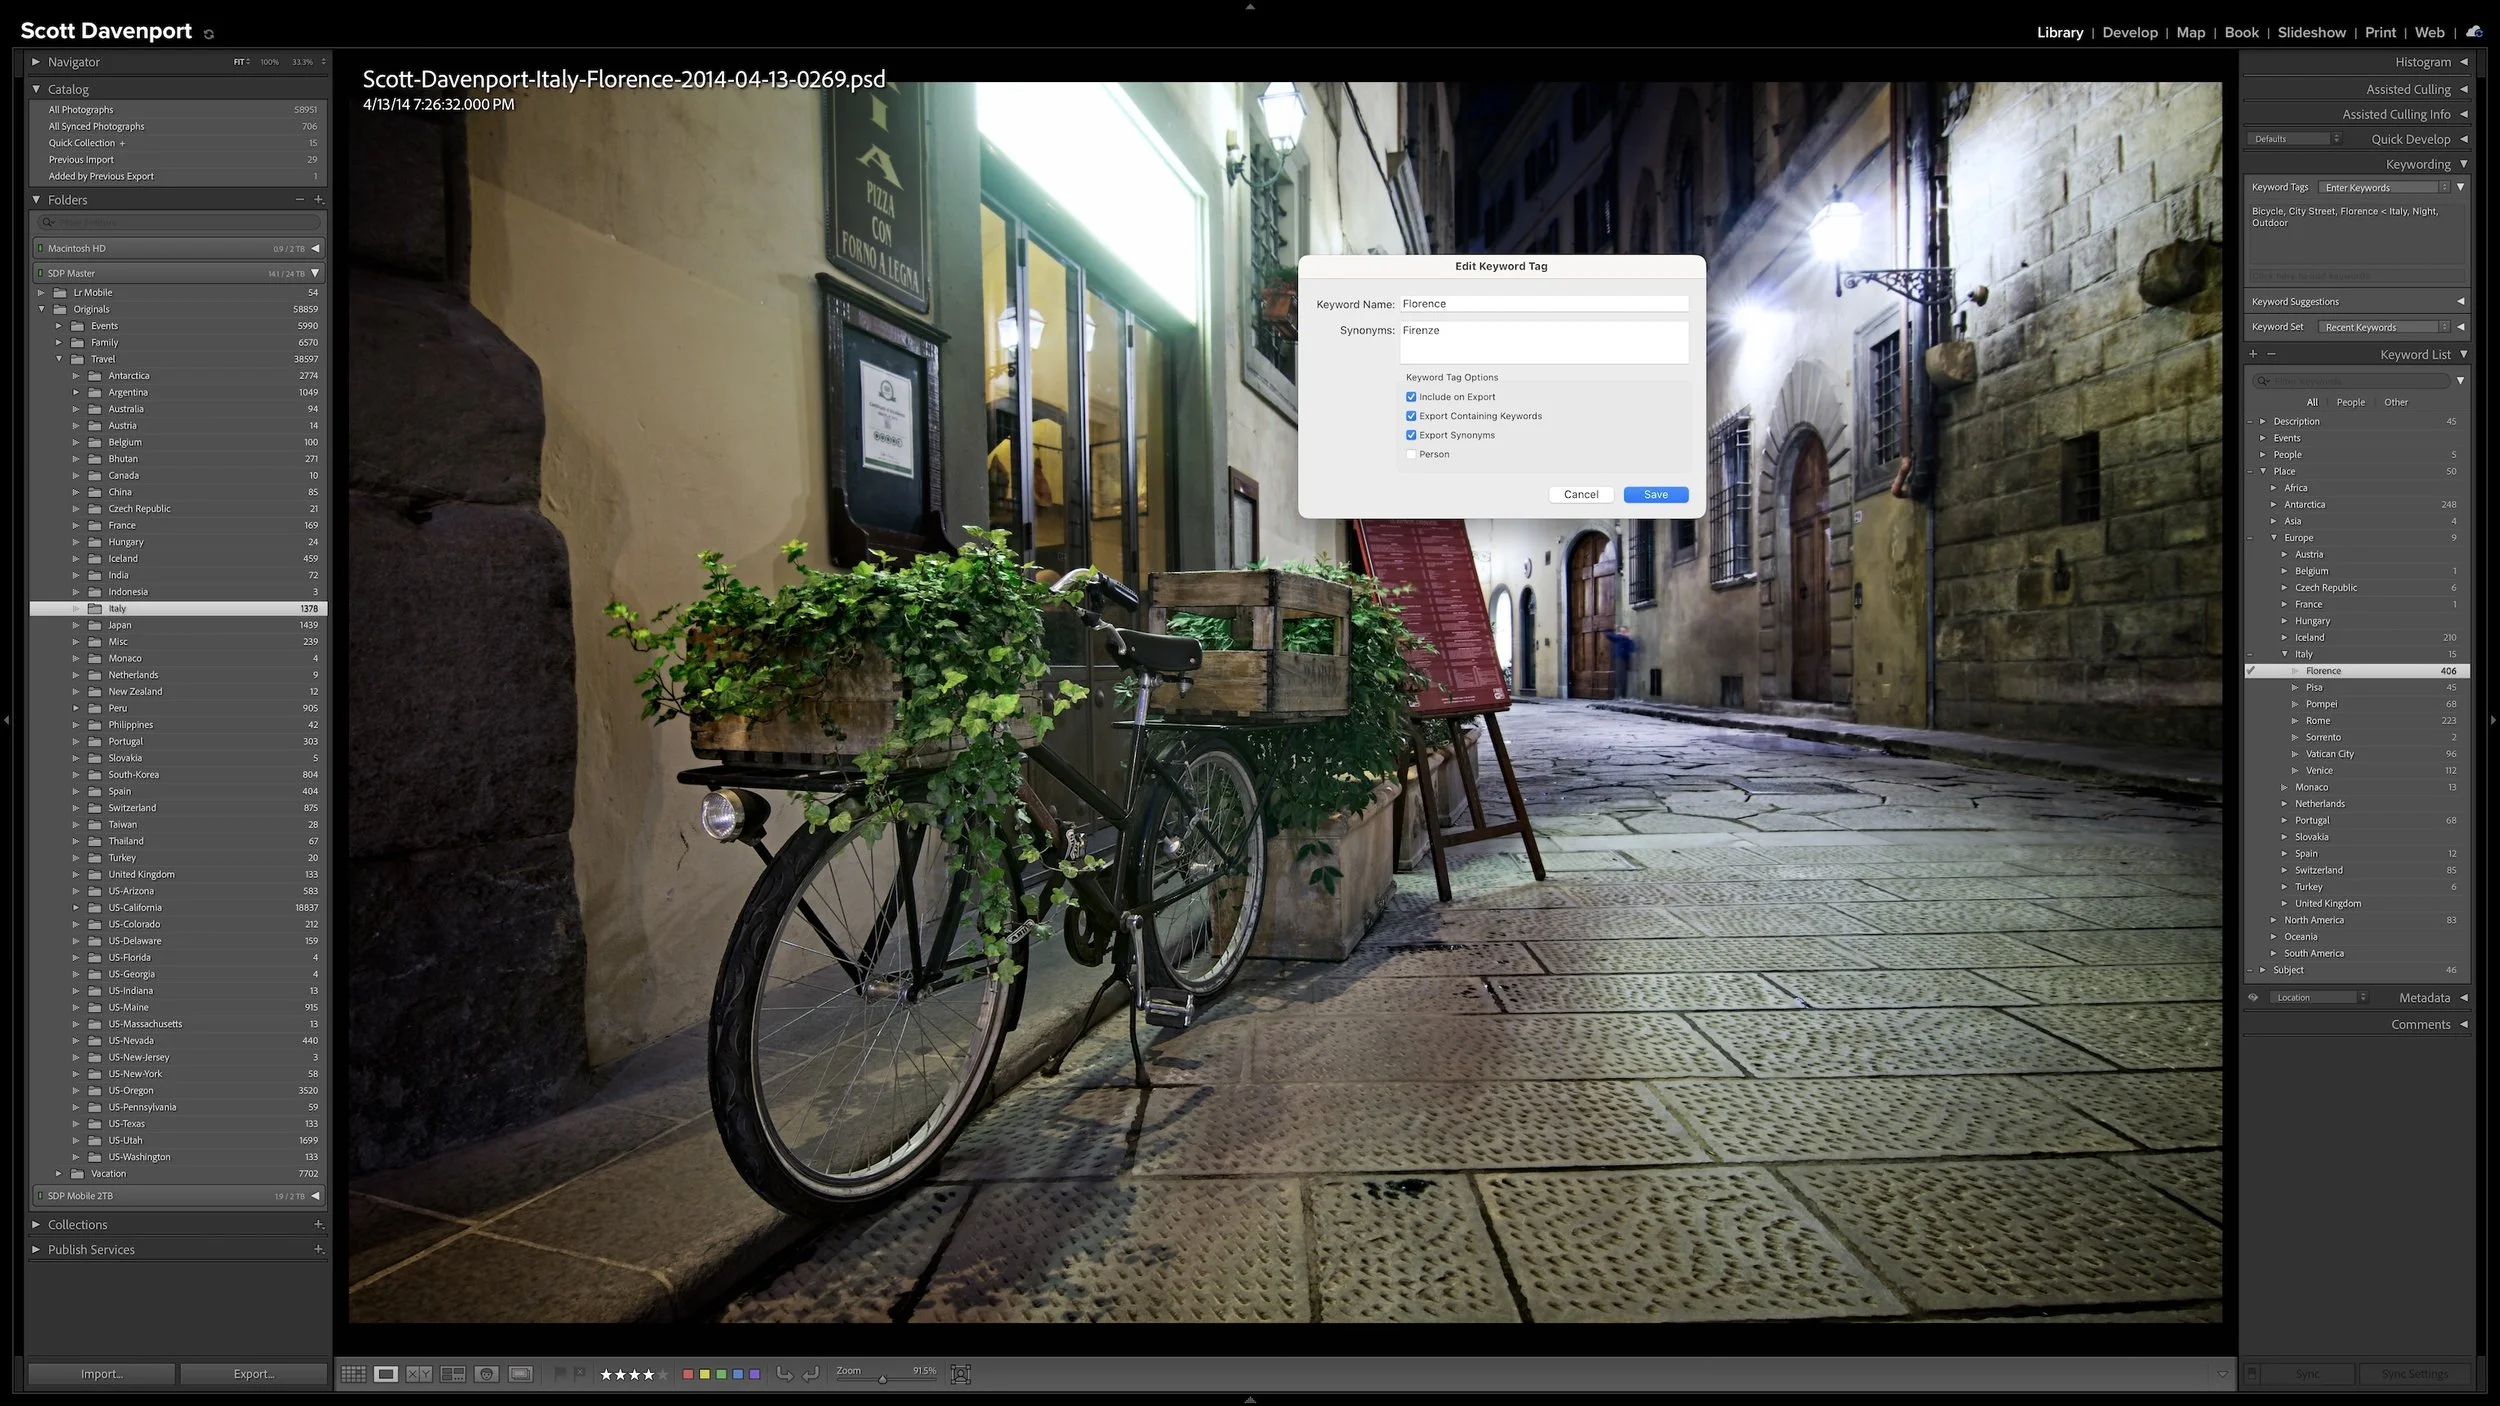
A useful keyword hierarchy connects specific details to broader ideas. When you apply a keyword for a specific location, a particular lighthouse, or a birthday celebration, Lightroom Classic can also associate the photograph with the broader places, subjects, or events that contain it.
Synonyms extend that efficiency by connecting one keyword to alternate names, related terms, or other languages. A hierarchy can give you broader and narrower ways to search your own library. I use synonyms primarily to help other people and search engines find exported photographs without requiring me to enter every variation separately.
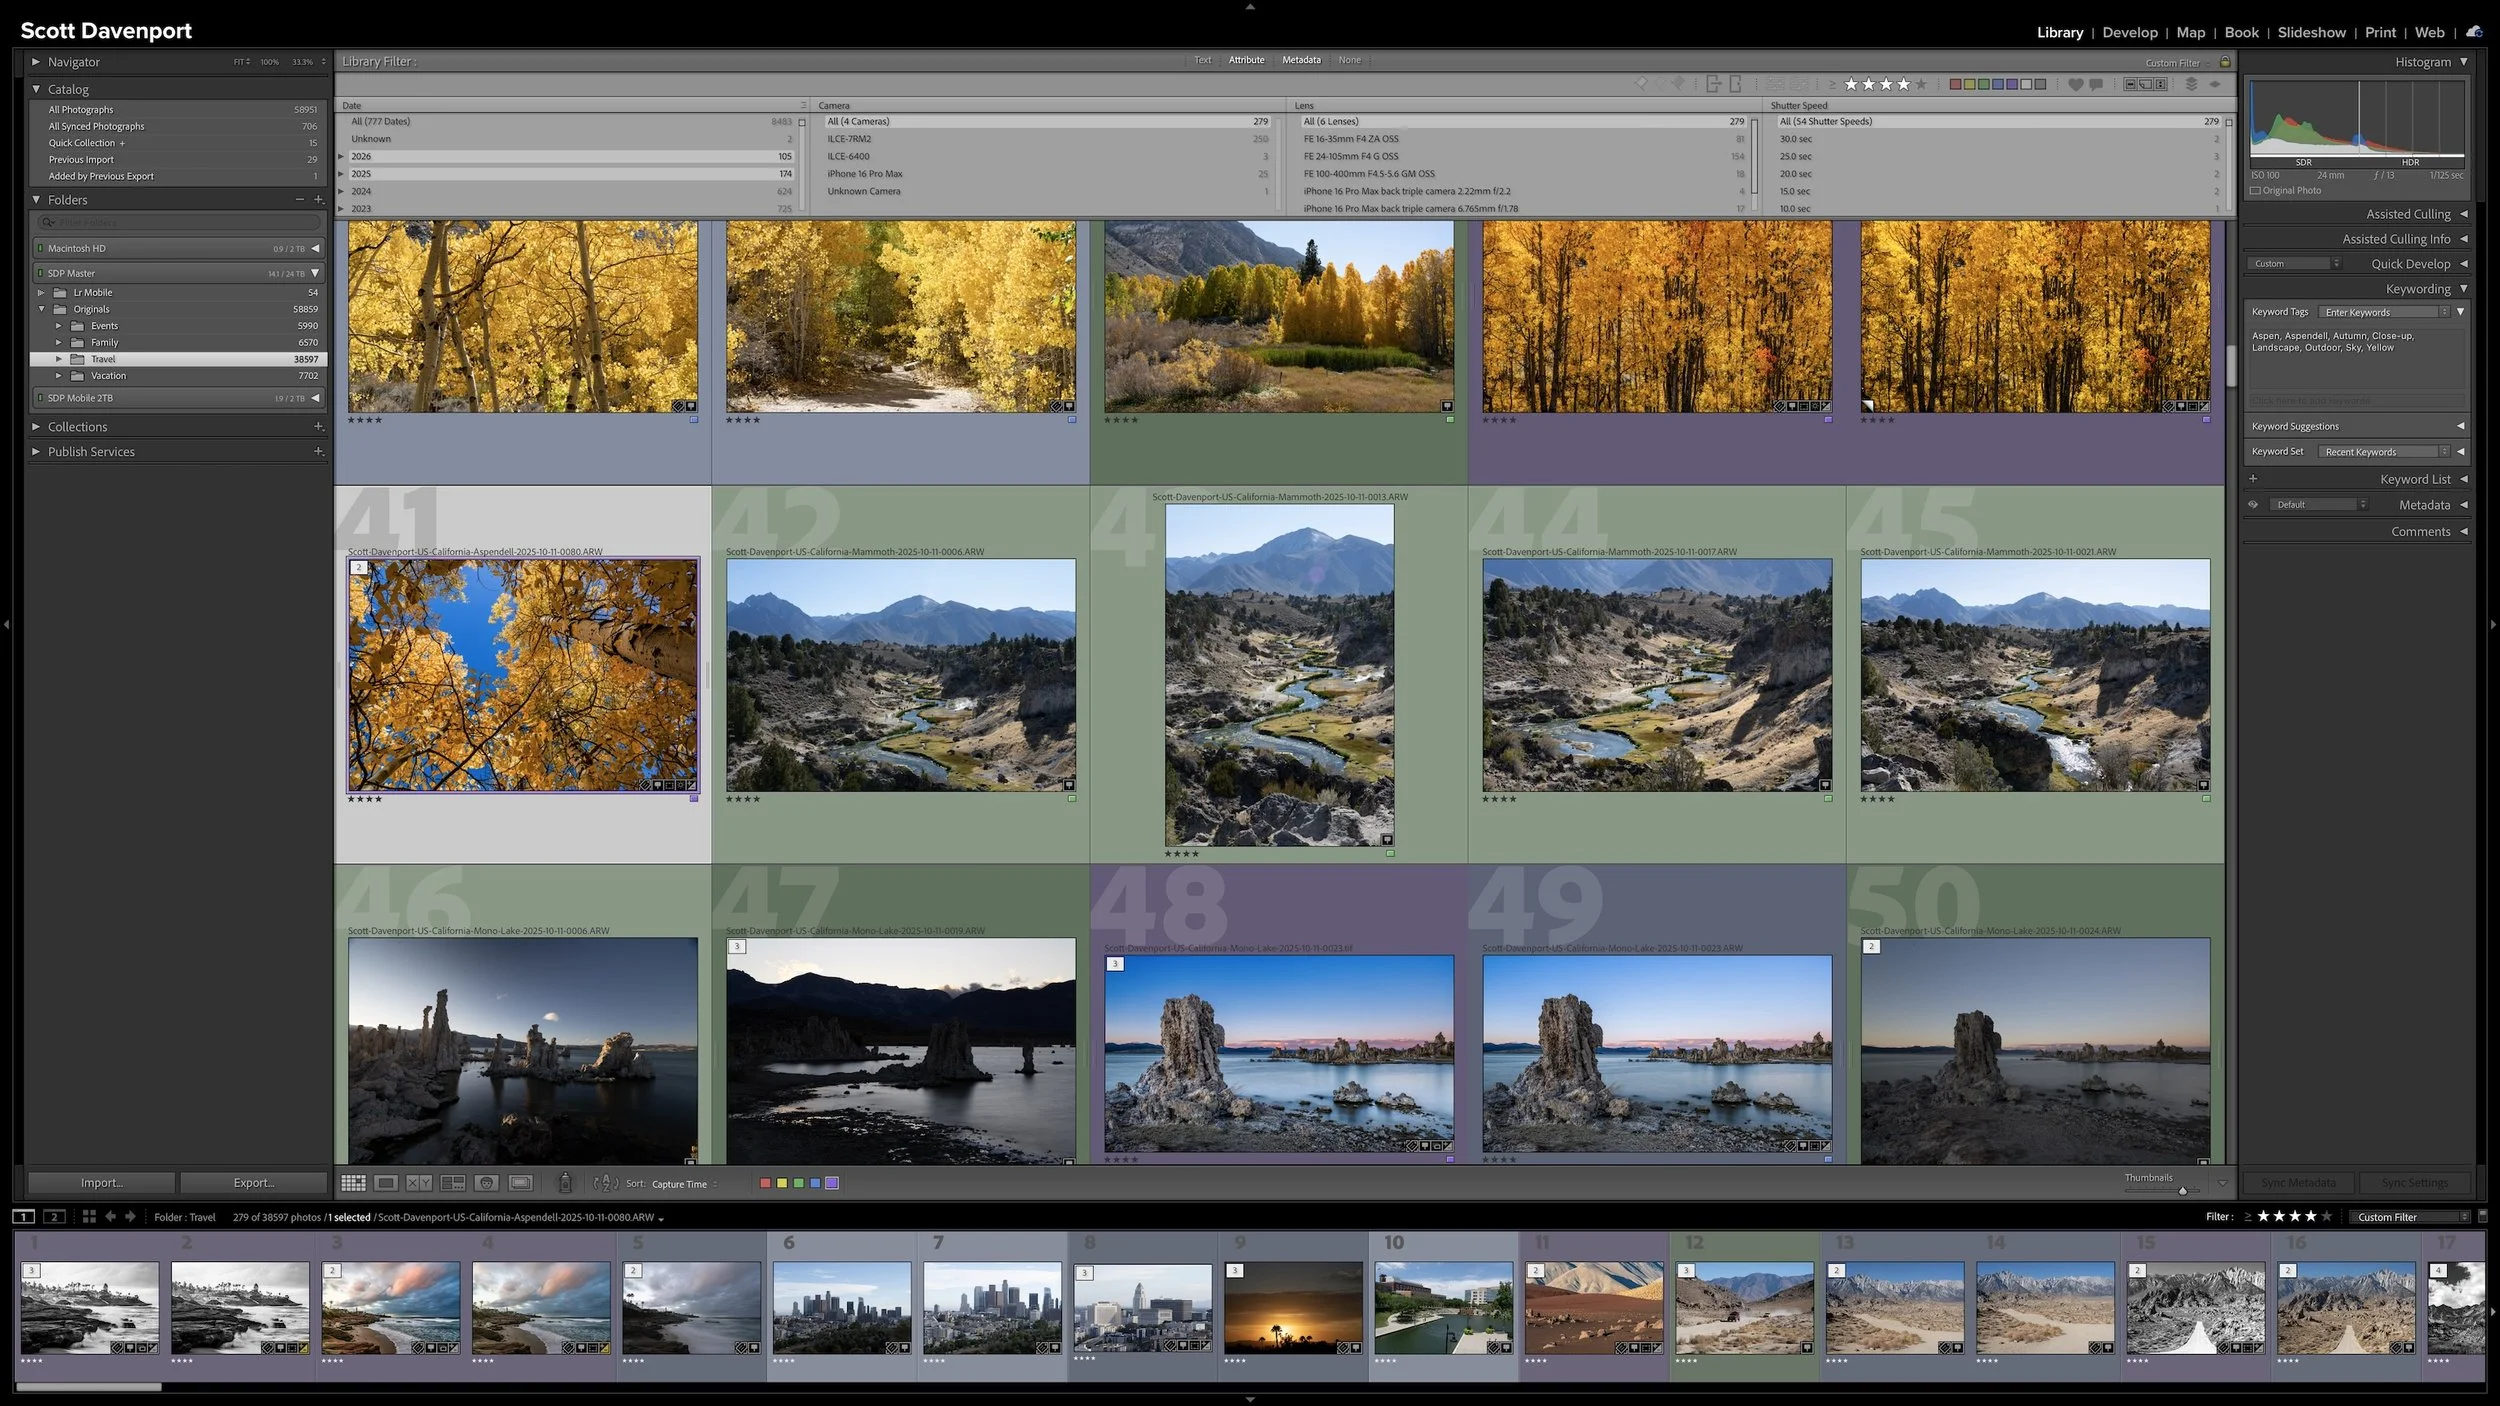
Keywording can make photographs easier to find, but it can also become an endless exercise in describing everything visible in every frame. You can keep the work manageable by asking one question: could Lightroom already find this photograph without the keyword?
The most useful keywords add information you cannot recover from capture data, ratings, location fields, or other existing metadata. That may be a subject, a familiar place name, a mood, a dominant color, or another idea you expect to search for later. The goal isn't to build the largest vocabulary possible. It is to add metadata that earns its keep.

You’ve found a composition you like and settled in for sunset. Then the foreground falls into shadow, or a person steps into the scene. How do you decide whether to stay with your original frame or look for something different?
An evening on the Oregon Coast offers a useful example of how a photograph can evolve. Follow the decisions that turned a view of sunlit grasses into a quieter story about a photographer among rocks and misty headlands.

Shape The Light – Tell Your Story
Light shapes your story, and Lightroom gives you the tools to mold it. In Mastering Light & Shadow, we’ll dive into how to read the light in your photos, control it with intention, and shape it to match the story you want to tell. You’ll walk away with practical techniques, clear workflows, and the confidence to interpret your photos and bring your creative vision to life.