Color Range Masks In ON1 Photo RAW And ON1 Effects
If you are trying ON1 Photo RAW, the ON1 plug-ins like ON1 Effects or ON1 HDR, or upgrading your ON1 software to a newer version, please consider using my affiliate link. There is no extra cost to you and it helps support ON1 tutorials like this one. Ready to buy? Use the offer code SDP20 at checkout and SAVE 20%!
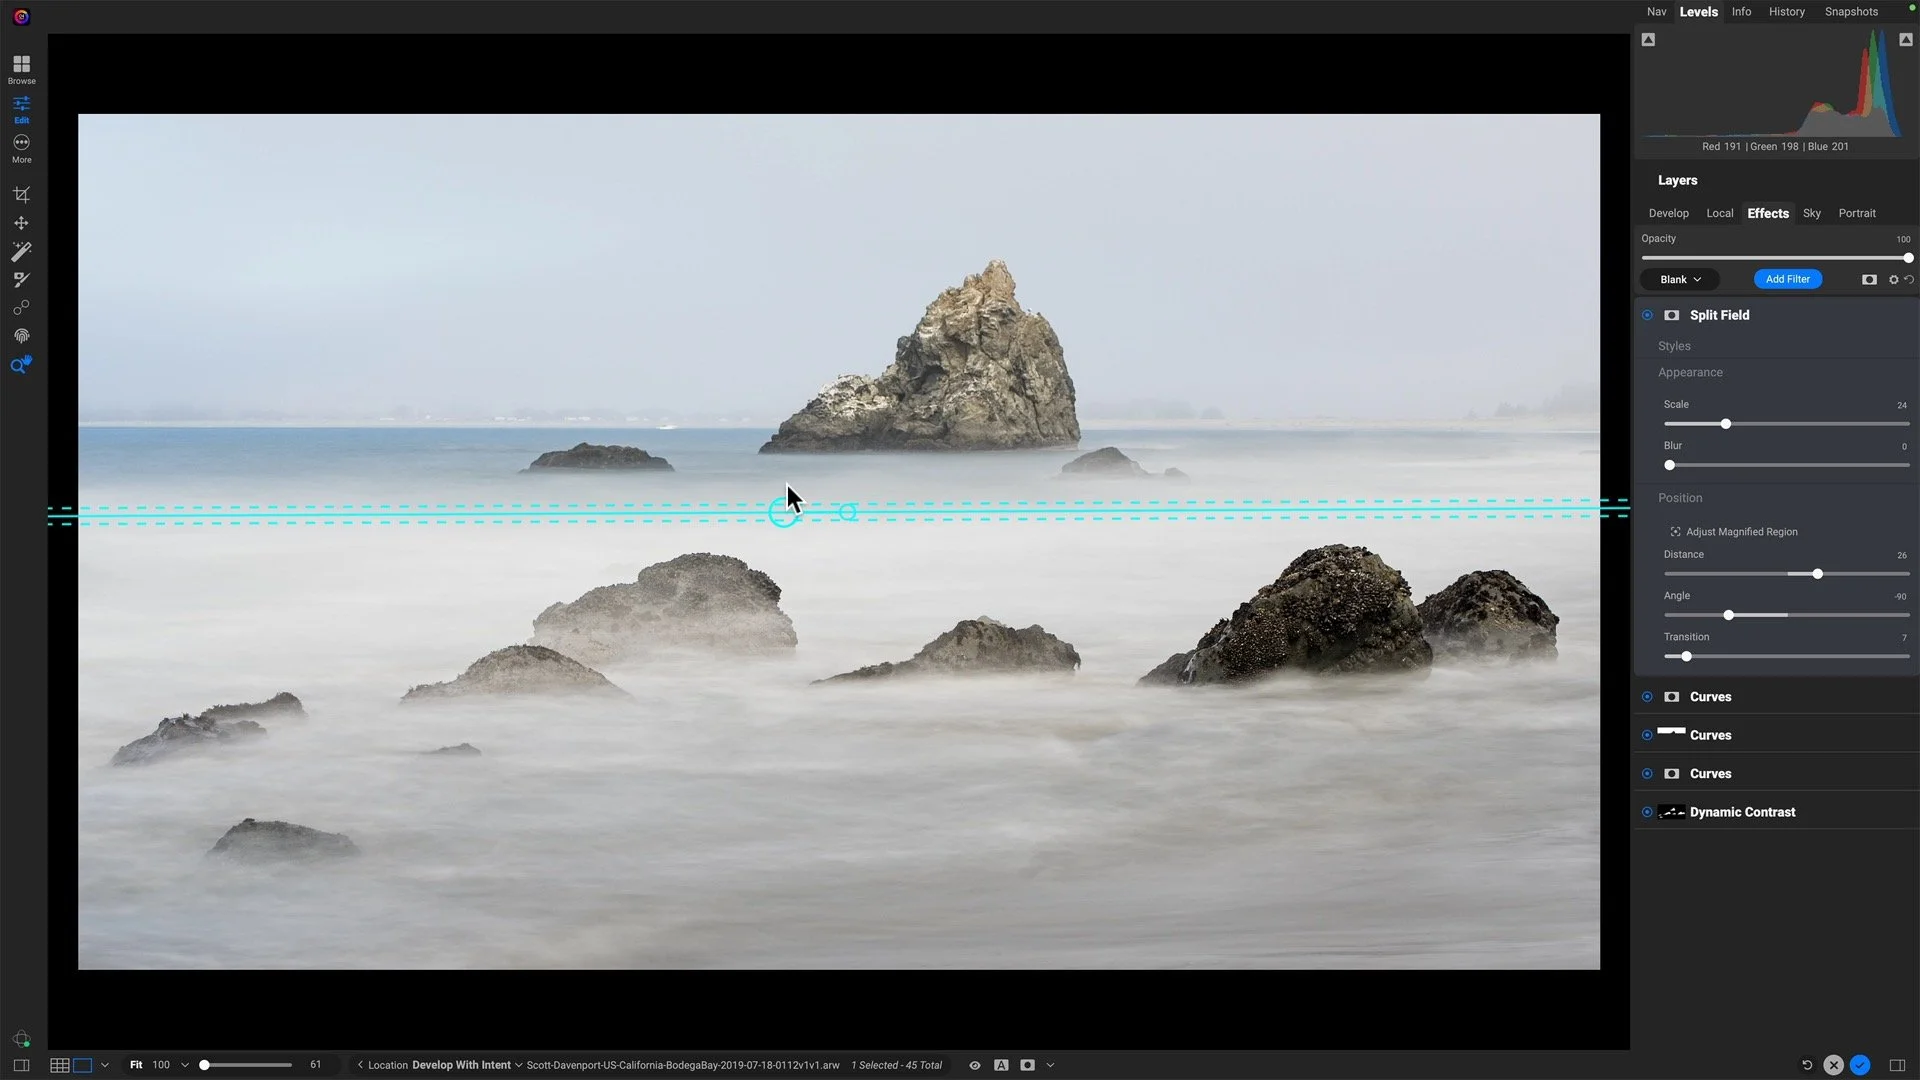
This article is part of a mini-series about the masking features in ON1 Photo RAW and ON1 Effects. In this article, we explore the Color Range mask option.
The Color Range Mask
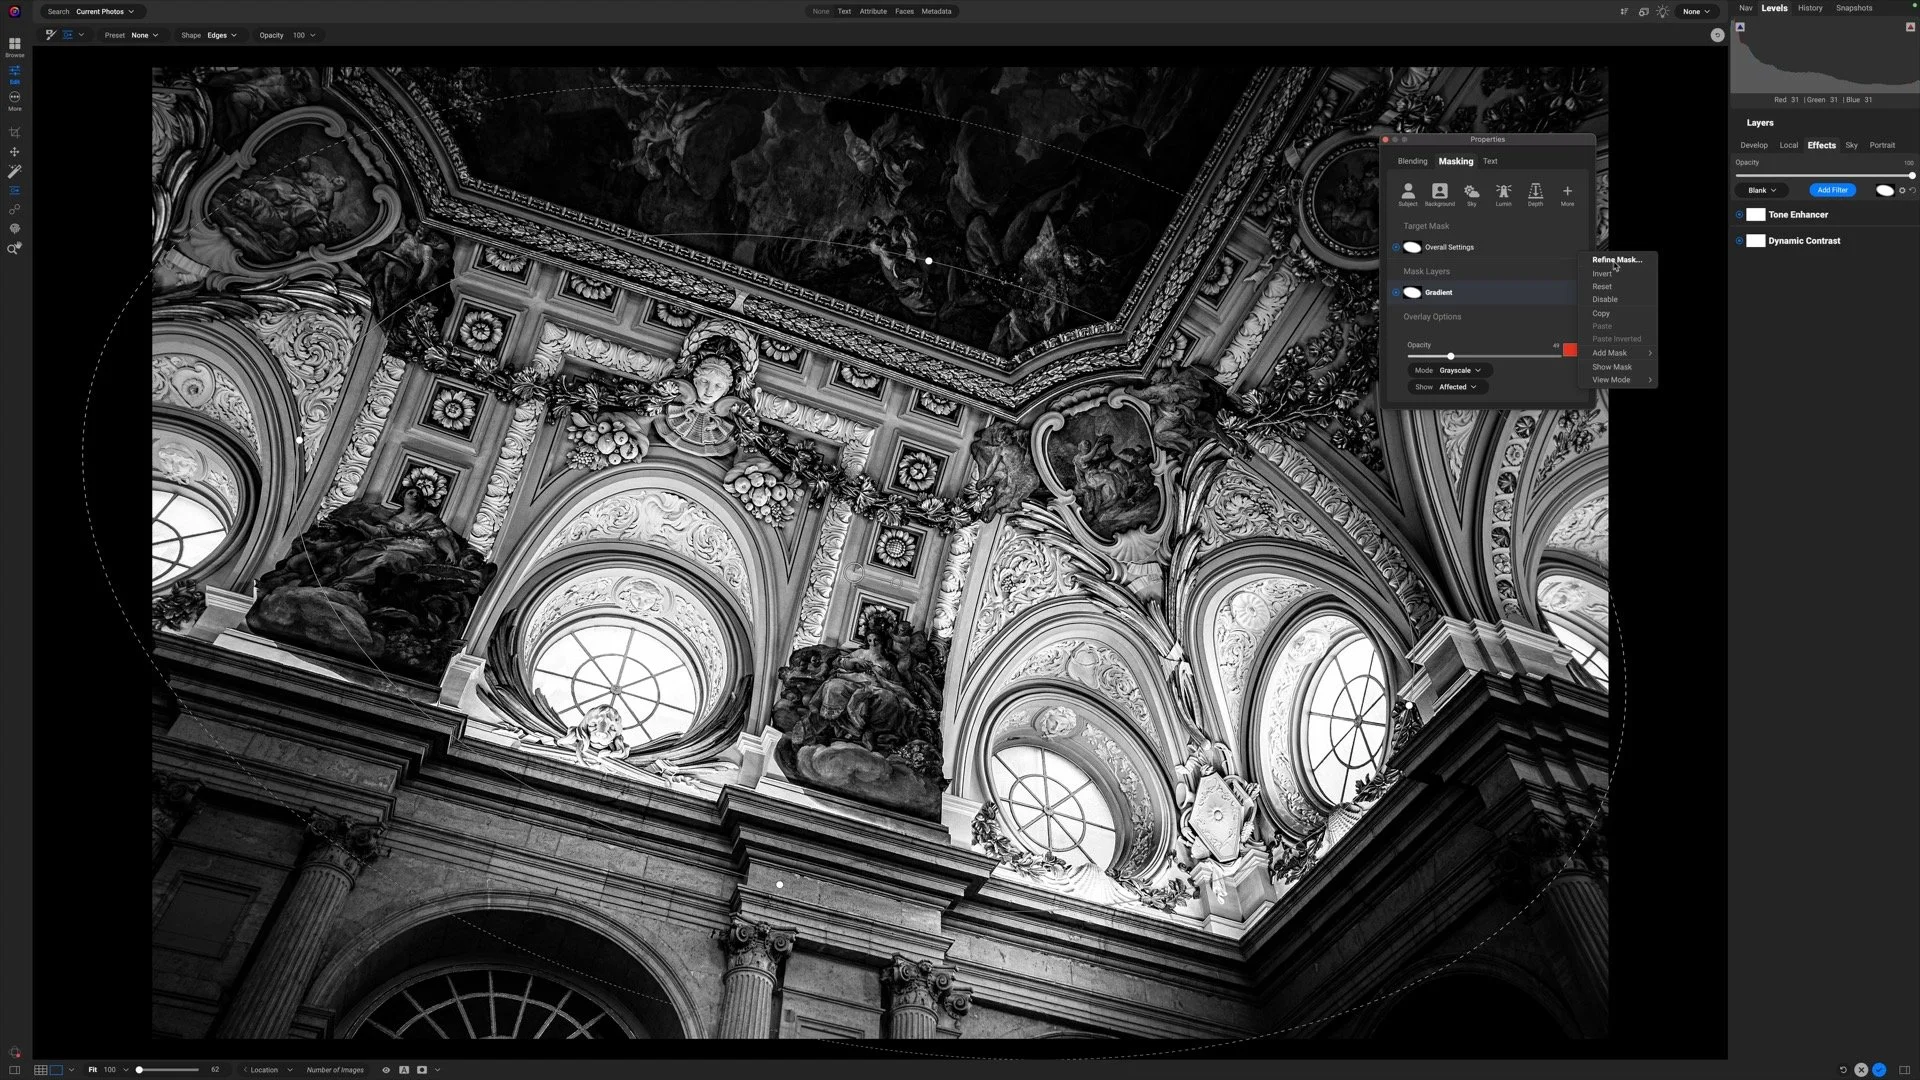
A Color Range mask is a type of mask that is built based a color in your image. You will find the Color Range Mask in two different areas in ON1. The first is in the toolbar for the Masking Bug/Adjustable Gradient tools. The second is in the Masking Options within every Effects filter, Local Adjustment, or Layer. I prefer to work with the Color Range controls in the Masking Options area because the color selection swatch is readily available - and that’s important for a Color Range mask.
After selecting a target color, ON1 builds a mask automatically. Colors that closely match the target color are masked white (affected, or revealed) and colors that are notably different than the target color are masked black (protected, or concealed). What does “closely match” or “notably different” mean? That where the range in Color Range comes in. Using the Range slider, you control the sensitivity of the color matching.
The Color Range option in the Masking Bug/Adjustable Gradient toolbar. Notice the color selection swatch is not readily available.
The Color Range option in the Masking Options of an Effects Filter, Local Adjustment, or Layer. The color selection tools are ready for use.
My Preferred Color Range Workflow
The way I prefer to work with Color Range masks is this:
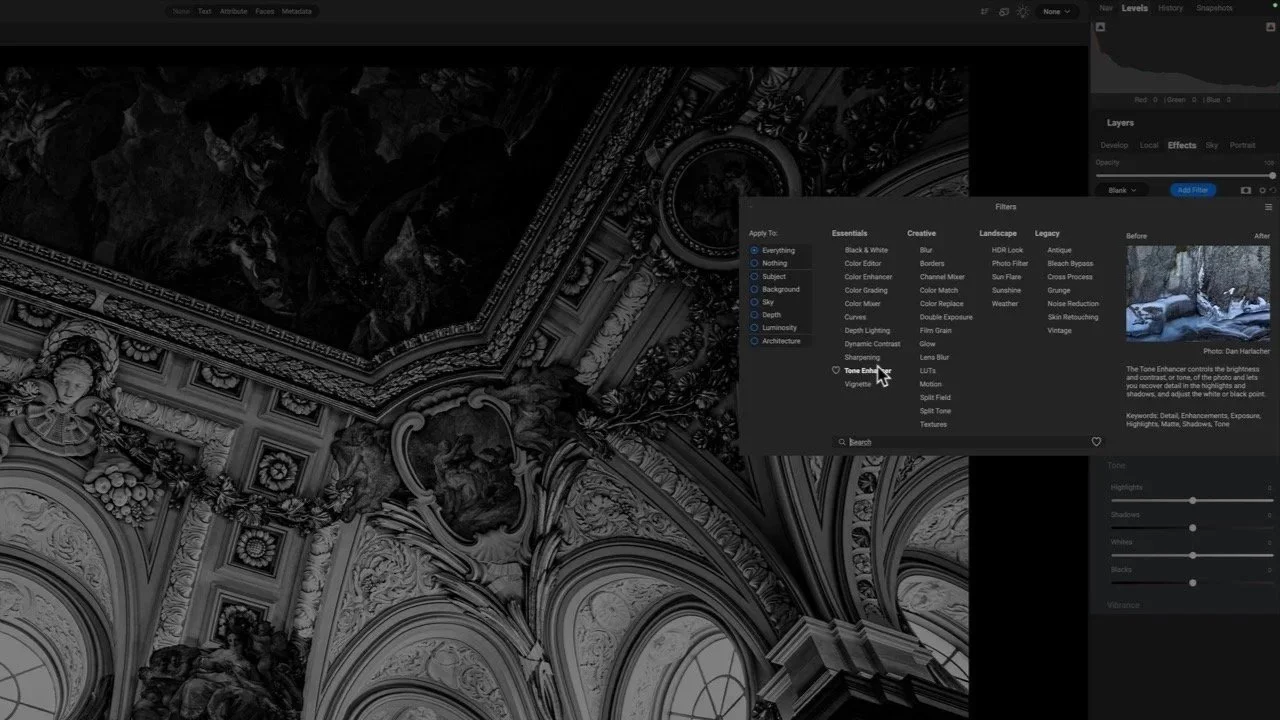
Add the Local Adjustment or Effects filter I want to apply
Open the Masking Options area
Turn on the Color Range option
Select the eyedropper and choose a color from my photo
Turn on the Mask Overlay (View button in the Masking Options)
Adjust the Range slider to grow/shrink the mask to the areas I want affected
If necessary, use other masking tools to further refine the mask
Some photos lend themselves very well to Color Range masks. The landscape scene above has clean separation of warm tones in the grasses and cooler tones in the sky. Other scenes may have a subject of a certain color, or a particular accent color throughout, where a Color Range is the fastest route to a good mask.
A Creative Use Of Color Range Masks
Despite its name, Color Range masks are not limited to adjustments that involve tone or color. The Color Range mask is all about creating the mask - what you apply with that mask is entirely up to you. In the photo below, my main subject is an iconic, red phone booth on a street in London. I wanted to add a stylized look with some color grading, so I applied a LUT Effects filter to the photo, cutting the blues of the scene to more of a slate gray.
However, I did not want to dull the impact of the reds of the phone booth, or the other accents of red throughout the scene. I applied a mask to the LUT using a Color Range mask. I clicked the Color Range eyedropper on the phone booth, adjusted its range, and finally inverted the mask (inverting protected the reds).
Watch the video with this article to see this treatment in action.
UK Phone Boots
Contact Scott to commission a print or license this image.
Up Next
This masking series continues with a dive into Luminosity Masks.
