Color Grading With The LUTs Filter - ON1 Photo RAW 2021
If you are trying ON1 Photo RAW 2021, the ON1 plug-ins, or upgrading from an older version, please consider using my affiliate link. There is no extra cost to you and it helps support ON1 tutorials like this one. Ready to buy? Use the offer code SDP20 at checkout and SAVE 20%!
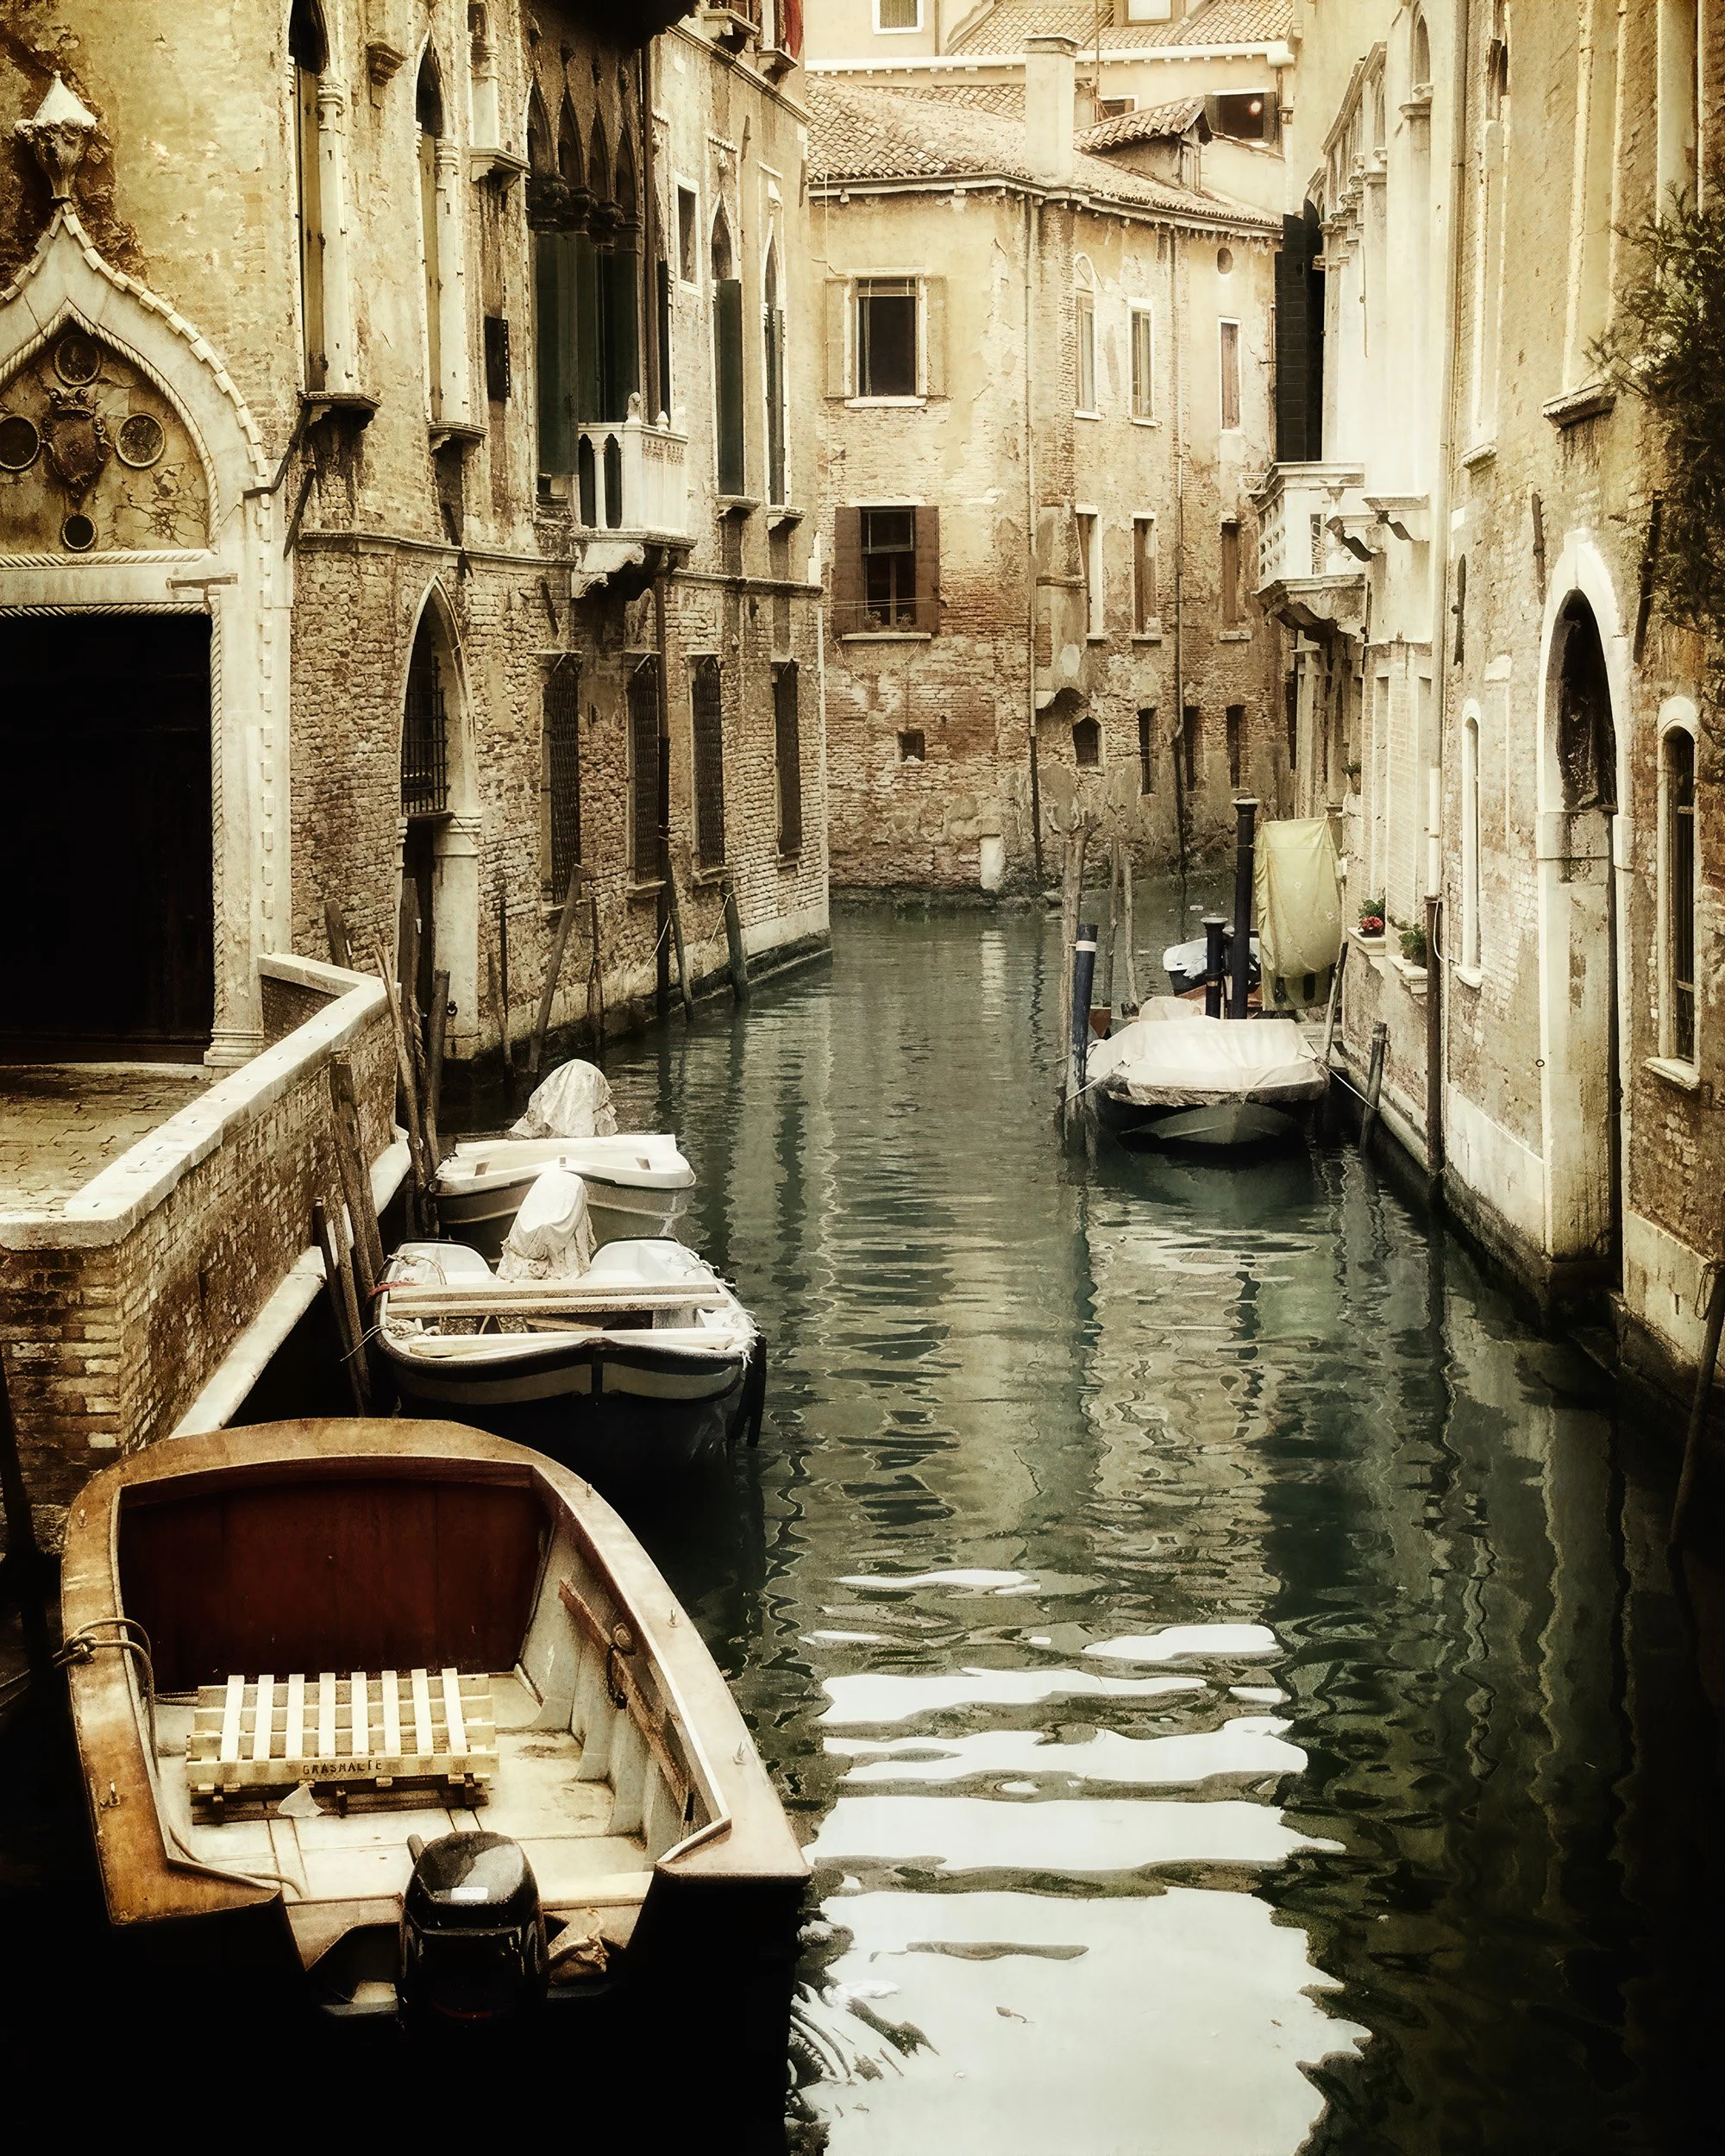
There are lots of methods for color grading images - photo filters, split tones, even the humble (yet powerful!) curves tool. LUTs is another method and provide everything from subtle color shifts to very pronounced ones. I like exploring LUTs with my travel photos. The tools in the ON1 Effects LUTs filter give you the controls to expertly craft and blend a LUT with your images.
What Is A LUT?
A LUT is a Look Up Table - a terrible name, if not technically accurate. A LUT is a color grading filter that maps one color to another. There are plenty of in-depth articles on the web explaining the gory details of a LUT. Let’s use a very basic example of something you might be familiar with - a matte look. A matte look often sets pure black to something other than pure black, perhaps a charcoal gray. In RGB terms, pure black is 0,0,0 and a charcoal gray might be 31,31,31. Imagine going through every pixel in your photo and each time there is a pure black pixel, it is replaced with a gray pixel.
That’s what a LUT file does. It has a mapping that changes a source color in your photo to another color. Now, imagine doing that for thousands or tens of thousands of color tones. Also, the color changes can be subtle, like my black to gray example, or wild! Pure black could be changed to bright orange or deep purple. How little or how much the color change is defined by the LUT file.
For the basics of using LUTs in your post-processing, this is what you need to know. The LUT mapping shifts one color to another. You cannot change the color mappings in the LUT, but you can control its strength and how it interacts with your photo.
The LUTs Filter In ON1 Effects
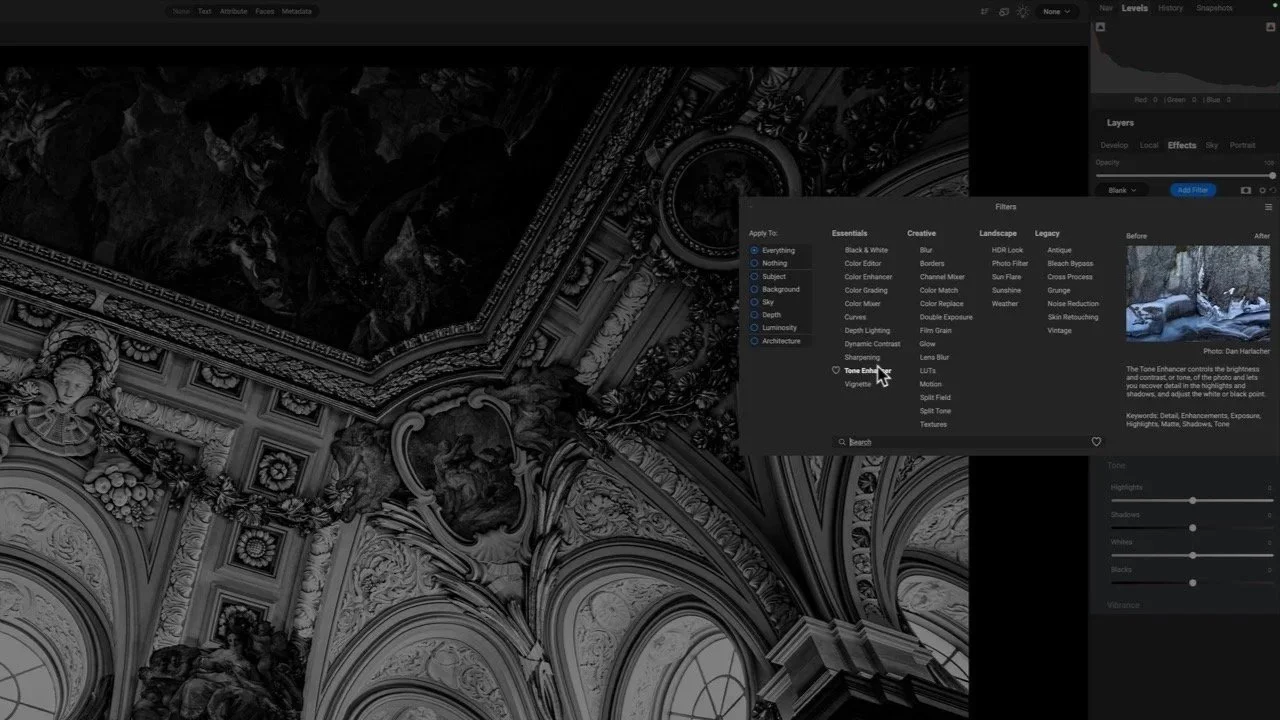
ON1 Effects includes a few dozen LUTs in the LUTs filter and has a few controls to adjust the look. The first step is to select a LUT to apply to your photo. LUTs are kind of like presets, in that not every LUT will look good on every photo. You have to experiment and sample a few to see how it affects your photo and if it aligns with the aesthetic you want for your image. You can choose LUTs using the styles across the top of the filter or the Category/LUT popup menus.
The way I like to work with LUTs is to open the More popup and use the up and down arrow keys to walk through the list of LUTs. I can quickly audition each LUT on my photo and get a feel for how it alters my image. This works well for the built-in LUTs that come with ON1 Effects. For any LUTs you add yourself (more about that in a moment), you need to use the Category/LUT popup menus. The LUTs Filter also has two controls, Contrast and Saturation. These sliders affect how the selected LUT mixes with your image.
Audition LUTs on your photo by opening the More popup menu. Use the arrow keys to walk through the various looks.
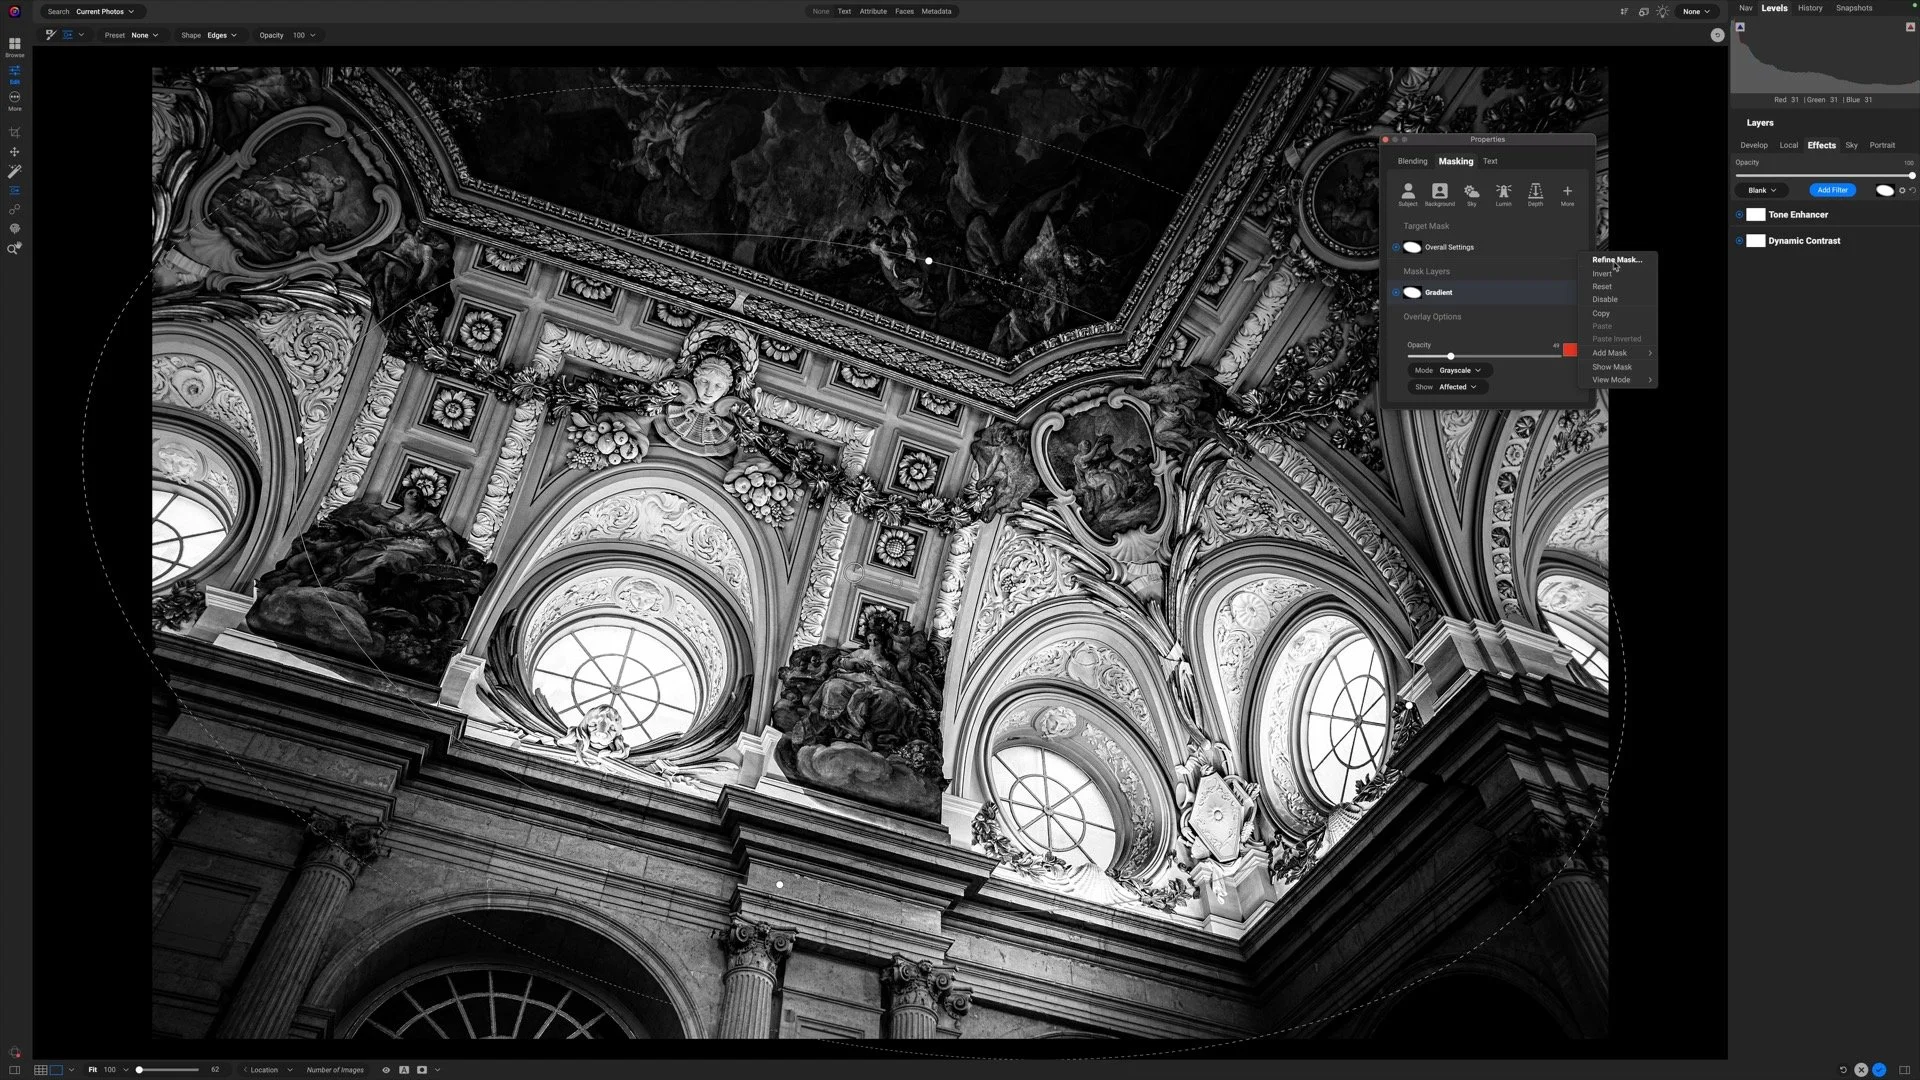
The LUTs filter has a handful of sliders. Its power is the color mapping itself and the rich blending options and masking tools in ON1 Effects.
Importing Your Own Custom LUTs
LUT files come in a few formats. ON1 supports the CUBE and 3DL formats. Many web sites offer custom LUTs and ON1 provides free LUTs to its customers from time to time. Click the Import button in the LUTs Filter to add LUTs you’ve purchased or downloaded. The Extras Manager is opened. Simply select the LUT files you want, choose a category, and they become available in the Category/LUTs popup menu in the filter.
Import custom LUTs into ON1 Effects using the Extras Manager.
Using Opacity And Blending Options
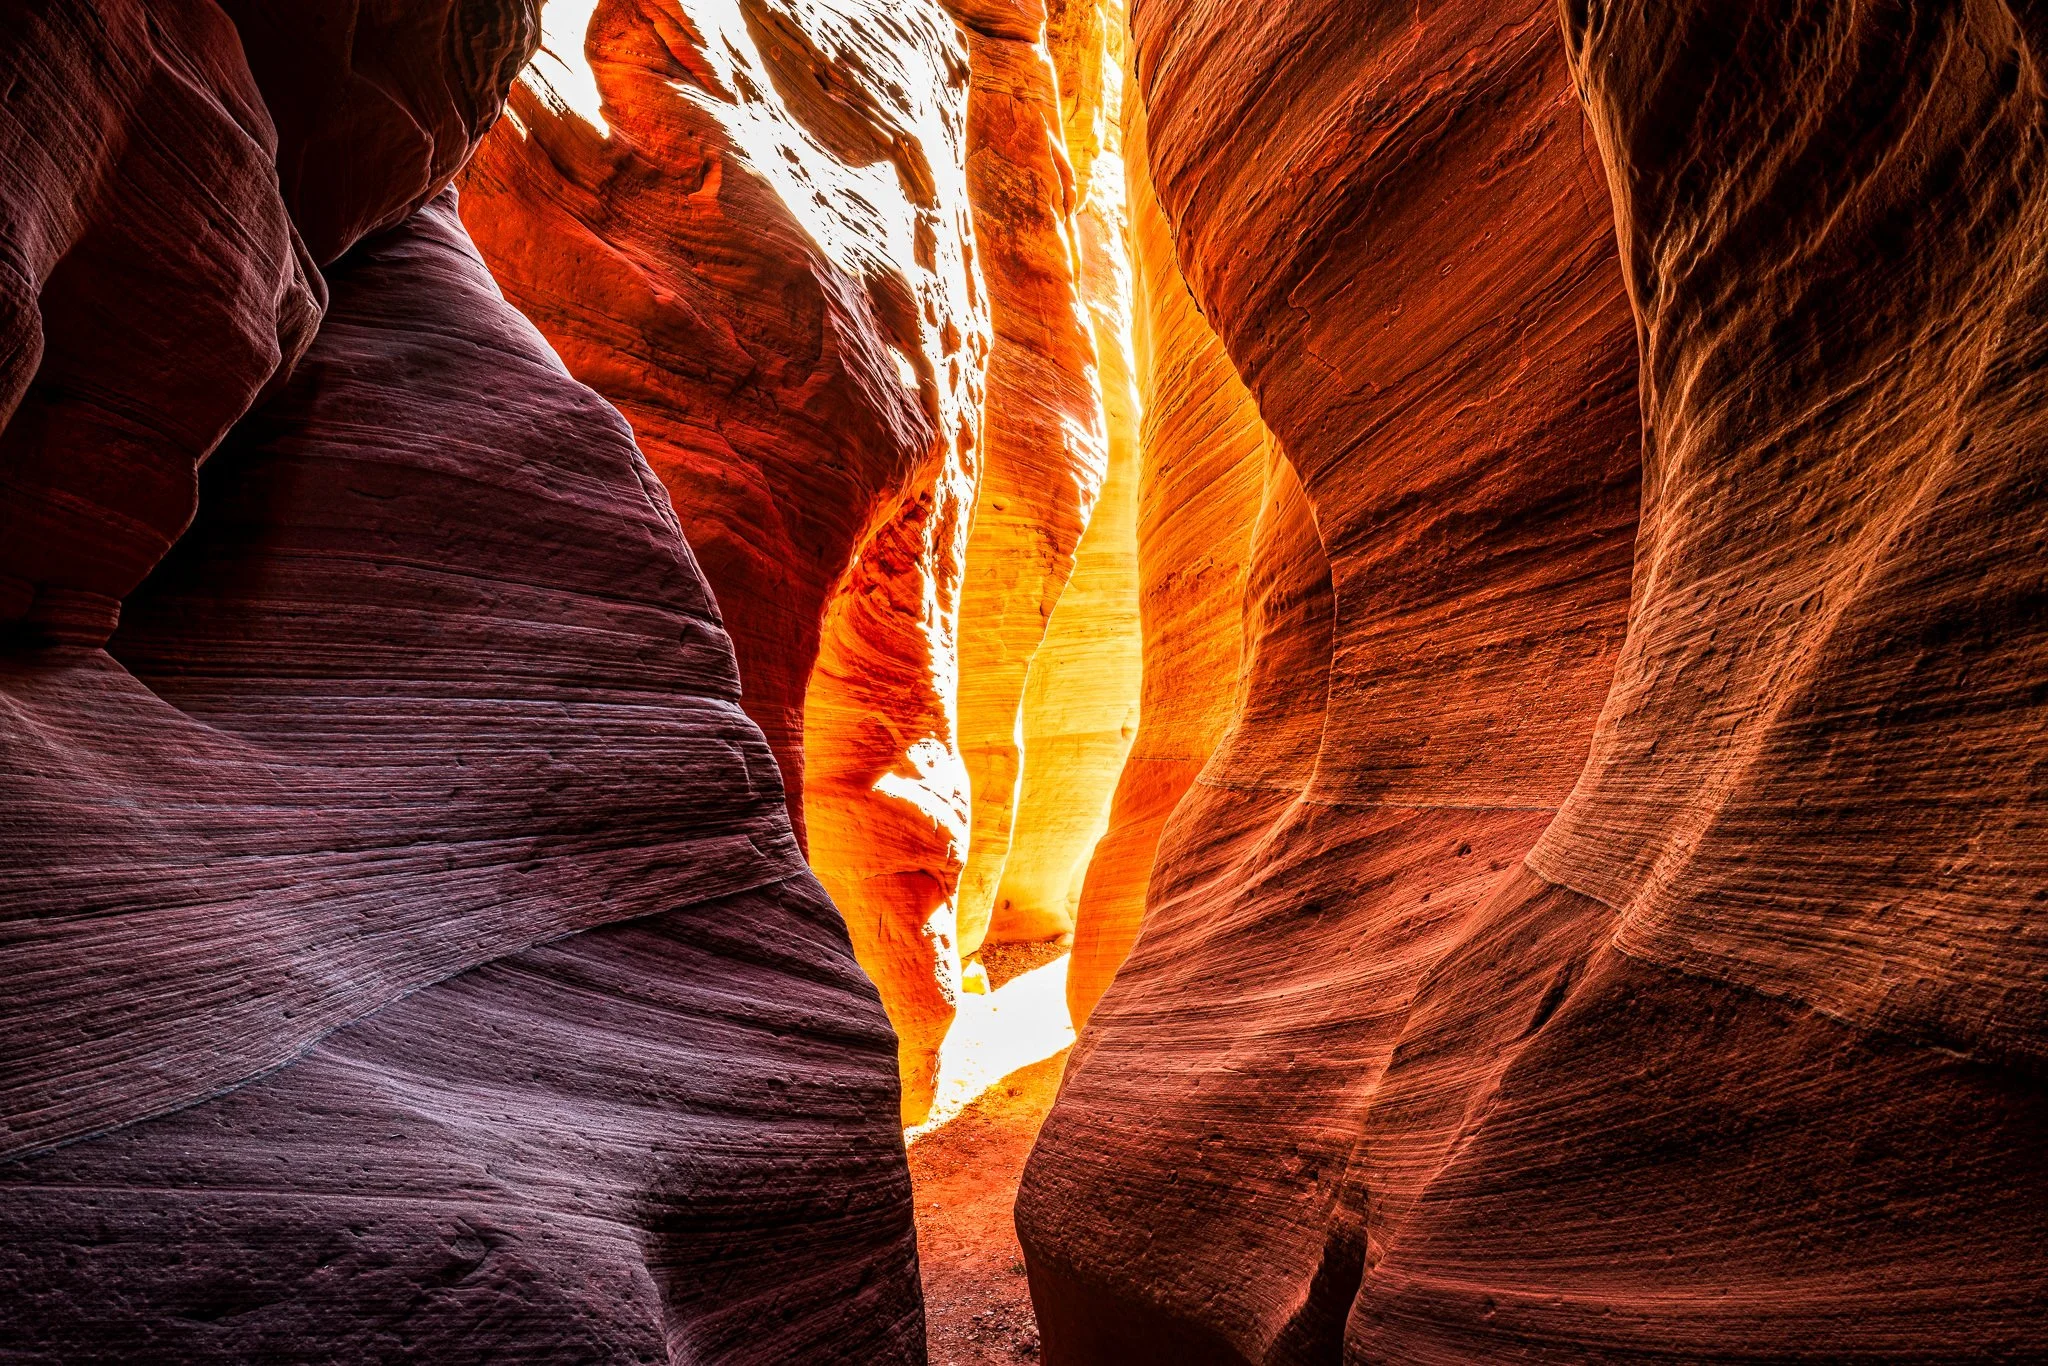
For the utmost in control over LUTs, leverage the Opacity slider of the LUTs Filter. Sometimes a LUT may color grade a photo too strongly. Simply reduce the Opacity slider and the affect of the LUT is reduced. I like to use the Opacity slider with the LUTs in the Black & White category. The LUTs in this category don’t just do a simple desaturation of color. Often they are mixing in subtle color tones into the shadows or highlights. Using a lower opacity creates interesting, unique tonal qualities to images.
Black and White LUTs are not always pure black and white. They can introduce tints into a photo as well.
Use the Opacity and Blending Options to mix a LUT with the natural colors of your image for unique tones.
Also, explore the Blending Options in the Gear Menu of the LUTs Filter. The Highlights, Shadows, and Skin sliders are very useful to downplay the effect of a LUT in some but not all tonal regions. In this example, I used the Skin slider to reduce the impact of the LUT on the midtones. This reintroduced some of the natural skin tone into the musicians, with the added benefit of enriching the warm tones in their wood instruments.
Try out LUTs. Have some fun exploring them.
Street Band In Rome
Contact Scott to commission a print or license this image.
