
Local Highlight Correction For Print Prep In Lightroom
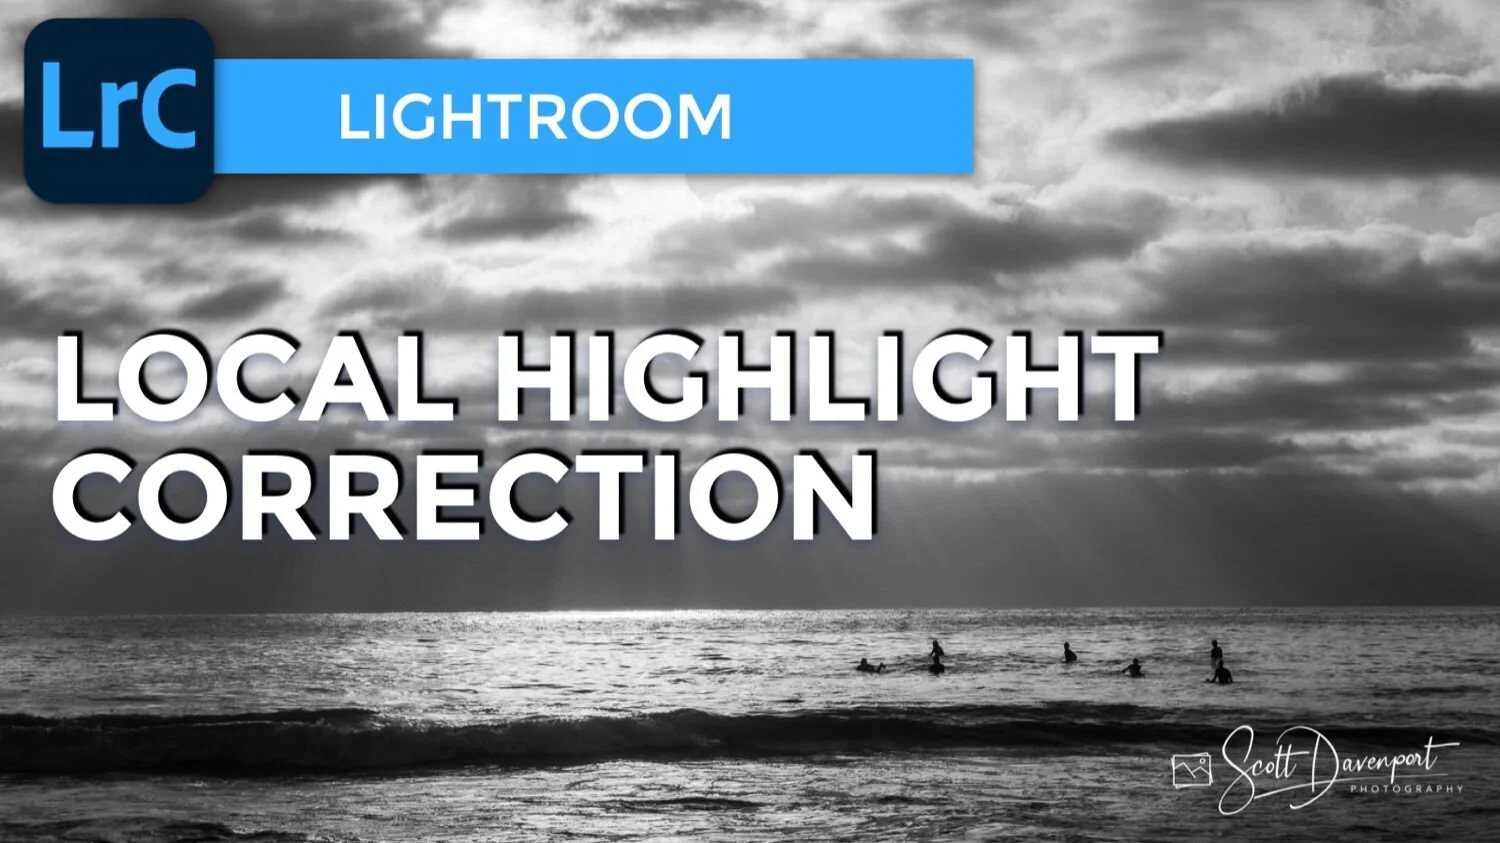
Small spots of highlight and shadow clipping are not a problem for social media or website sharing. However, when it’s time to print your work, blown highlights are a problem. Why? The printer will not put down any ink in an area with no highlight information and the tone of the paper itself will show through. Papers are not usually pure white and can disrupt the color and tonal flow of your image.
Notice the speckles of blown highlights in the sky.
Use a brush with a lower Flow and Density to gently correct the problem areas.
Don’t wrestle with your global controls in the Basic panel or the Tone Curve. Use a local brush tool to handle small specs of blown highlights. A brush with a lower flow and density lets you build up the amount of correction needed - and only to the spots that need it.
Surfers & Sunbeams In La Jolla
Contact Scott to commission a print or license this image.







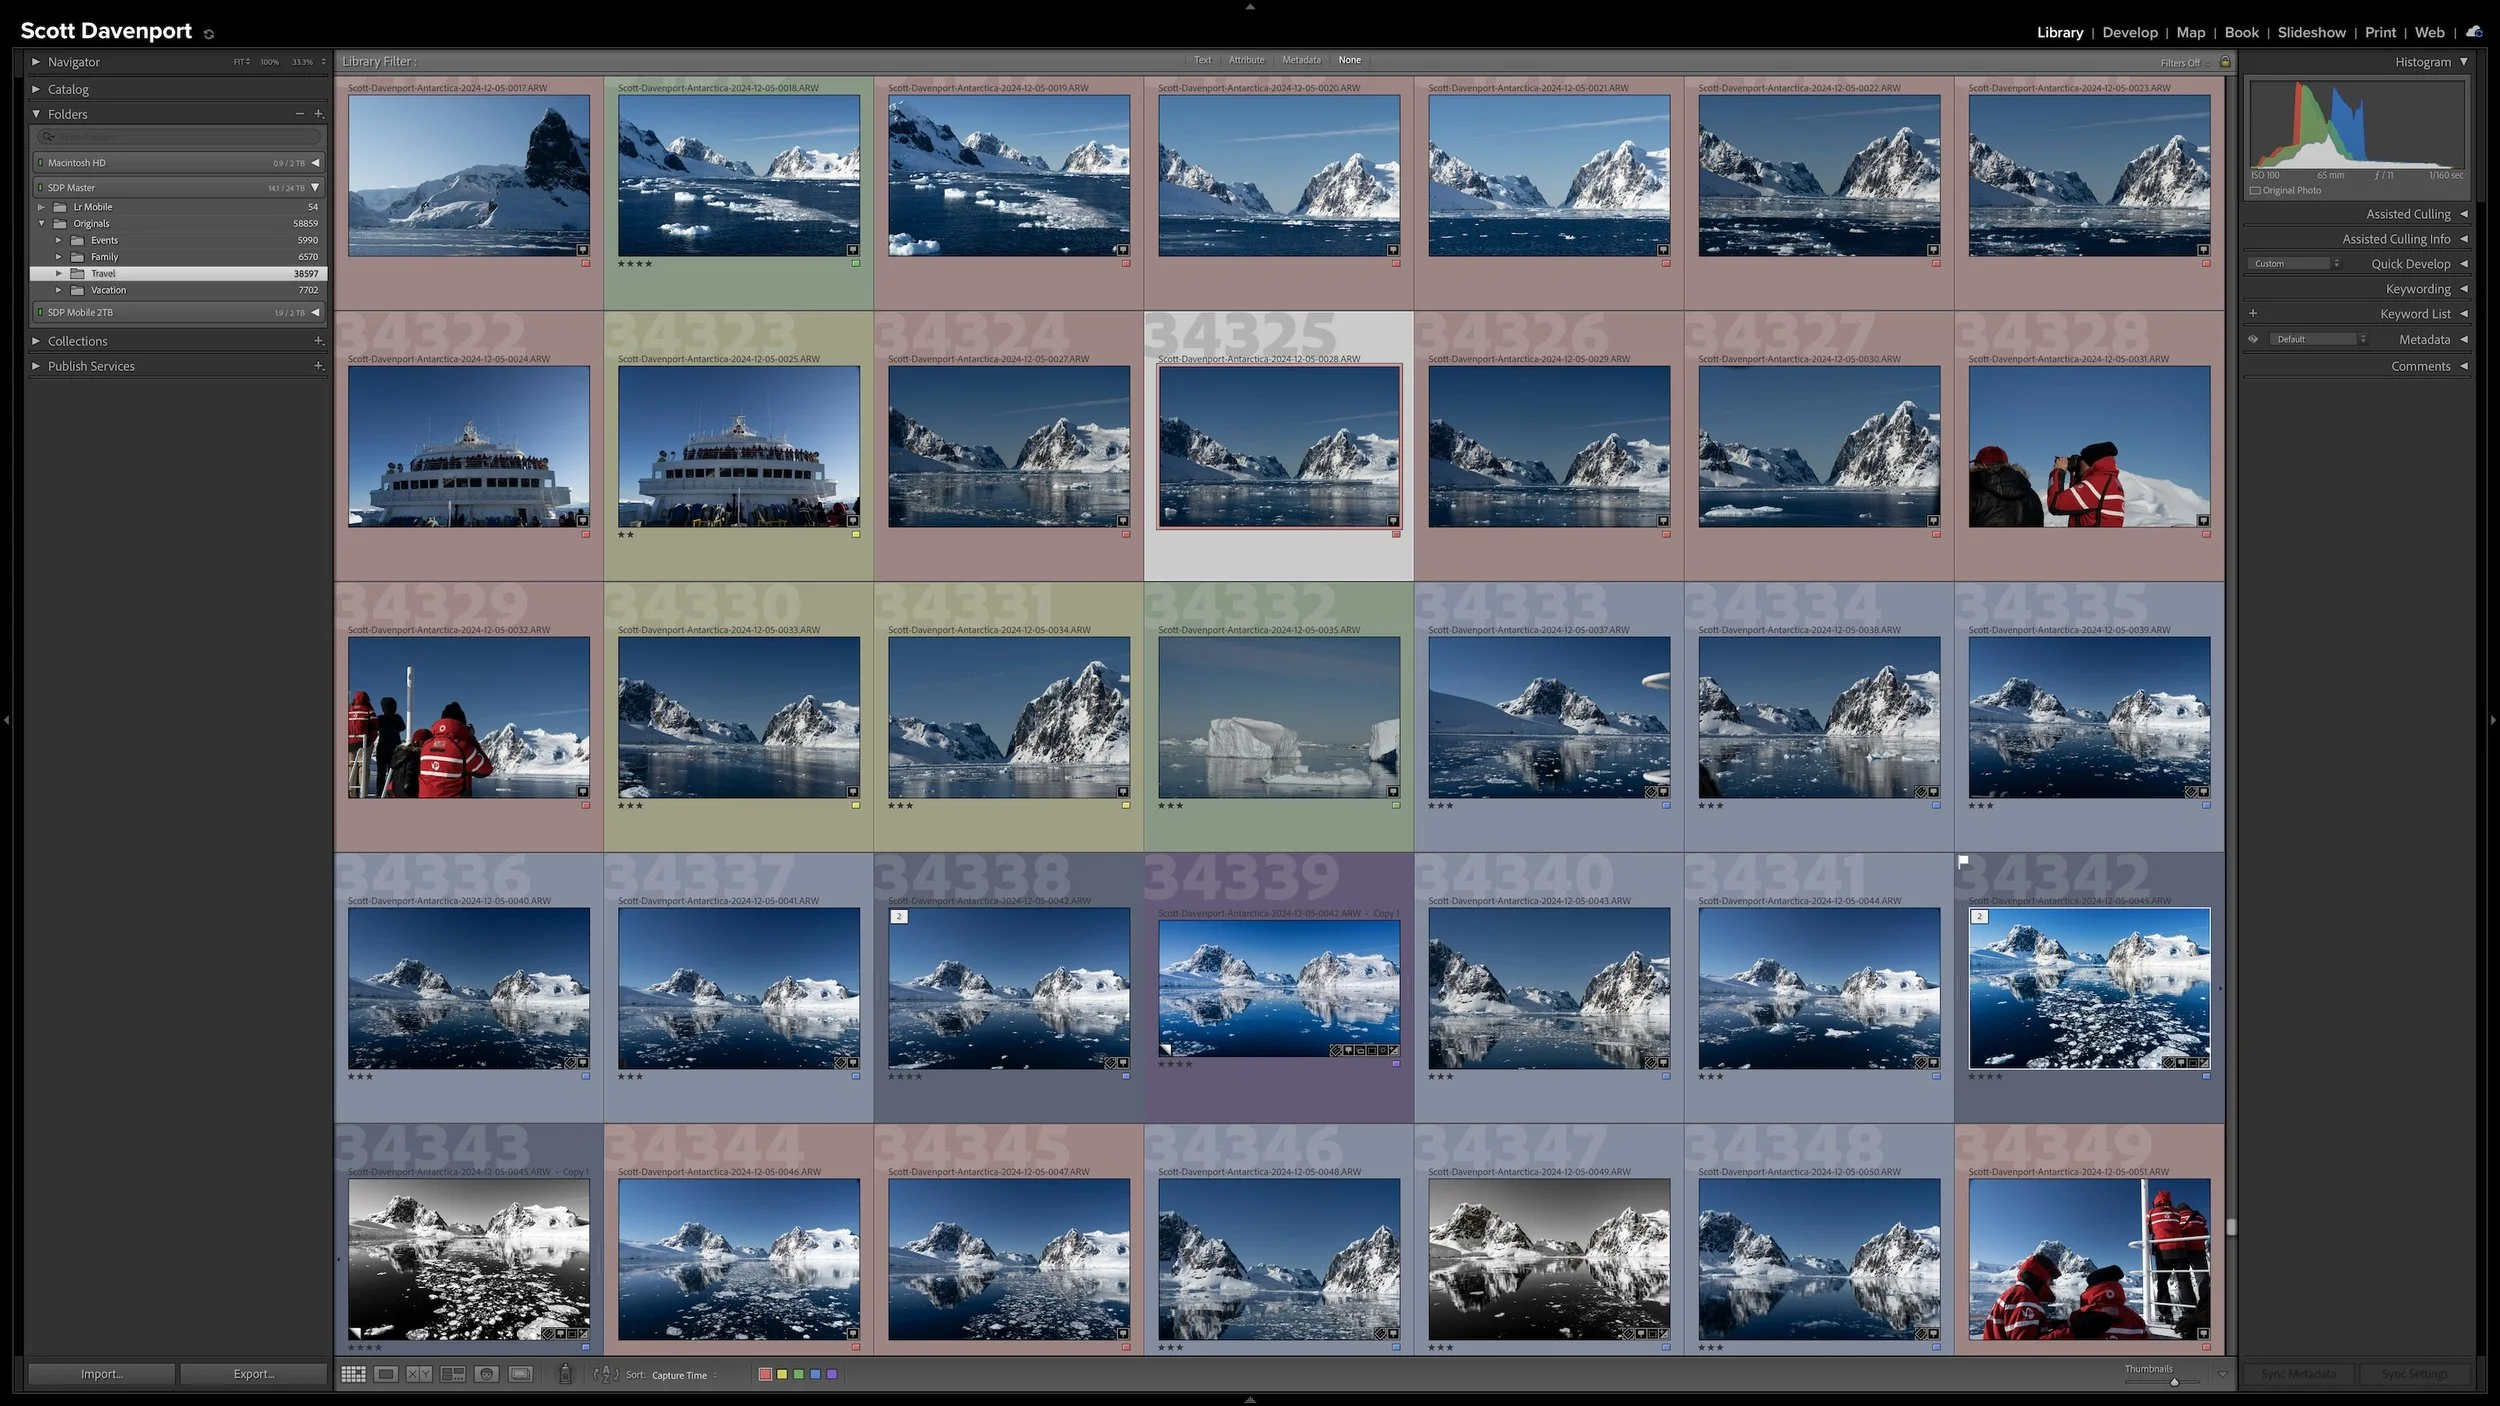
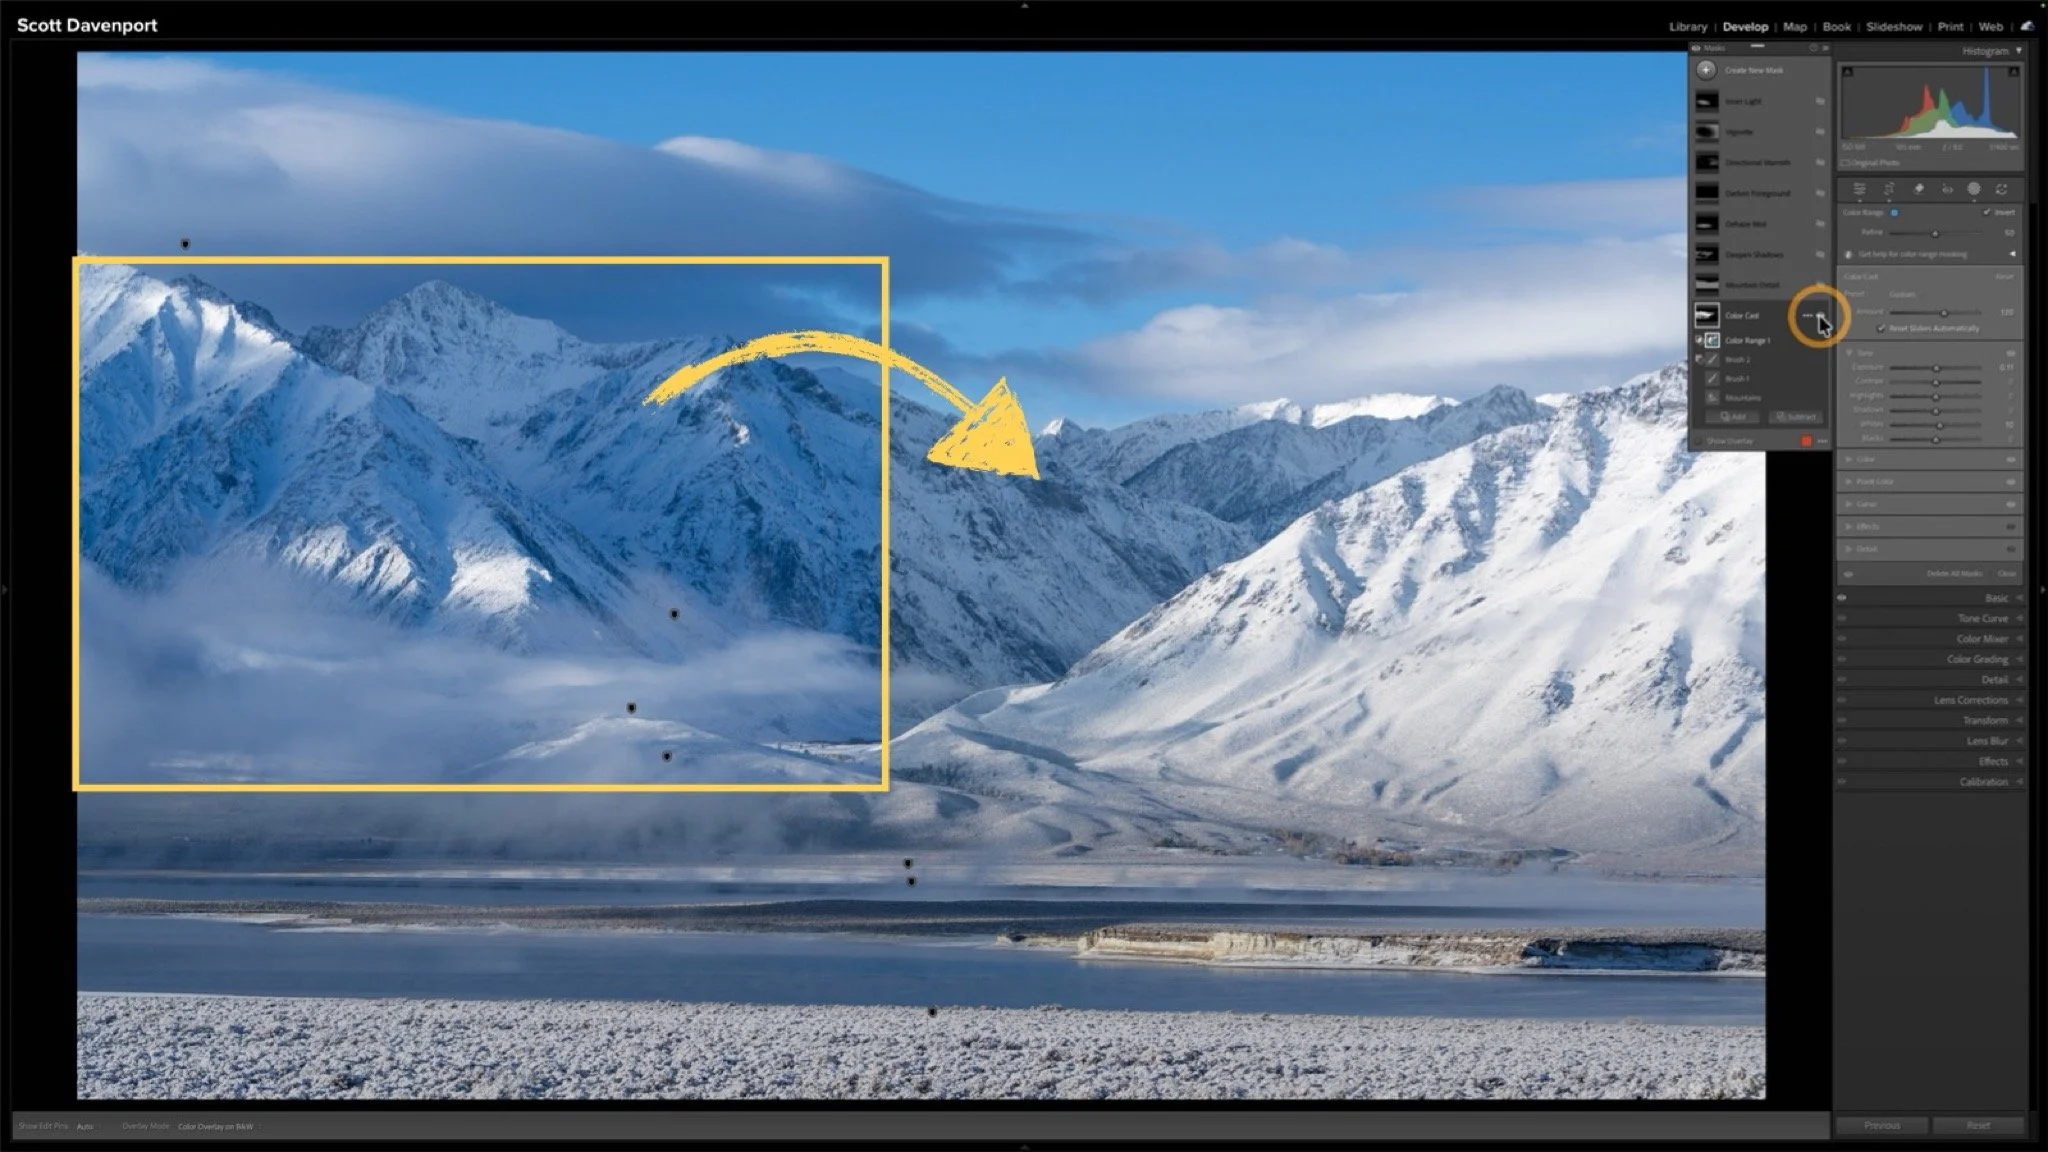

Lightroom Classic's Import dialog presents plenty of choices, but one of the most important decisions is straightforward: where are your photos now, and where do you want the original files to live after the import?
Copy, Move, and Add each handle the original files differently. Once you understand what happens to the physical files and what happens in the Lightroom catalog, choosing the right import method becomes much easier.