The Lighten Blending Mode In ON1
If you are trying ON1 Photo RAW, the ON1 plug-ins like ON1 Effects or ON1 HDR, or upgrading your ON1 software to a newer version, please consider using my affiliate link. There is no extra cost to you and it helps support ON1 tutorials like this one. Ready to buy? Use the offer code SDP20 at checkout and SAVE 20%!
This article is part of a mini-series about the blending modes in ON1 Photo RAW and ON1 Effects.
What Is The Lighten Blending Mode?
The Lighten blending mode is one of the more predictable blending modes. This mode shows only the pixels that are brighter than what's beneath it. In a layered workflow, the shadowy areas of the base photo are affected and brighter parts are less affected. My favorite use of the Lighten blending mode is with cityscapes. It is also good for texture blending.
Cityscapes And The Lighten Blending Mode
Cityscape and skyline images look their best when there is a mix of artificial and ambient light. As dusk sets in, the artificial light turns to blue hour. As the blackness of night rises, more of the city lights come on. In the field, capture two or more images of your composition. Photos later in the evening will be darker, but will have more lights.
Next, use the magic of the Lighten blending mode:
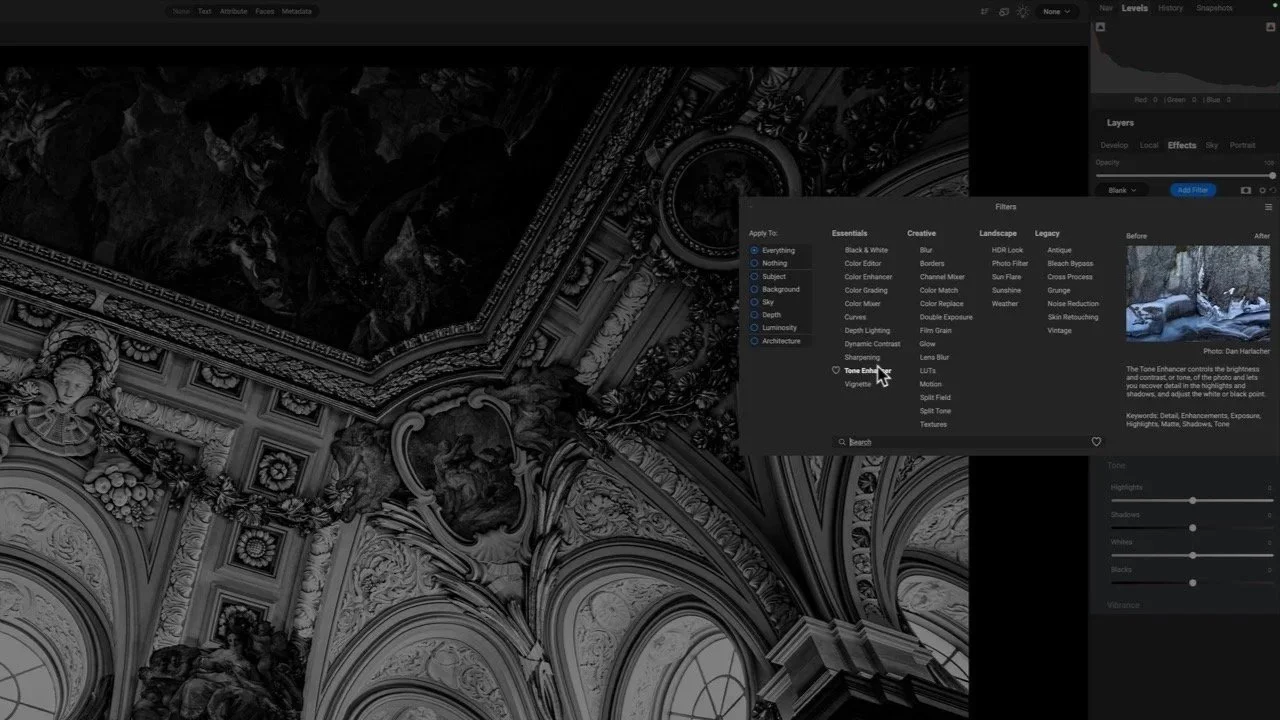
Load your photos into ON1 Layers.
Set the blending mode to Lighten for all but the bottom layer
Lighten reveals only the brighter pixels, which are the city lights
This technique also works for traffic trails, holiday lights, blinking neon - anything scenes where there are flashes of brightness in a scene at different times. With a little bit of field prep and the forethought to capture a few images, the Lighten blending mode lets you quickly composite them into a masterpiece.
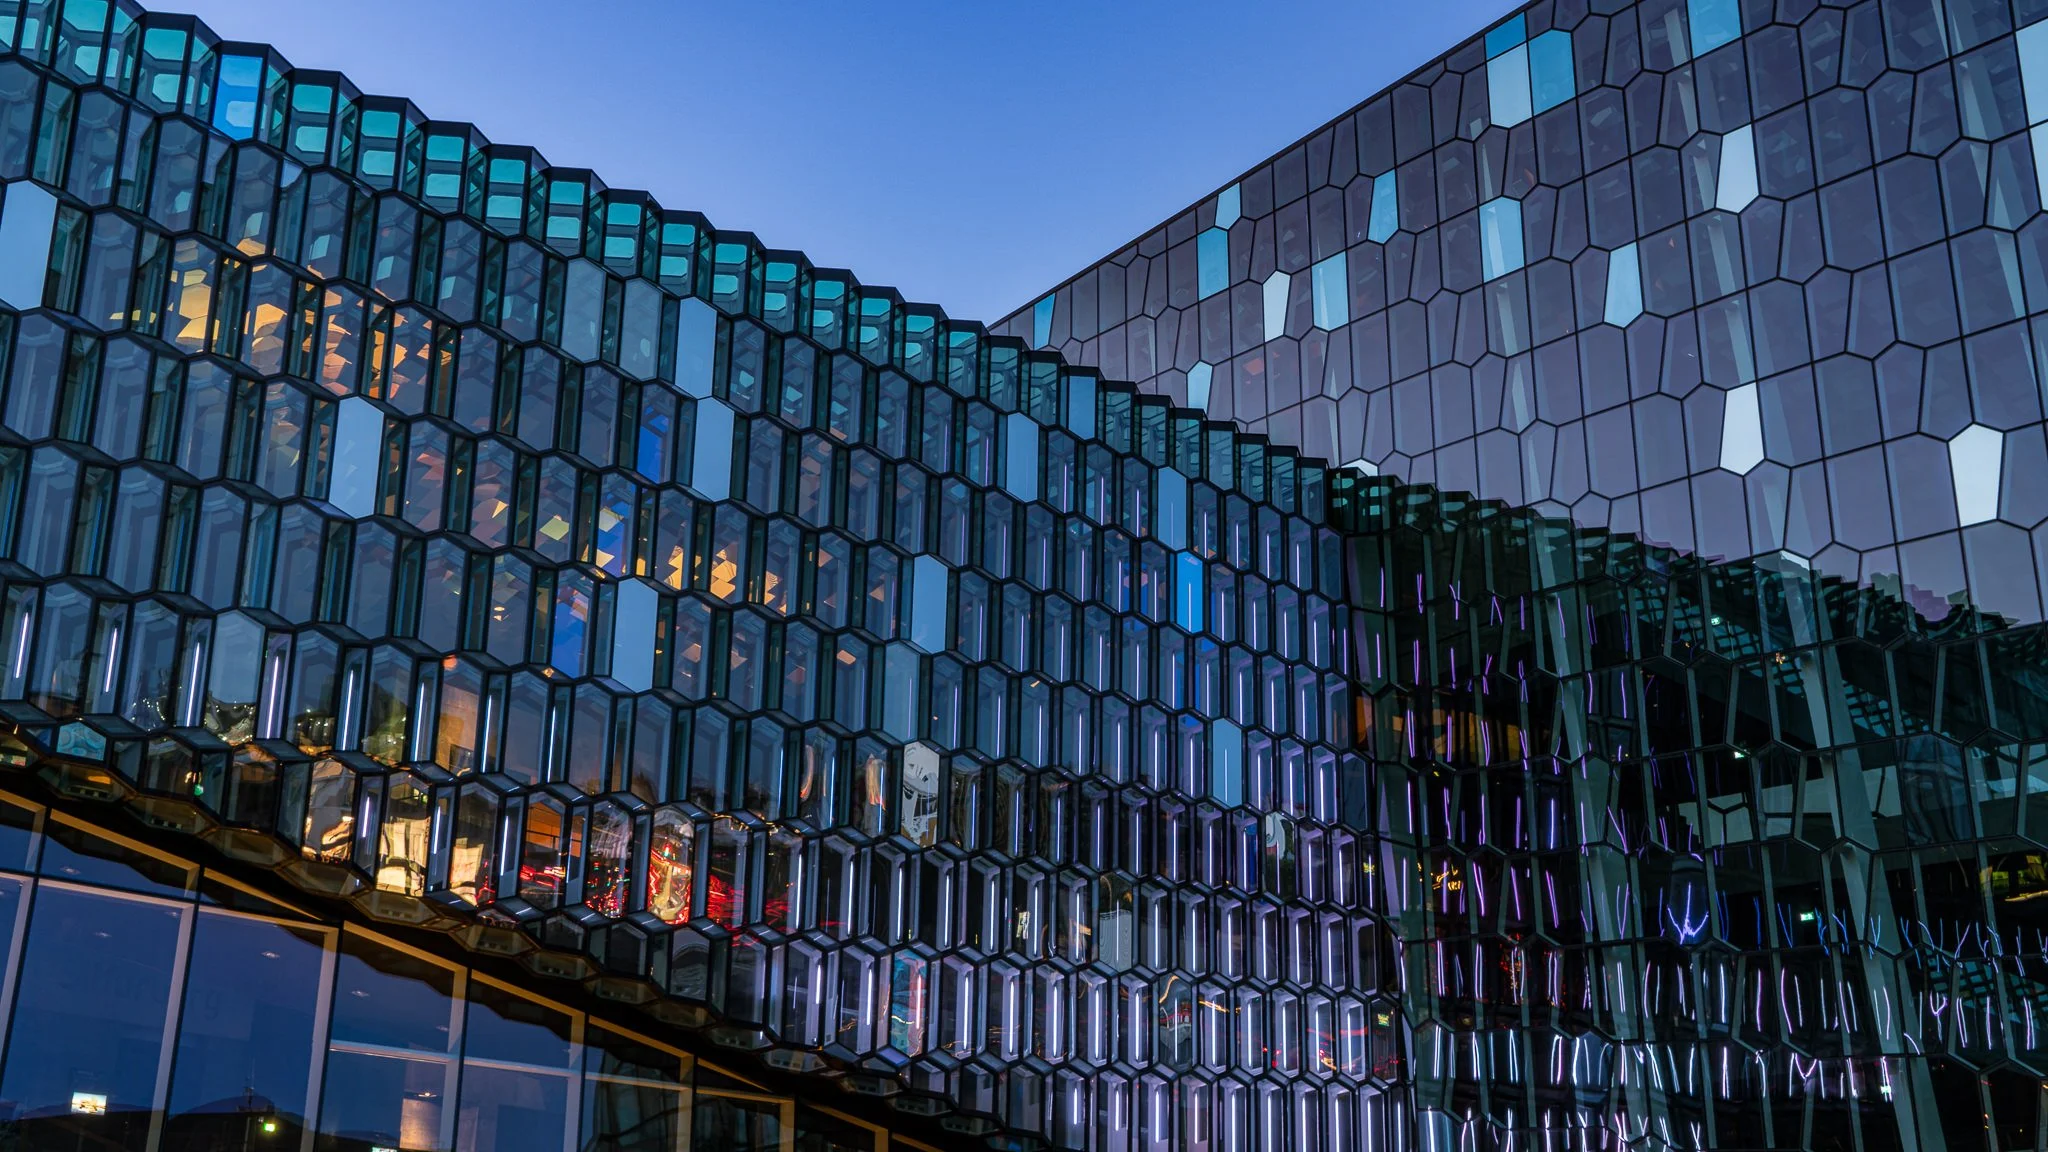
Two images of the Harpa building with different patterns of light.
The Lighten blending mode gathers the bright pixels - the illumination in the windows - and makes a seamless composite.


Texture Blending With The Lighten Mode
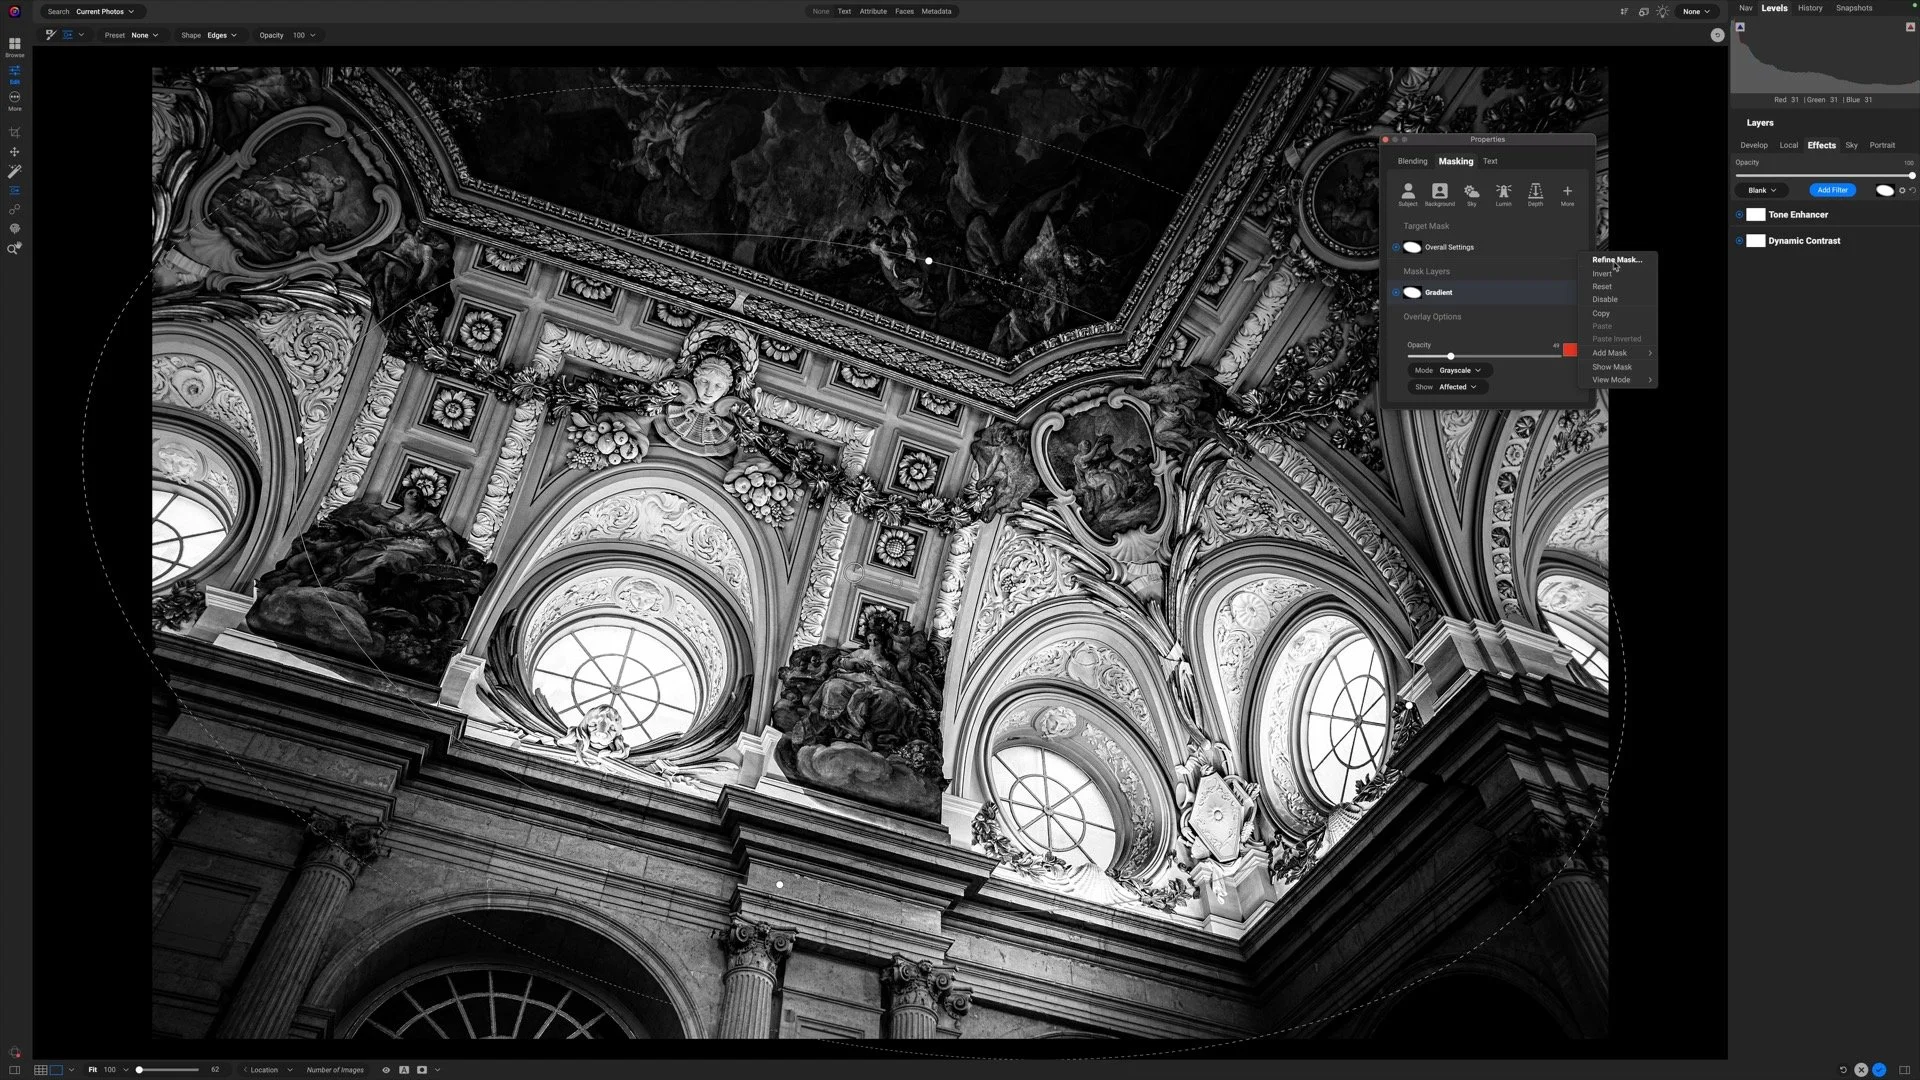
Using the Lighten blending mode with textures is another great use for this mode. The darker, shadows of the base image will have more of the texture applied. Without masking, the texture blend is more nuanced and subtle than what just an Opacity adjustment can deliver.
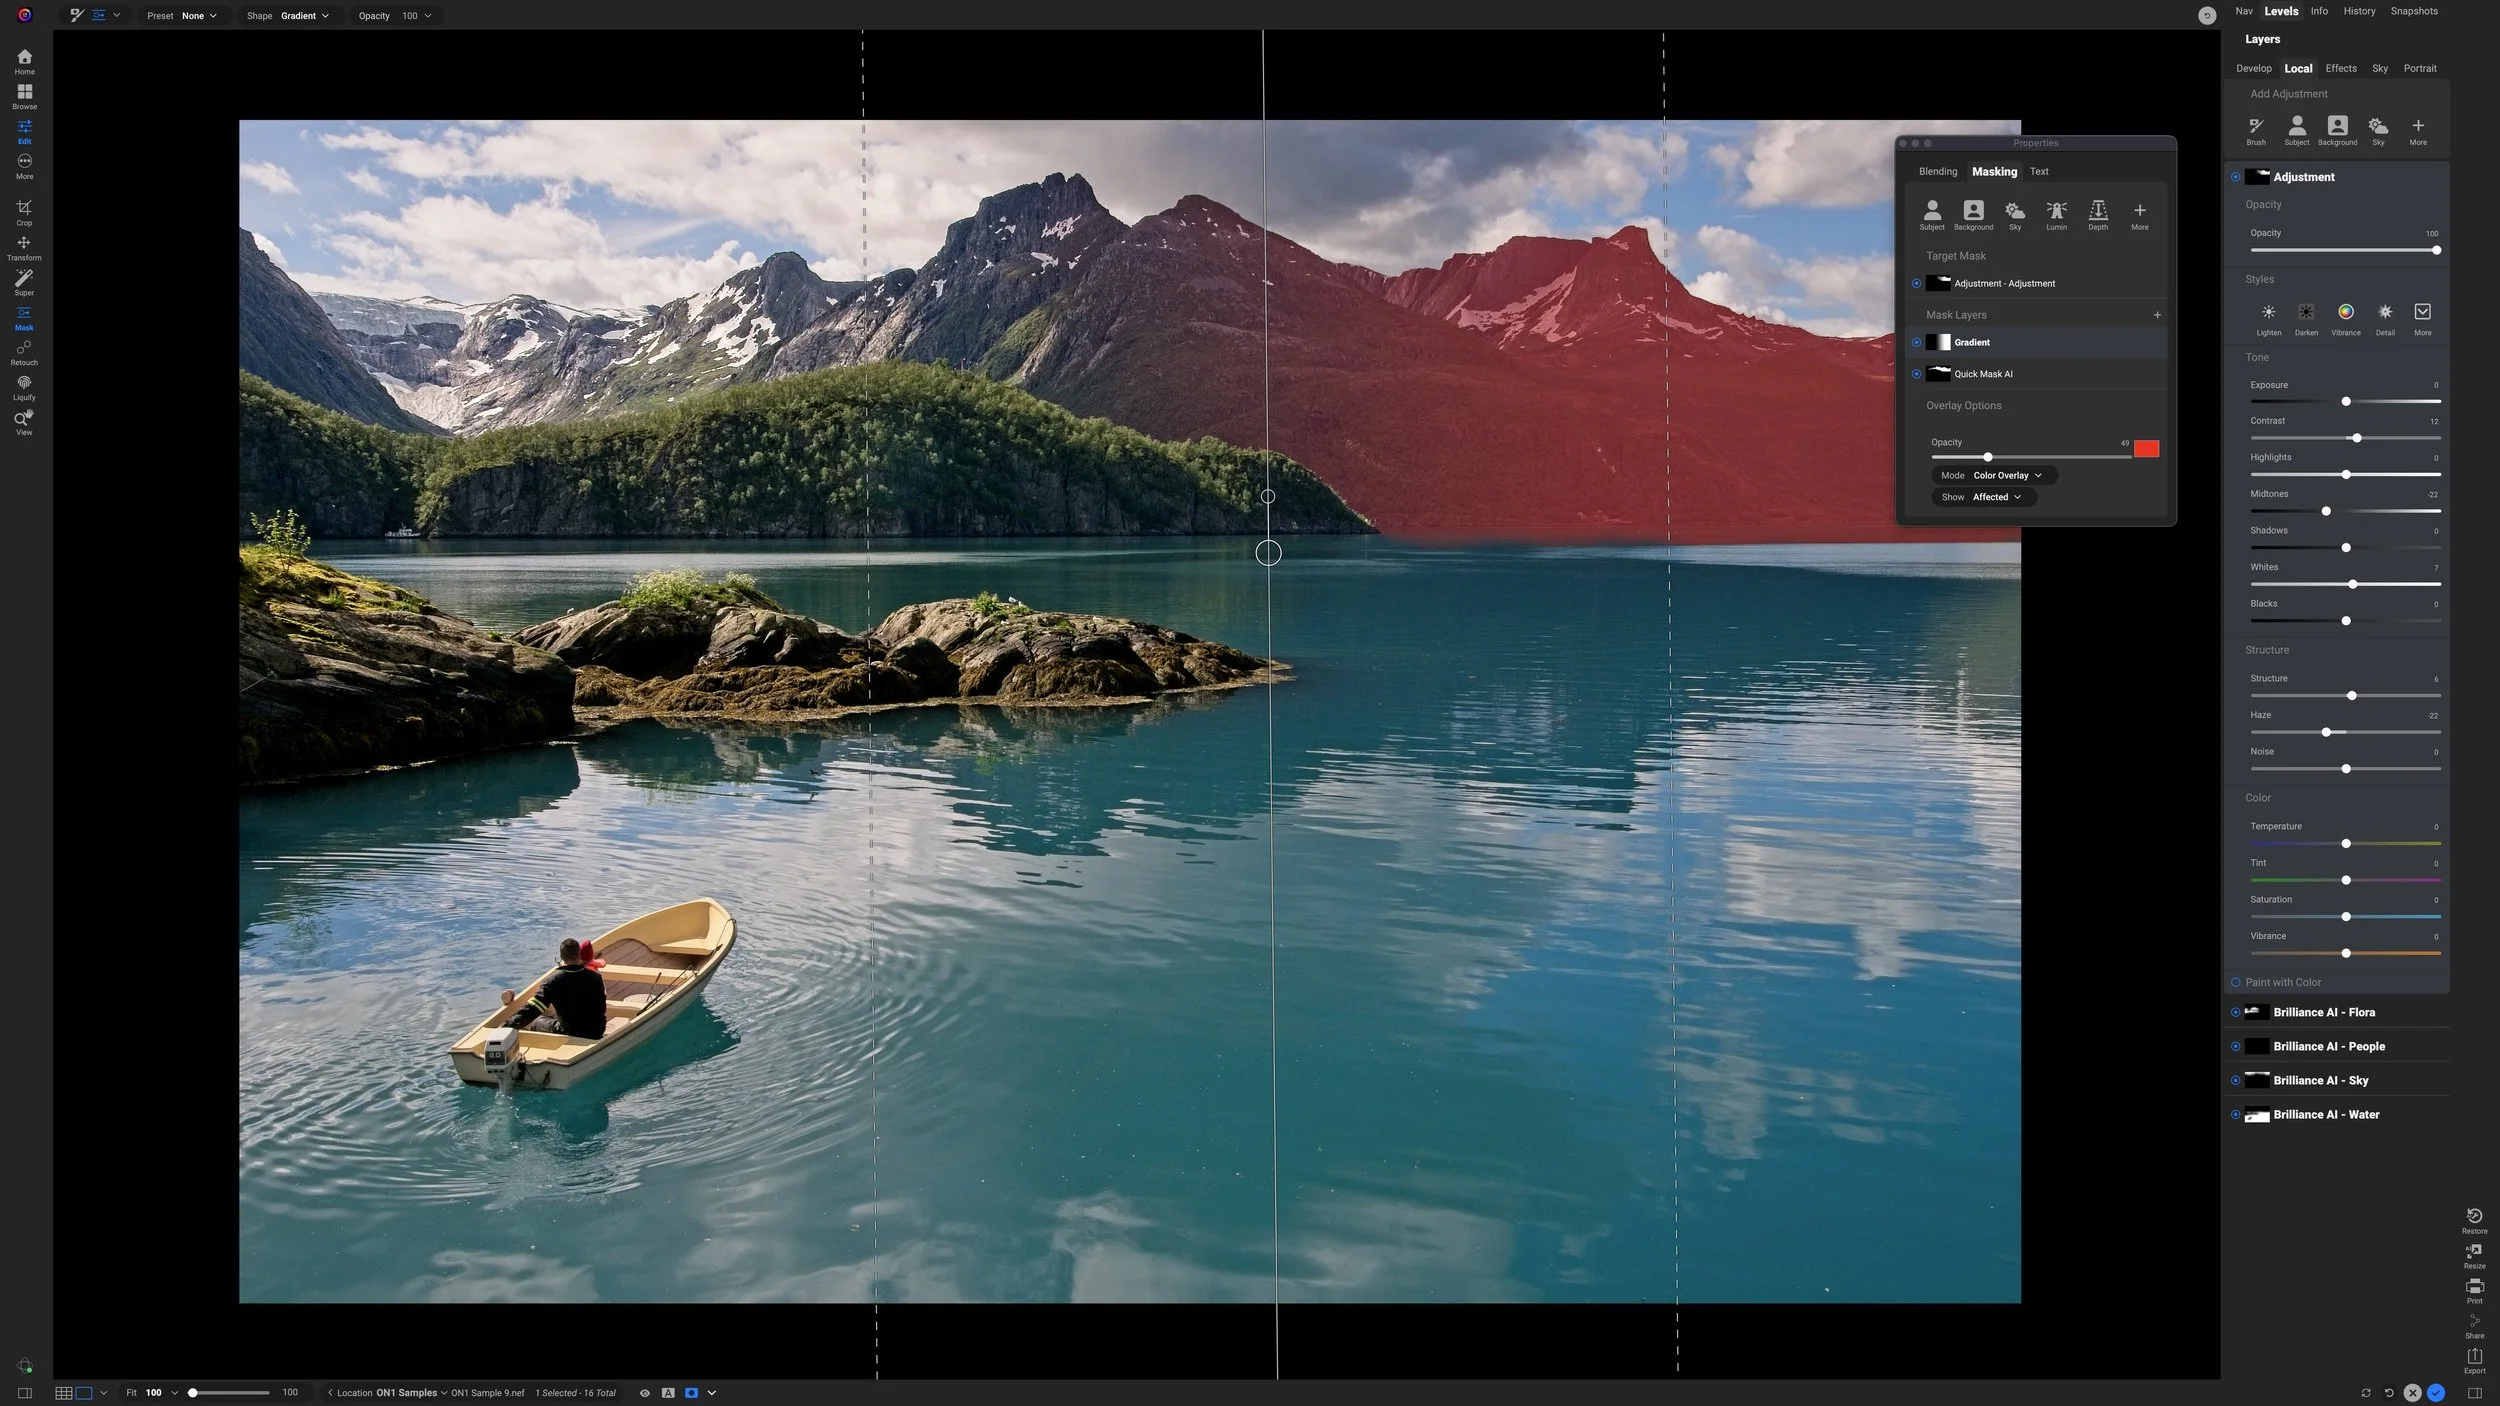
Setting the Lighten blending mode targets a texture to the darker parts of the base image.

A lowered Opacity plus Lighten makes the texture subtle on brighter areas of the base image and more prominent in the shadows.
Lighten may not always be the best choice for a texture blend. Turn to it when you want the shadows of your base image impacted with the texture.
Up Next
This series continues with an article about the Color Dodge blending mode.
Harpa Building
Contact Scott to commission a print or license this image.