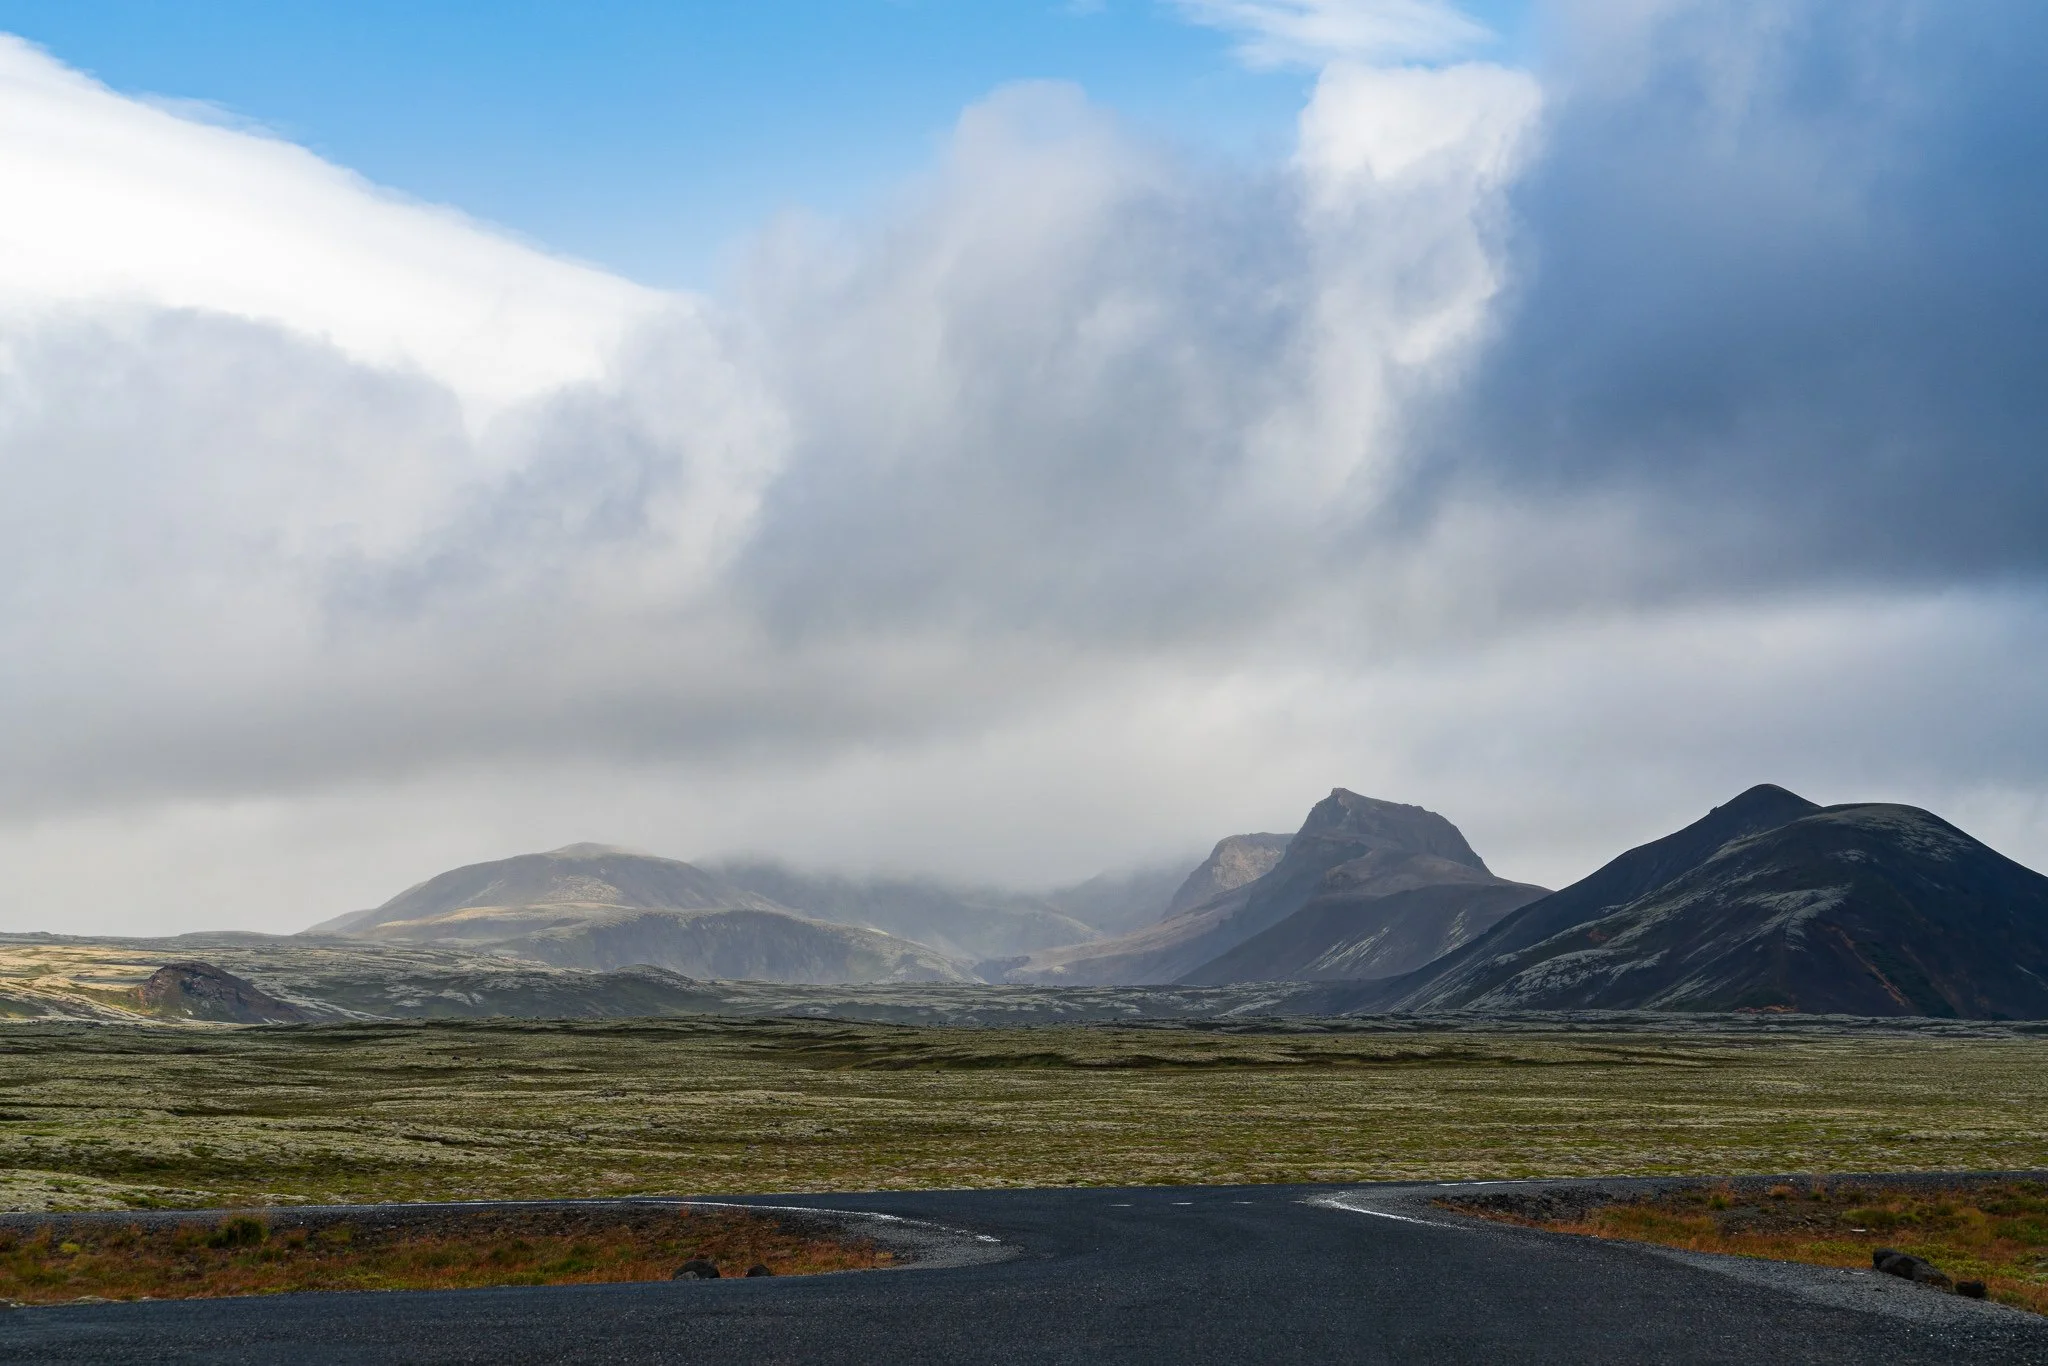
Some landscape and travel scenes are dynamic. Capture several images on location and blend them into a composite with layers.
Read MoreCulling a sequence of similar photos to build a composite is easy to do … when you know what to be on the lookout for! Let me break it down for you…
Read MoreSometimes the ocean doesn’t cooperate with photographers. In one shot, the waves on the left look great. In another, it’s the right side that looks great. The solution? Composite! I’ll share my approach.
Read MoreThe Exclusion blending mode is a challenging one to explain without diving into math. And I won’t do that. Instead, I’ll show you how to use it for color grading.
Read MoreDifference, as its name suggests, measures differences between two layers. I use this blending mode when I need to manually align layers.
Read MoreIf an ON1 Effects filter shifts color in an unwanted way, try using the Luminosity blending mode. Luminosity deals only with brightness values, protecting your photo’s hue and saturation.
Read MoreThe contrast increase from Vivid Light is a strong one and can overpower a scene. Temper its Opacity - and try it out for color grading (my preferred use for this blending mode).
Read MoreThe Soft Light blending mode has a more subdued touch than the Overlay mode. I like this mode for subtler texture blends.
Read MoreThe Overlay blending mode is one you should know. An excellent way to pop contrast and blend exposures, it is one of the most popular blending modes.
Read MoreColor Dodge is a useful blending mode for creative and unique color grading. Its results can be harder to predict, so do be prepared for some experimentation.
Read MoreTake your cityscape photos to a new level with a little field prep and the Lighten blending mode.
Read MoreThe default blending mode of Normal makes no special changes to the pixels in a layer. It is perfect for exposure blending and double-exposure looks.
Read More


