The ON1 Masking Bug - Reflected Gradient Shape
If you are trying ON1 Photo RAW, the ON1 plug-ins like ON1 Effects or ON1 HDR, or upgrading your ON1 software to a newer version, please consider using my affiliate link. There is no extra cost to you and it helps support ON1 tutorials like this one. Ready to buy? Use the offer code SDP20 at checkout and SAVE 20%!
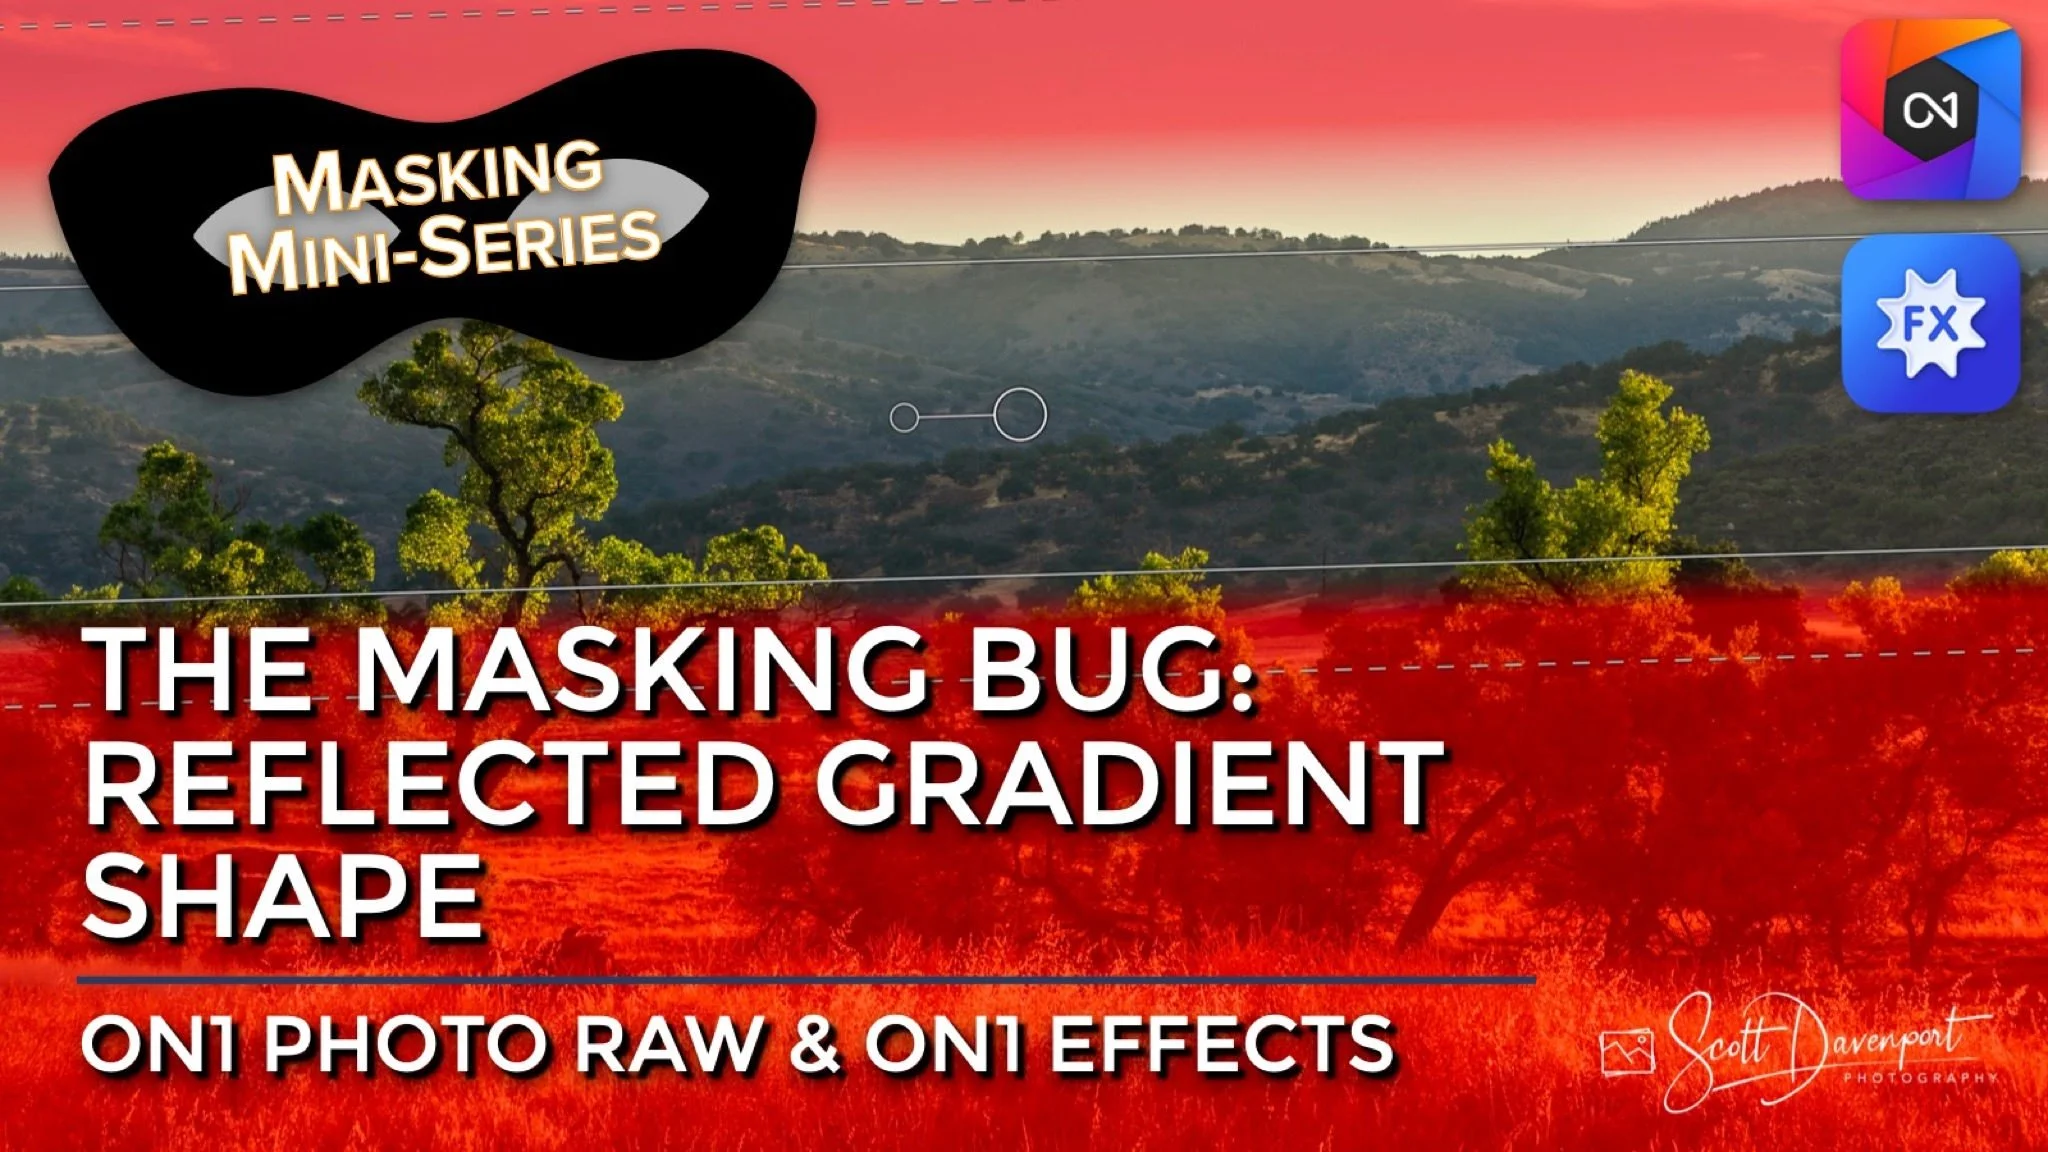
This article is part of a mini-series about the masking features in ON1 Photo RAW and ON1 Effects. This installment explains how to use the Reflected Gradient shape of this tool. Read this article for an overview of the Masking Bug.
Reflected Gradient Shape
The Reflected Gradient shape of the Masking Bug is similar to the Gradient shape. The key difference with the reflected gradient is it offers independent transition and feather controls on either side of the gradient. This makes the Reflected Gradient an excellent choice for adjusting large vertical or horizontal “bands” through your photo. For example, a mountain range with sky above and land below.
The Reflected Gradient controls are on-screen in the preview area. They are:
Position - click and drag the large, circular pin to position the transition point of the mask.
Rotate - click and drag the smaller circular pin to rotate the angle of the mask
Transition - click and drag the solid line to set the transition point of one side of the mask. There are two Transition controls and each is set independent of the other.
Feather - click and drag the dashed lines to make a large, gradual feather or a small, rapid transition. There are two Feather controls, one per Transition line.
Pro tip: For precision rotation, click the Rotate pin and hold down the mouse button. Move your cursor farther away from the Position (center) pin and then rotate.
The controls for the Reflected Gradient shape of the ON1 Masking Bug allow independent adjustment of the transition and feather on both sides of the reflected mask.
Up Next
The next several articles in the series will delve into the individual masking tools. Up next, the Center & Edges shapes of the Masking Bug tool.
