Combining Masking Tools In ON1 Photo RAW And ON1 Effects
If you are trying ON1 Photo RAW, the ON1 plug-ins like ON1 Effects or ON1 HDR, or upgrading your ON1 software to a newer version, please consider using my affiliate link. There is no extra cost to you and it helps support ON1 tutorials like this one. Ready to buy? Use the offer code SDP20 at checkout and SAVE 20%!
This article is part of a mini-series about the masking features in ON1 Photo RAW and ON1 Effects. In this article, I share my recommended workflow for combining the masking tools to create amazing, intricate masks.
ON1 Masking Tool Order Matters
This series has shown all of the masking tools in ON1, from classic brushes to AI-powered masks to tonal and color based masks. And the rest of every masking too is (just) a mask. The mask can be added to, subtracted from, and fine tuned with the other masking tools. There are, however, a few guidelines to follow for the best masking experience.
My approach to masking tools in ON1 is to start large and then home in on the details. Why? Starting large handles the bulk of your masking job, and follow-up tools fine tune it. Also, some of the ON1 tools will replace a pre-existing mask. That’s a very important thing to know. I think about masking in 3 stages.
Stage 1 - AI and Tonal-Based Tools
When you know you need to mask something in your photo, think about what your end goal is. What area of the photo needs to be adjusted? Or what color range or luminance tone? Is it a specific subject that needs to be adjusted? Answer that question, and then start with an AI-powered masking tool or a tonal-based masking tool. Use one and only one of these four tools:
AI Quick Mask
Color Range Mask
Sky Swap AI / Mask Sky
Why start with one of these? Because these tools will replace any pre-existing mask. You cannot combine these tools together. Selecting one restarts the mask, clobbering any prior masking work. In the screenshots below, I first created a Luminosity Mask, then I switched to a Color Range Mask. Notice the color range mask completely replaces the luminosity mask.
Pro Tip: Not every masking job requires one of these tools. When true, skip Stage 1.
Example: Masking starts with a Luminosity Mask.
Example: Next, if a Color Range Mask is selected, it replaces the Luminosity Mask entirely.
Stage 2 - Masking Bugs And Line Masks
My next stage of masking is also reasonably large sweeps for a photo. Gradient or radial masks with the Masking Bug (or Adjustable Gradient, for Local Adjustments) and/or Line Masks. These tools do not replace a pre-existing mask. Rather, they add to or subtract from the mask.
Stage 3 - Brushes
The final stage of mask fine tuning is the brushes, the Masking Brush, Perfect Brush, and Custom Brush. Some masking jobs remain suited for the classic paint brush tool. The brushes also add to or subtract from a pre-existing mask.
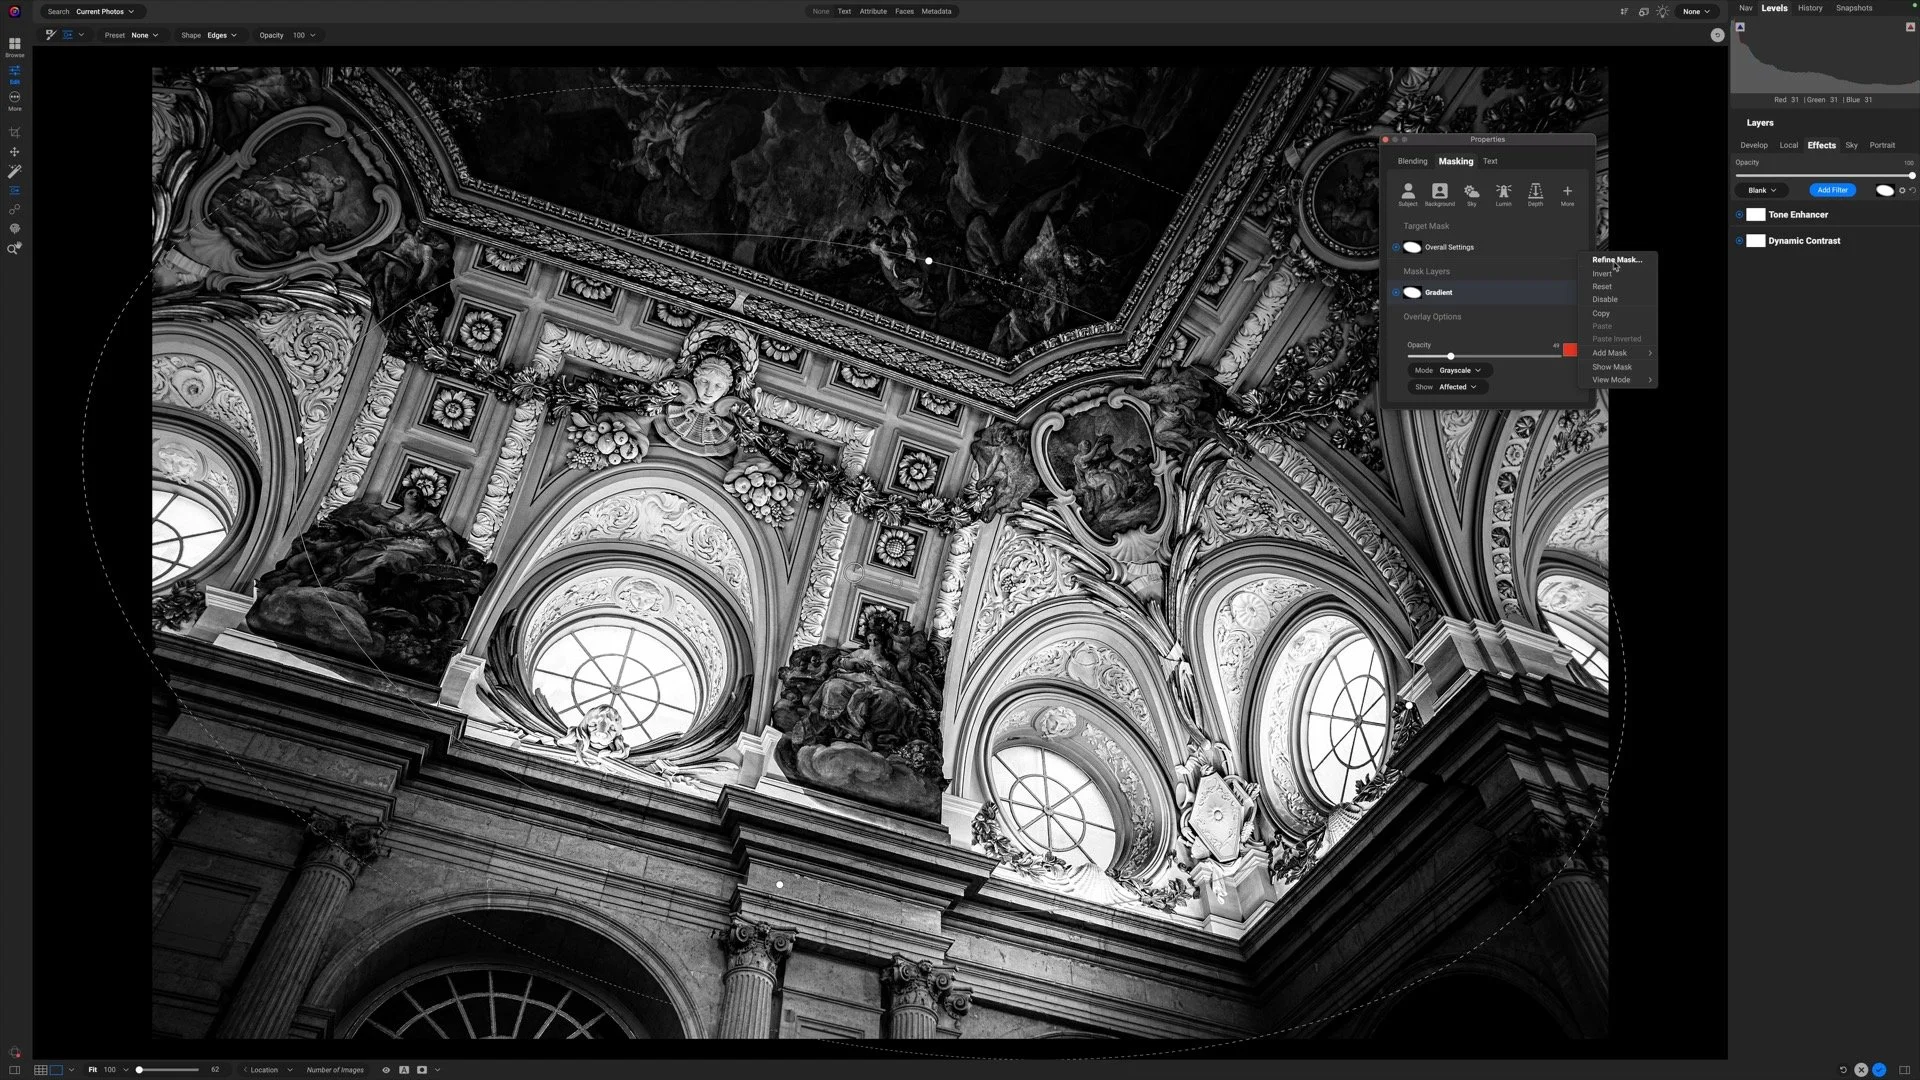
Example - Luminosity And Radials For A Spotlight
Here is one of my favorite examples of combining masks. This is a recipe I use often with my landscape photography.
Add an Effects filter to the photo
Create a Luminosity Mask
Add a Masking Bug with the Edges shape
The result is a nuanced, intricate “spotlight” that targets the effect to a select area of the photo. Both the luminosity mask can be adjusted with its controls and the masking bug can be positioned. It’s simple and very effective - my favorite combination! :)
Up Next
There is one more group of masking tools to discuss - the tools in the Refine Group.
Hikers In Acadia National Park
Contact Scott to commission a print or license this image.
