
If you enjoy posts like this, please support my work and support independent photography tutorials like this.
Opening a raw photo in an editor can feel like being handed a room full of tools with no clear job to do. You can change the exposure, add contrast, adjust color, or start masking—but which of those changes will make the photograph stronger?
I find it more useful to pause and ask what I want the image to become. An unprocessed photograph from Sweet Creek in Oregon offers a good example. There’s flowing water, mossy rock, and a cluster of branches catching light. All of it is interesting. The first decision is which part should lead.
Find the Story Before Choosing a Tool
The rim-lit mossy branches initially caught my attention when I framed this scene. Looking at the photograph now, though, they occupy a small part of the frame. The stronger story is the water cascading through the rocks.
That distinction gives me a direction for the edit. I want the viewer to notice the water first, then explore the surrounding details. The branches can still contribute, but they do not need to compete for attention.
When you sit down with one of your own photos, try naming its main subject before making adjustments. If several elements seem equally important, ask which one first drew you to the scene—and whether it still carries the photograph when you look at the whole frame.
Let the Crop Solve the Biggest Problem
The original frame has a large area of empty space to the right. That space could be useful if I wanted to place text over the photograph. As a standalone image, it does little to reinforce the cascades.
My first substantial change would be a tighter crop, likely somewhere around a 16:9 shape. I would remove the unhelpful patch of sky and much of the empty area, bringing the water into a stronger position in the frame. I expect some quieter space to remain, but I do not want it to carry as much visual weight as the subject.
A crop changes more than the edges of a picture. It changes the relationship between the subject and everything around it. That’s why I want to settle the broad composition before spending time on small local adjustments.
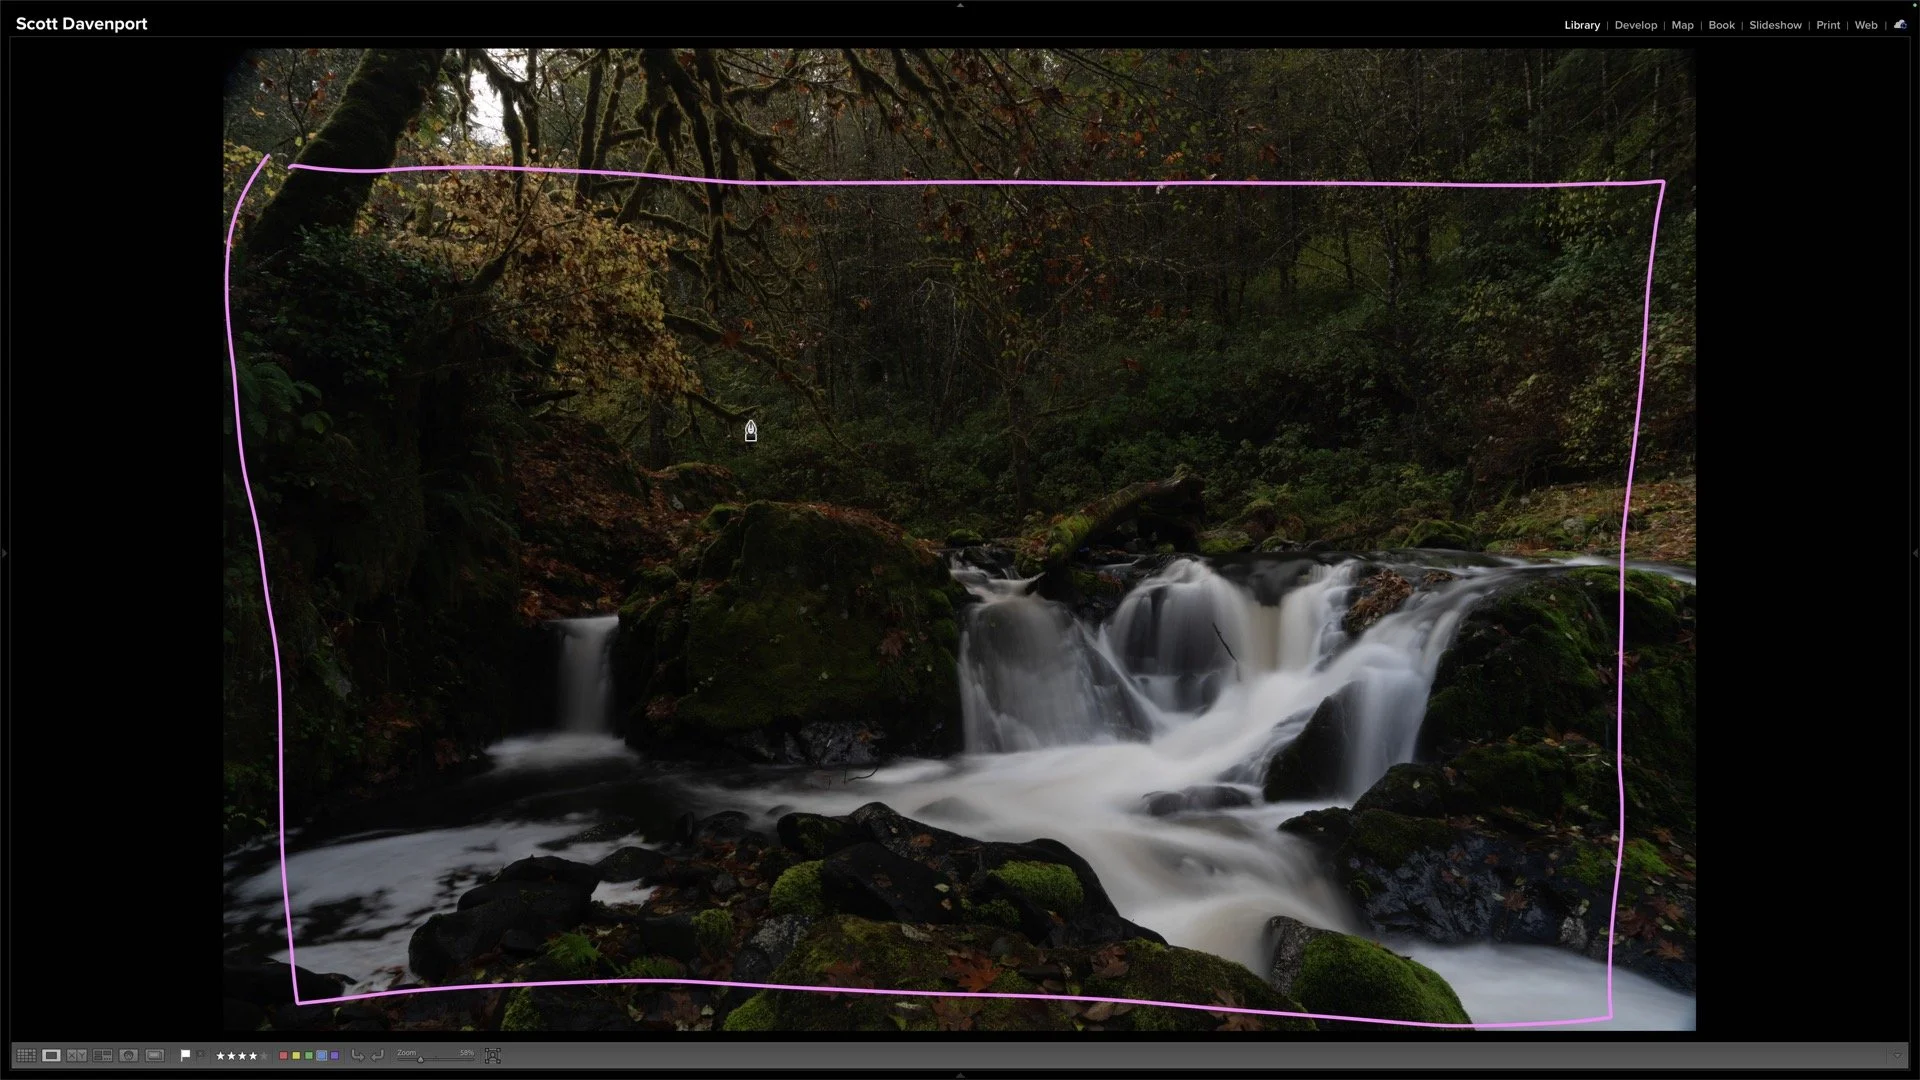
The tighter crop gives the cascades more presence while removing space that does little for the photograph.
Give the Light a Direction
Once the crop is in place, I want the light to help lead the eye toward the water. There is already evidence of a light source outside the frame: the mossy branches have a narrow rim of brightness along their upper edges.
I can use that existing light as a guide. My thought is to create a gentle sense of light entering from above and falling toward the cascades, with a natural fade rather than a hard beam. The quieter space can stay darker so it supports the subject without demanding attention.
This is a plan, not a recipe. I would have to judge the adjustments as I make them. The aim is to strengthen a direction of light that makes sense for the scene and helps the water remain the center of attention.
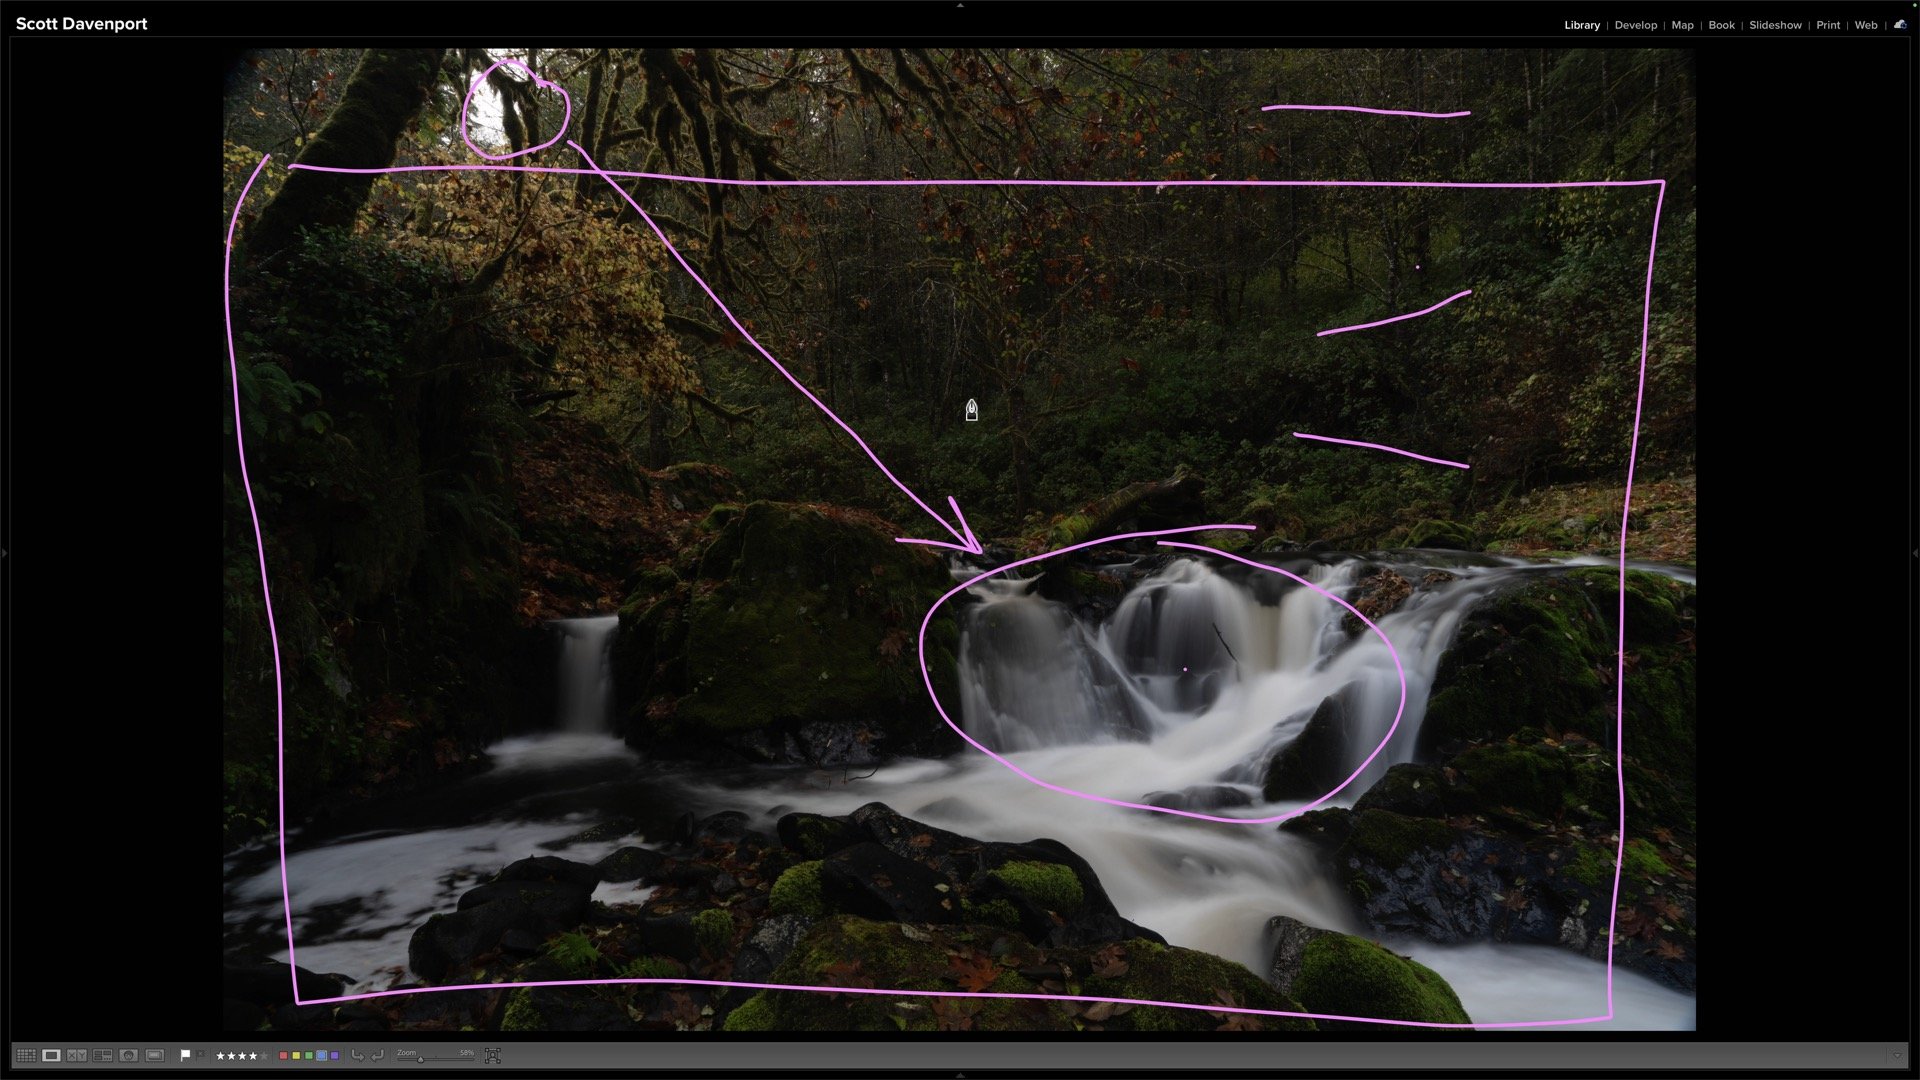
A gentle direction of light can connect the brighter areas and guide attention toward the water.
Use Different Textures to Support the Water
The flowing water already gives this composition useful lines. I would consider a little selective exposure work to strengthen those lines, especially where they lead through the foreground.
The rocks offer another opportunity. Bringing out some of their local contrast and detail would create a visual difference between crisp stone and soft water. I would give the foreground rocks more attention while allowing the rocks farther back to remain quieter. That helps establish depth without asking every part of the photograph to be equally prominent.
This is where a useful editing question comes in: What job does this adjustment do? More detail in a foreground rock may help the water feel softer by comparison. The same treatment applied everywhere would weaken that relationship.
Save the Small Accents for Later
There are smaller details I may want to bring forward once the crop, light, and water are working together. The rim lighting on the moss could use a subtle lift. A few reddish-brown leaves in the foreground could provide a restrained color accent against all the green. There may also be a stray branch or a small blue distraction to clean up.
Those details matter, but they are supporting players. Polishing them first would be easy—and it would not solve the photograph’s larger problems.
Final Thoughts
Before I edit this photograph, I have a working plan: make the water the subject, crop away space that weakens it, shape the light toward the cascades, and use the rocks and smaller accents to support that story. I may revise parts of the plan while processing the image. That’s part of editing.
The useful habit is to make the big decisions first. When you know where you want the viewer’s eye to go, it becomes much easier to decide which adjustments are worth making.
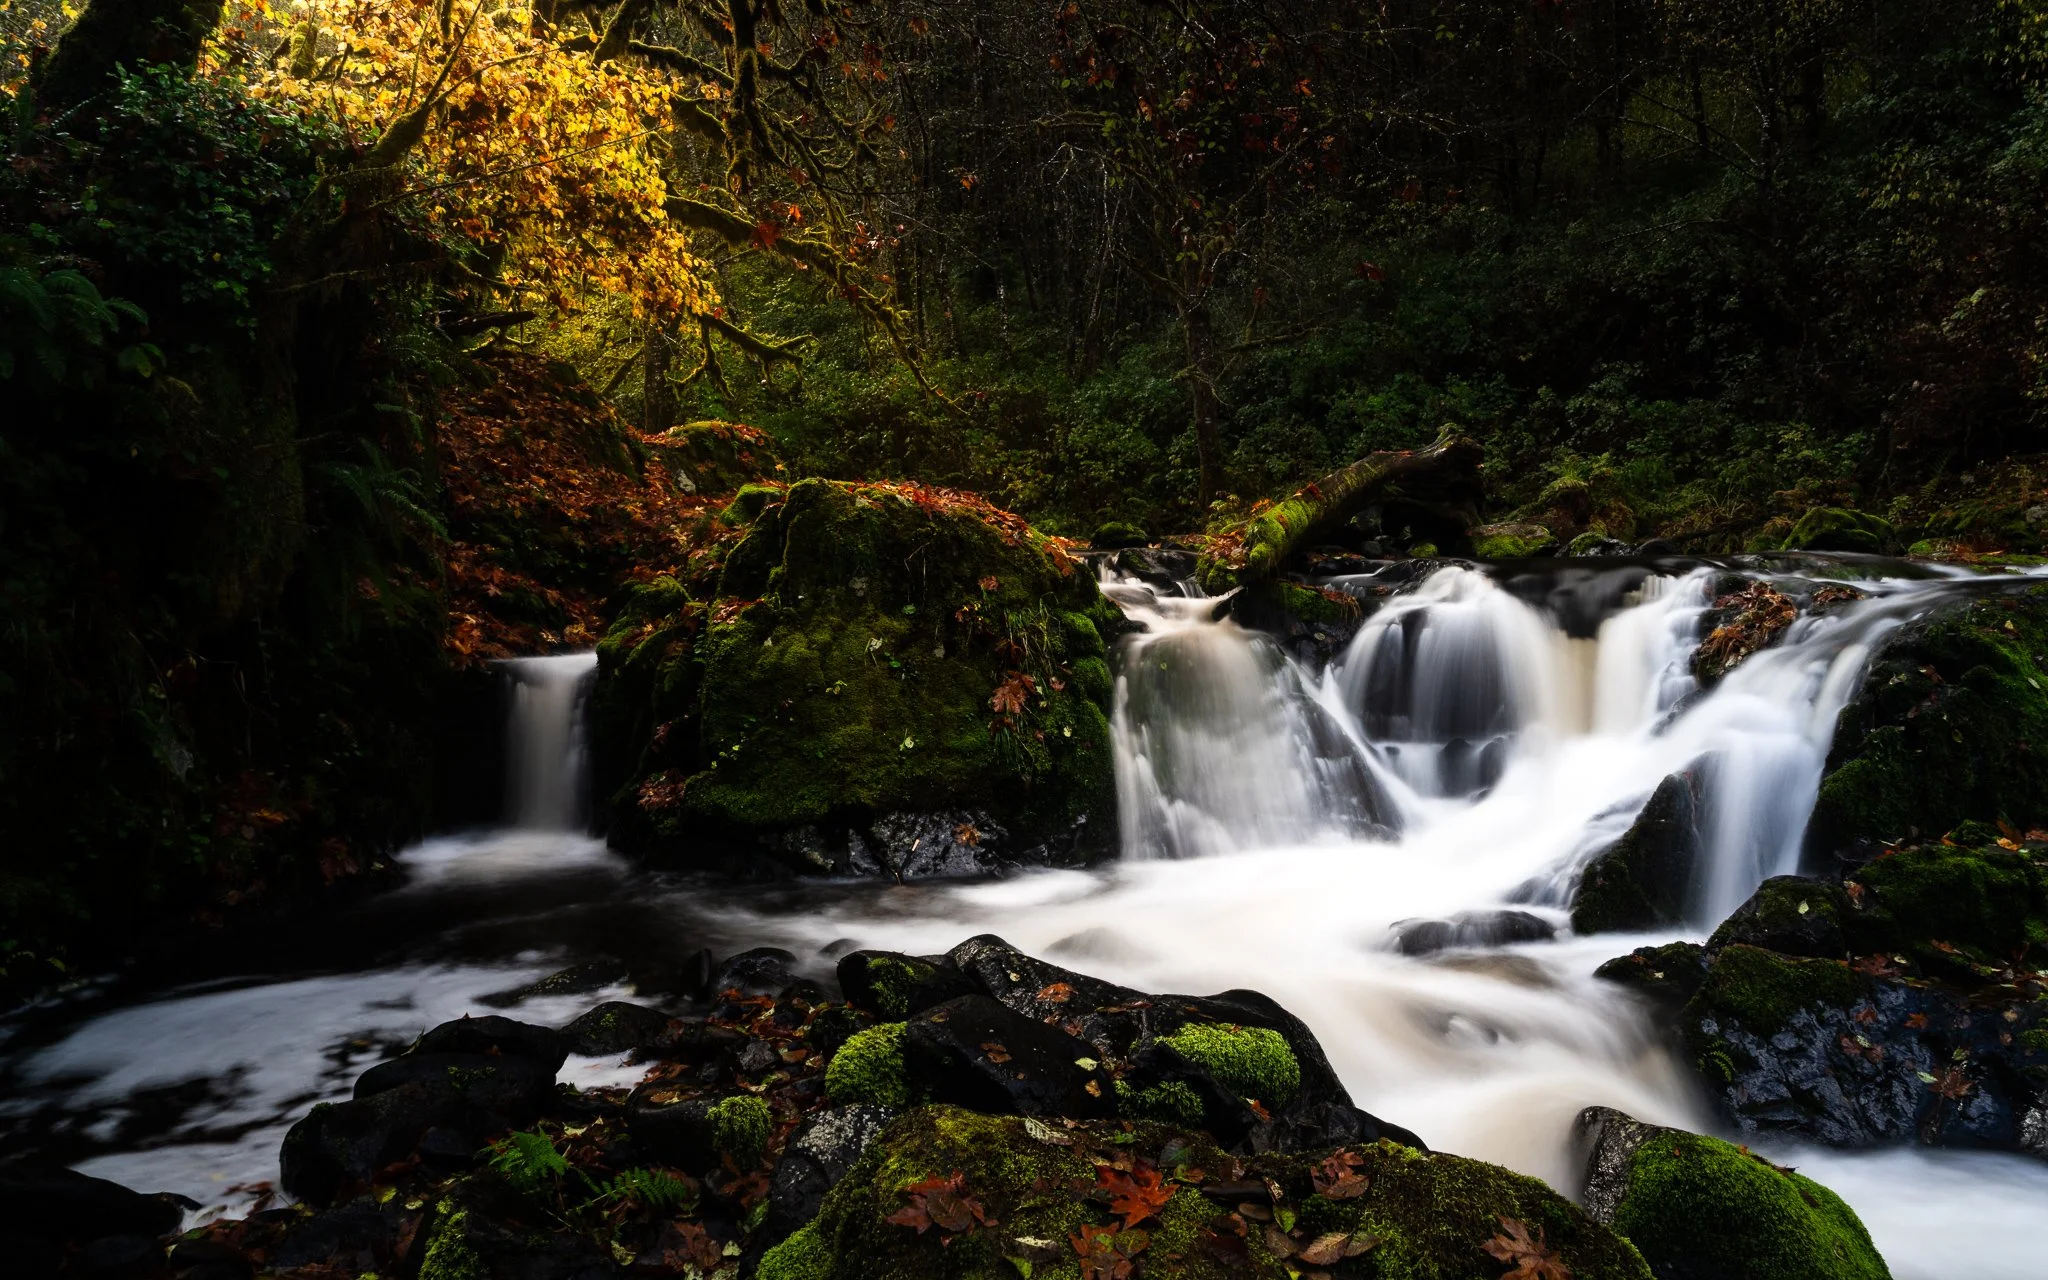
Unprocessed image, crop only
Final image
Contact Scott to commission a print or license this image.
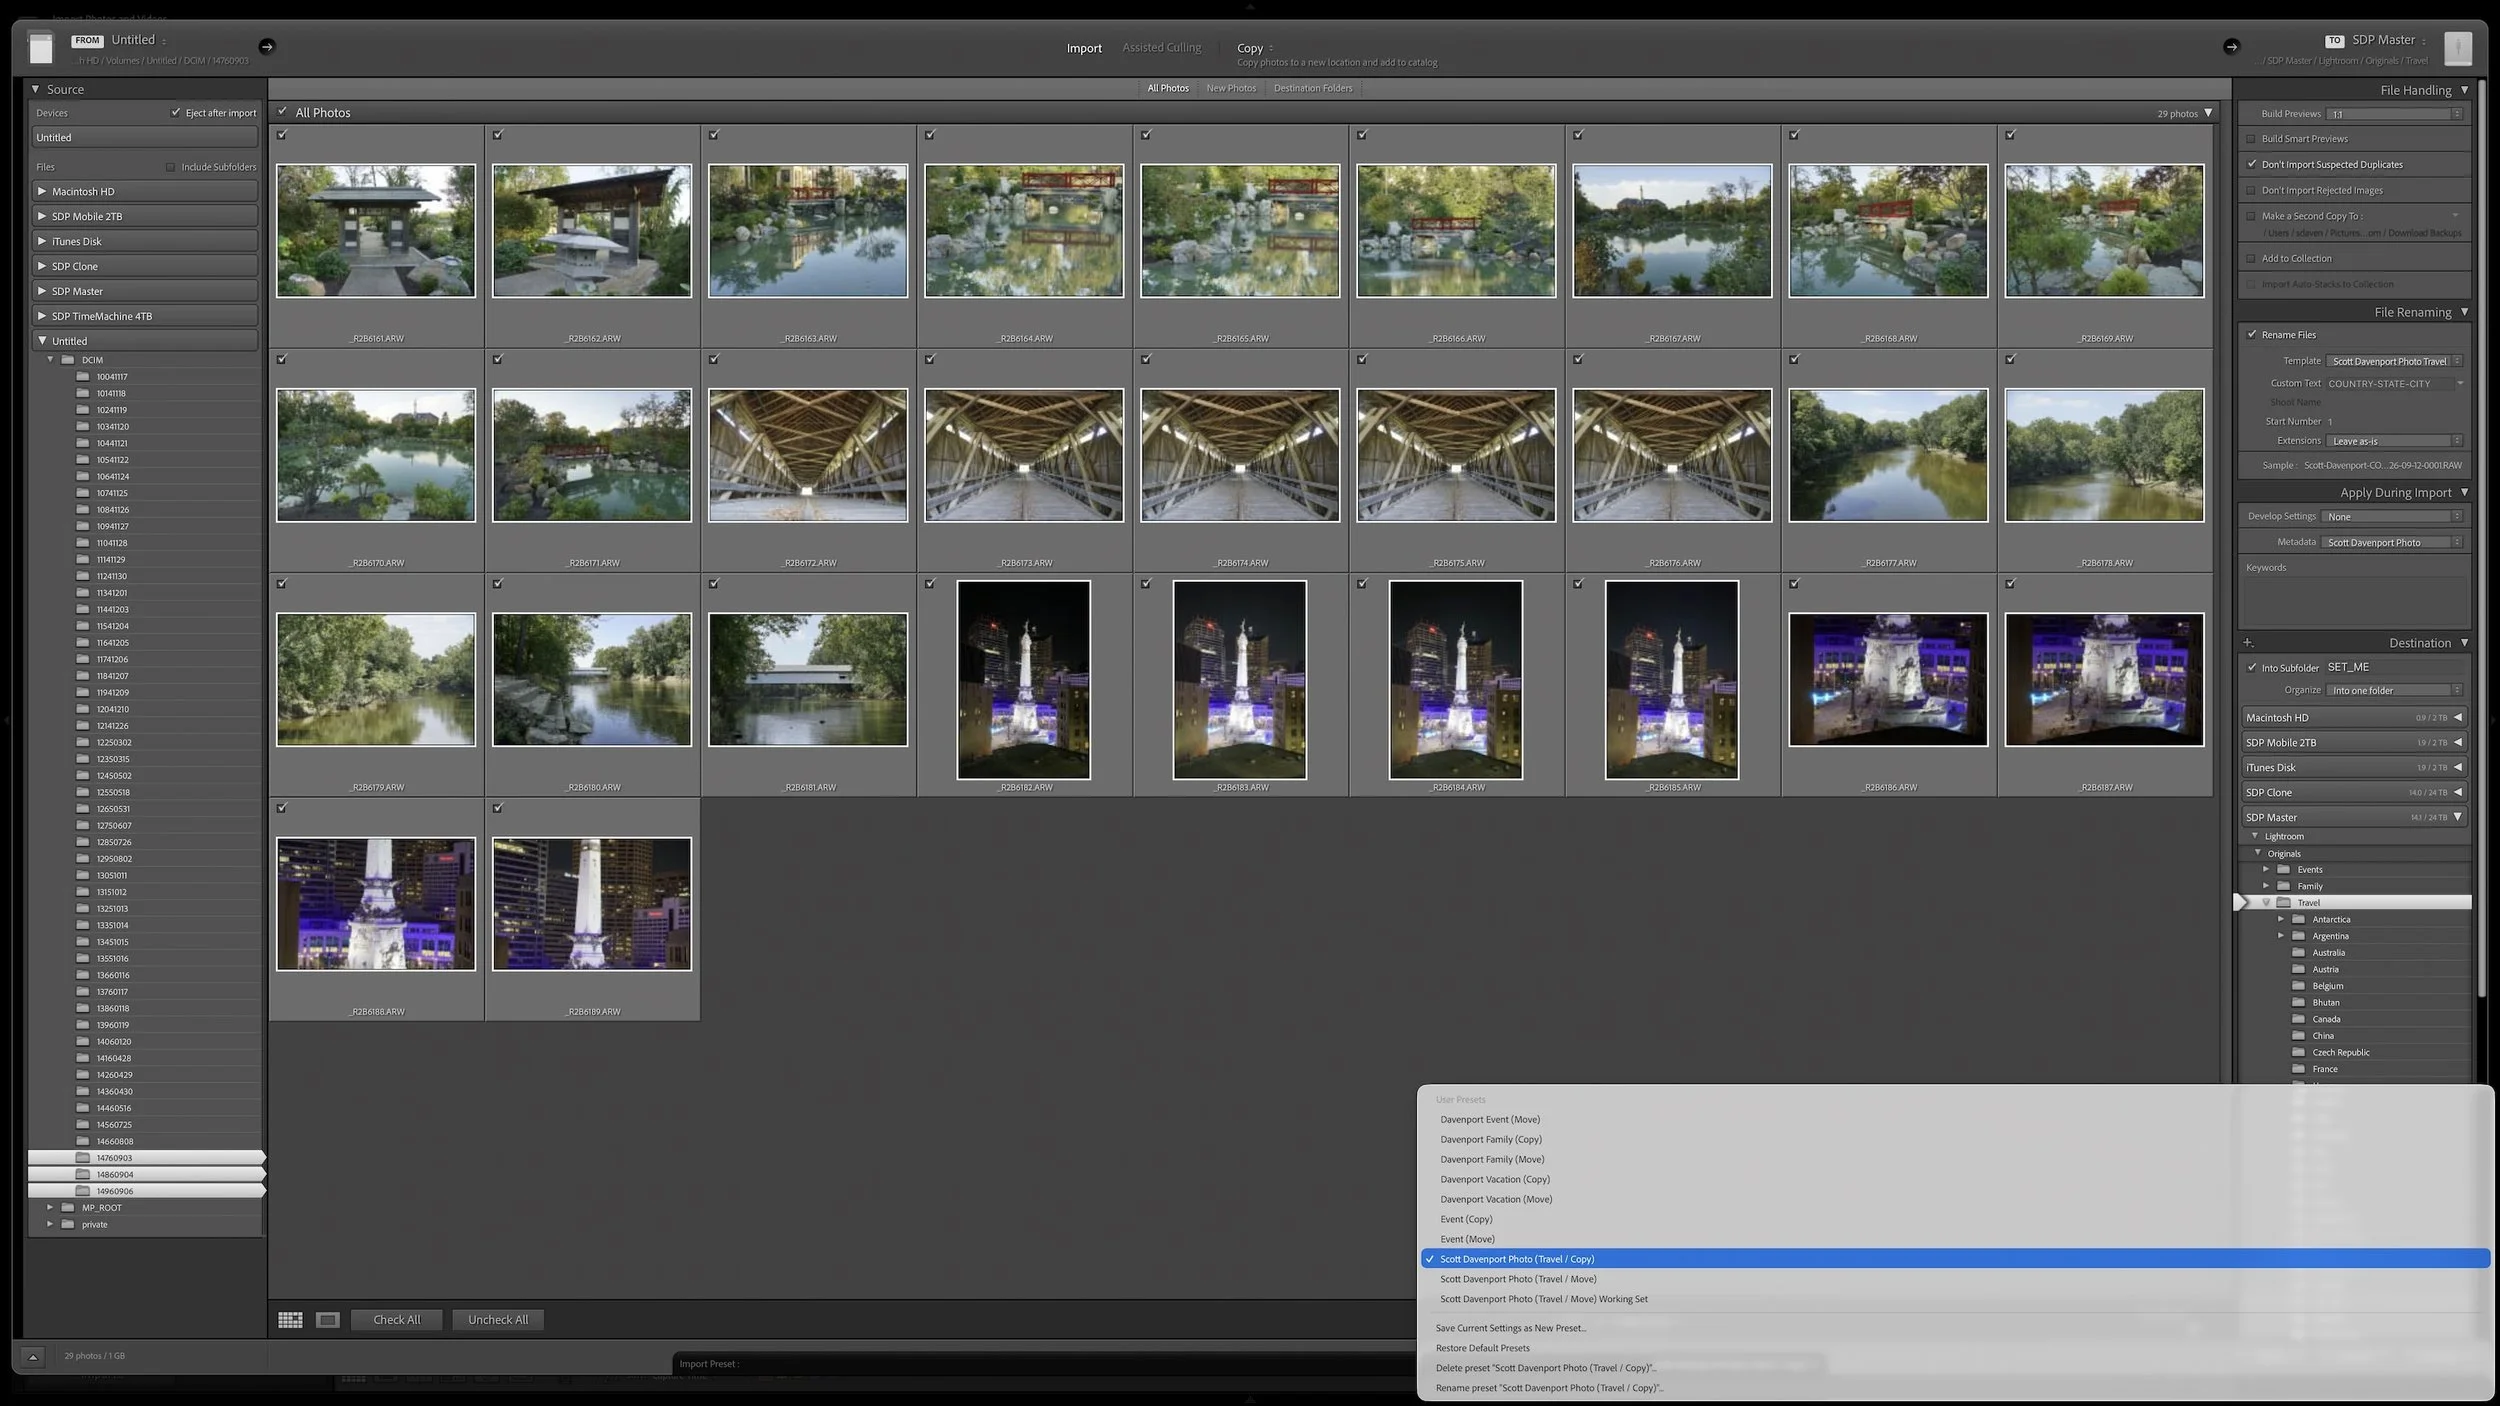
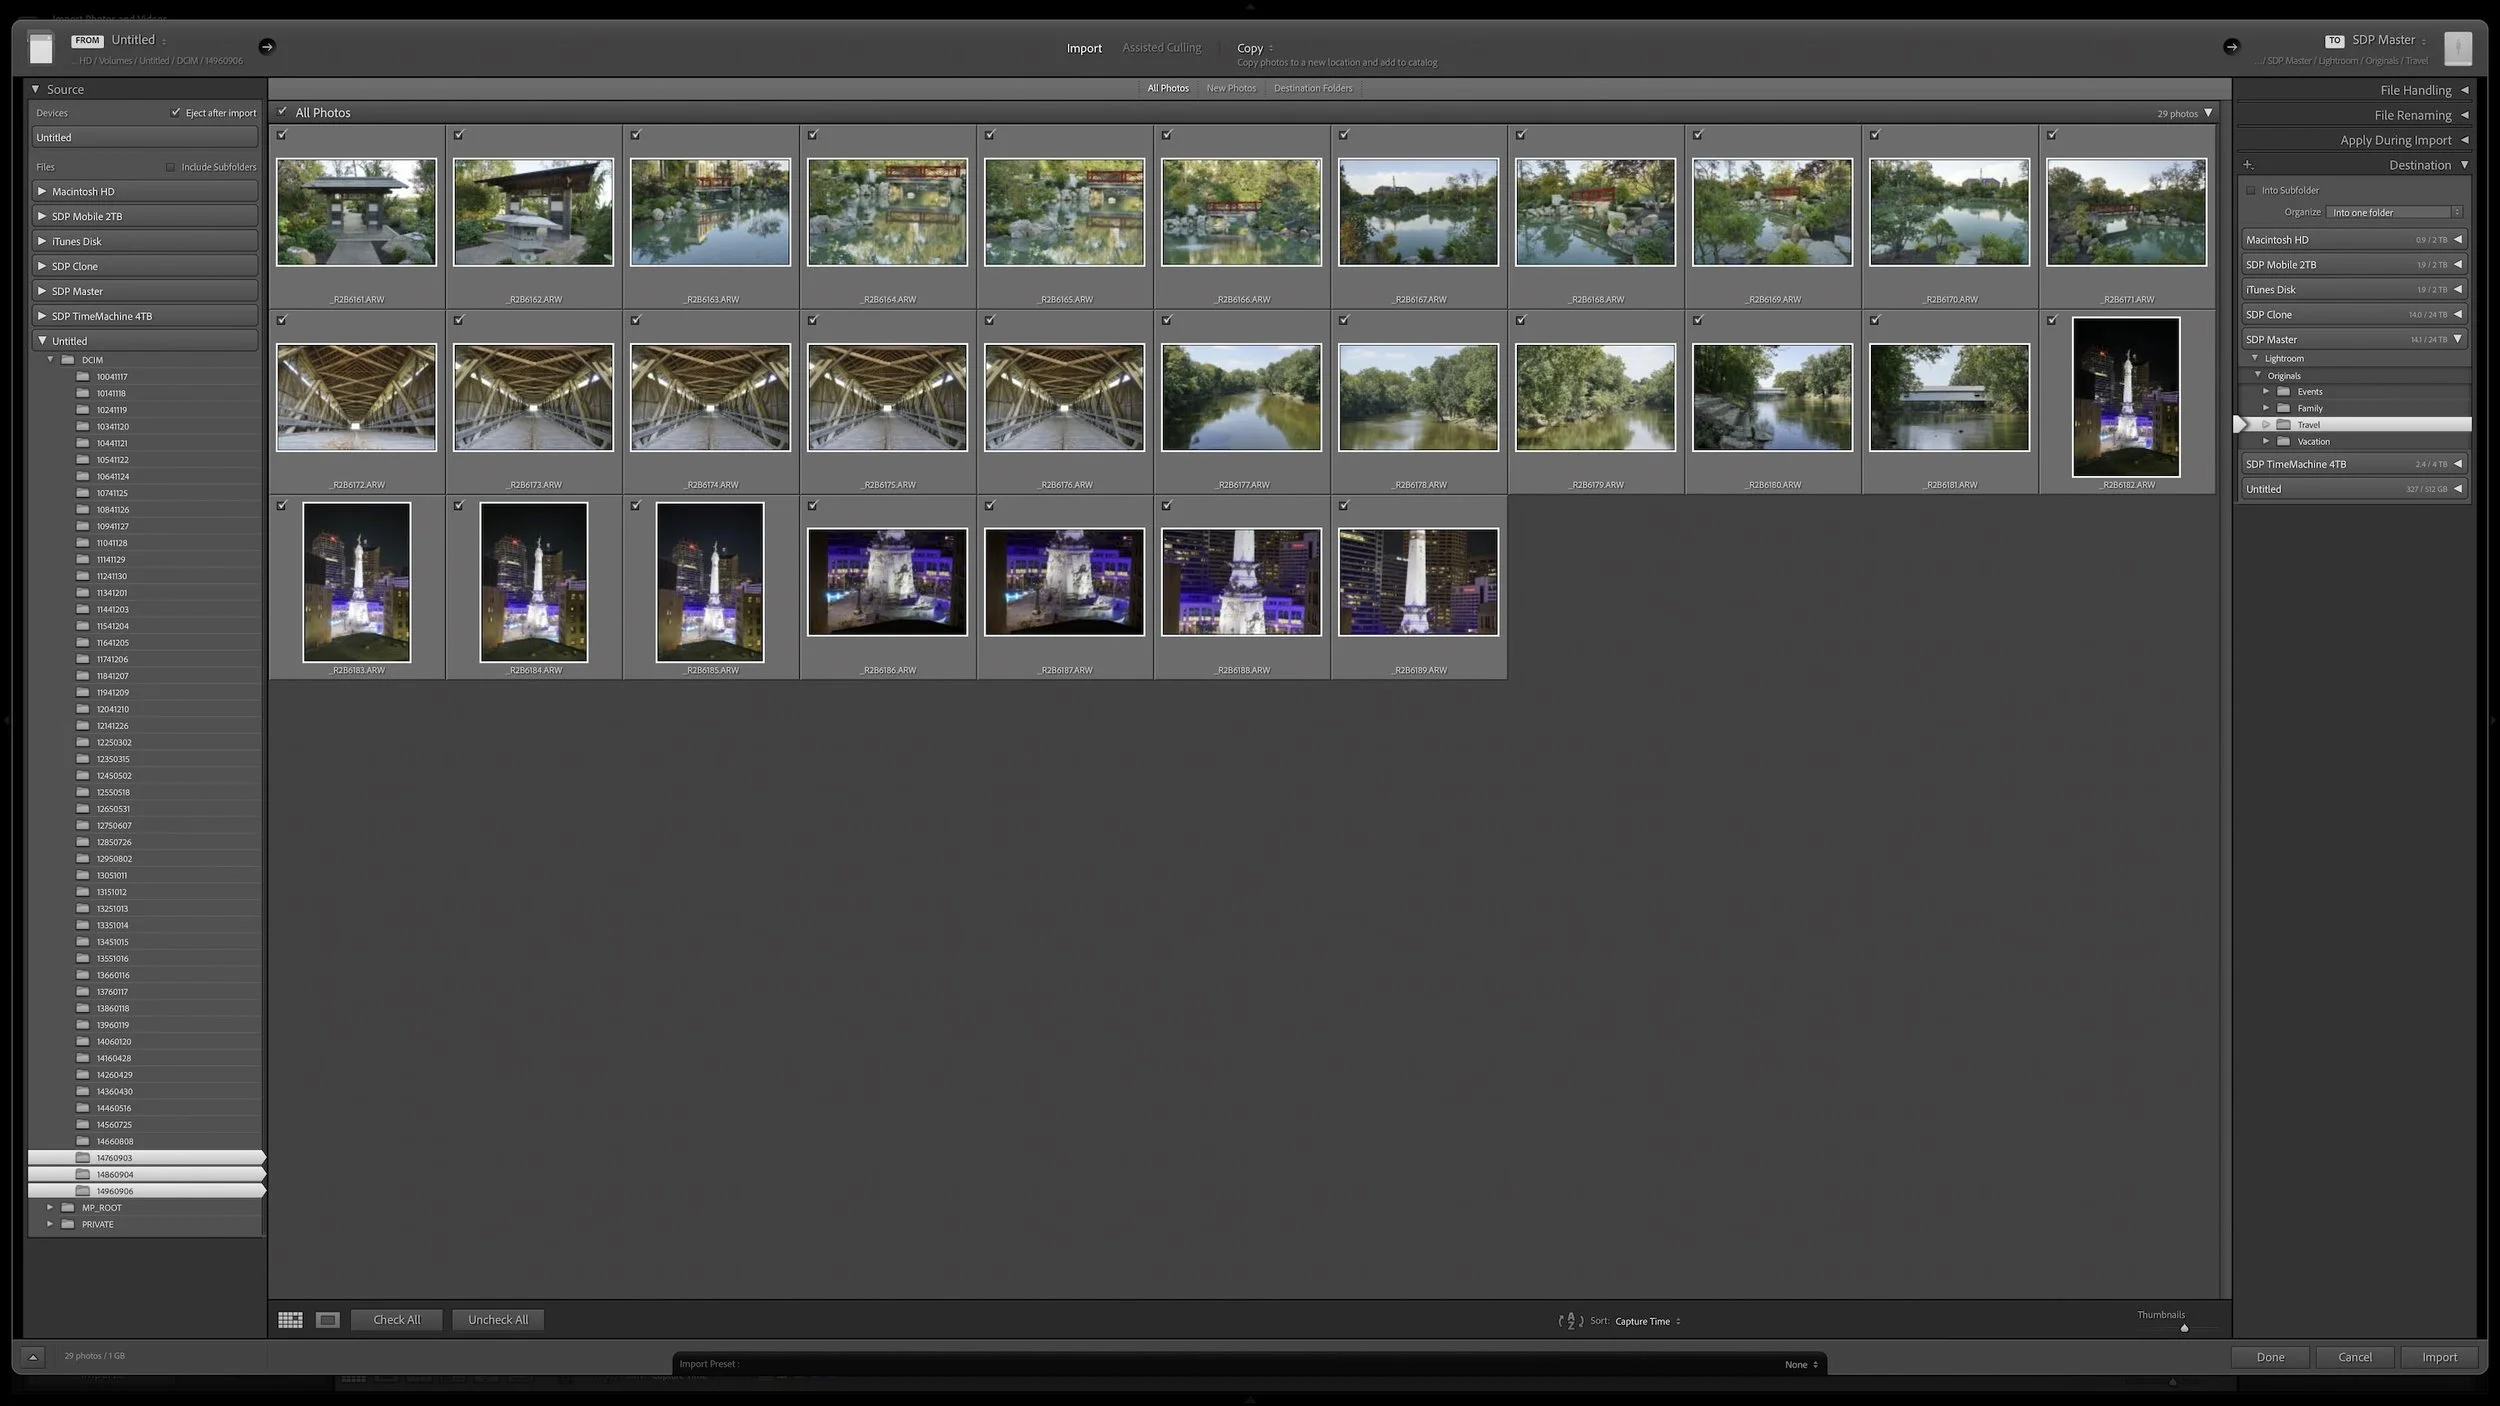





Lightroom Classic gives you five stars for rating photographs, but those stars aren't very useful if their meanings change from one shoot to another. A consistent system lets you know what a three-star or four-star photograph means without rethinking the definitions every time you rate a new group of photos.
My rating system ranges from photographs I keep primarily for sentimental reasons to photographs I consider strong enough to print. You don't need to use the same definitions I do. The important part is giving your ratings stable meanings you can apply consistently over time.