
Black & White Refinements With The Color Mixer
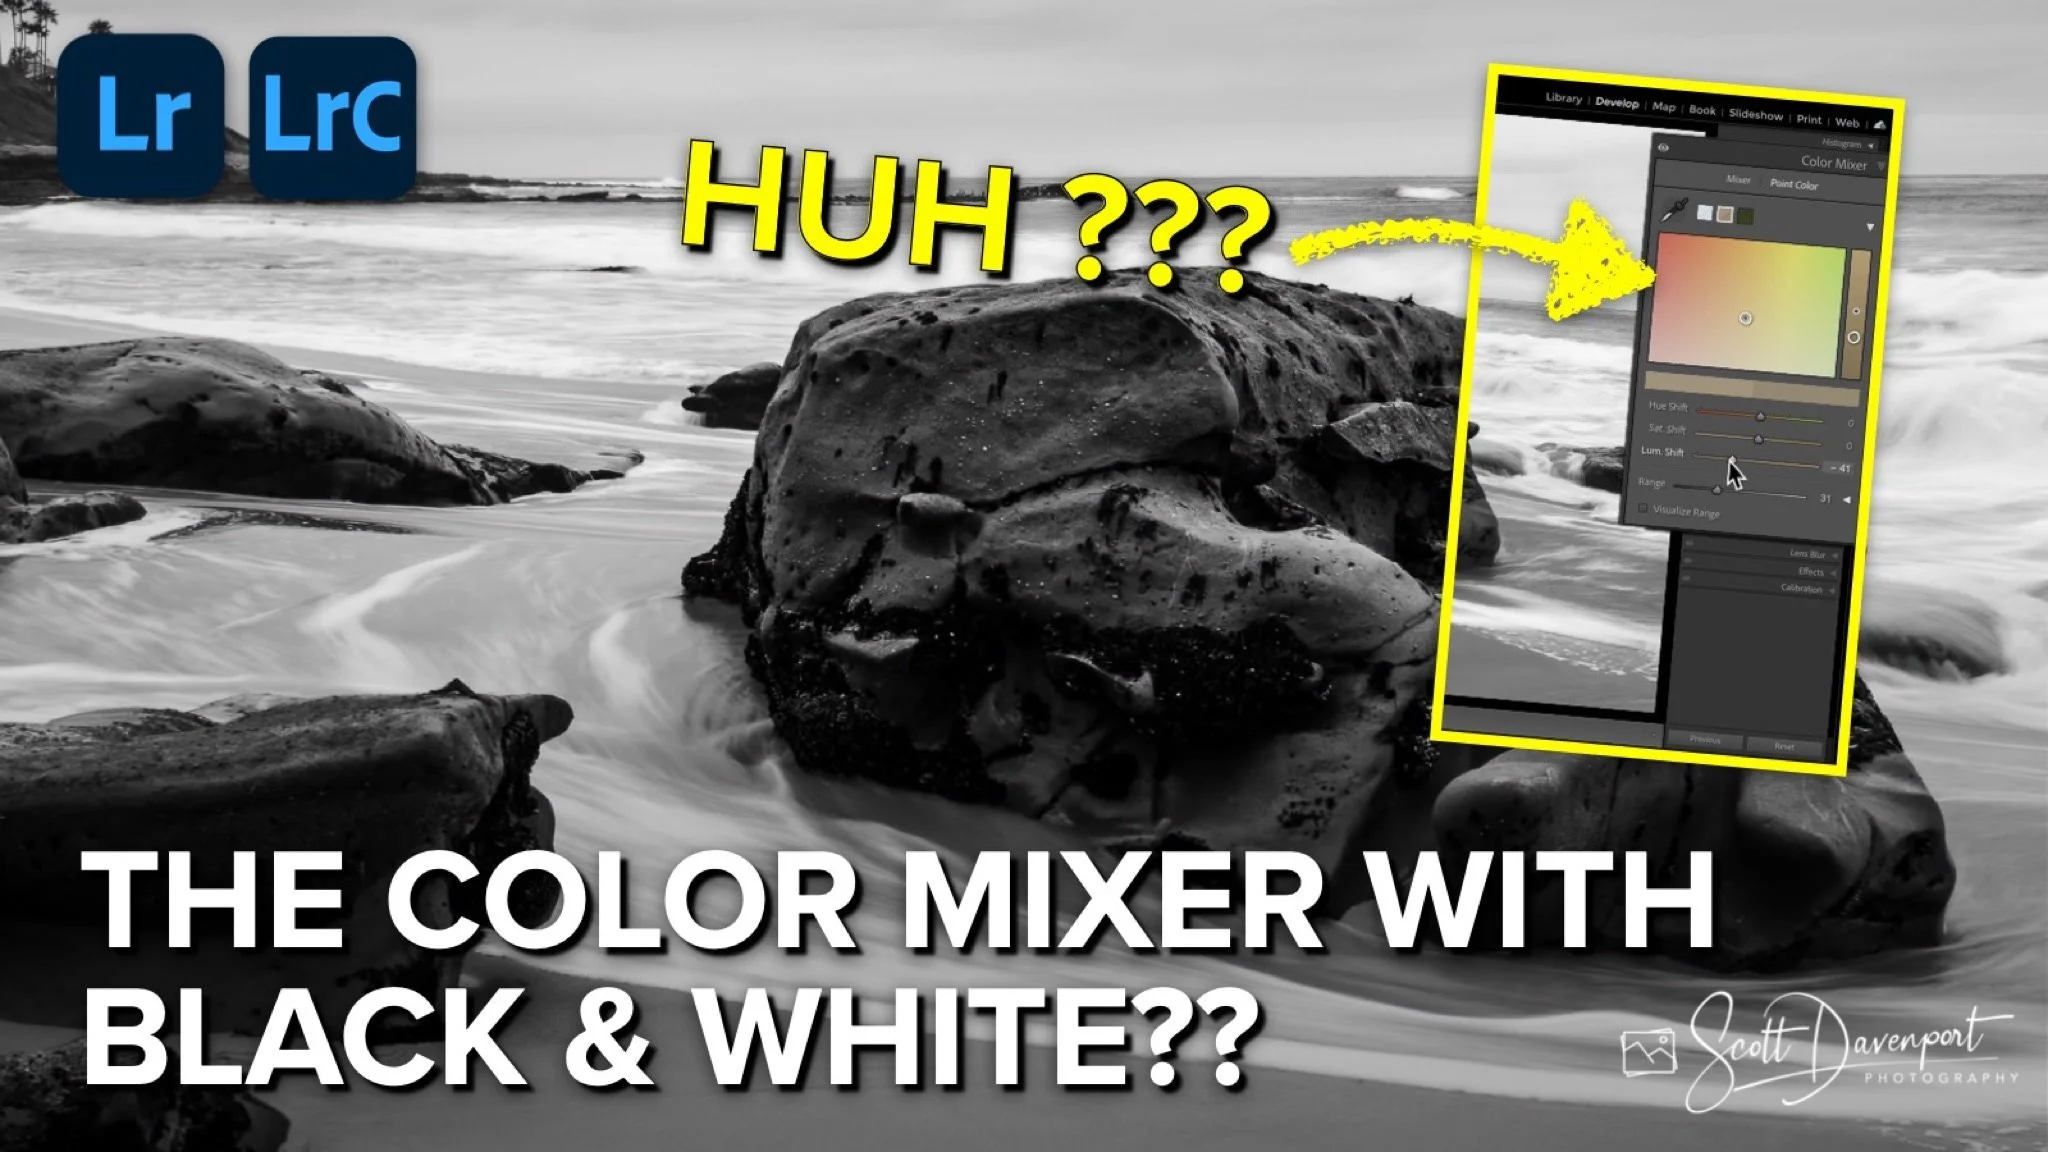
When you convert monochrome LUTs to camera profiles or when you import other black & white camera profiles into Lightroom or Camera Raw, there’s something extra-interesting that happens. When you apply these profiles, the B&W panel DOES NOT show up in the editing adjustments. Instead, the Color Mixer is still there. And you can use it!
The Classic Monochrome Conversion In Lightroom
The classic workflow in Lightroom to convert to black & white and refine tonality is to first apply a camera profile in the Basic panel. The Adobe Monochrome profile is a standard and Lightroom includes several other profiles in the BW group.
Once converted, attention is turned to the B&W panel to adjust the black and white mix. The luminance of various color channels are adjusted to refine contrast. It’s a coarse color-range-based dodge and burn. And it’s 100% fine for a lot of photos.
But… what happens when you switch to black and white and the B&W panel isn’t there? Can this even happen?
The traditional black & white conversion using the B&W panel in Lightroom.
Converting To Black & White With Imported Camera Profiles
If you have imported camera profiles, or have converted LUTs into camera profiles, Lightroom may not know if the profile is color or monochrome. While a monochromatic profile itself is mapping all the colors to a grayscale tone, the B&W panel doesn’t appear if Lightroom doesn’t know it’s a black & white profile. Lightroom still thinks it’s a color image and the Color Mixer remains available.
And this is a good thing!
In the HSL panel, the Luminance sliders give you the fundamental equivalent to the B&W panel. You can brighten or darken areas of the photo based on color ranges. What’s even better is you have more precise control using the Point Color tool in the Color Mixer.
The Point Color tool offers the same luminance adjustment for a color range and you can adjust the breadth of colors affected with the Range slider. It is fantastic for black and whites!
A monochrome LUT converted to a camera profile is applied

The Color Mixer panel is still active. The Luminance sliders provide the equivalent of the B&W panel.

And… you get the Point Color tool for even more precision over luminance.
Conclusion
If you’ve been shy about using monochrome camera profiles because the Lightroom B&W panel was missing, now you don’t have to be. Instead, embrace those black and white profiles and use the Color Mixer to refine the tonality of your black and whites. Also, gather your favorite monochrome LUTs and convert your favorite LUTs to camera profiles.
Windansea Beach, June 2024, Black & White
Contact Scott to commission a print or license this image.
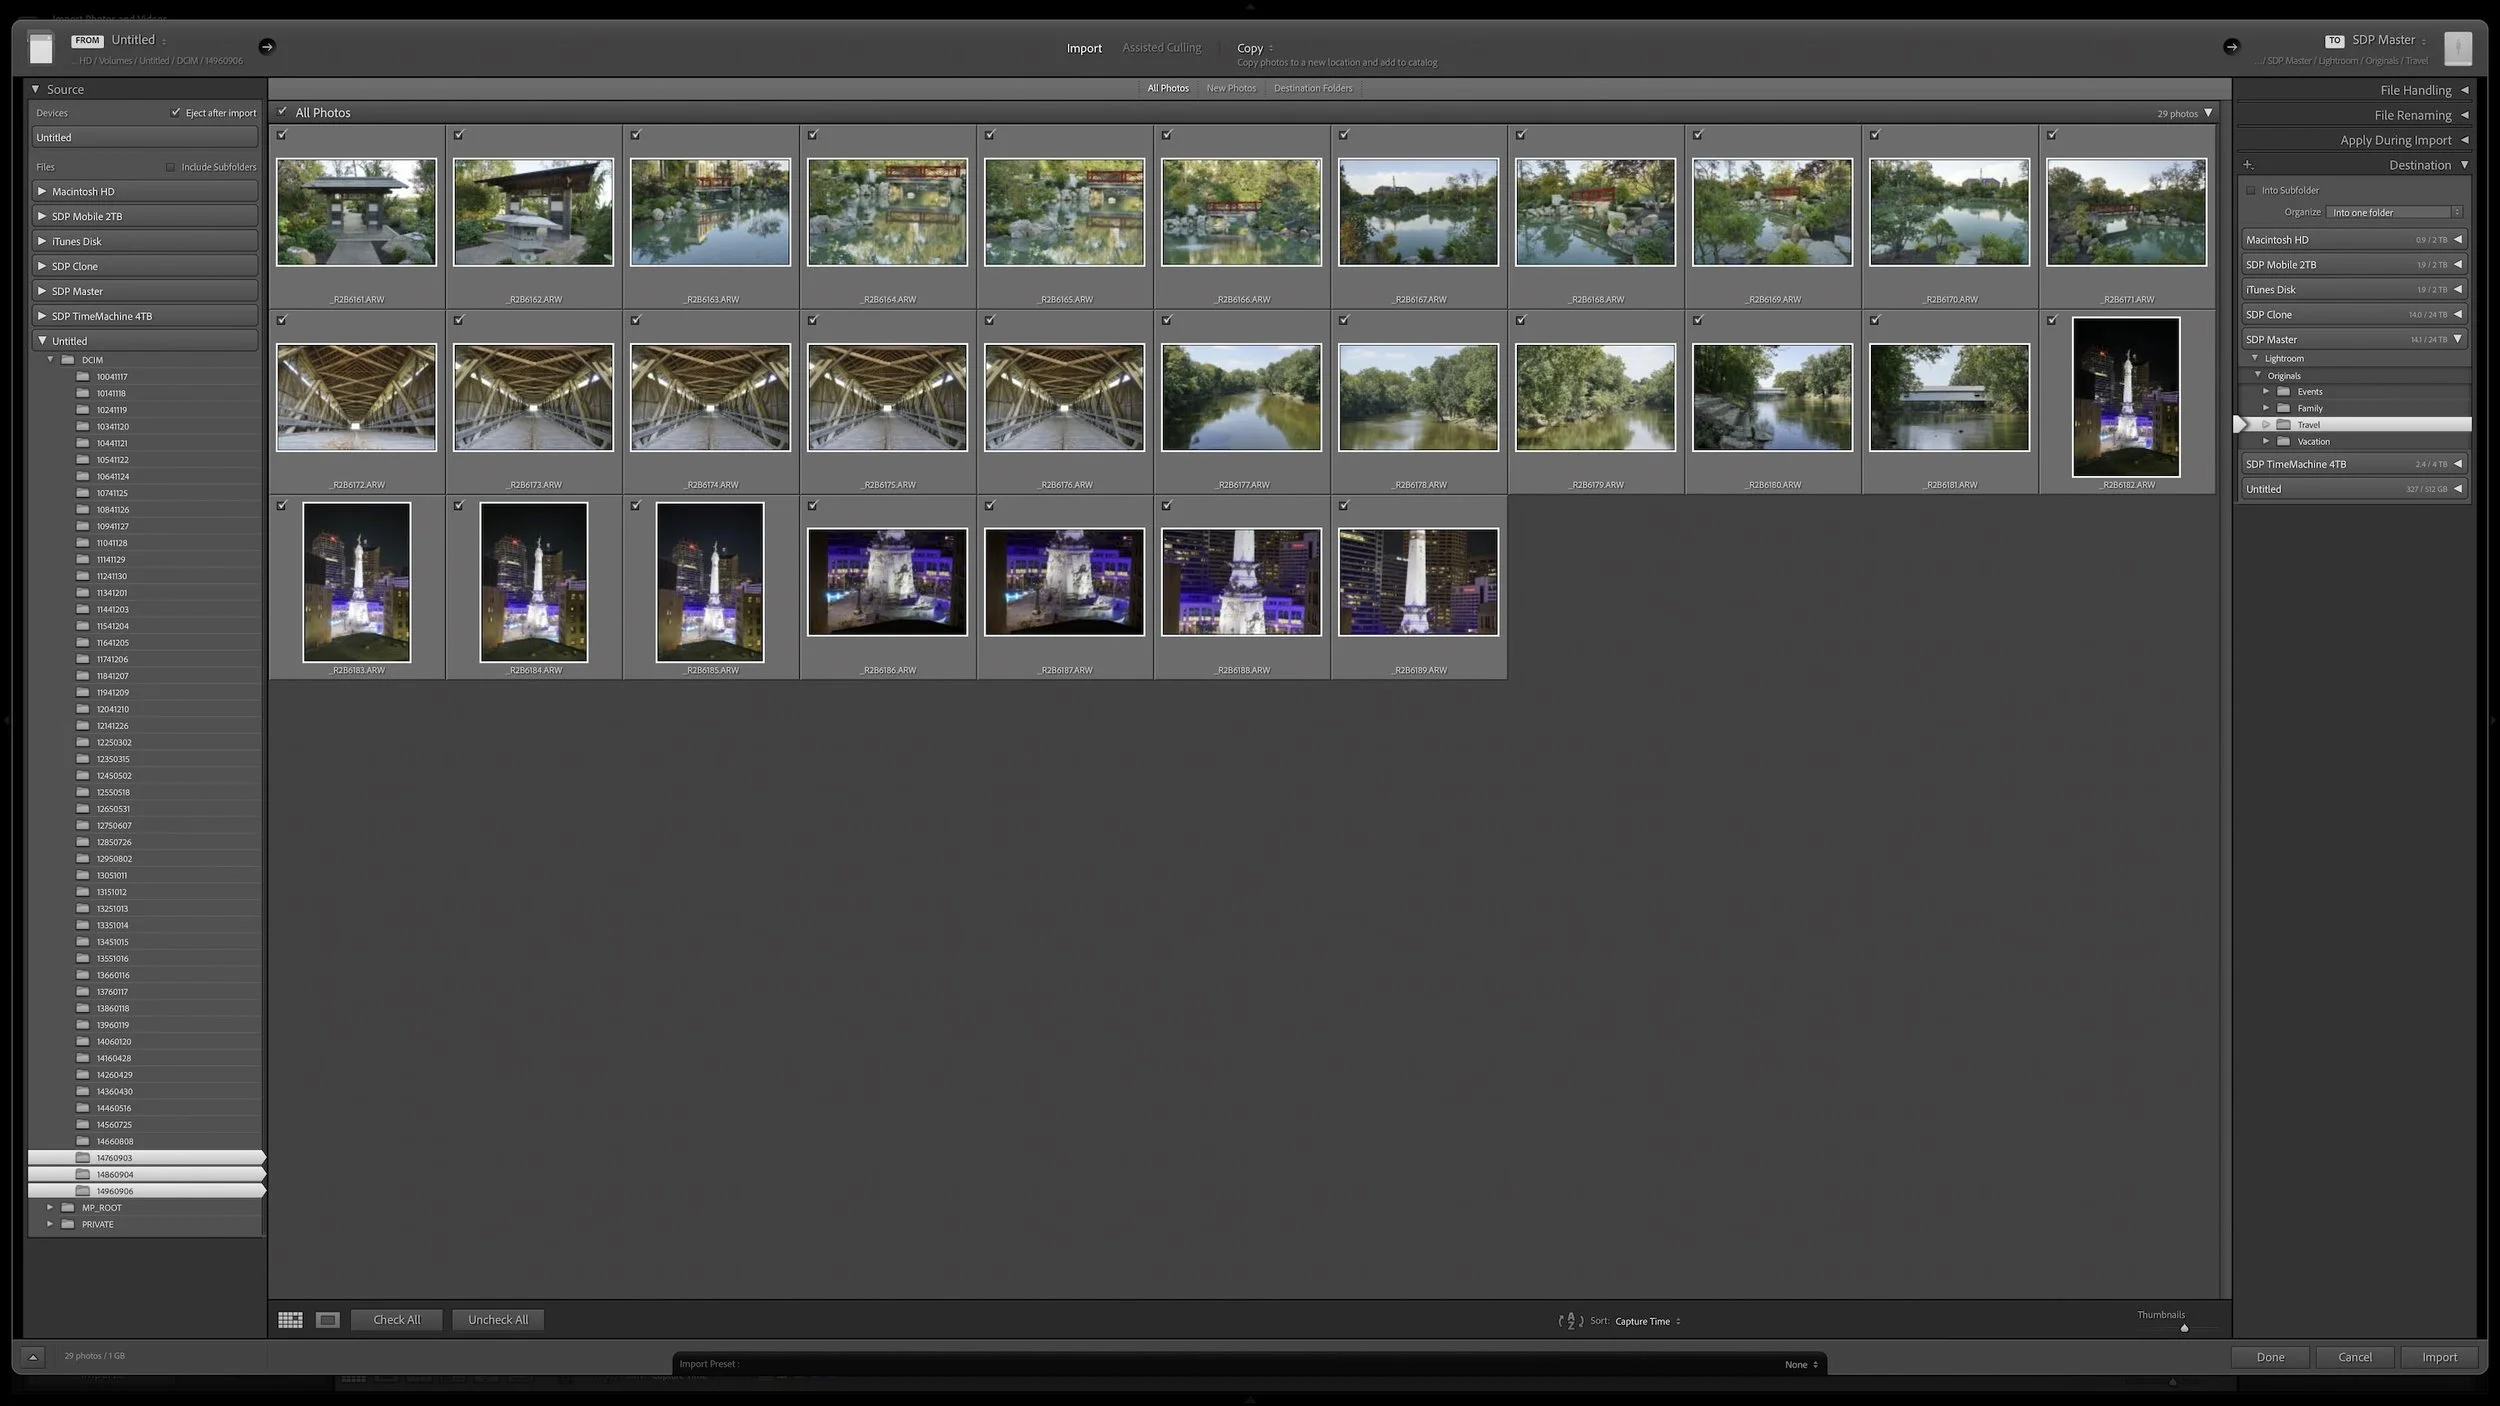







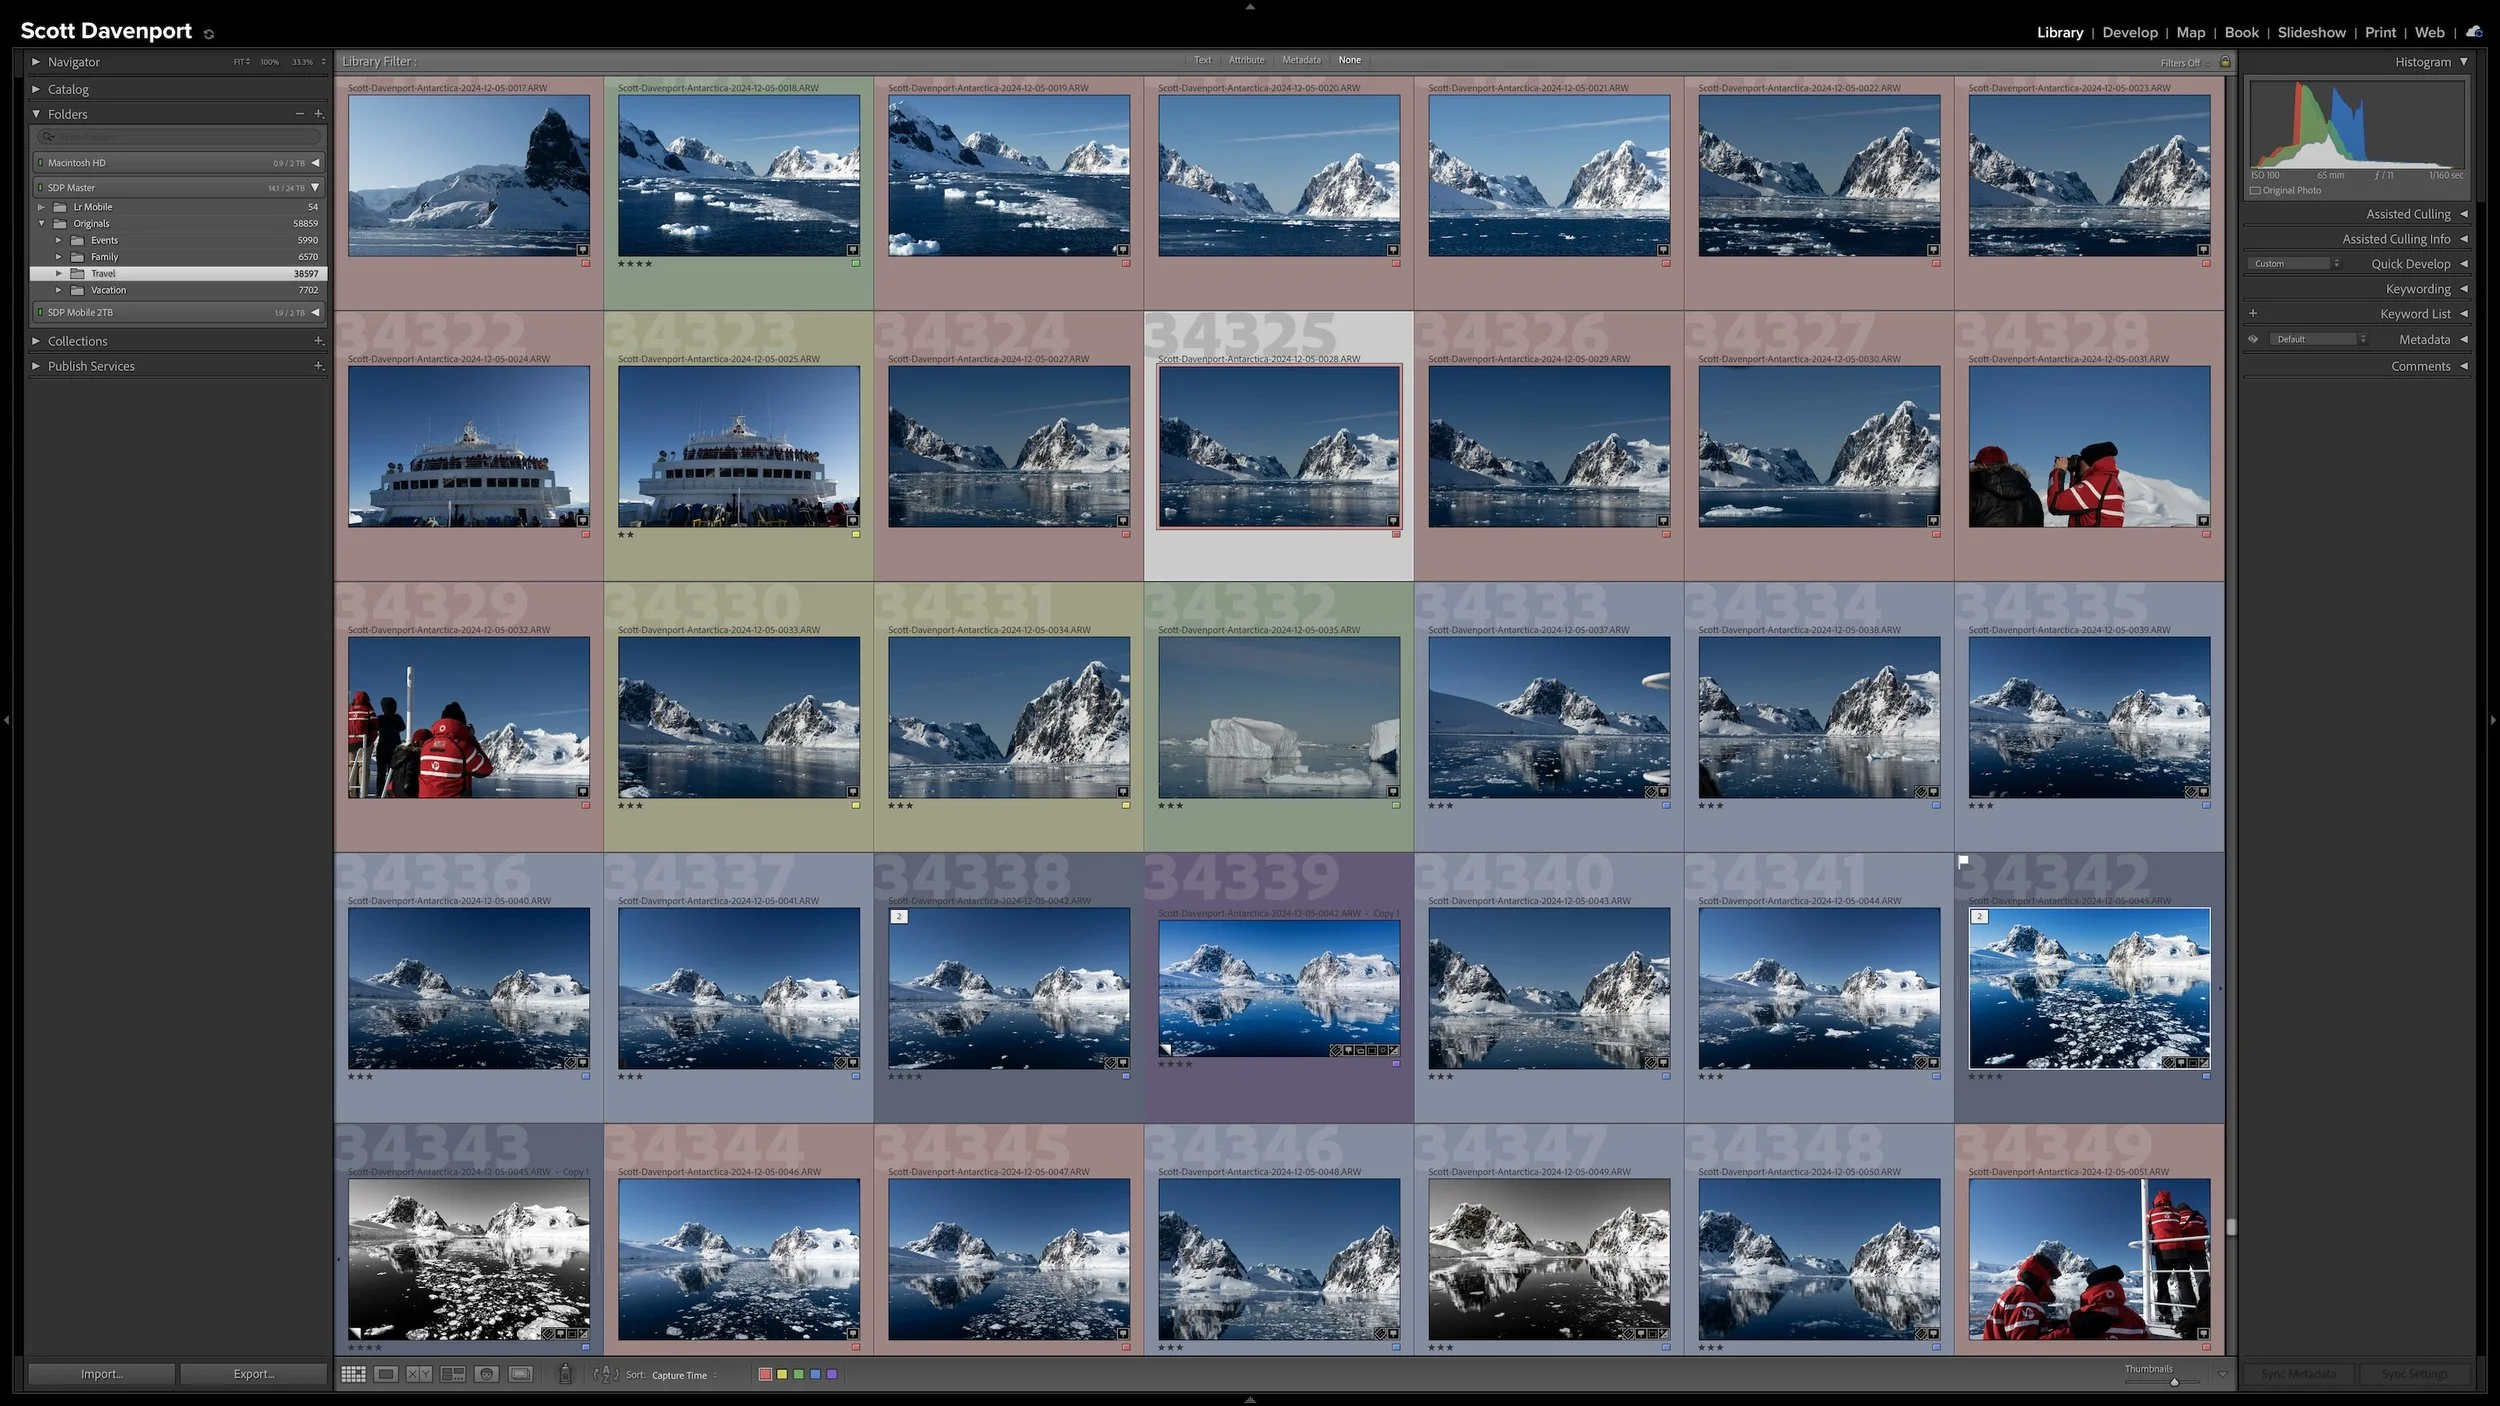

Lightroom Classic's Import dialog asks many of the same questions every time you bring in photos. Rather than rebuilding those settings for every import, you can save the choices that stay consistent in an import preset.
The preset doesn't eliminate the decisions that change from shoot to shoot. It gives you a reliable starting point, so you can concentrate on the source, destination, and other details that actually need your attention.