
Create Depth in Lightroom with Duplicate and Invert
You've spent time selecting a subject: adding the branches the AI missed, removing an unwanted area, and brushing in the remaining details. The mask finally covers what you want. You make your adjustments, and then notice that the background still competes for attention.
That refined selection can help with the background, too. In Lightroom, Duplicate and Invert turns the work you've already done into a starting point for more adjustments. You can use it to create depth, shape the light around your subject, and keep that subject protected as you work.
Start with the Separation You Want
In this woodland photo, a mossy tree catches the light in the foreground. Its branches reach across the frame, with the far bank of a creek visible through the gaps. There's plenty going on, and I want the tree to come forward more clearly.
I've already enhanced the tree with texture, clarity, and a little color work. Those changes give it more presence, but the background remains busy. Darkening the areas behind the tree helps them retreat, giving the brighter foreground more separation.
That relationship guides the masking. I want to work on the tree and its surroundings independently, including the background visible between the branches.
Build a Subject Mask Worth Reusing
Select Subject gives me a useful starting point for the mossy tree, although it doesn't select everything I want. It misses some foreground details and includes another vertical element that I don't want in this adjustment.
I subtract the unwanted area, then use Select Objects to add missing parts of the tree. Both the brush and rectangle selection methods help fill out the mask. A regular brush with edge detection handles the remaining cleanup.
The point is to get a selection that represents the foreground I want to protect. With a complicated subject, that can take a few additions and subtractions. Once the mask is in good shape, I can use it for the tree adjustments and build from it for the background.
A refined subject mask gives you control over the tree and a useful starting point for adjustments around it.
Turn the Subject Selection into Background Control
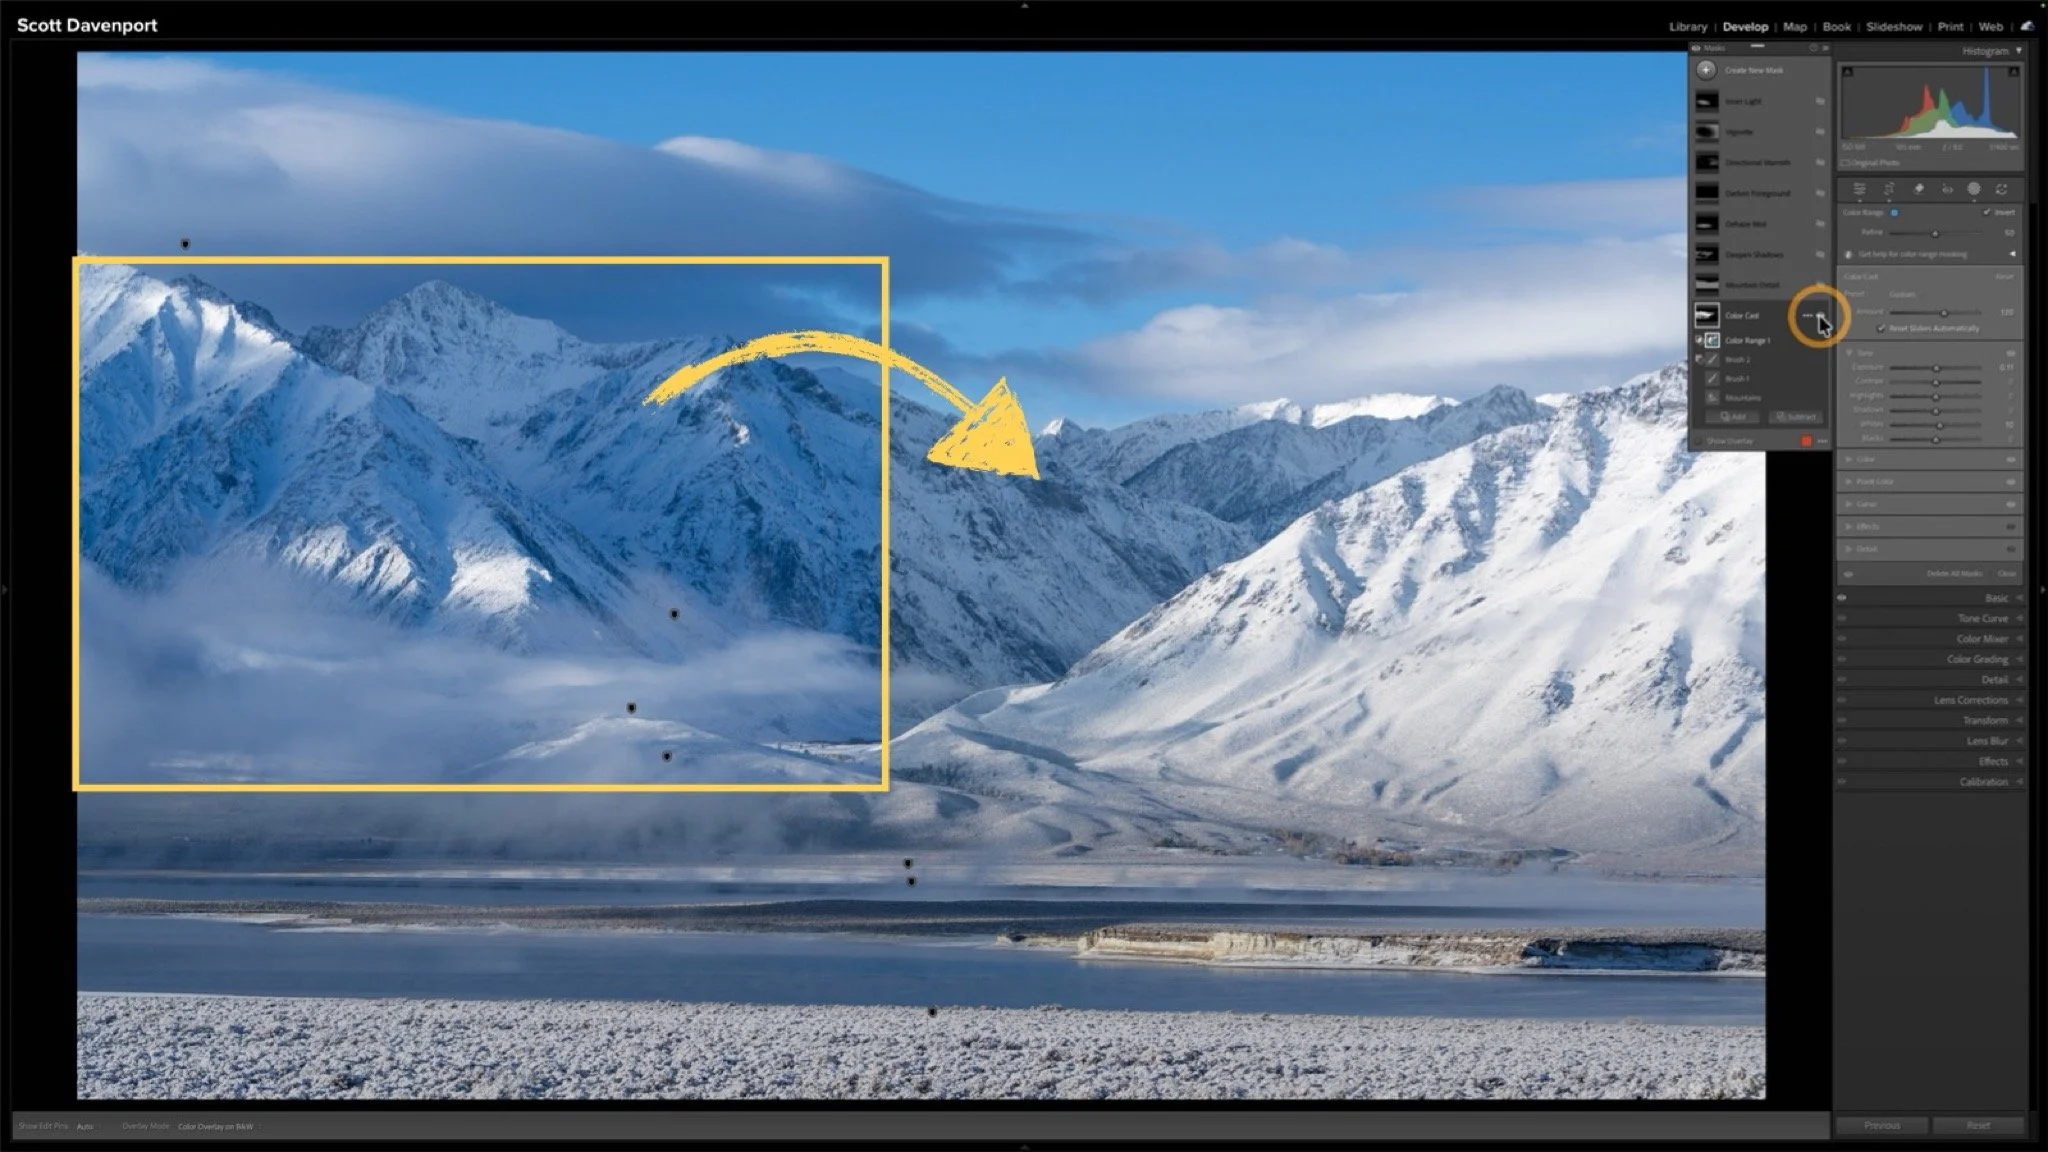
From the subject mask's three-dot menu, I choose Duplicate and Invert. The new mask selects the opposite area: everything outside my tree selection, including the gaps between its branches.
Now I can lower Exposure to darken the surroundings while leaving the tree alone. I also use the mask's curve to deepen the darker tones while making a smaller change to the middle tones. This lets me shape how the background retreats.
I may briefly push an adjustment much farther than I intend to keep it. That makes the affected area easy to see. Then I back it down to an amount that suits the photograph.
Any missed areas in the original selection carry through to the inverted version. If a small piece of the tree is getting darkened, I can subtract it from the background mask. A little care with the original selection makes the masks built from it more useful.
Darkening the surroundings gives the illuminated tree more presence without adding another adjustment to the tree itself.
Shape a Vignette Around the Subject
A simple radial vignette creates a problem here. The tree's branches extend beyond the central area of the gradient. Darkening the outside of that shape also darkens some of those branches.
I want the surrounding woodland to get darker, particularly toward the left side of the frame, while preserving the light on the tree.
To do that, I start with another inverted copy of the tree mask. I could also duplicate the background mask I've already made. From that background selection, I subtract a radial gradient positioned around the area I want to keep less affected.
The resulting mask combines two decisions: the subject selection protects the tree, and the radial subtraction shapes where the background darkening falls away. When I lower Exposure, the branches remain protected even where they extend into the darker part of the frame.
I can reposition and reshape the radial gradient to refine that transition. This gives me a vignette suited to the photograph's subject and the direction I want the eye to travel.
Subtracting a radial gradient shapes the background adjustment while the original subject selection keeps the branches protected.
Use the Same Selection for More Targeted Adjustments
The same approach can support a smaller adjustment behind the tree. In this photograph, I also want to darken part of the background on the right, visible through and around the branches.
An inverted copy of the subject mask gives me the background selection again. Intersecting it with a radial gradient would restrict the adjustment to the background within that shape. The tree remains excluded.
Subtraction removes an area from the mask. Intersection keeps only the area the selections share. Both let you refine where an adjustment applies while building on the subject selection you've already made.
You don't need every variation for every photograph. Choose the one that supports the change you want to make.
Final Thoughts
A careful selection can be useful throughout an edit. Once you've refined a complicated subject mask, Duplicate and Invert gives you a way to work around that subject without starting the selection process again.
For this mossy tree, that means pushing the background back, shaping a vignette, and considering more targeted darkening between the branches. One selection supports several decisions, all working toward the same goal: giving the subject room to stand out.







A complicated subject can take a little work to mask well. Once you've made that selection, what else can you do with it? Quite a bit, especially when you want to give your subject more separation from a busy background.
Using a mossy tree as an example, I explain how Lightroom's Duplicate and Invert lets you build several adjustments from one refined mask. You can shape the background and guide the eye while protecting the light on your foreground subject.