
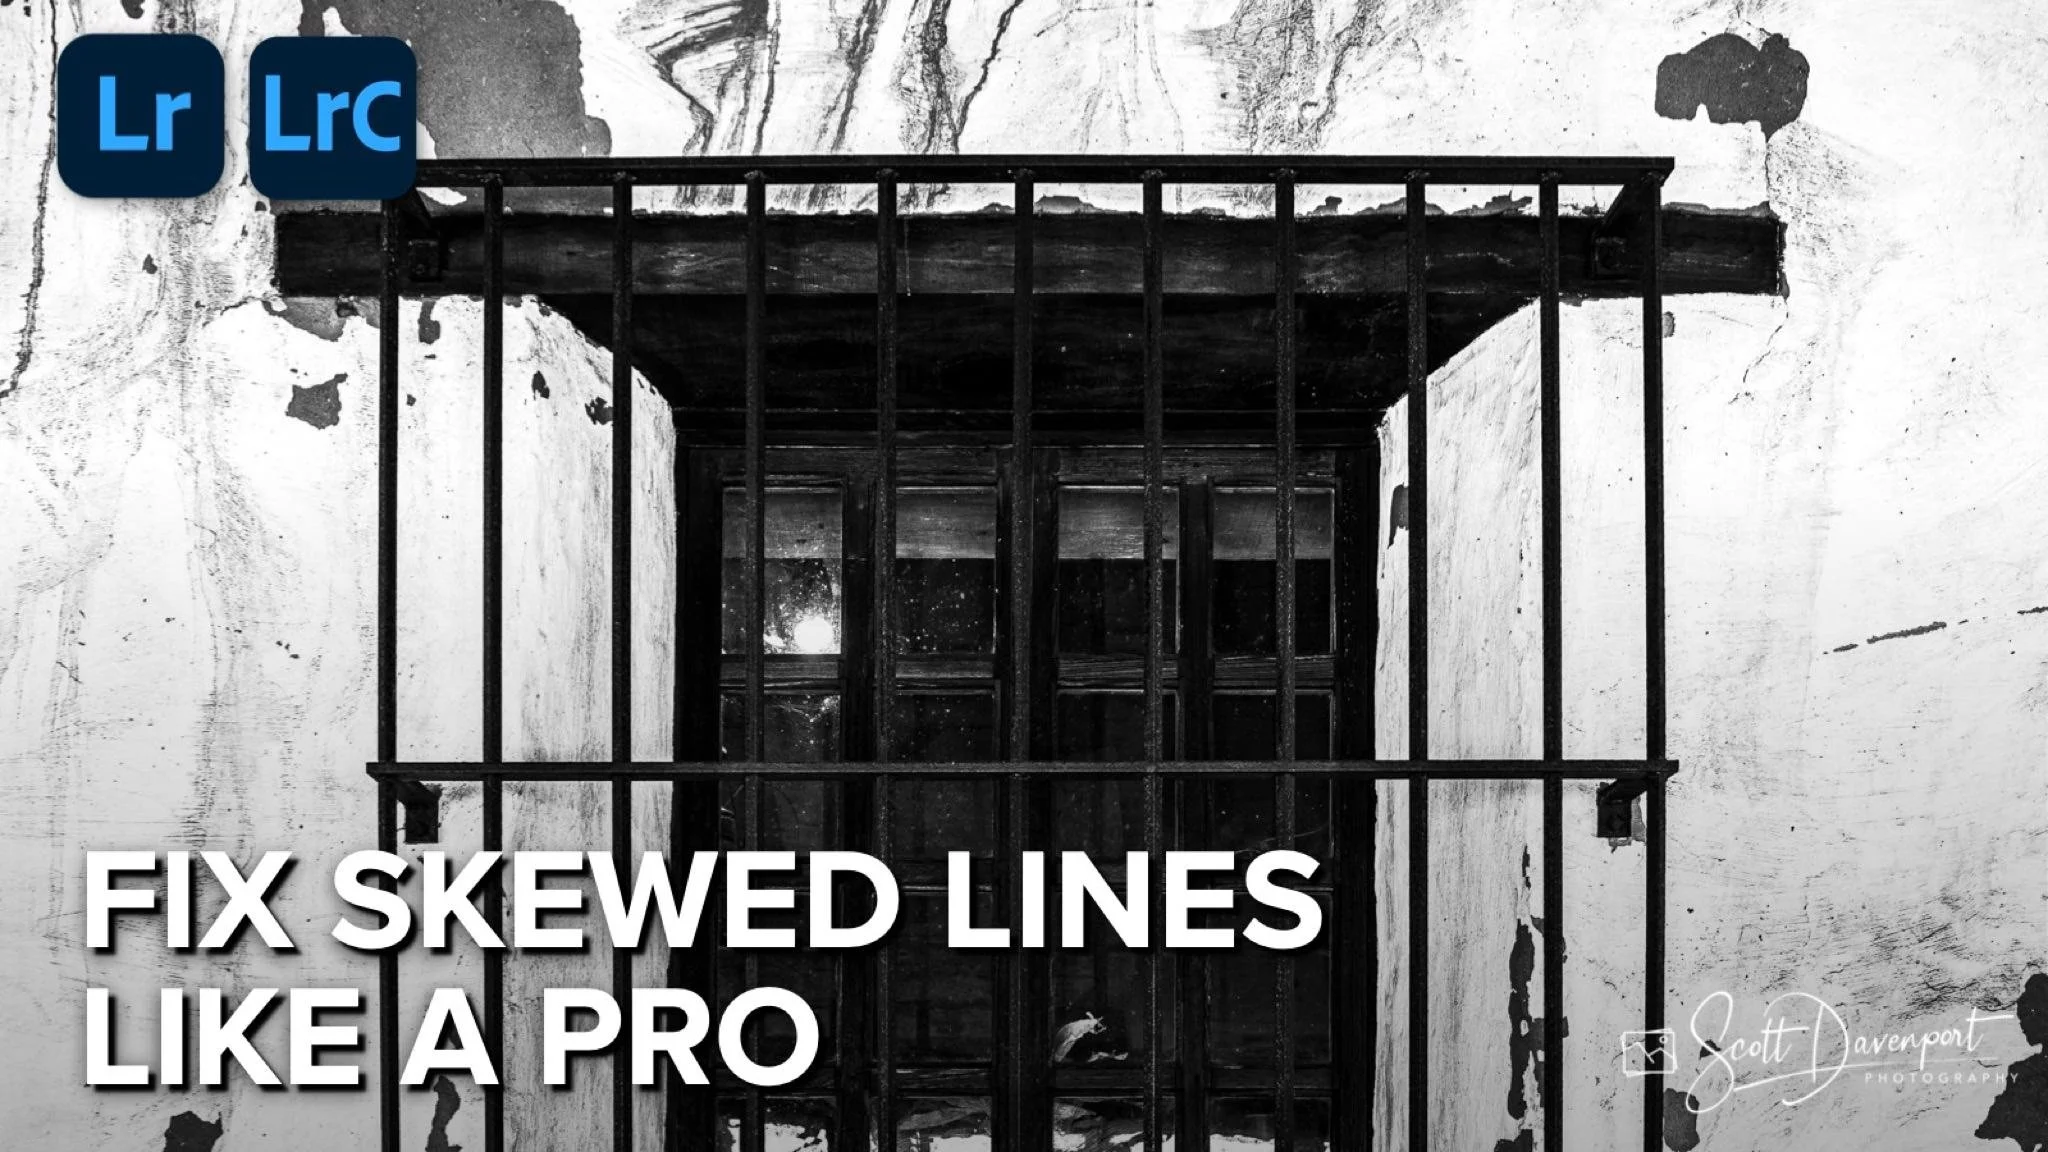
In this tutorial, I’ll walk you through the steps to fix skewed lines and wonky angles in your photos using Adobe Lightroom. Whether you're dealing with tilted horizons, distorted buildings, or skewed compositions, the Lightroom transform tool helps you straighten and perfect your images. I’ll show you how the Auto mode of the tool works - and how it can fall short. And if it does… no worries! The Guided mode of the Transform tool gives you the controls to correct any photo and achieve professional-looking results.
The original photo. Captured pointing the camera upward toward the window.
Using the Auto mode of Transform improved the perspective, but not entirely.
Using the Guided mode with the guidelines on the outer bars, both horizontal and vertical, yields the best results.
Pro tip: Older structures like the one in this photo aren’t always perfectly straight. Choose the most important lines to correct and use your guidelines on those. For this photo, I chose to align the iron bars as opposed to the window frame.
Window, Carmel Mission
Contact Scott to commission a print or license this image.
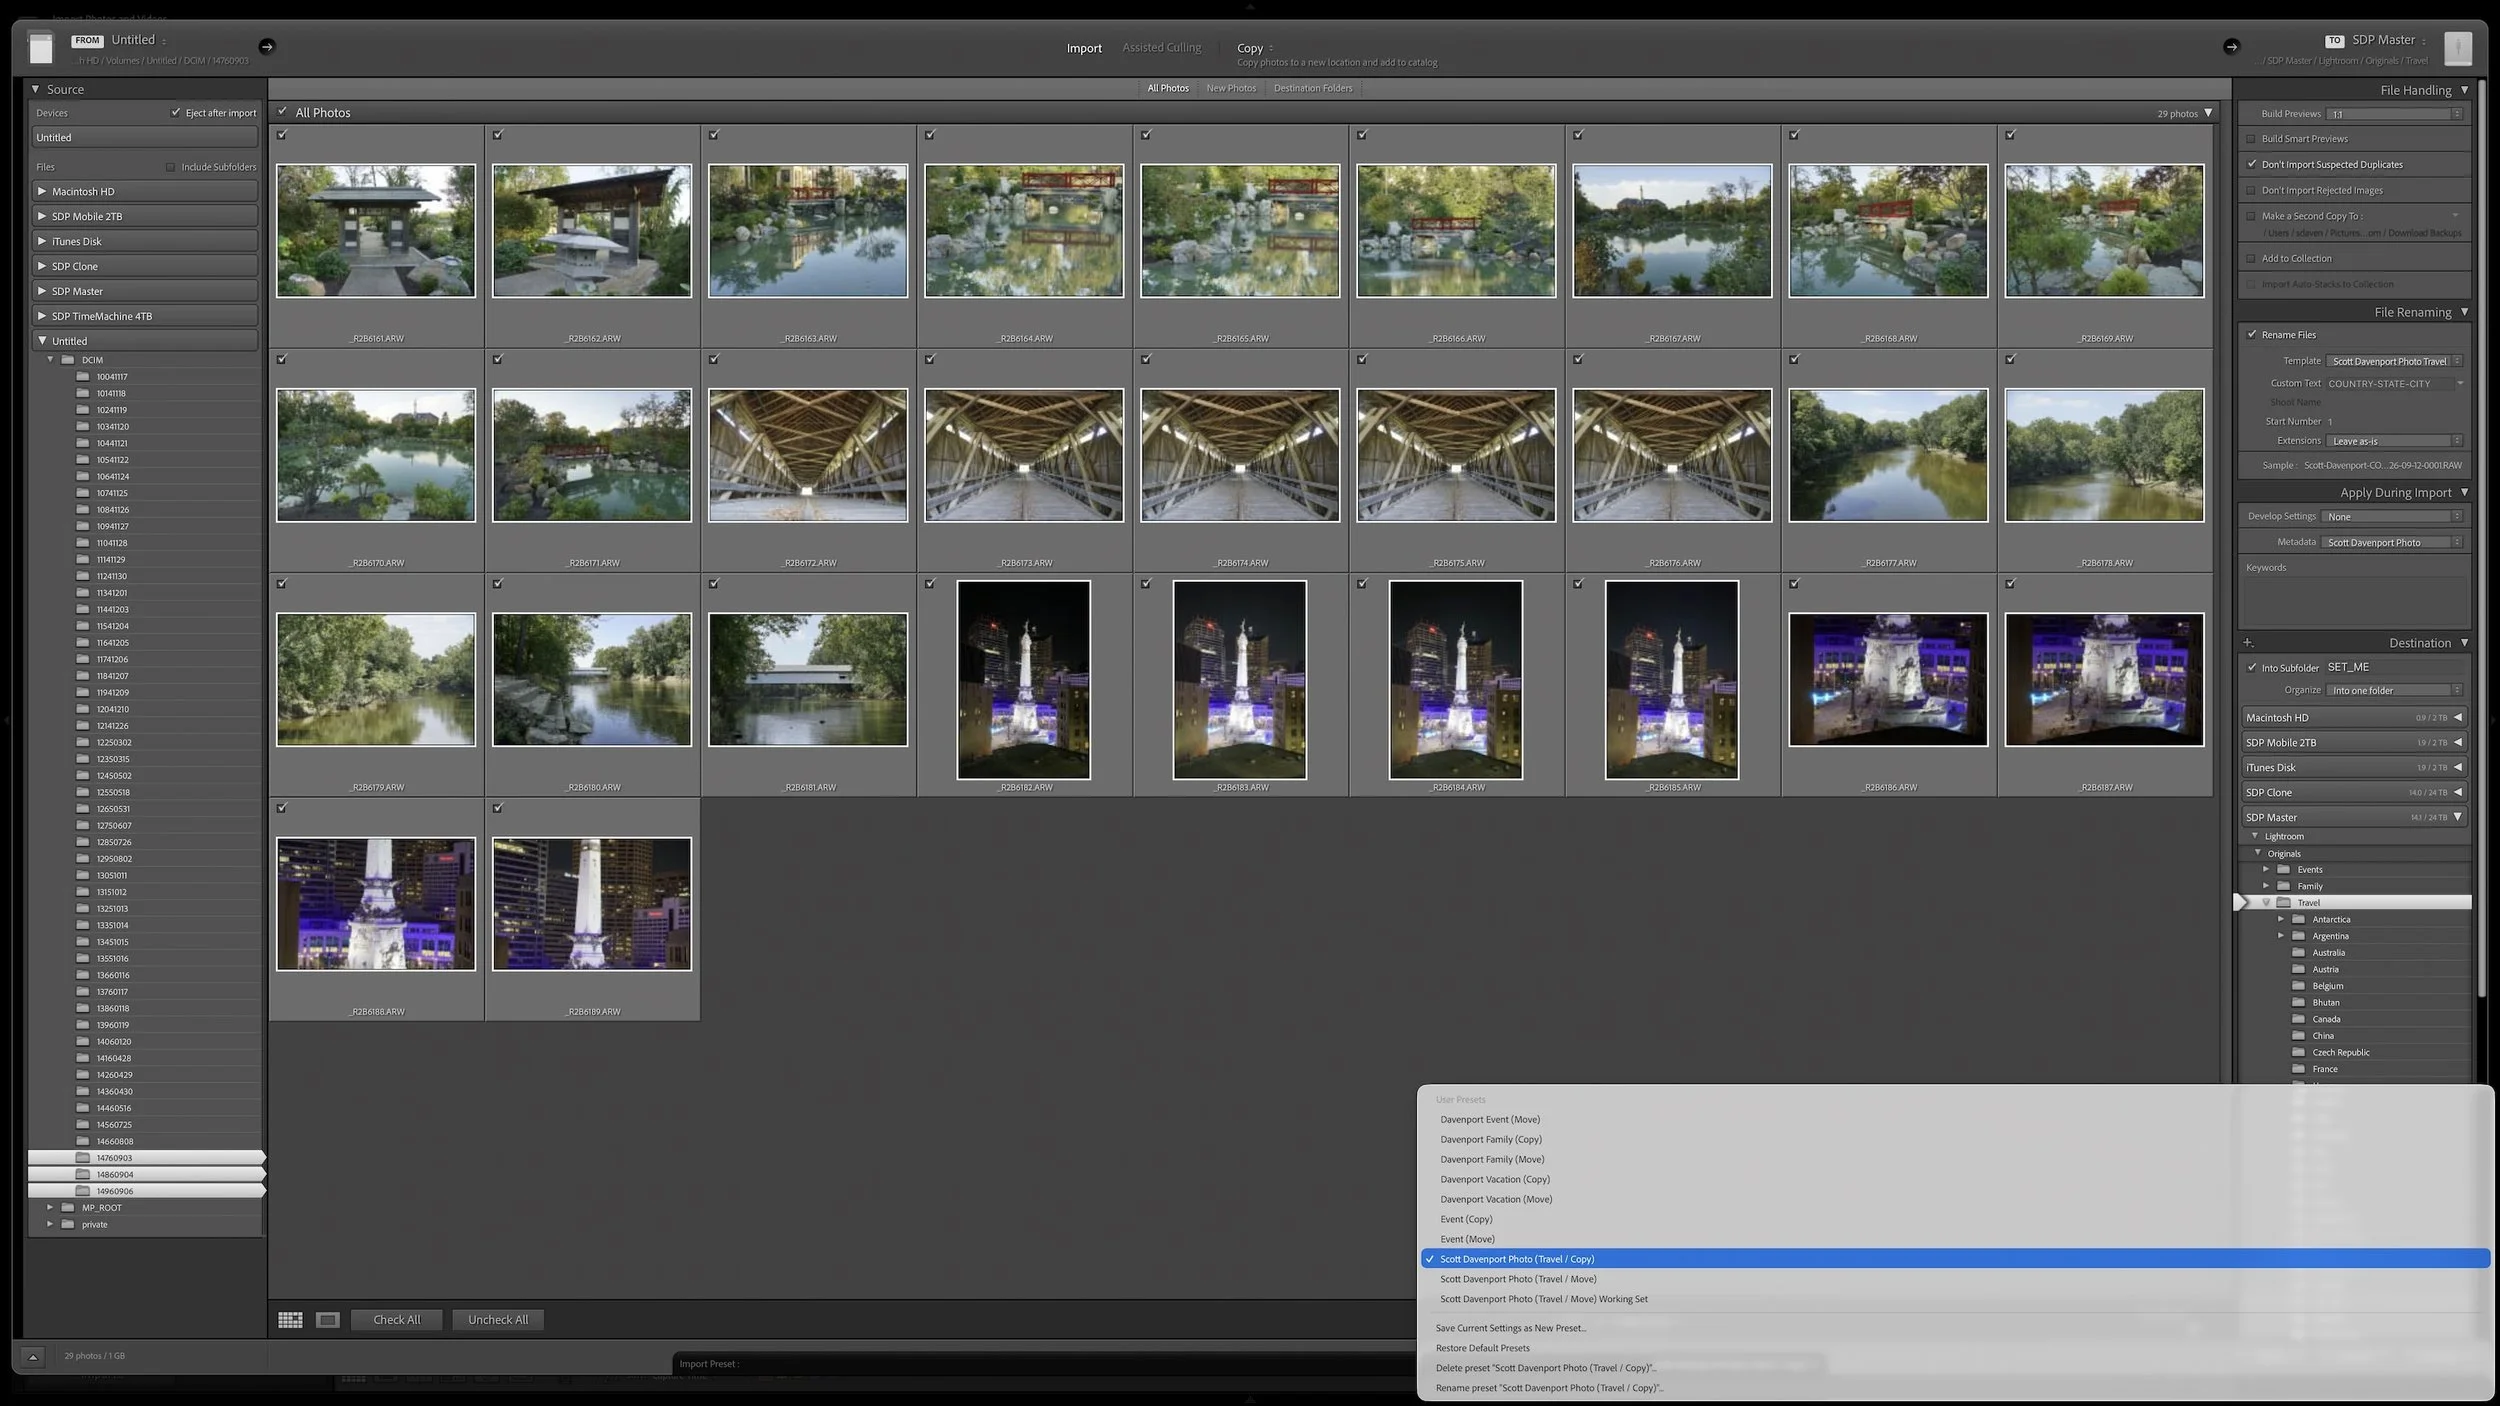
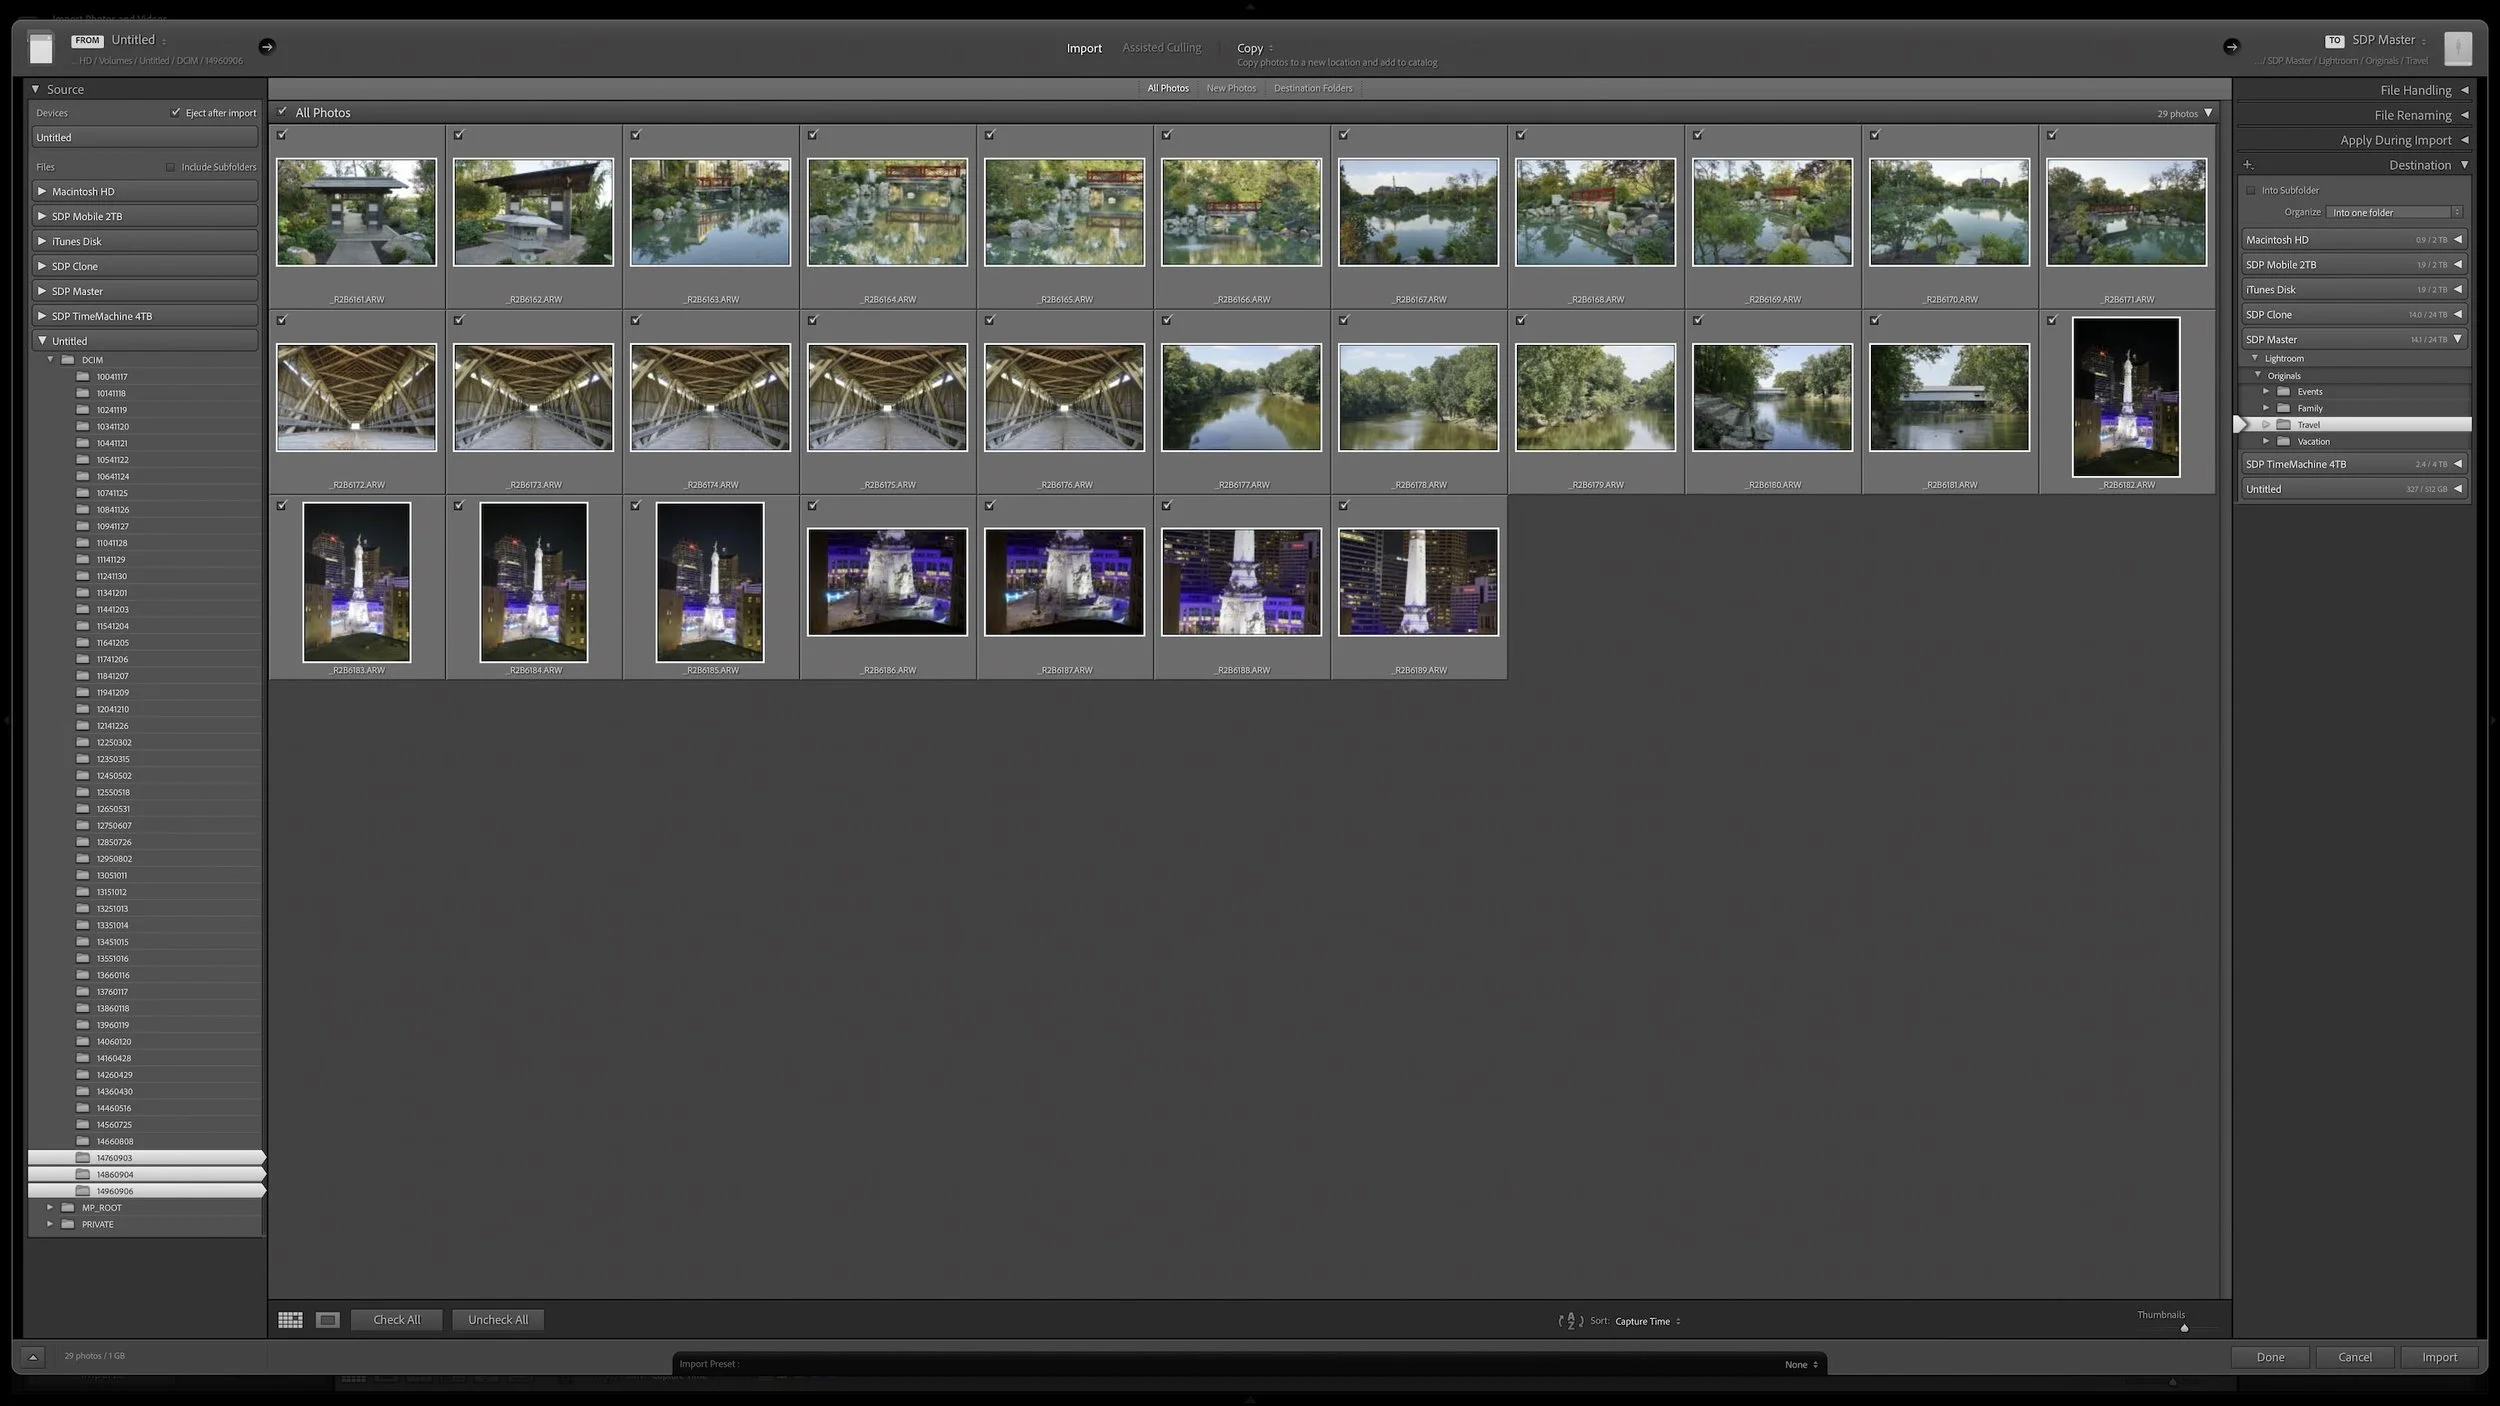








Lightroom Classic gives you five stars for rating photographs, but those stars aren't very useful if their meanings change from one shoot to another. A consistent system lets you know what a three-star or four-star photograph means without rethinking the definitions every time you rate a new group of photos.
My rating system ranges from photographs I keep primarily for sentimental reasons to photographs I consider strong enough to print. You don't need to use the same definitions I do. The important part is giving your ratings stable meanings you can apply consistently over time.