
Fix Color Casts In Your Blue Hour Cityscape Photos

The Point Color tool in Lightroom is my go-to tool to fix color casts in my blue hour cityscape photos. Of course there is a lot of blue tones in a blue hour photo. Ambient lights such as street lamps often have a strong amber tone. The Point Color tool with a mask is the best way to fix color casts. By using the Point Color tool, your masking work is easier. Only the colors chosen with Point Color are affected.
Give me 10 minutes and I’ll show you how.
Jesuit Church And Bridge In Lucerne At Blue Hour
Contact Scott to commission a print or license this image.
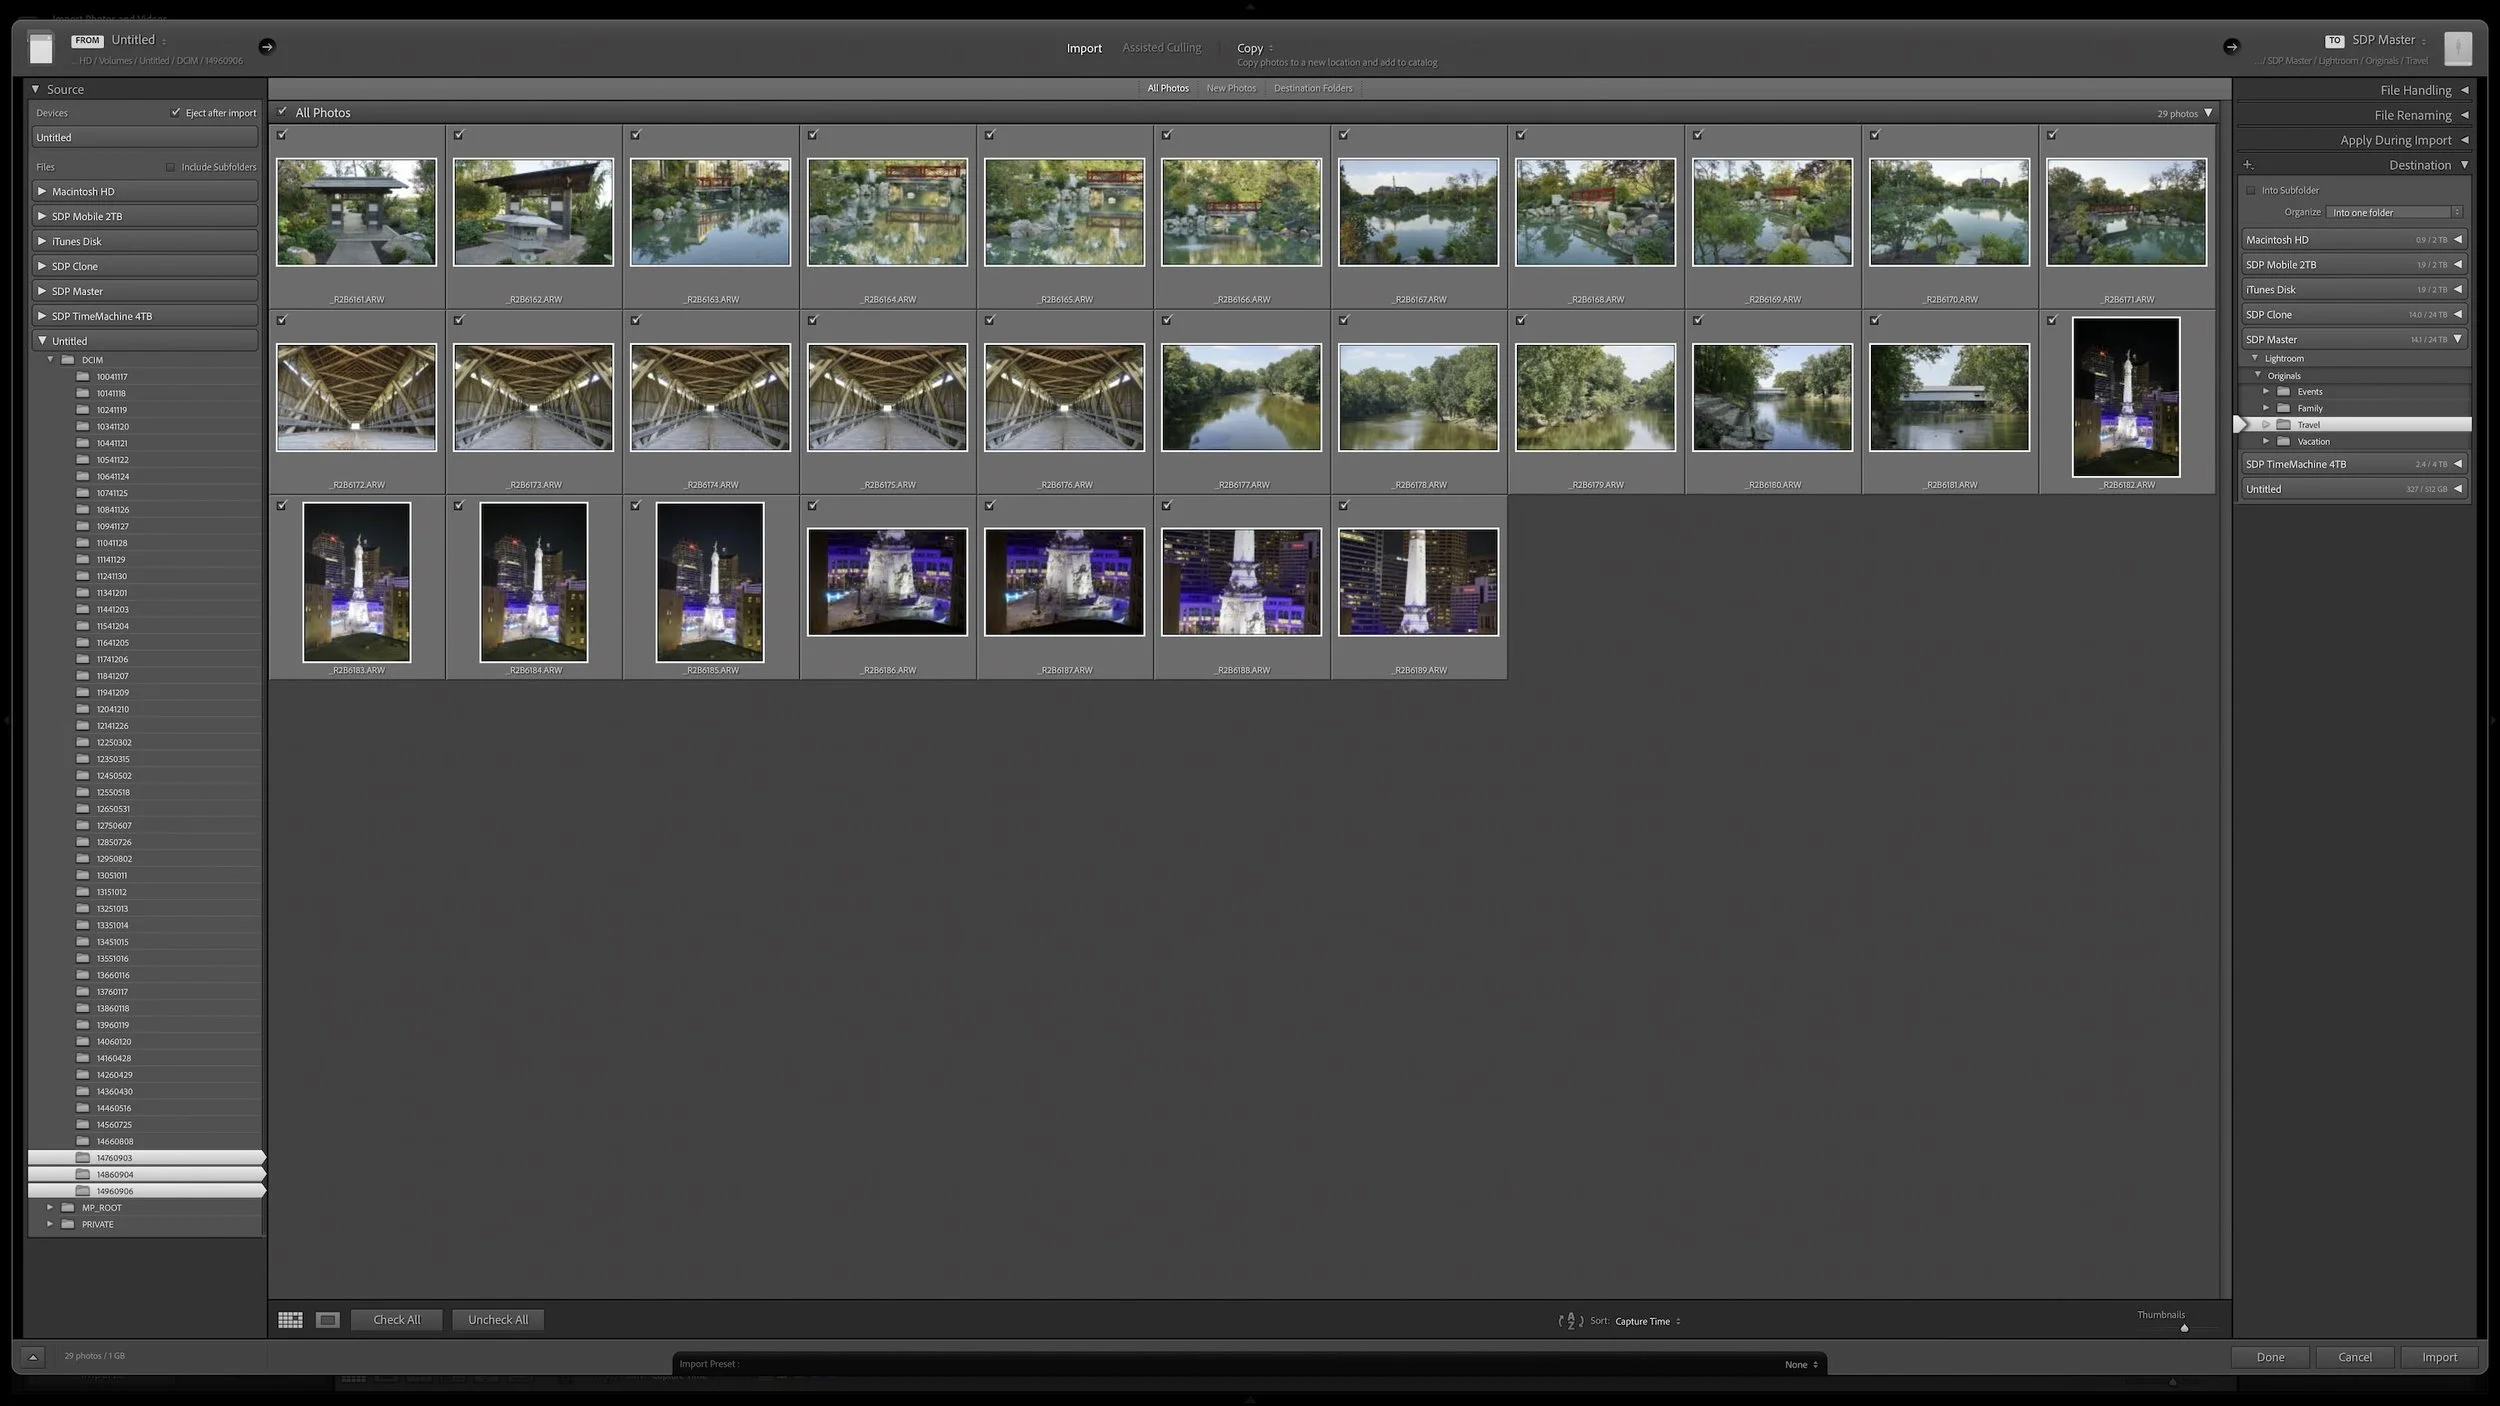
Lightroom Classic's Import dialog presents plenty of choices, but one of the most important decisions is straightforward: where are your photos now, and where do you want the original files to live after the import?
Copy, Move, and Add each handle the original files differently. Once you understand what happens to the physical files and what happens in the Lightroom catalog, choosing the right import method becomes much easier.

A complicated subject can take a little work to mask well. Once you've made that selection, what else can you do with it? Quite a bit, especially when you want to give your subject more separation from a busy background.
Using a mossy tree as an example, I explain how Lightroom's Duplicate and Invert lets you build several adjustments from one refined mask. You can shape the background and guide the eye while protecting the light on your foreground subject.

A photo workflow can fall apart when you cannot tell what has been finished and what still needs attention. That becomes especially frustrating when photographs from the same shoot are at different stages.
My six-step Lightroom Classic workflow uses color labels to give every photograph a clear next action. Whether a photo needs rating, location information, keywords, developing, or sharing, I can see where I left off and continue without retracing my steps.

A regular Collection lets you choose which photographs you want to see together. A Smart Collection works differently. You describe the photographs using criteria such as ratings, keywords, location information, or camera metadata, and Lightroom Classic gathers the photographs that match.
The real advantage is that the group isn't static. As photographs enter the catalog or their metadata changes, they can automatically appear in or disappear from a Smart Collection. The rules keep working as the catalog changes.

Folders and Collections can both look like ways to organize photographs in Lightroom Classic, but they solve different problems. Folders describe where the original photographs physically live. Collections let you bring photographs together without changing that physical organization.
That becomes especially useful when a gallery, project, subject, or other body of work includes photographs stored in many different folders. Collections give you another way to see those photographs together while leaving the originals exactly where they belong.

A Lightroom folder structure doesn't need to account for every date, location, subject, or shoot with another level of folders. Organizing photographs into dated folders is especially common, but unless dates are how you naturally look for your photographs, that extra structure may not be helping you. Too much structure can make a photo library harder to understand rather than easier.
I keep all of my photographs beneath one top-level folder, then use a relatively shallow hierarchy underneath it. Different types of photography can follow different organizational logic. The important thing is that the structure matches how you naturally think about and look for your photographs.

A Lightroom folder structure doesn't need to account for every date, location, subject, or shoot with another level of folders. Organizing photographs into dated folders is especially common, but unless dates are how you naturally look for your photographs, that extra structure may not be helping you. Too much structure can make a photo library harder to understand rather than easier.
I keep all of my photographs beneath one top-level folder, then use a relatively shallow hierarchy underneath it. Different types of photography can follow different organizational logic. The important thing is that the structure matches how you naturally think about and look for your photographs.

For me, one catalog works best because I want a single place for all of my photography, both personal and professional. I can still organize those parts of my library differently without separating them into completely different catalogs.
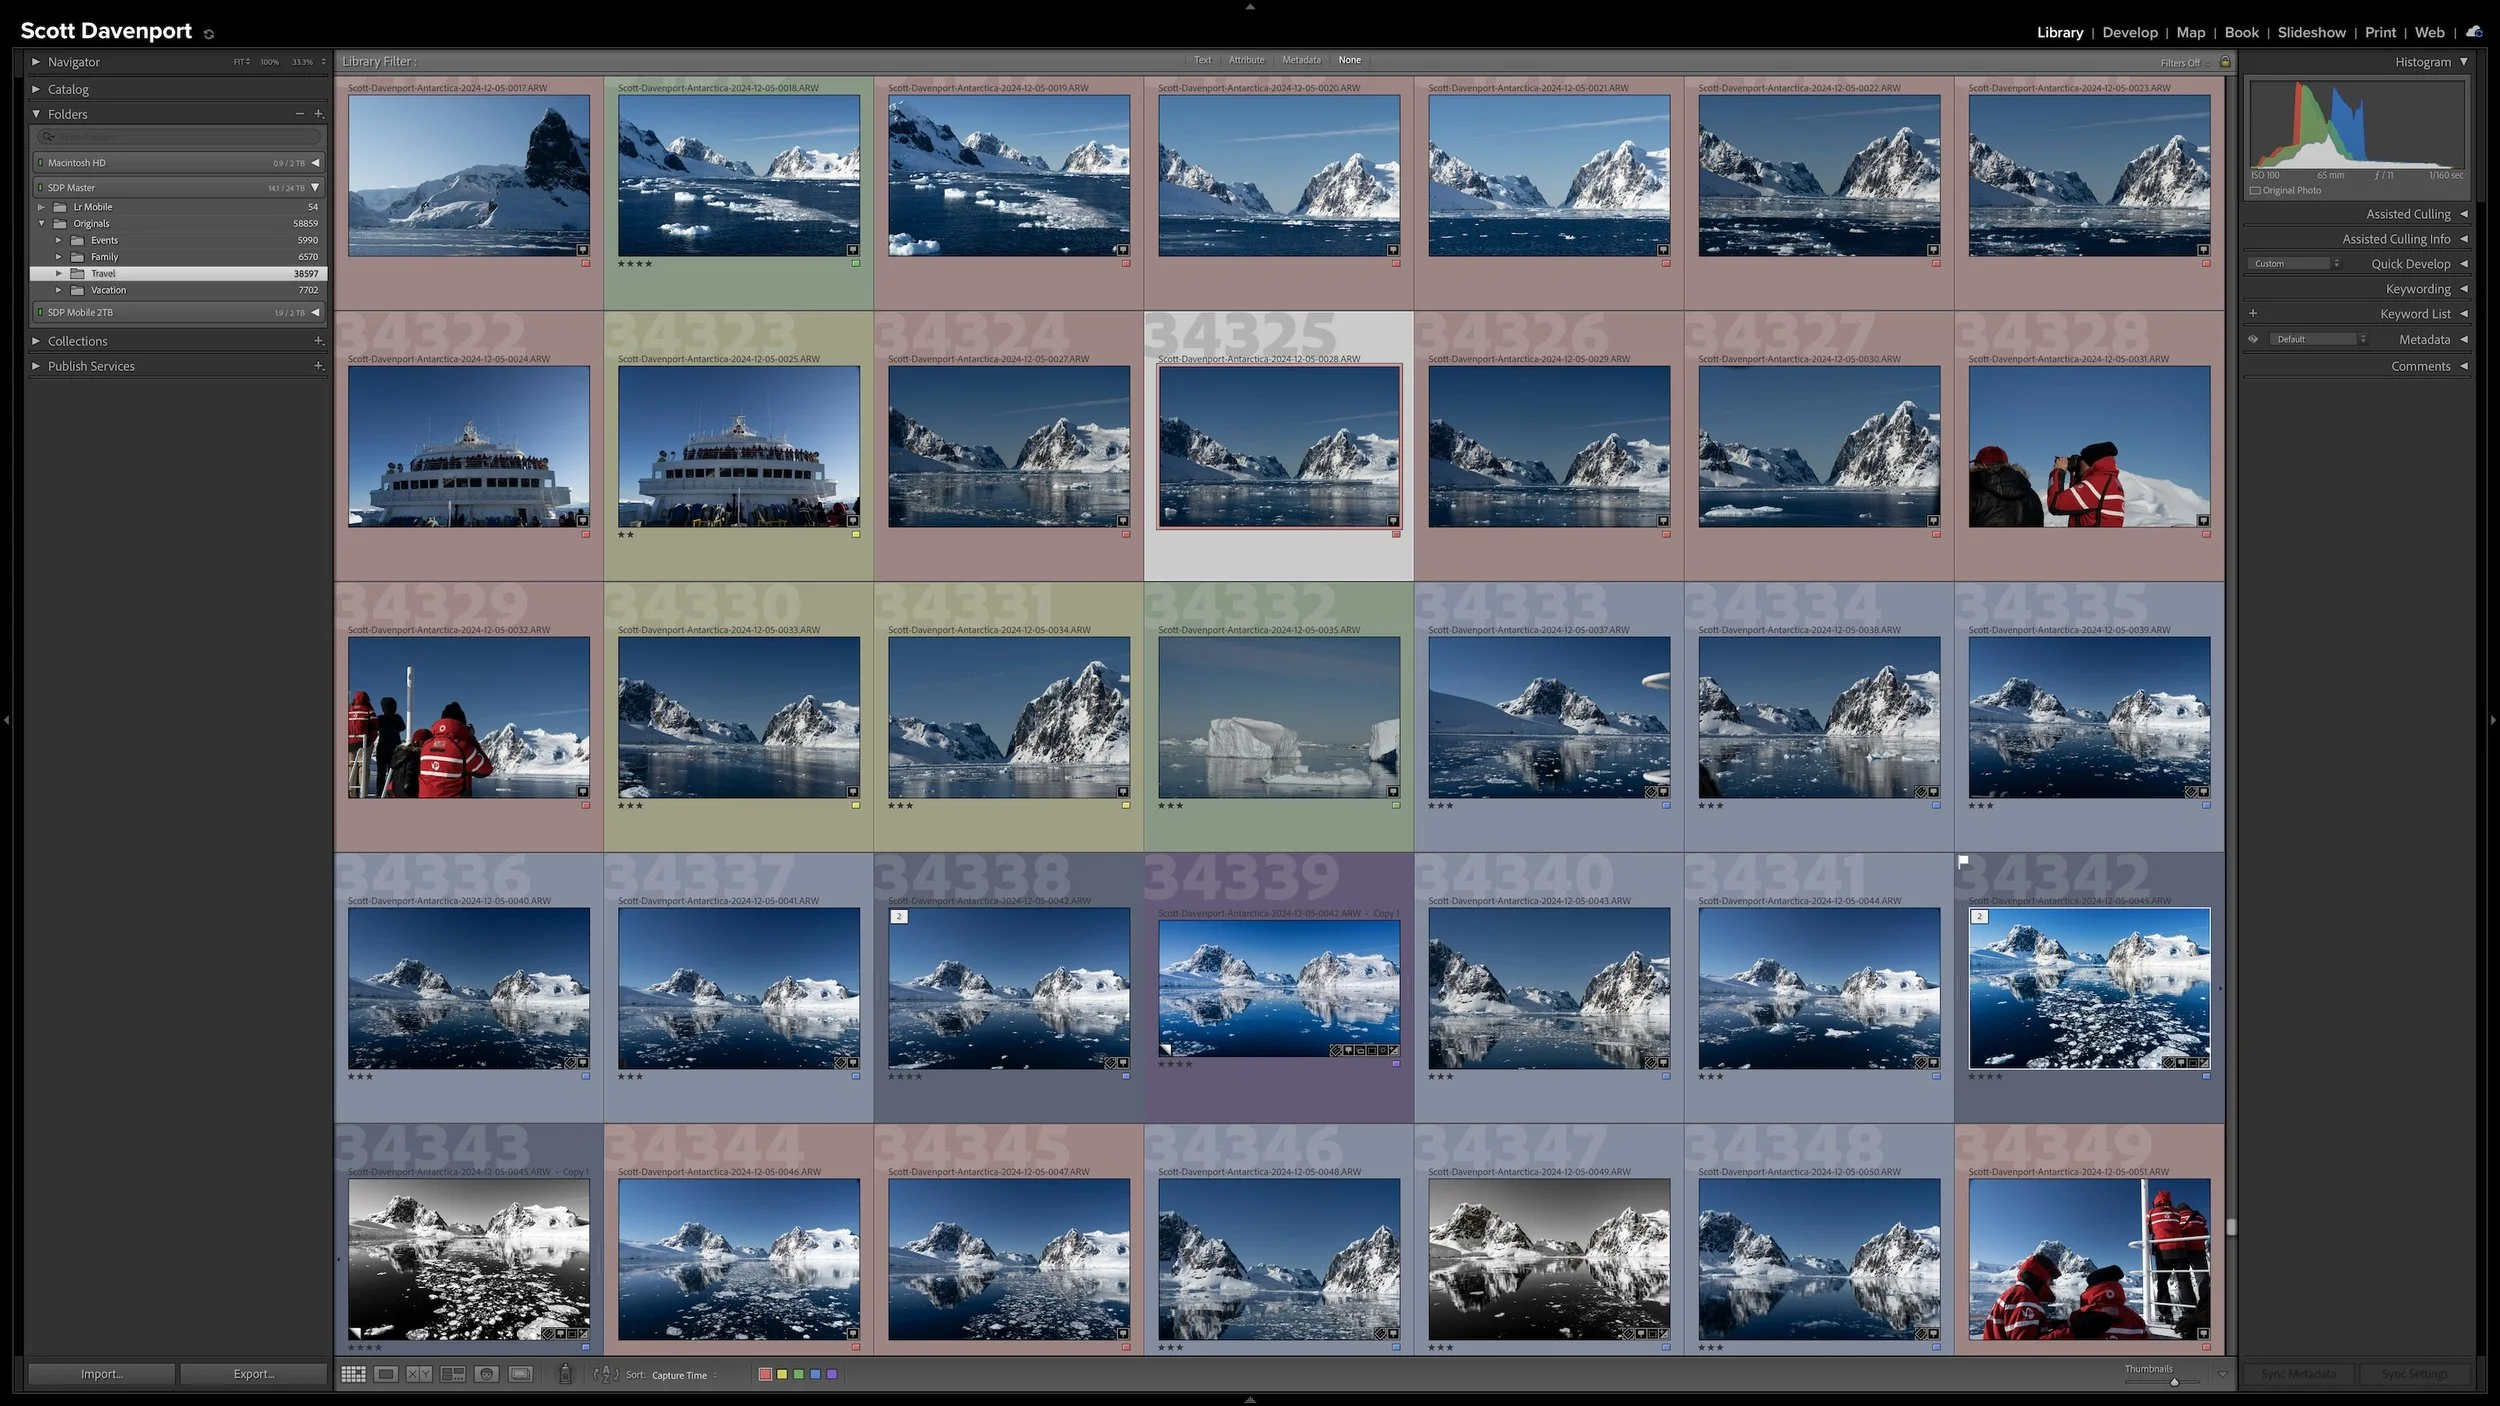
Organizing a Lightroom catalog can quickly become an exercise in folders, keywords, ratings, and metadata. Before deciding how to use those tools, step back and ask a more important question: What do you eventually want to do with your photographs?
A useful workflow begins with those goals. Once you understand how you want to find, revisit, and share your photographs, you can build a Lightroom system that supports the way you actually think and work.
 Scott Davenport
Scott Davenport is a landscape photographer and photo educator and based in San Diego, California. He leads photo workshops, writes photo books, hosts podcasts, makes tutorial videos, and feels weird referring to himself in the 3rd person.
He also can't help getting his feet wet photographing at the beach.
Lightroom Classic's Import dialog asks many of the same questions every time you bring in photos. Rather than rebuilding those settings for every import, you can save the choices that stay consistent in an import preset.
The preset doesn't eliminate the decisions that change from shoot to shoot. It gives you a reliable starting point, so you can concentrate on the source, destination, and other details that actually need your attention.