
Work Faster! Use The Amount Slider In Lightroom
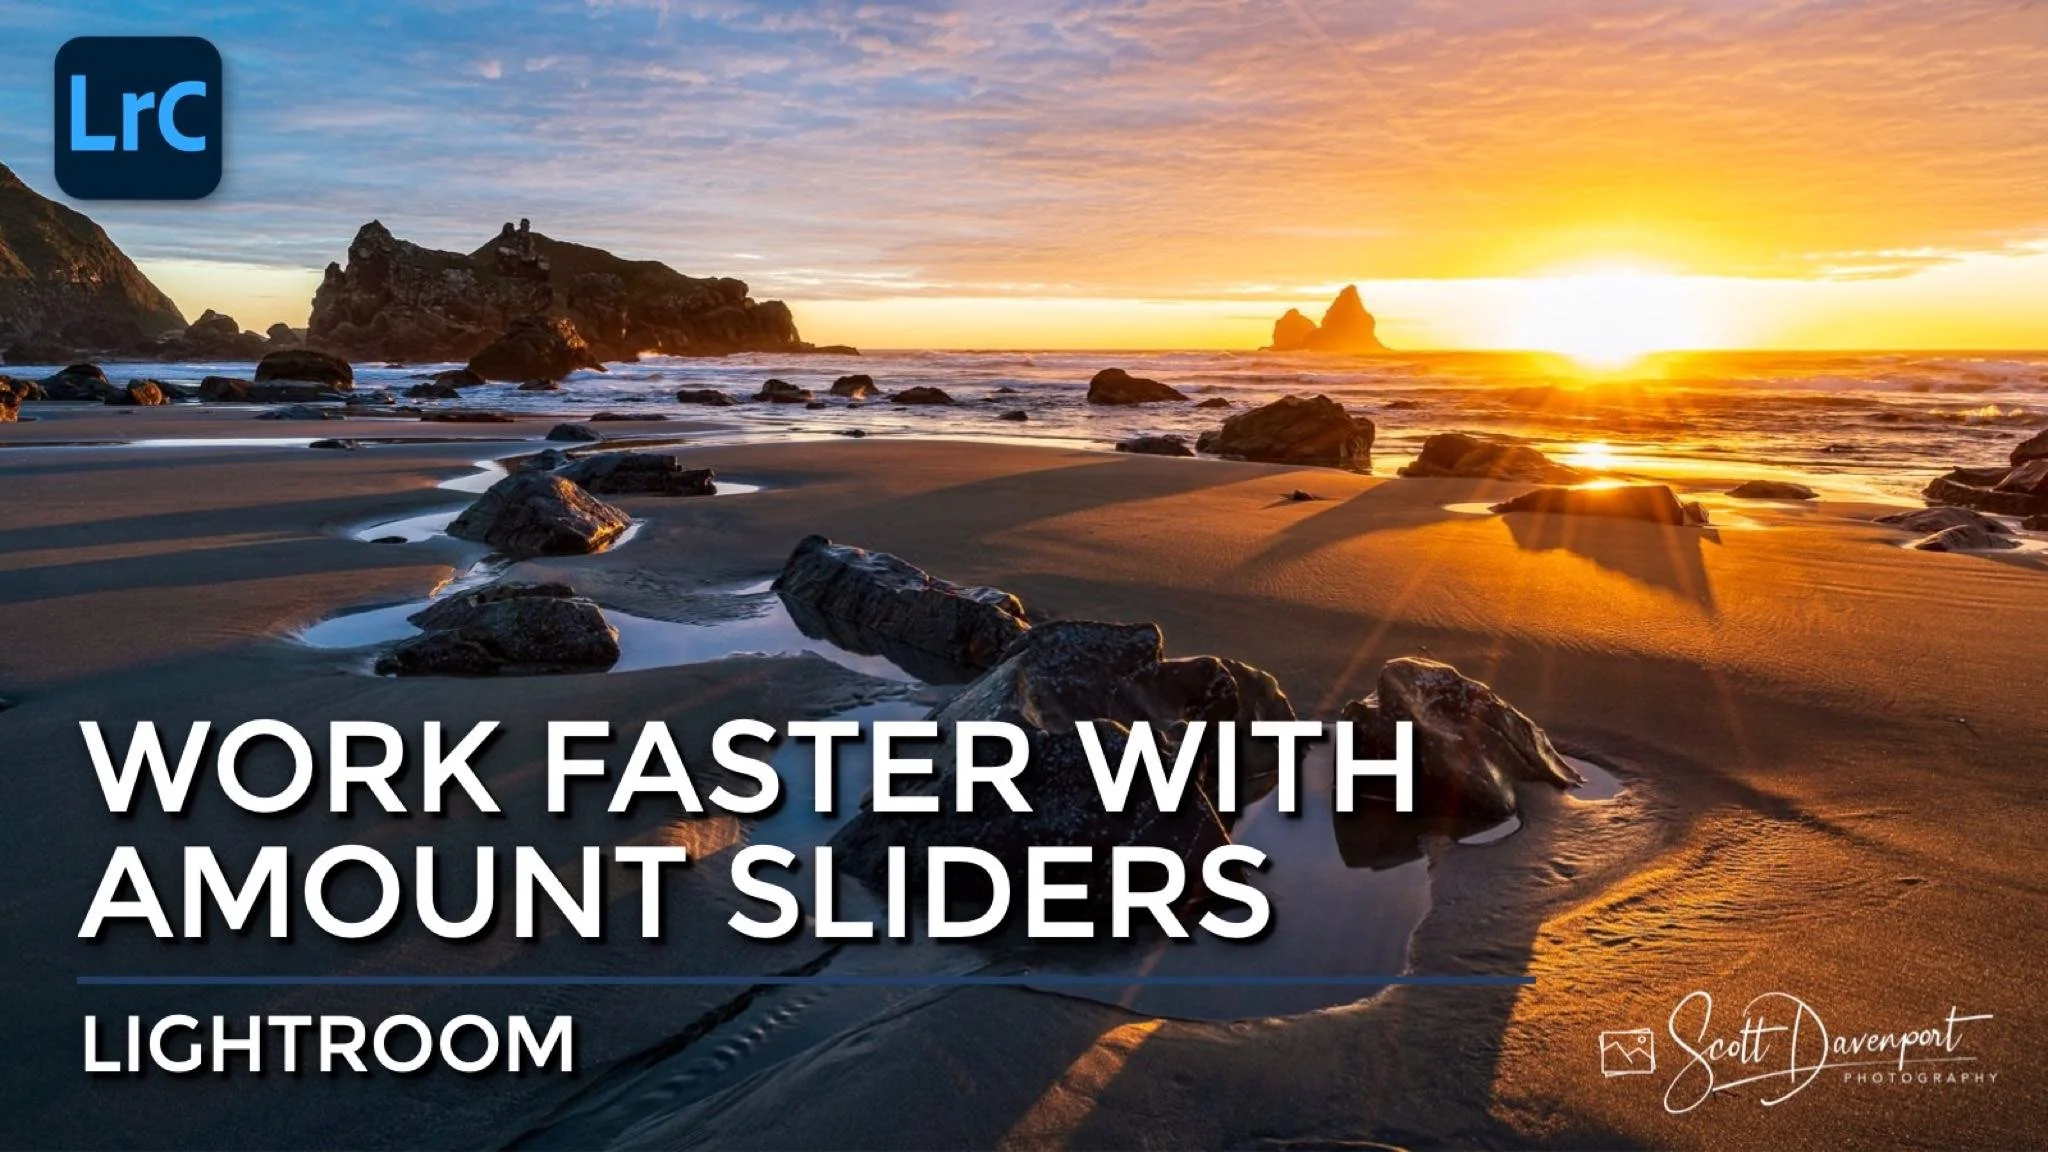
I don’t know why I’ve overlooked the Amount slider in Lightroom’s masking for so long. It’s a real time saver and the best option to refine a look or masking preset you’ve applied to your image.
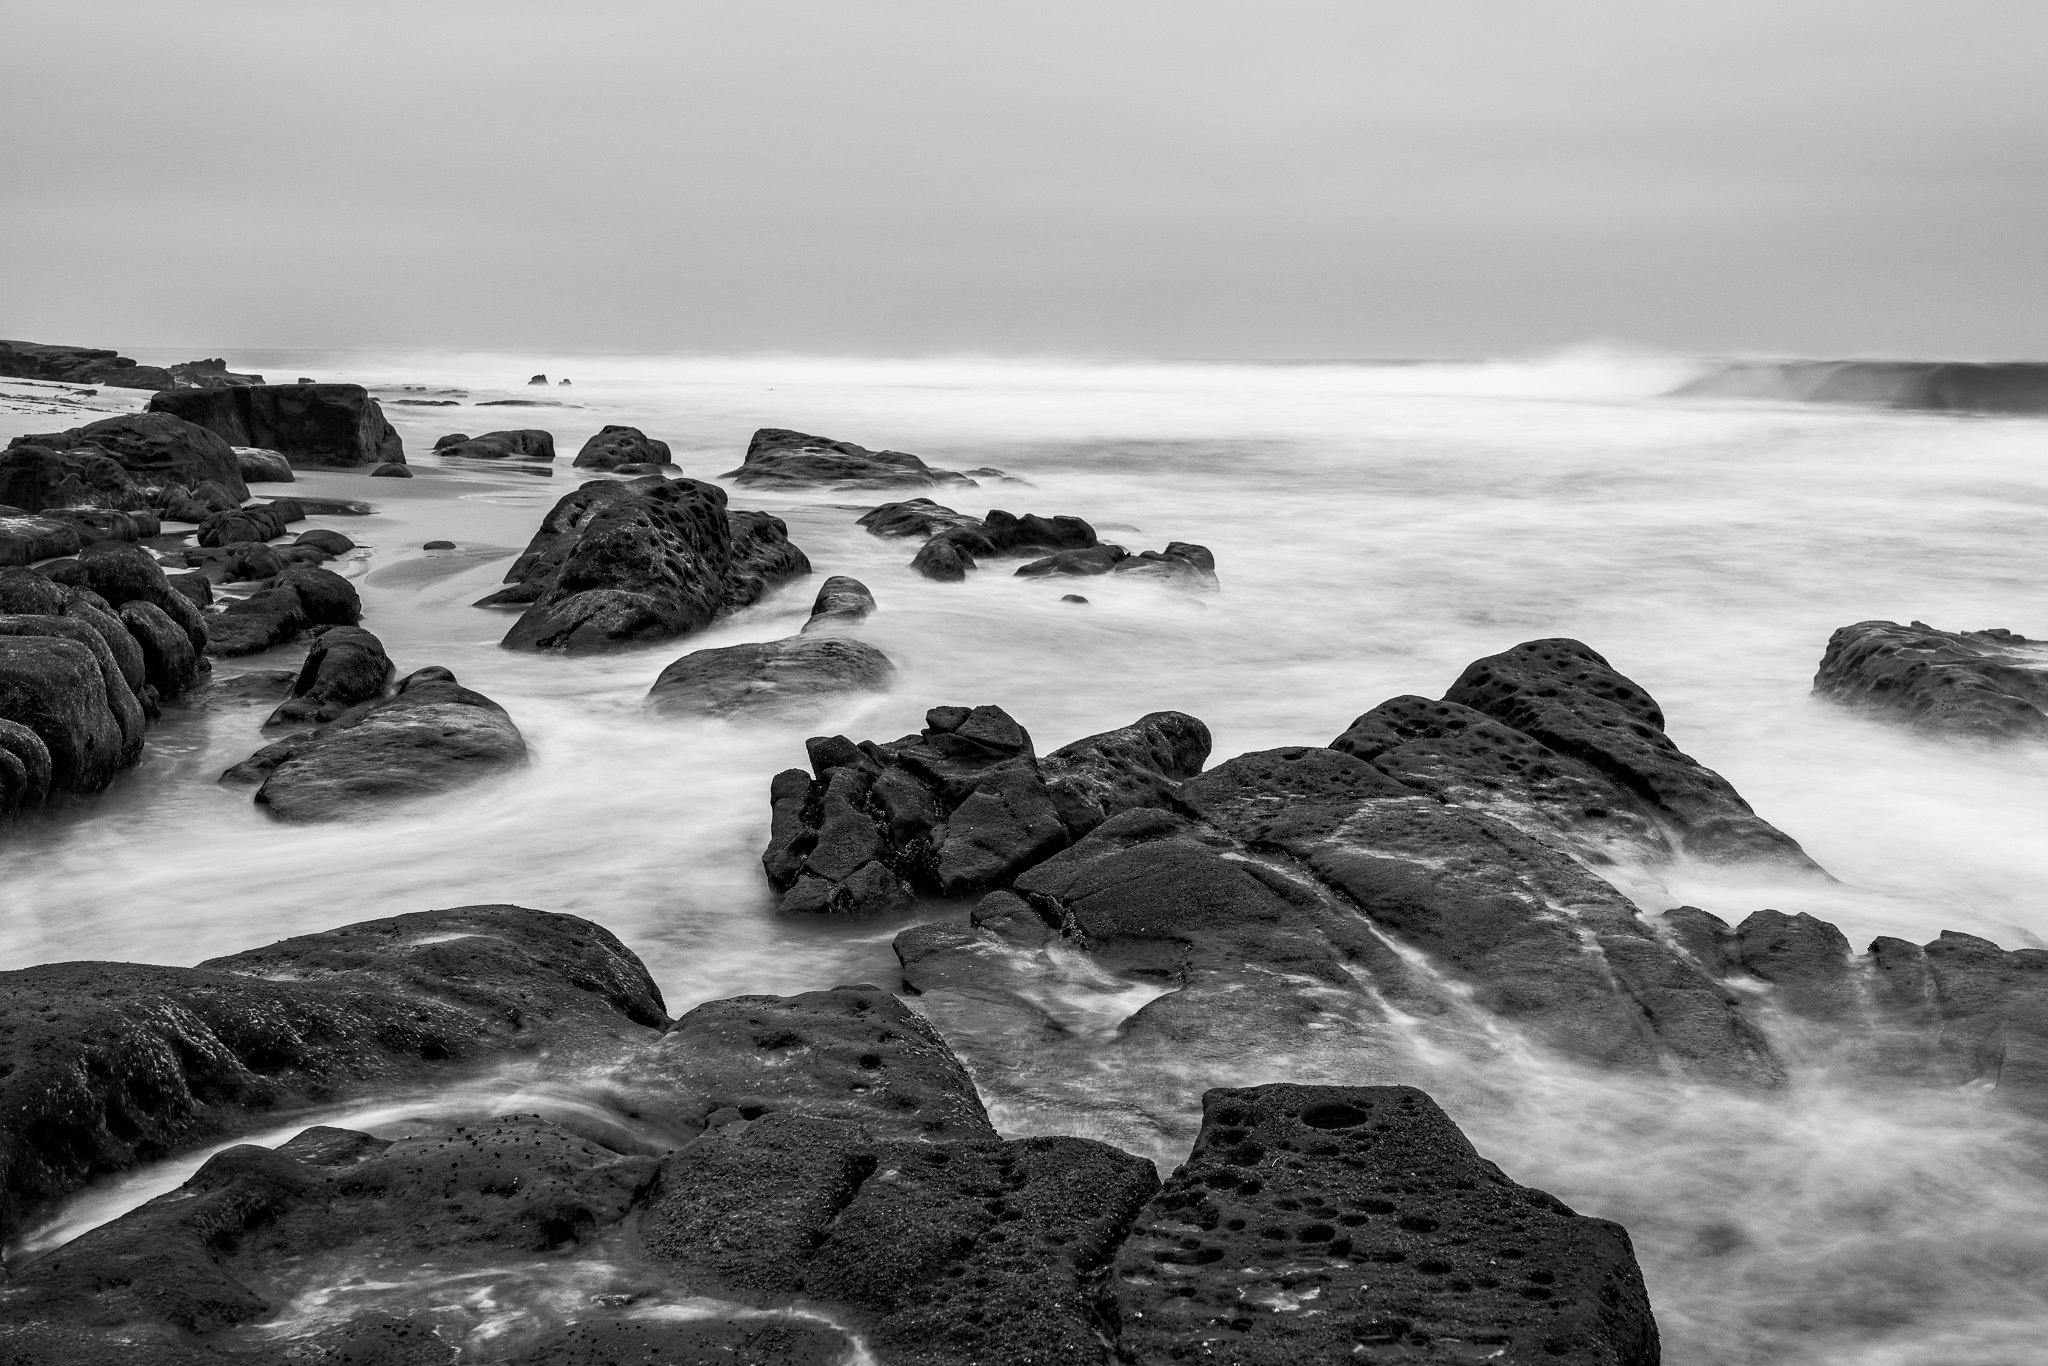
In the photo below, I have a targeted adjustment to the rocks on the horizon toward the left side of the frame. I cut the haze and added a bit of clarity and texture. My initial look was too strong… I wanted a bit of the haze to keep depth in the scene. Rather than fiddle with the individual sliders, I used the Amount slider for the entire effect. It is a major time saver!
A smaller Amount tempers the dehaze and contrast look on the rocks
A larger Amount intensifies the dehaze and contrast look on the rocks
Sunset On Lone Ranch Beach, Oregon, Nov 2023
Contact Scott to commission a print or license this image.






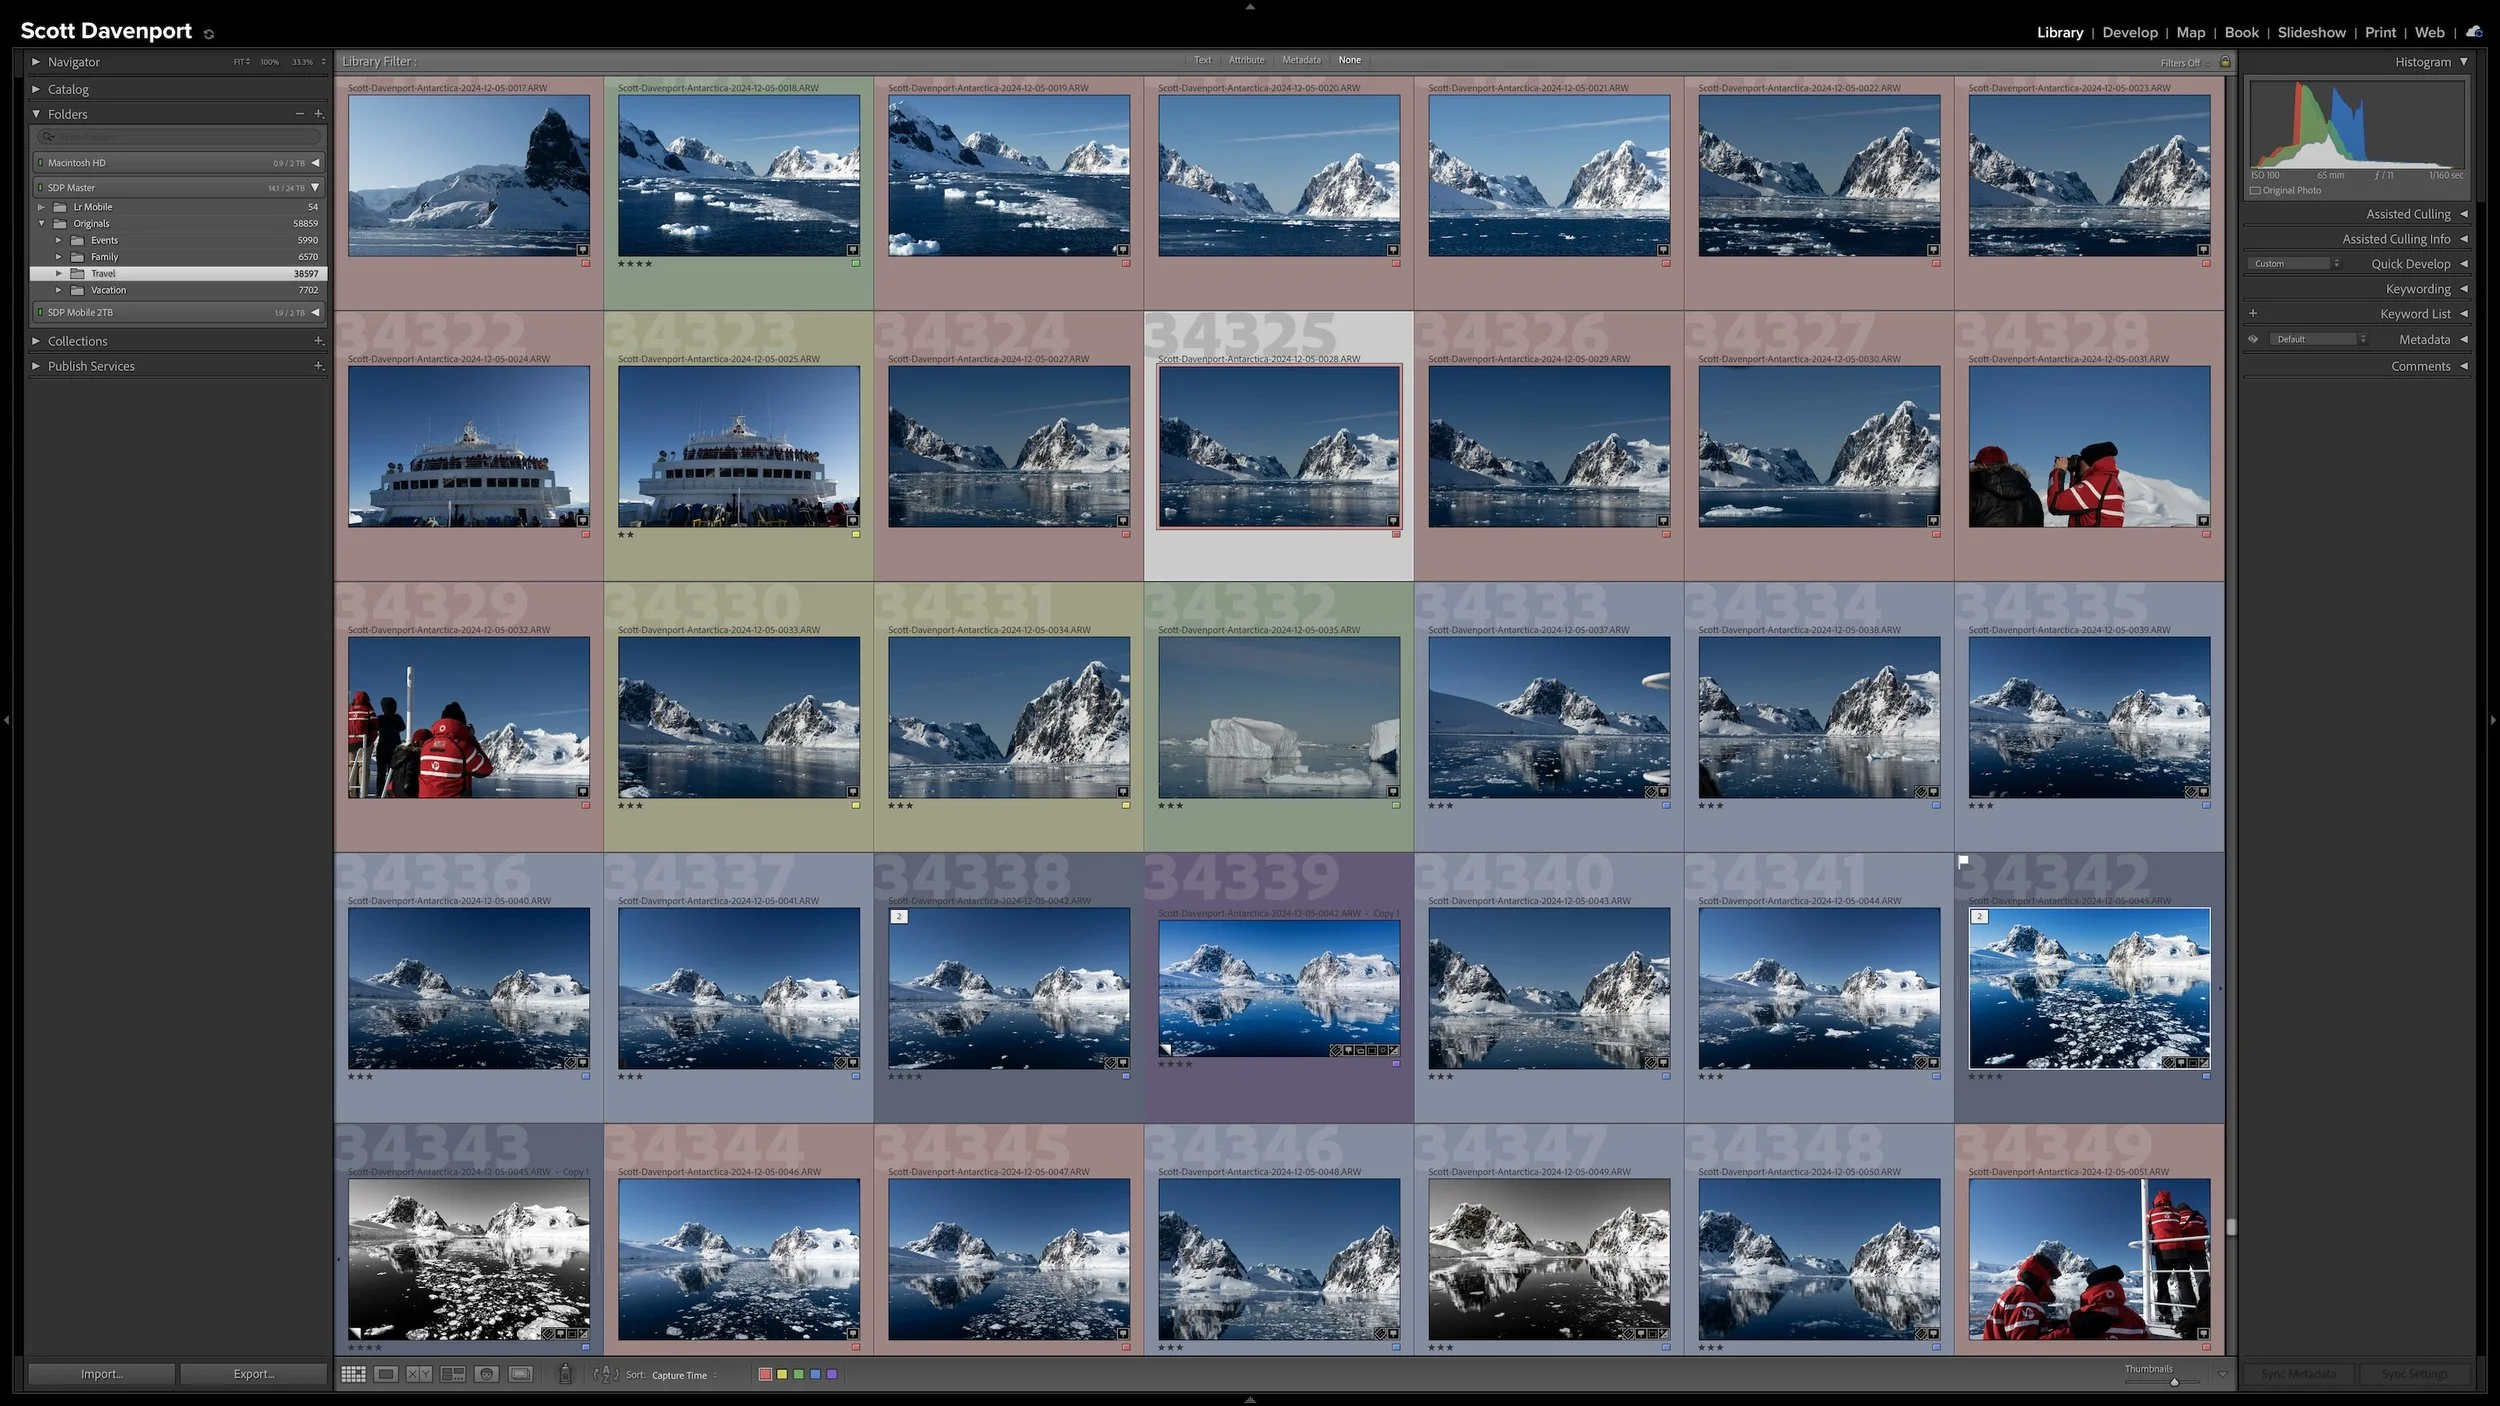
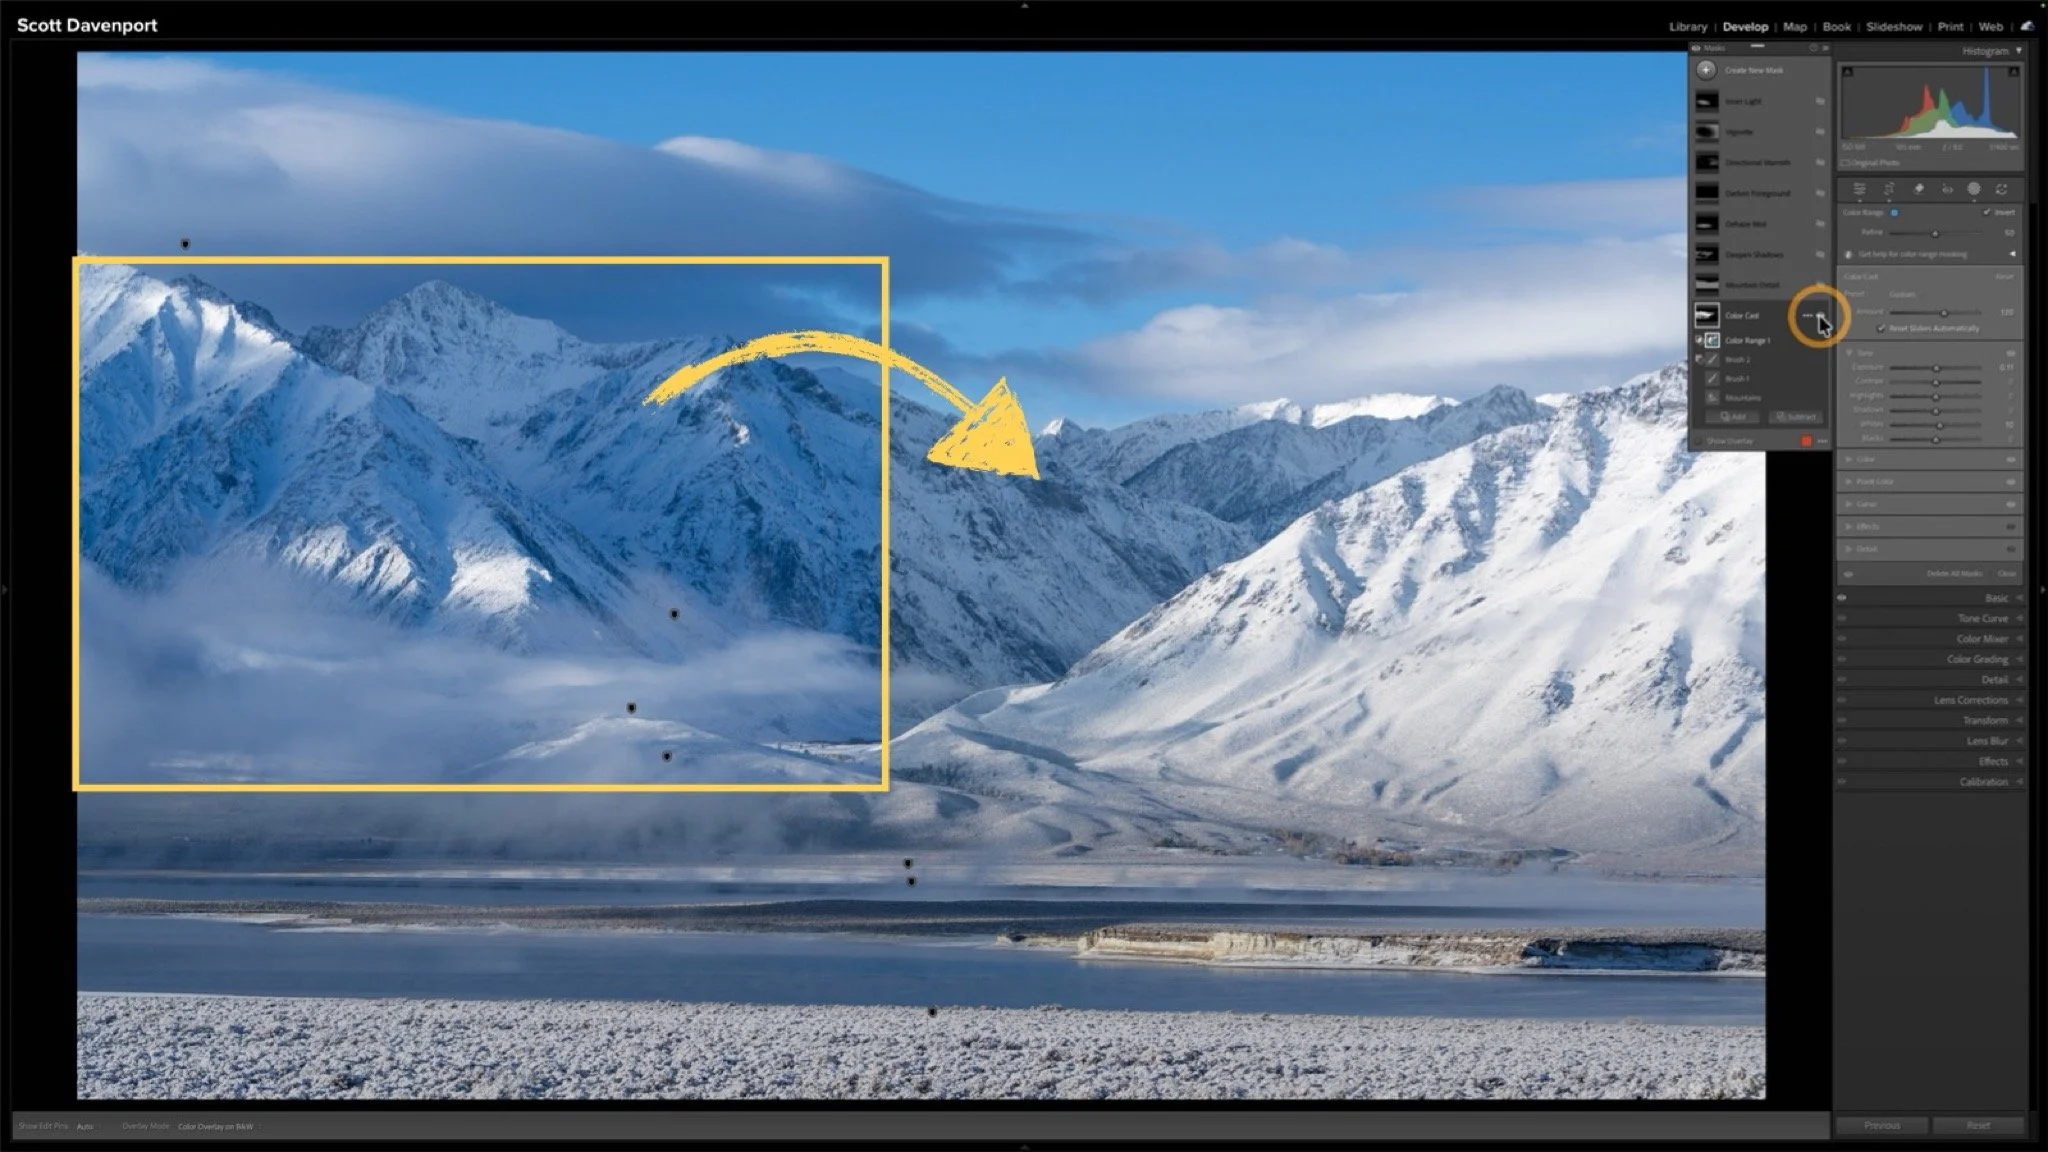

A complicated subject can take a little work to mask well. Once you've made that selection, what else can you do with it? Quite a bit, especially when you want to give your subject more separation from a busy background.
Using a mossy tree as an example, I explain how Lightroom's Duplicate and Invert lets you build several adjustments from one refined mask. You can shape the background and guide the eye while protecting the light on your foreground subject.