How I Brighten Highlights in Reflections Using Lightroom’s Advanced Masks
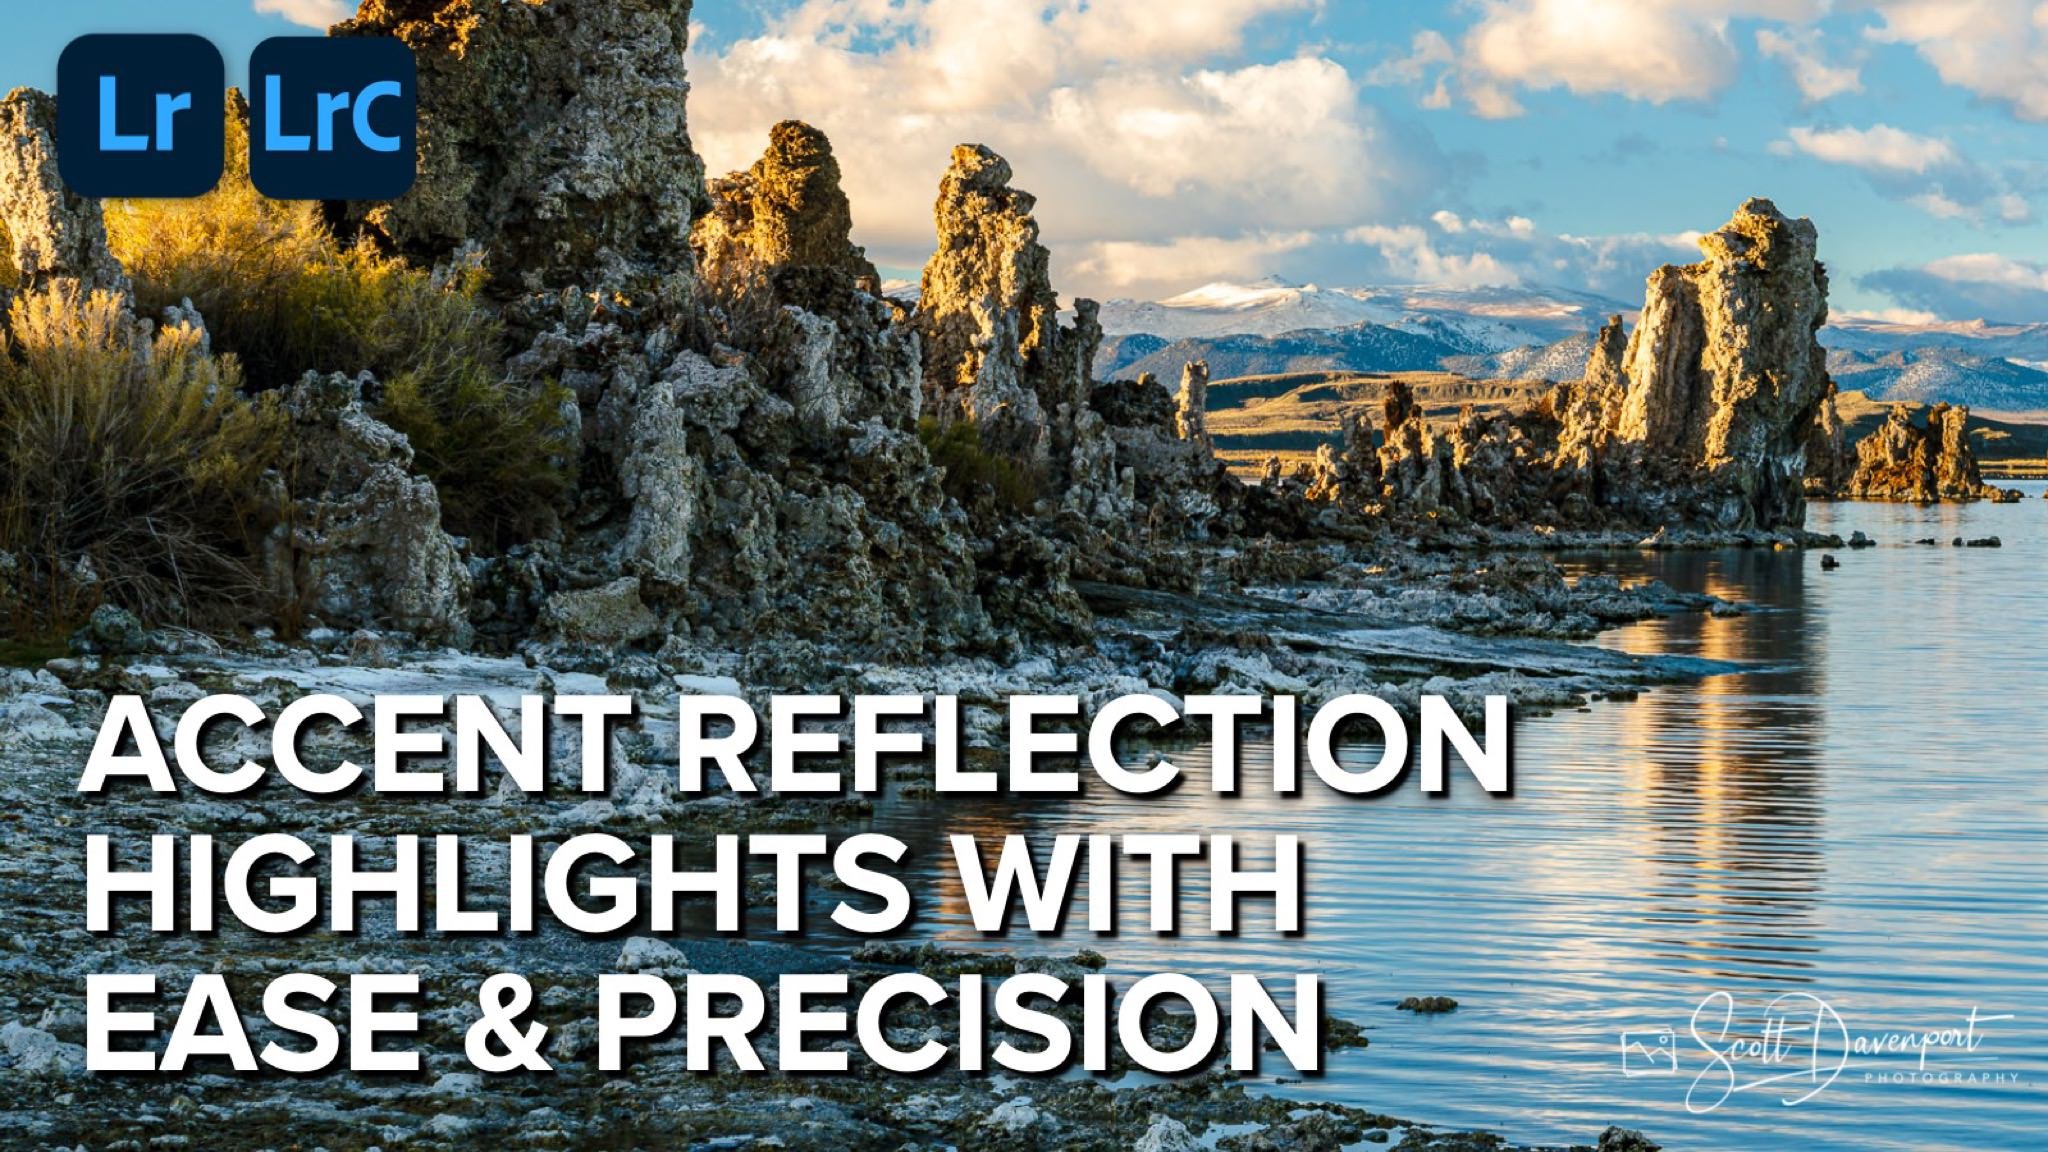
In this Lightroom walkthrough, I show you two reliable methods for brightening highlights in a lake reflection without washing out shadows, muddying midtones, or shifting the blues in the water. With rippled water, precision is everything — so I combine a Color Range Mask, Luminance Range Mask, and Brush to target only the reflected subject and keep the rest of the scene untouched.
If you’ve ever struggled to control reflections or wondered how to push brightness exactly where you want it, this tutorial is a game-changer. Clean, natural, believable adjustments — all with Lightroom’s masking tools. Let’s dive in!