
Adjust Color Like A Pro In Lightroom
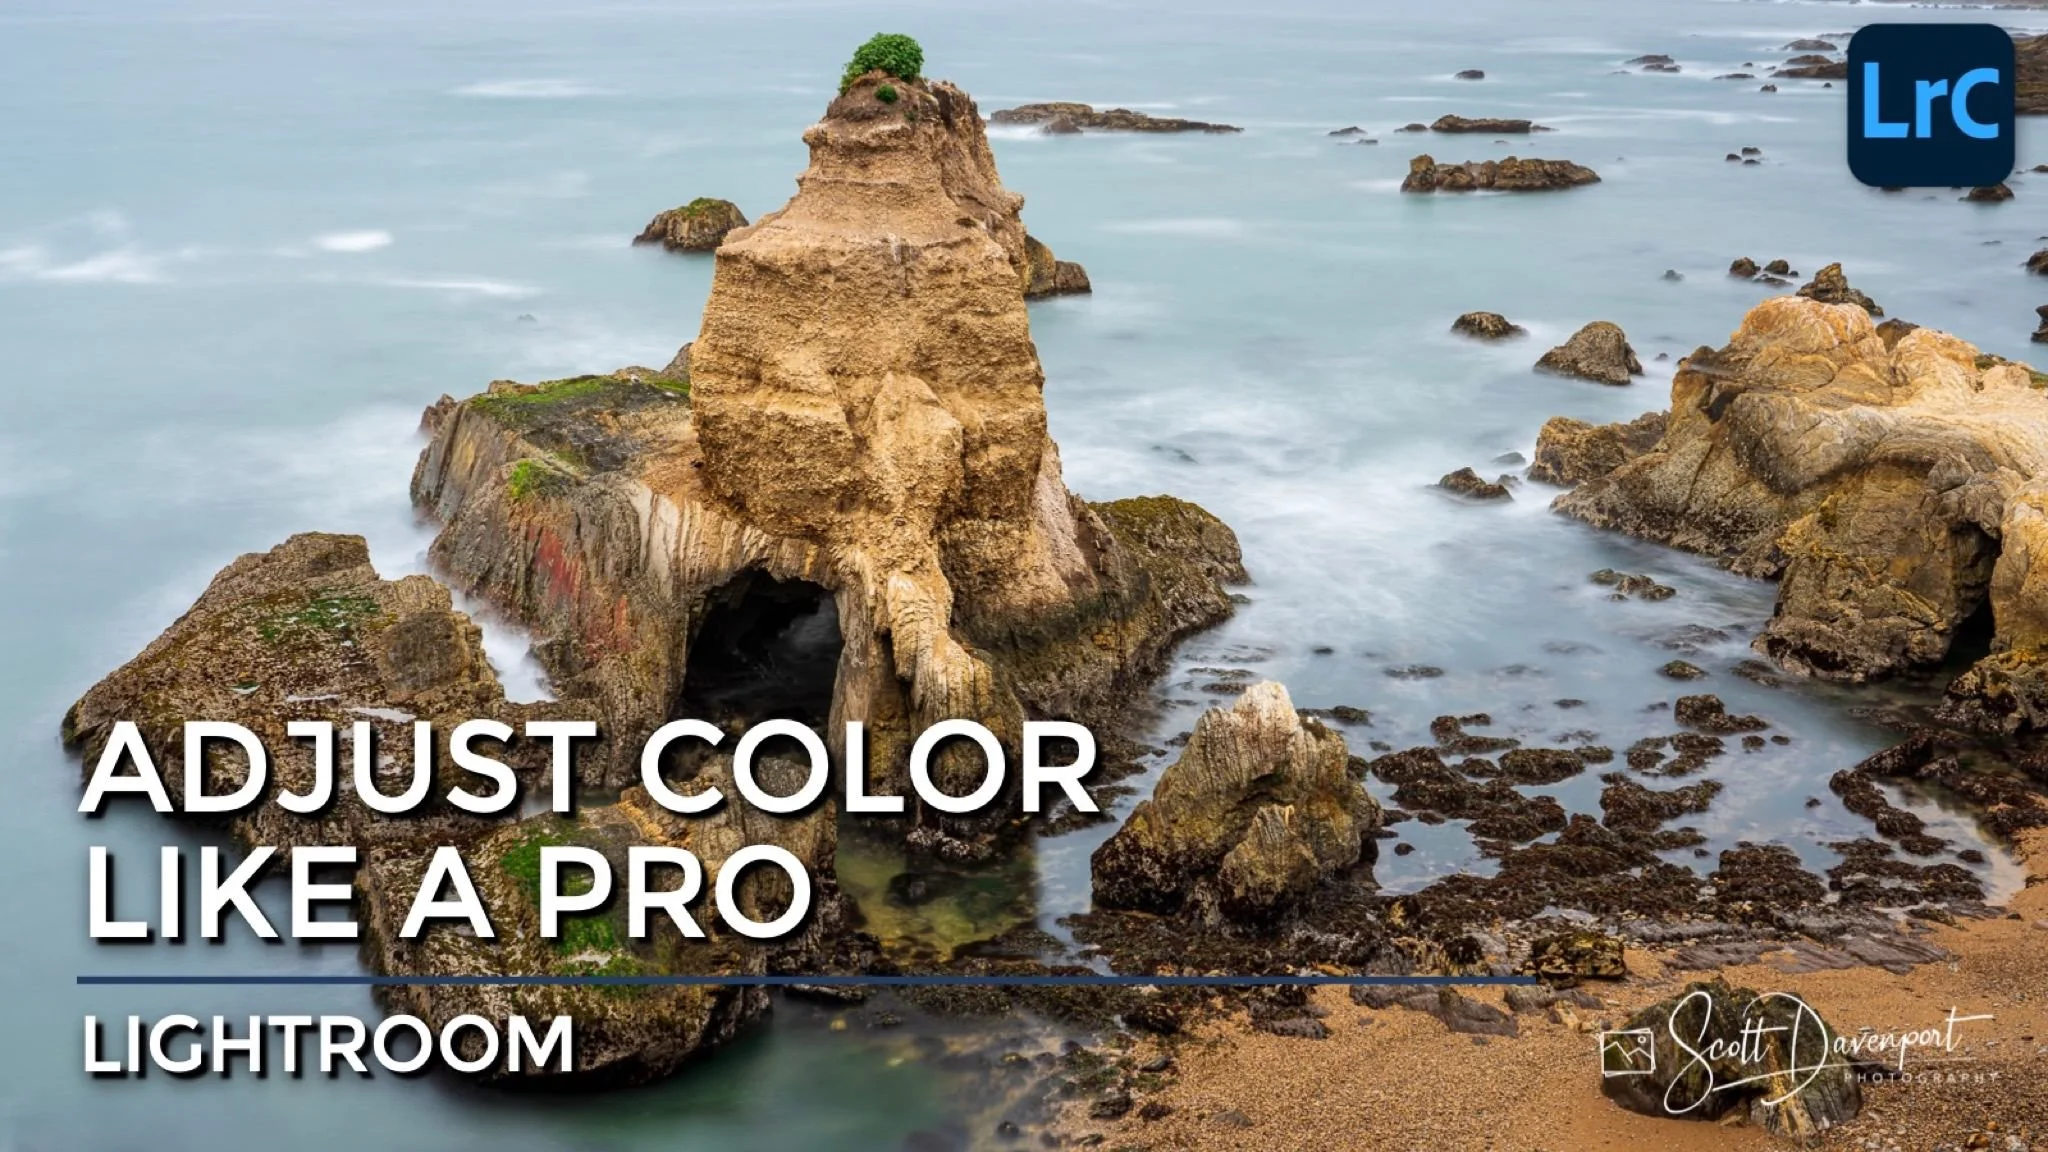
The key to stronger photos that tell compelling stories is selective adjustments. Shifting hue and color of specific elements in your photo is a part of visual storytelling.
Global changes in HSL (Hue, Saturation, Luminance) can be problematic, altering the overall mood and feel of a photo.
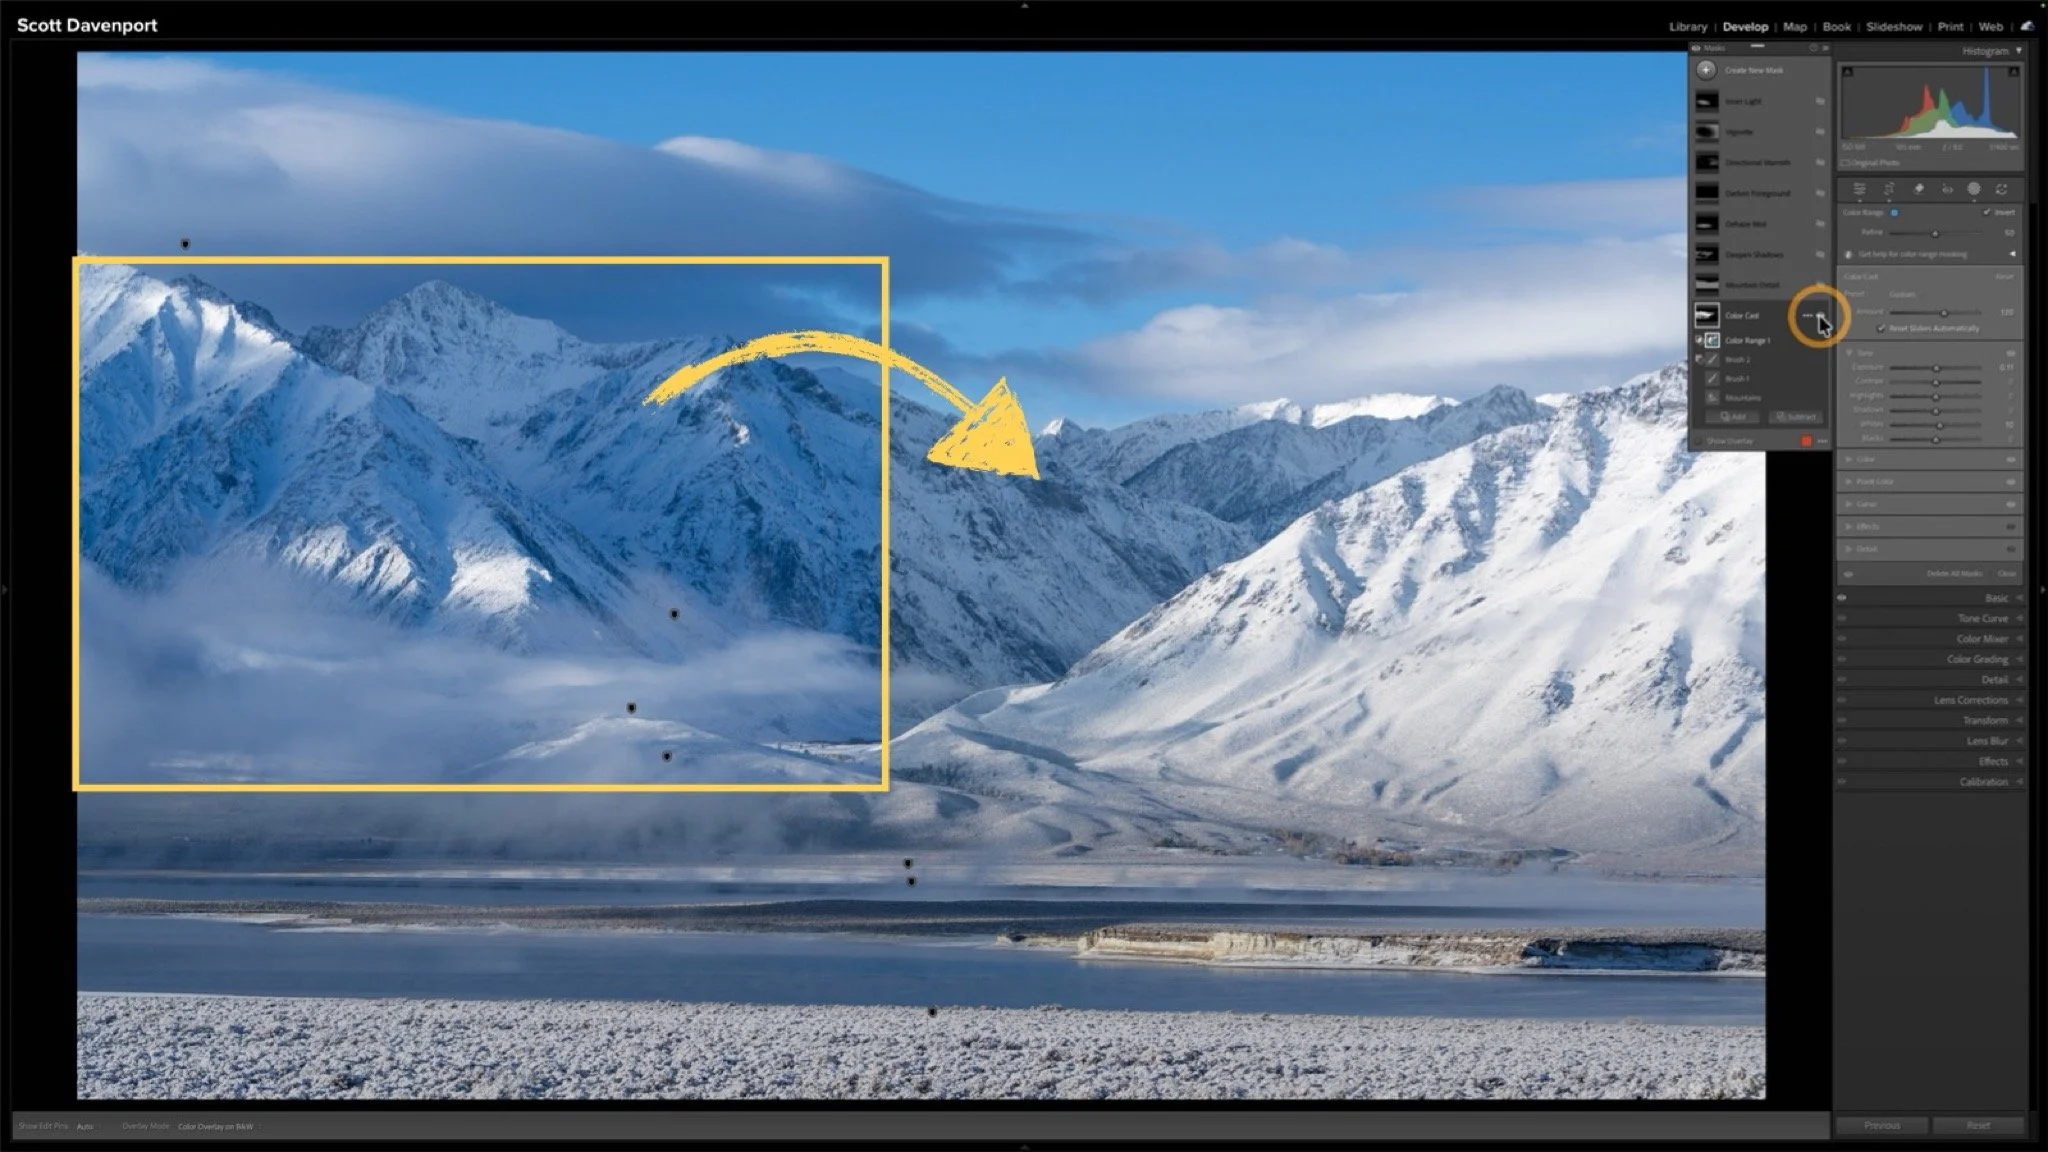
The Color Range masks in Lightroom make it easy and approachable to alter colors in targeted spots in your photo. The short video in this article will show you how to create a color range mask, refine the range of colors it affects, and limit the mask to only the areas you want to affect.
Once your mask is in place, use the sliders in the masking area:
Hue: Shift the color to another color
Saturation: Increase or decrease the richness of the color
Exposure: Increase or decrease the luminance (brightness) of the color
With a Color Range mask, you have a powerful, selective, HSL tool.
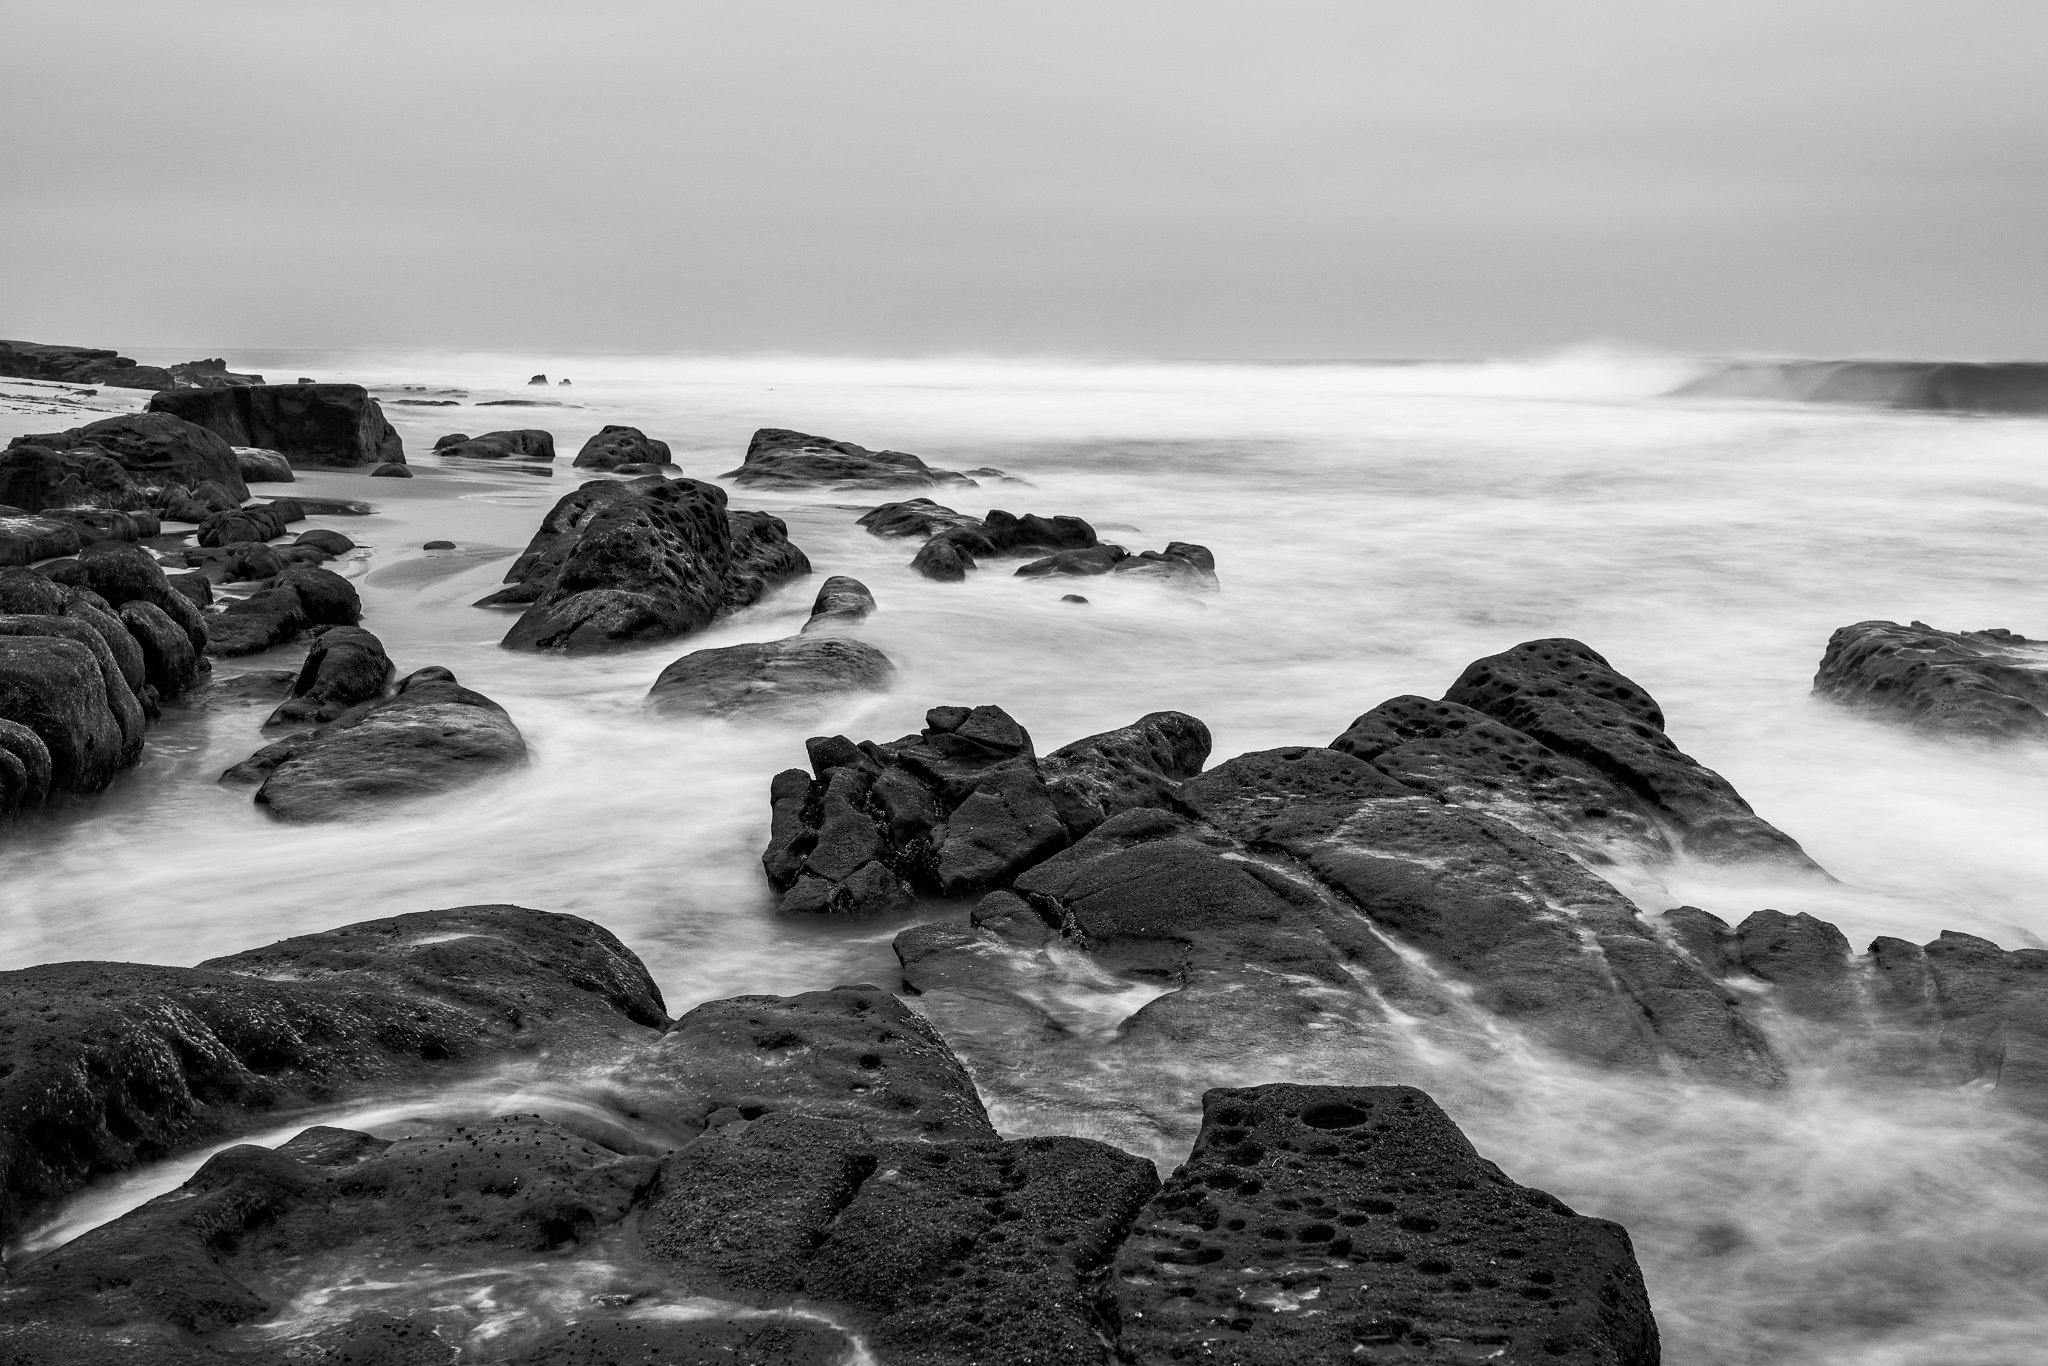
Sea Stacks In Montana de Oro Park, Los Osos, California
Contact Scott to commission a print or license this image.






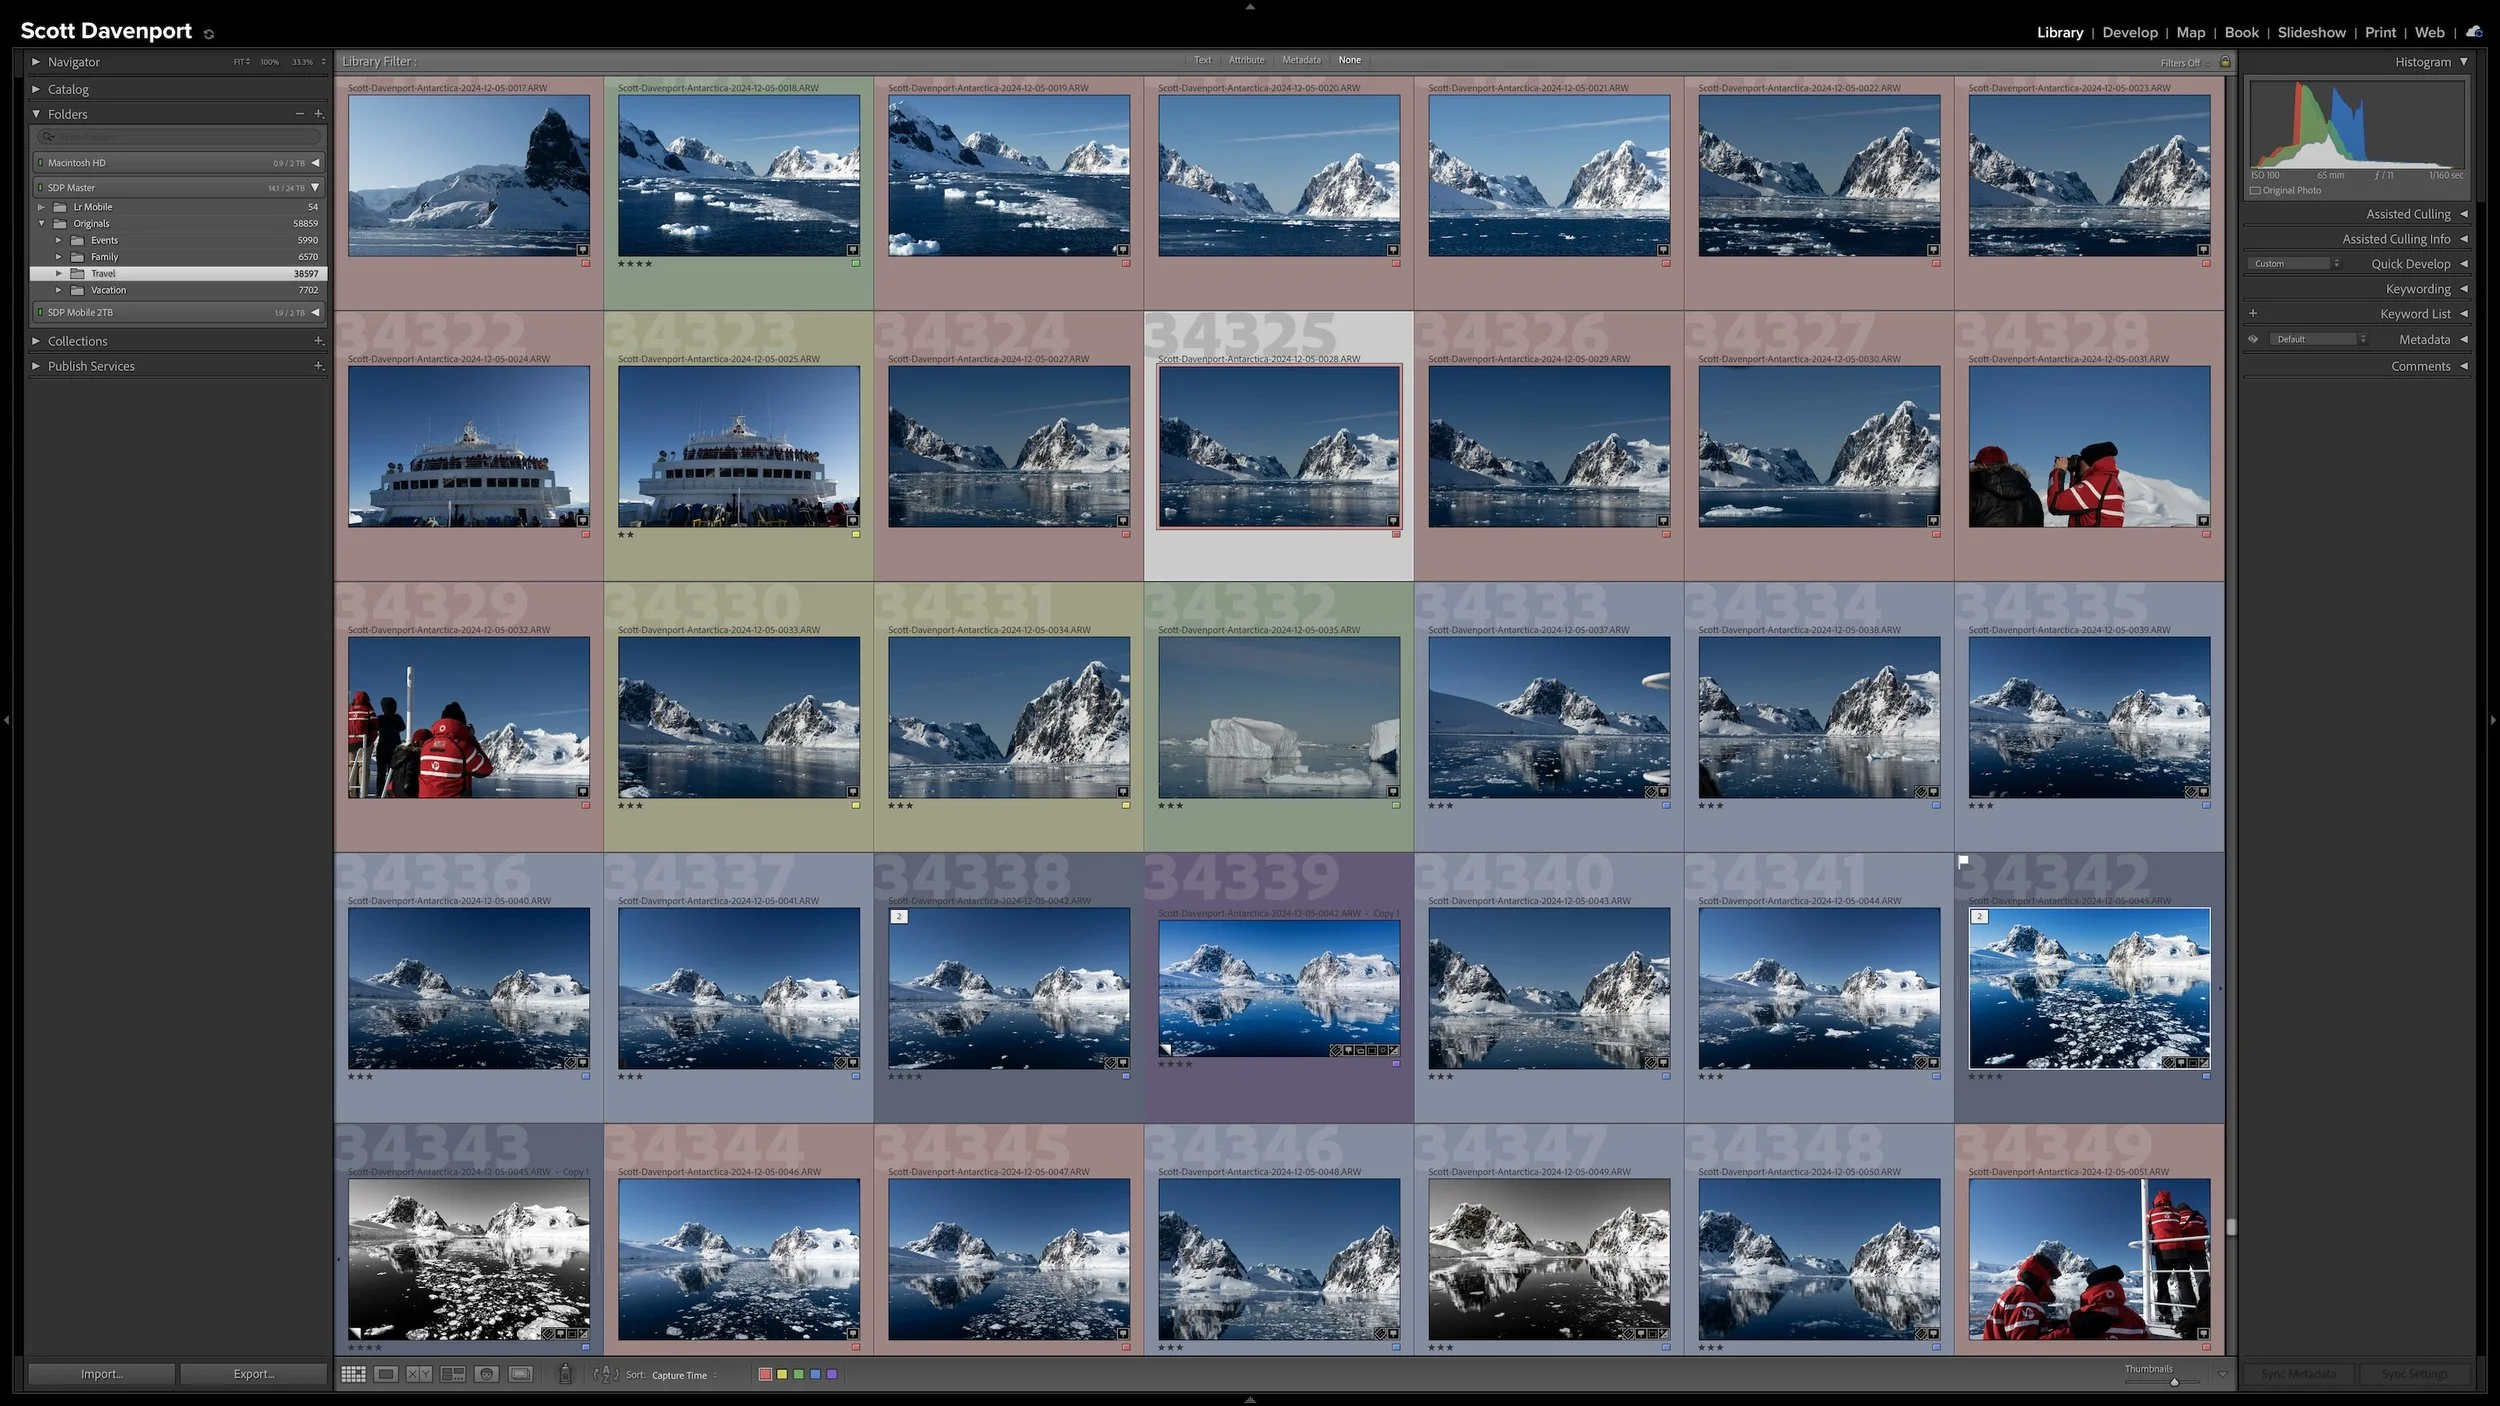

A complicated subject can take a little work to mask well. Once you've made that selection, what else can you do with it? Quite a bit, especially when you want to give your subject more separation from a busy background.
Using a mossy tree as an example, I explain how Lightroom's Duplicate and Invert lets you build several adjustments from one refined mask. You can shape the background and guide the eye while protecting the light on your foreground subject.