Why I’ve Been Quiet Lately: True HDR Editing in Lightroom
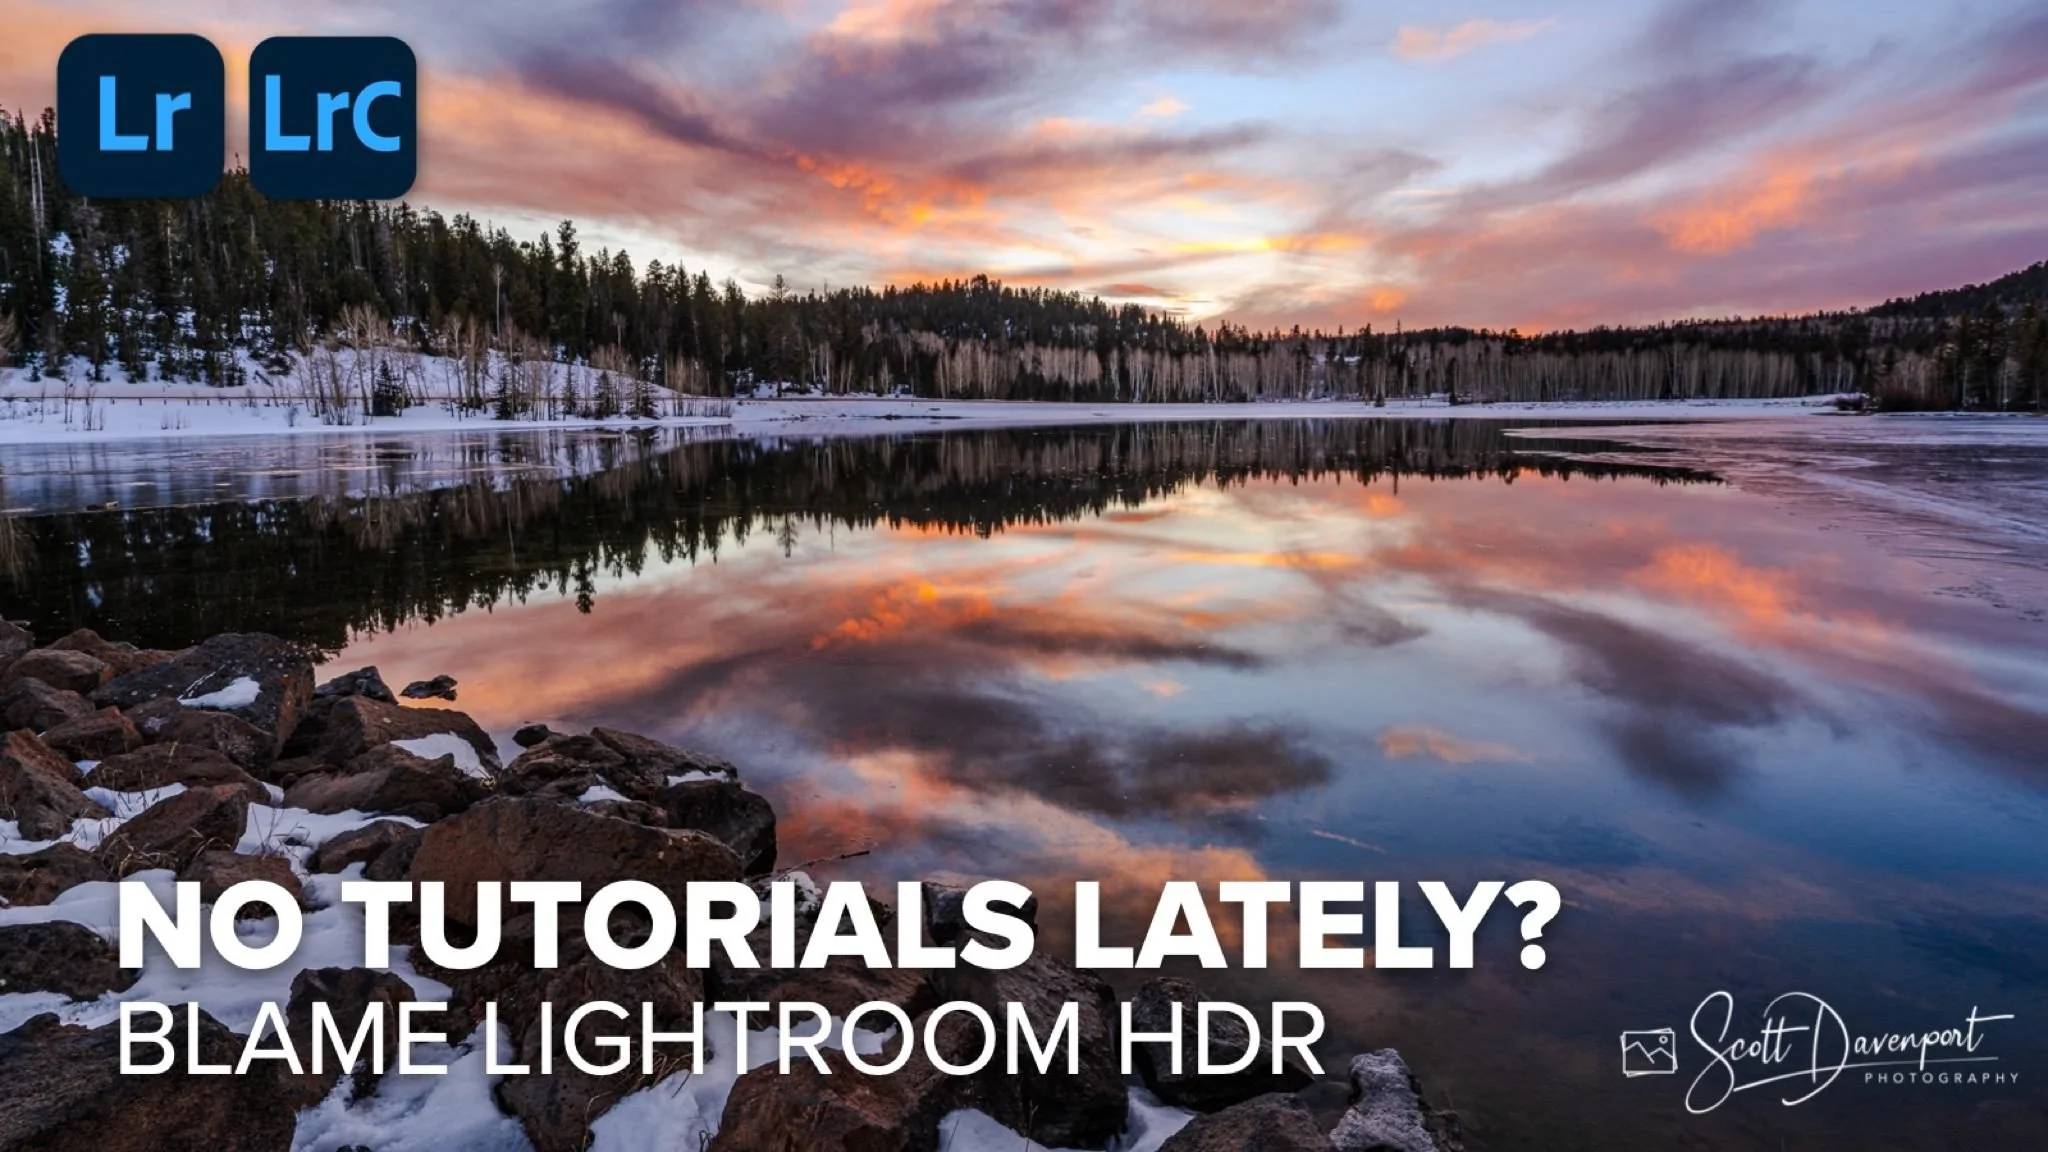
Heads up! Watch this video on an HDR capable display (like your smart phone).
I haven’t posted a new tutorial in a few weeks because I’ve been deep in Lightroom’s true HDR editing mode—not the usual tone mapping or image blending, but real HDR editing on an HDR-capable display.
Working in HDR has changed how I approach my photos, and it’s also created new challenges for my screen capture and video workflow. Capturing and preserving HDR in a screencast is tricky—most software and displays don’t natively handle it—so I’ve been experimenting with ways to show the full HDR image without compromising what you see on standard monitors.
This video is a peek behind the curtain: how HDR is changing my workflow, the technical hurdles I’ve run into, and why I’m so excited about what it allows me to do with light, tone, and detail in landscapes.
Duck Creek Lake, Utah
Contact Scott to commission a print or license this image.

Have you ever subtracted an object from a Lightroom mask, only to find a thin ridge left behind around the selection? Cleaning that up usually means reaching for the Brush tool and carefully painting along the edge.
Lightroom Classic’s new Feather and Edge controls give you a faster way to soften, expand, or contract many AI-generated masks. In this video, I’ll explain how the controls work, which masking tools support them, and where Edge is already saving me cleanup time.
What happens when Lightroom’s AI landscape masking doesn’t recognize the subject you want to edit? Sometimes, the missing selection is exactly what you need.
In this video, I combine Lightroom’s vegetation and mountain masks with inversion, subtraction, and a radial gradient to isolate the architecture at Machu Picchu. The result adds depth to the scene and guides attention without requiring painstaking brushwork.
Lightroom may correctly find every person in a photograph and still make a mess when it tries to remove them. That’s what happened with this image from Machu Picchu—the AI rebuilt so much of the scene that walkways and structures no longer made sense.
The better approach was to keep the removals that worked, then break the difficult areas into smaller, more targeted pieces. The AI still does the heavy lifting, but you give it a more manageable problem to solve.
Most edits are finished long before they're truly complete. In this video, I'll show you a simple masking technique I use to bring out important details in black and white photos—the final 5% that helps guide the viewer's eye and strengthen the image.
Harsh light doesn’t have to ruin a photo—it can shape it. In this quick edit, I show how a simple radial mask turns a Denver alley into a strong, guided composition.
Flat light doesn’t have to ruin a good composition. In this new Lightroom tutorial, I show how I use masking to shape directional light, guide the eye, and create more drama from a dull scene.
Lightroom’s HDR mode has a hidden benefit even if you never edit HDR photos. In this quick tutorial, I’ll show you how Visualize HDR can help you find and target your brightest highlights for stronger SDR edits.
Masking gets a lot easier when you stop thinking about tools and start thinking about your photo in segments. In this tutorial, I’ll show you how breaking an image into objects, tones, and colors can help you build better masks faster.
A foggy morning at Bear Lake in Rocky Mountain National Park turned into a perfect candidate for a live edit. Come along as I work through the image start to finish — shaping mood, reflections, atmosphere, and depth in real time.
Scott Davenport is a landscape photographer and photo educator and based in San Diego, California. He leads photo workshops, writes photo books, hosts podcasts, makes tutorial videos, and feels weird referring to himself in the 3rd person.
He also can't help getting his feet wet photographing at the beach.
Sometimes you commit to a landscape composition, but the moving elements never come together perfectly in a single frame. The best wave might be in one photo, while another has better texture or movement elsewhere in the scene.
In this video, I’ll show you how I selected three seascape photos and blended their strongest elements using simple layers and masks in Photoshop. The masking is straightforward, and the same idea works in any editing software that supports layers.