Fix Blown Highlights Using Curves

My earlier article with 5 Recipes For Curves struck a chord and got a great response. So … here is one more bonus Curves recipe. This little trick is great to take care of stubborn spectral highlights or other blown out areas in your image.
I use this most often when preparing an image for print. Blown highlights leaves “no ink” areas in a print - if there is no data, the printer can’t put down ink to match a color. A curve can easily redefine what is pure white and do so with precision and subtlety.
Adjust The White Point With Curves
The end point on the Curves tool define the pure black (lower left corner) and pure white (upper right corner). To pull back just the very bright highlights, redefine the white point as follows:
Select the pure white point (upper right corner).
Note the Input value is 255.
Tug the point down very, very slightly. The Output value changes.
An Output value of 254 or 253 is typically all that’s needed to handle pesky blown highlights. Depending on the Curves tool you have in your editor, you may also be able to key in the output value directly.
Tug down on the white point so the pure white (255) output is slightly smaller (254, or 253).
Before the Curves adjustment there are speckles of blown highlights.
After the Curves adjustment the highlights are reigned in and the rest of the photo is virtually untouched.
Conclusion
Simple, right? And very effective. The advantage this technique has over a Highlights or Whites slider is it is more precise. Changes to the overall photo are subtle and usually imperceptible. And if they aren’t … you have the flexibility to add a point to the curve and readjust as needed.

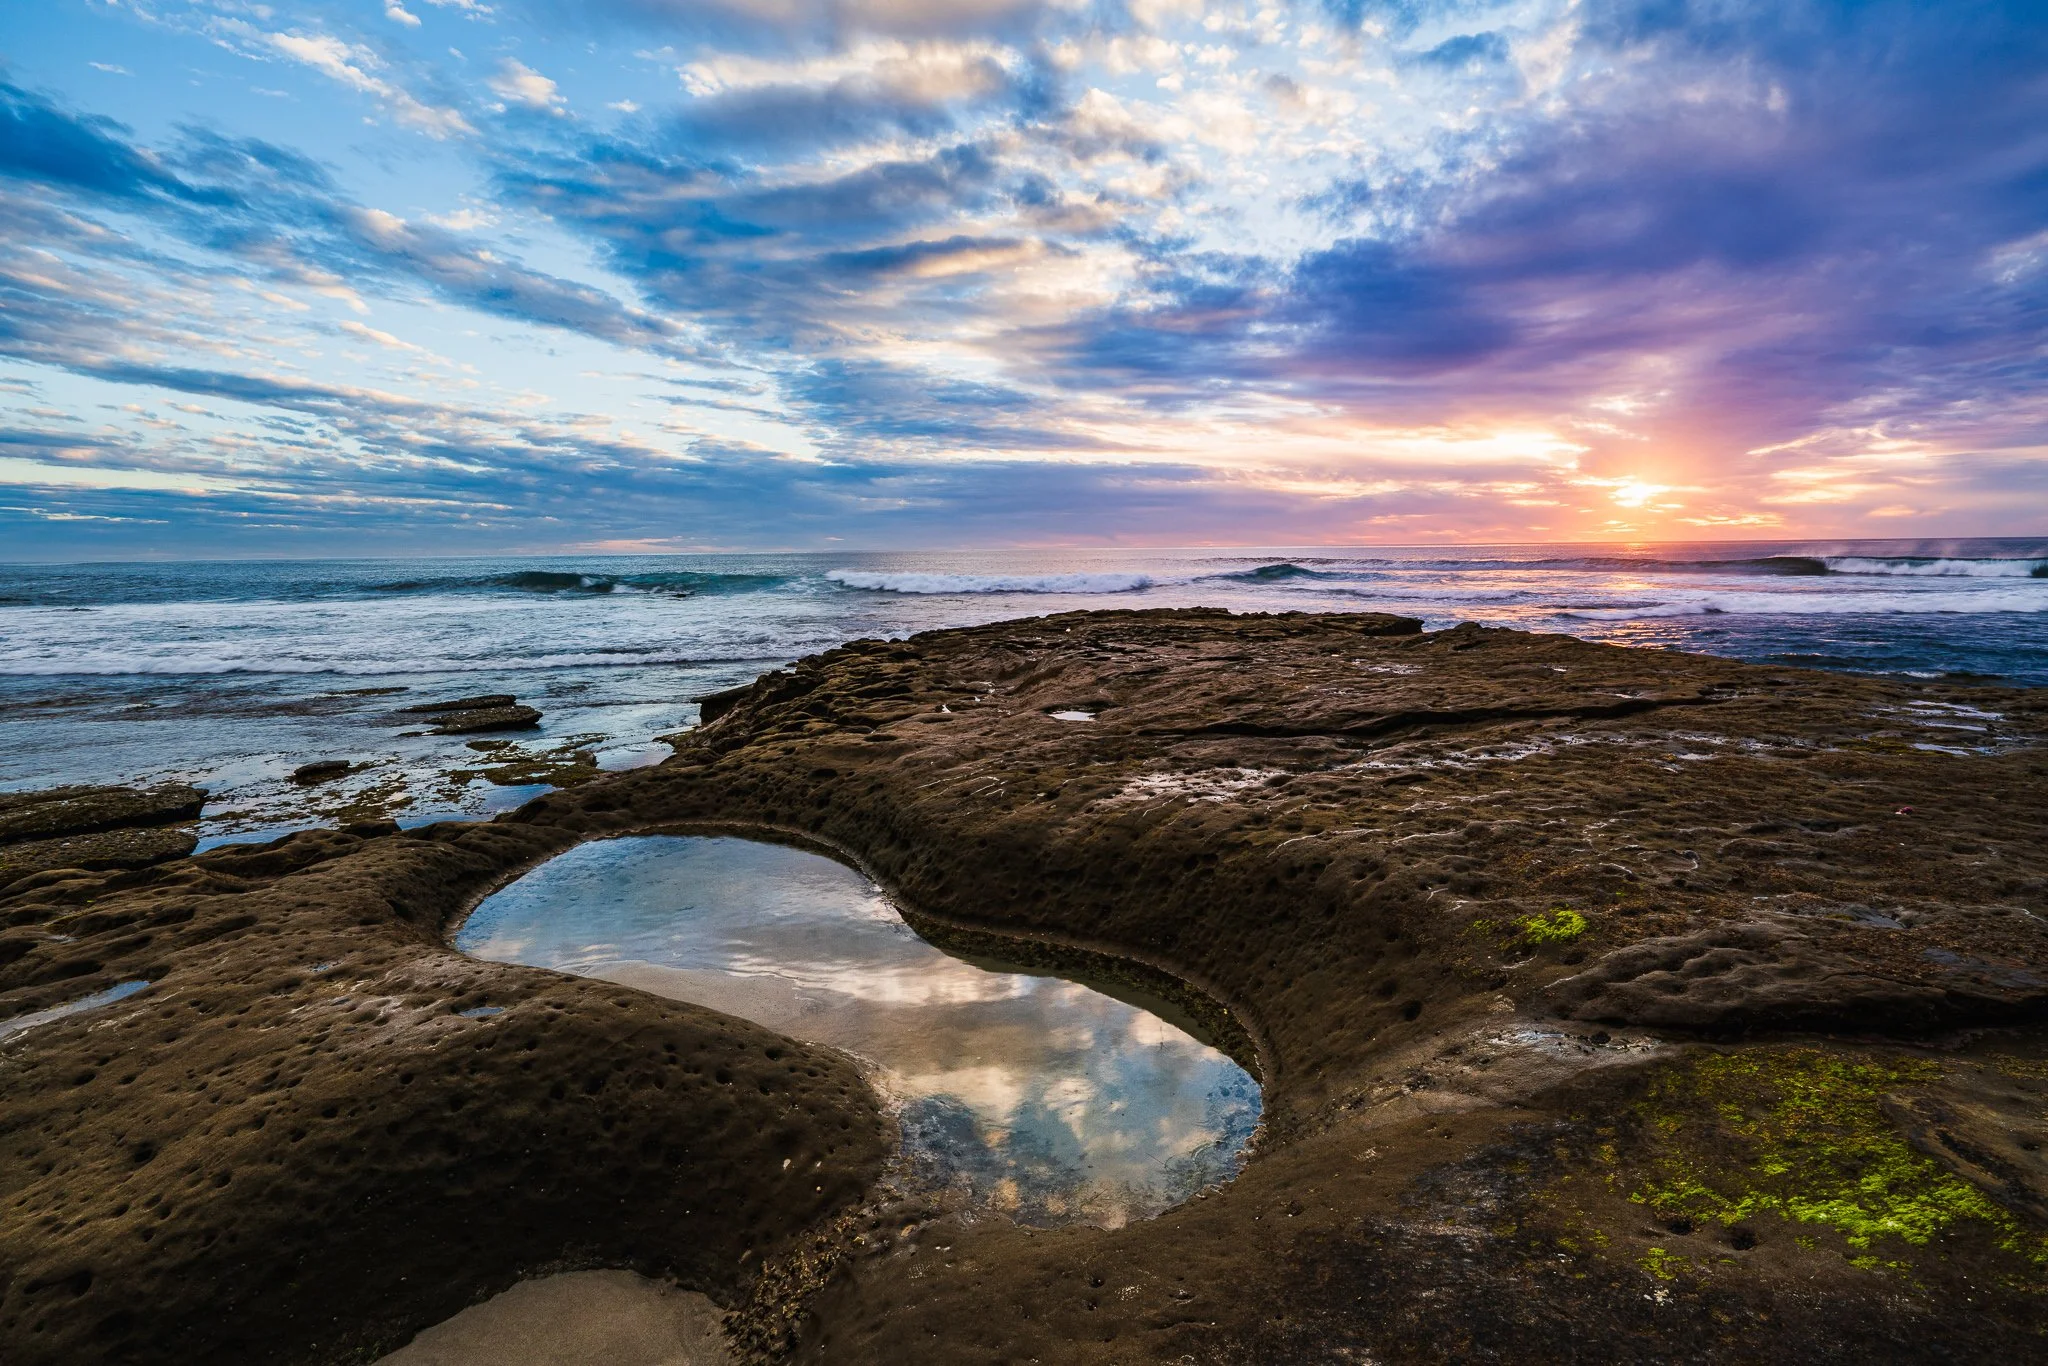
La Jolla Sunset December 2022
Contact Scott to commission a print or license this image.