
Precision Edits Using Intersects In Lightroom
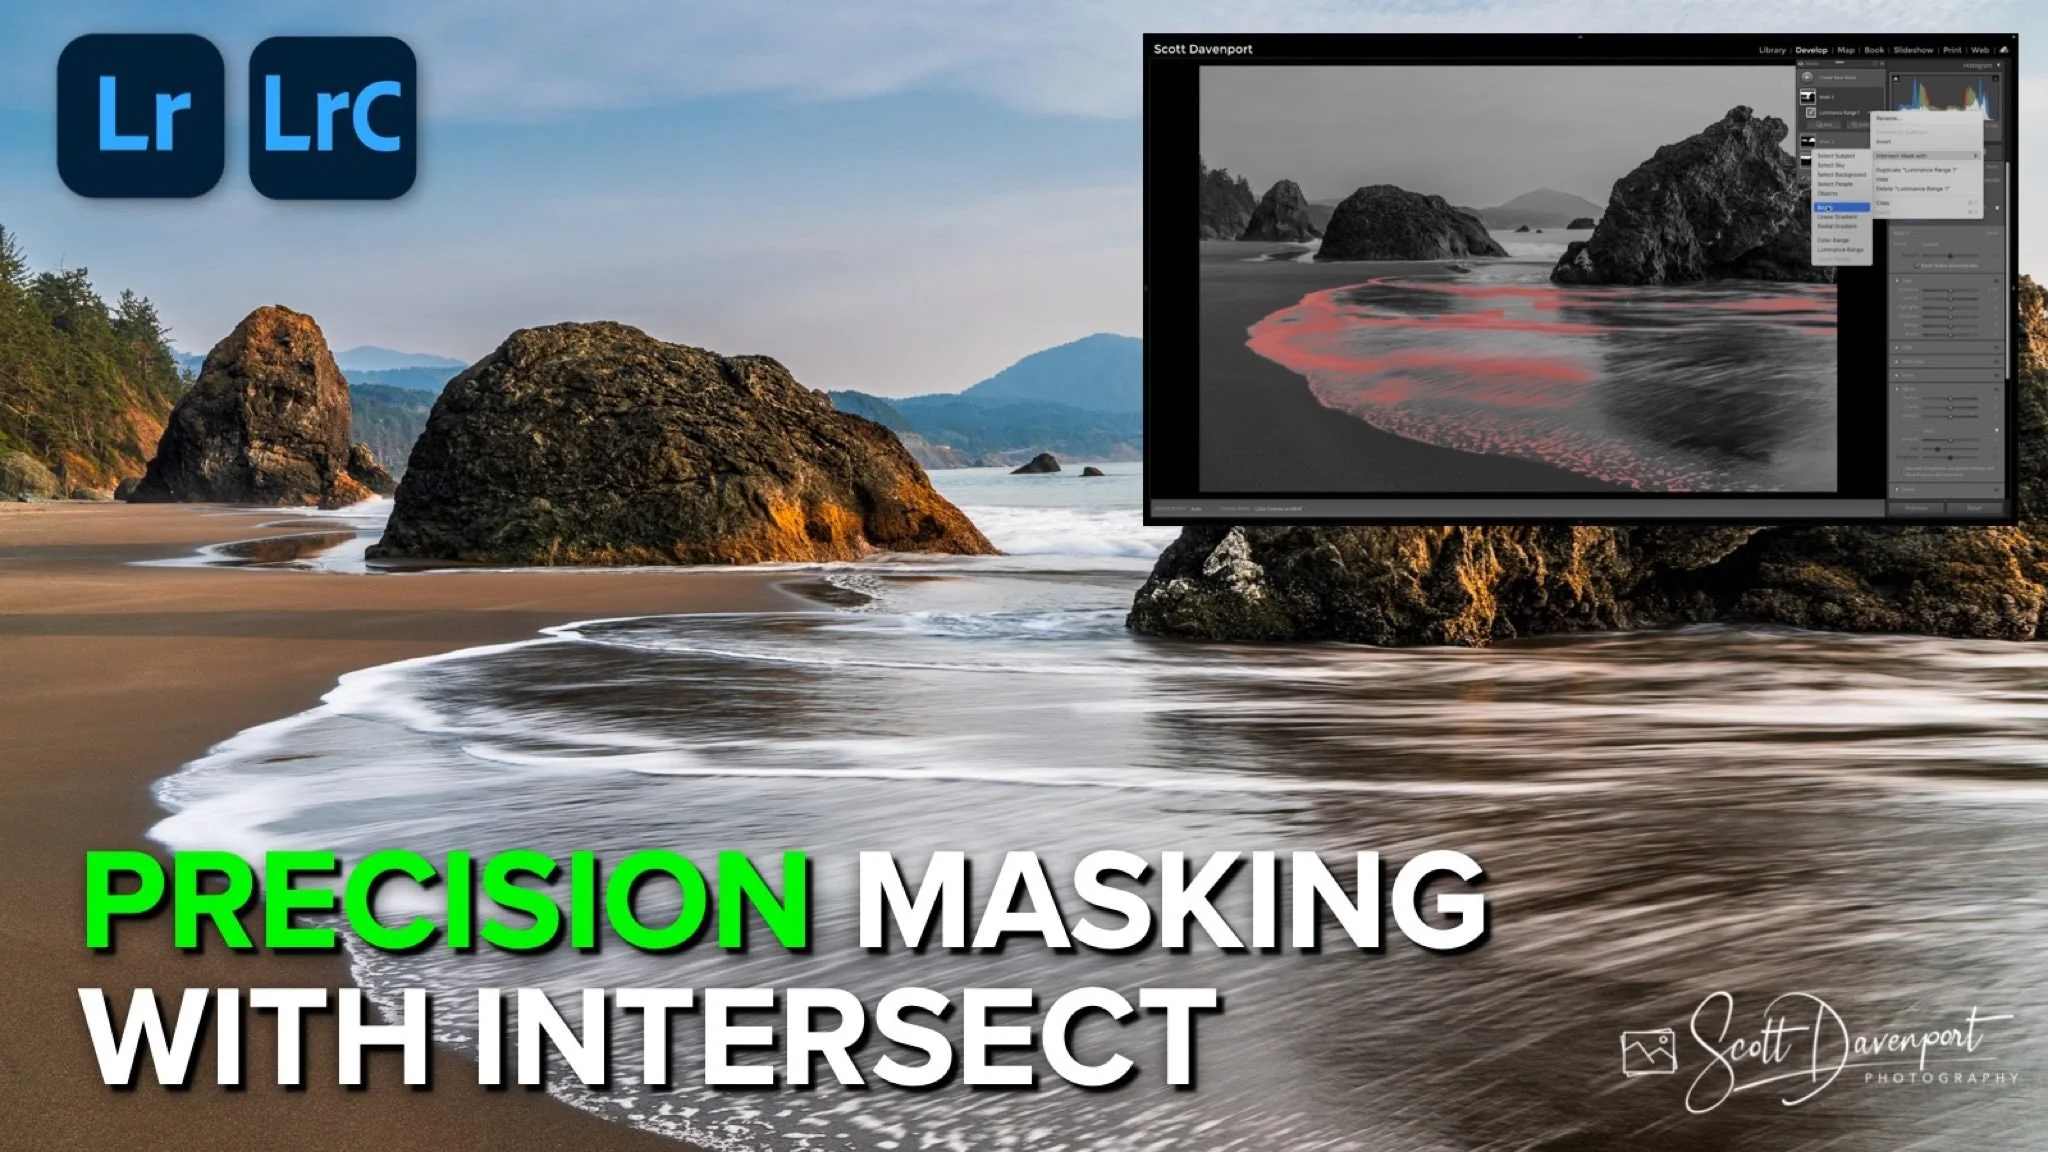
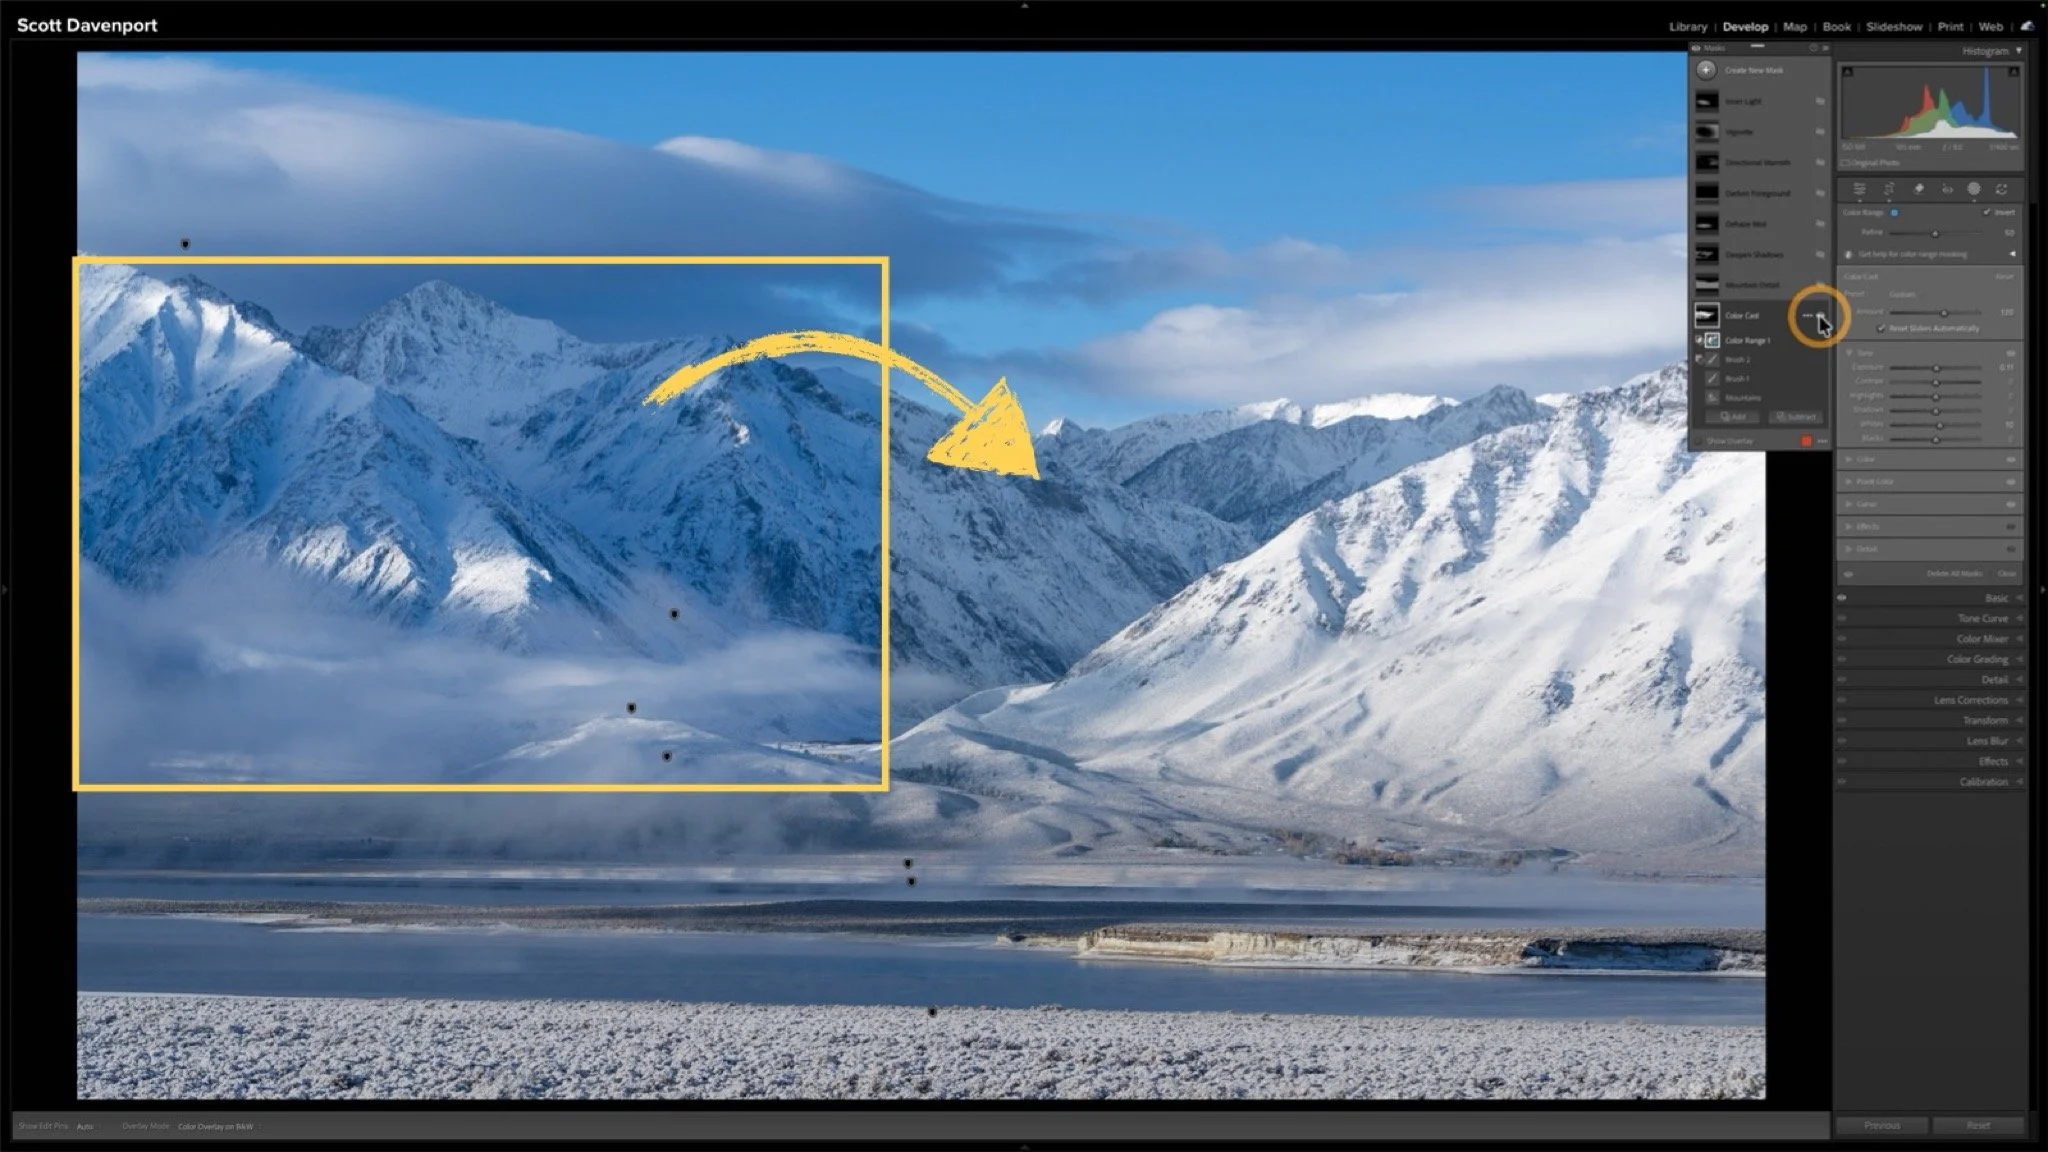
Intersect with Brush is perfect for adding precision to your edits and create highly detailed adjustments with minimal effort. It’s a masking tool “recipe” I use again and again in Lightroom. Intersect is one of Lightroom’s most powerful masking options and you might be underutilizing it. No painstaking masking strokes! And better yet - you can work visually, putting your attention on your photo where it belongs.
I’ll walk you through step-by-step on how to use Intersect with Brush to refine masks and adjust highlights, shadows, detail, and more for a truly polished look. Get a pro-level understanding of how to elevate your editing workflow and make each photo stand out.
Here are a few example photos where I used one masked intersected with a brush to apply finishing touches.
Dusty Road, Death Valley, California
Contact Scott to commission a print or license this image.
Trees, Santa Ysabel, California
Contact Scott to commission a print or license this image.
Surf, Port Orford, Oregon
Contact Scott to commission a print or license this image.







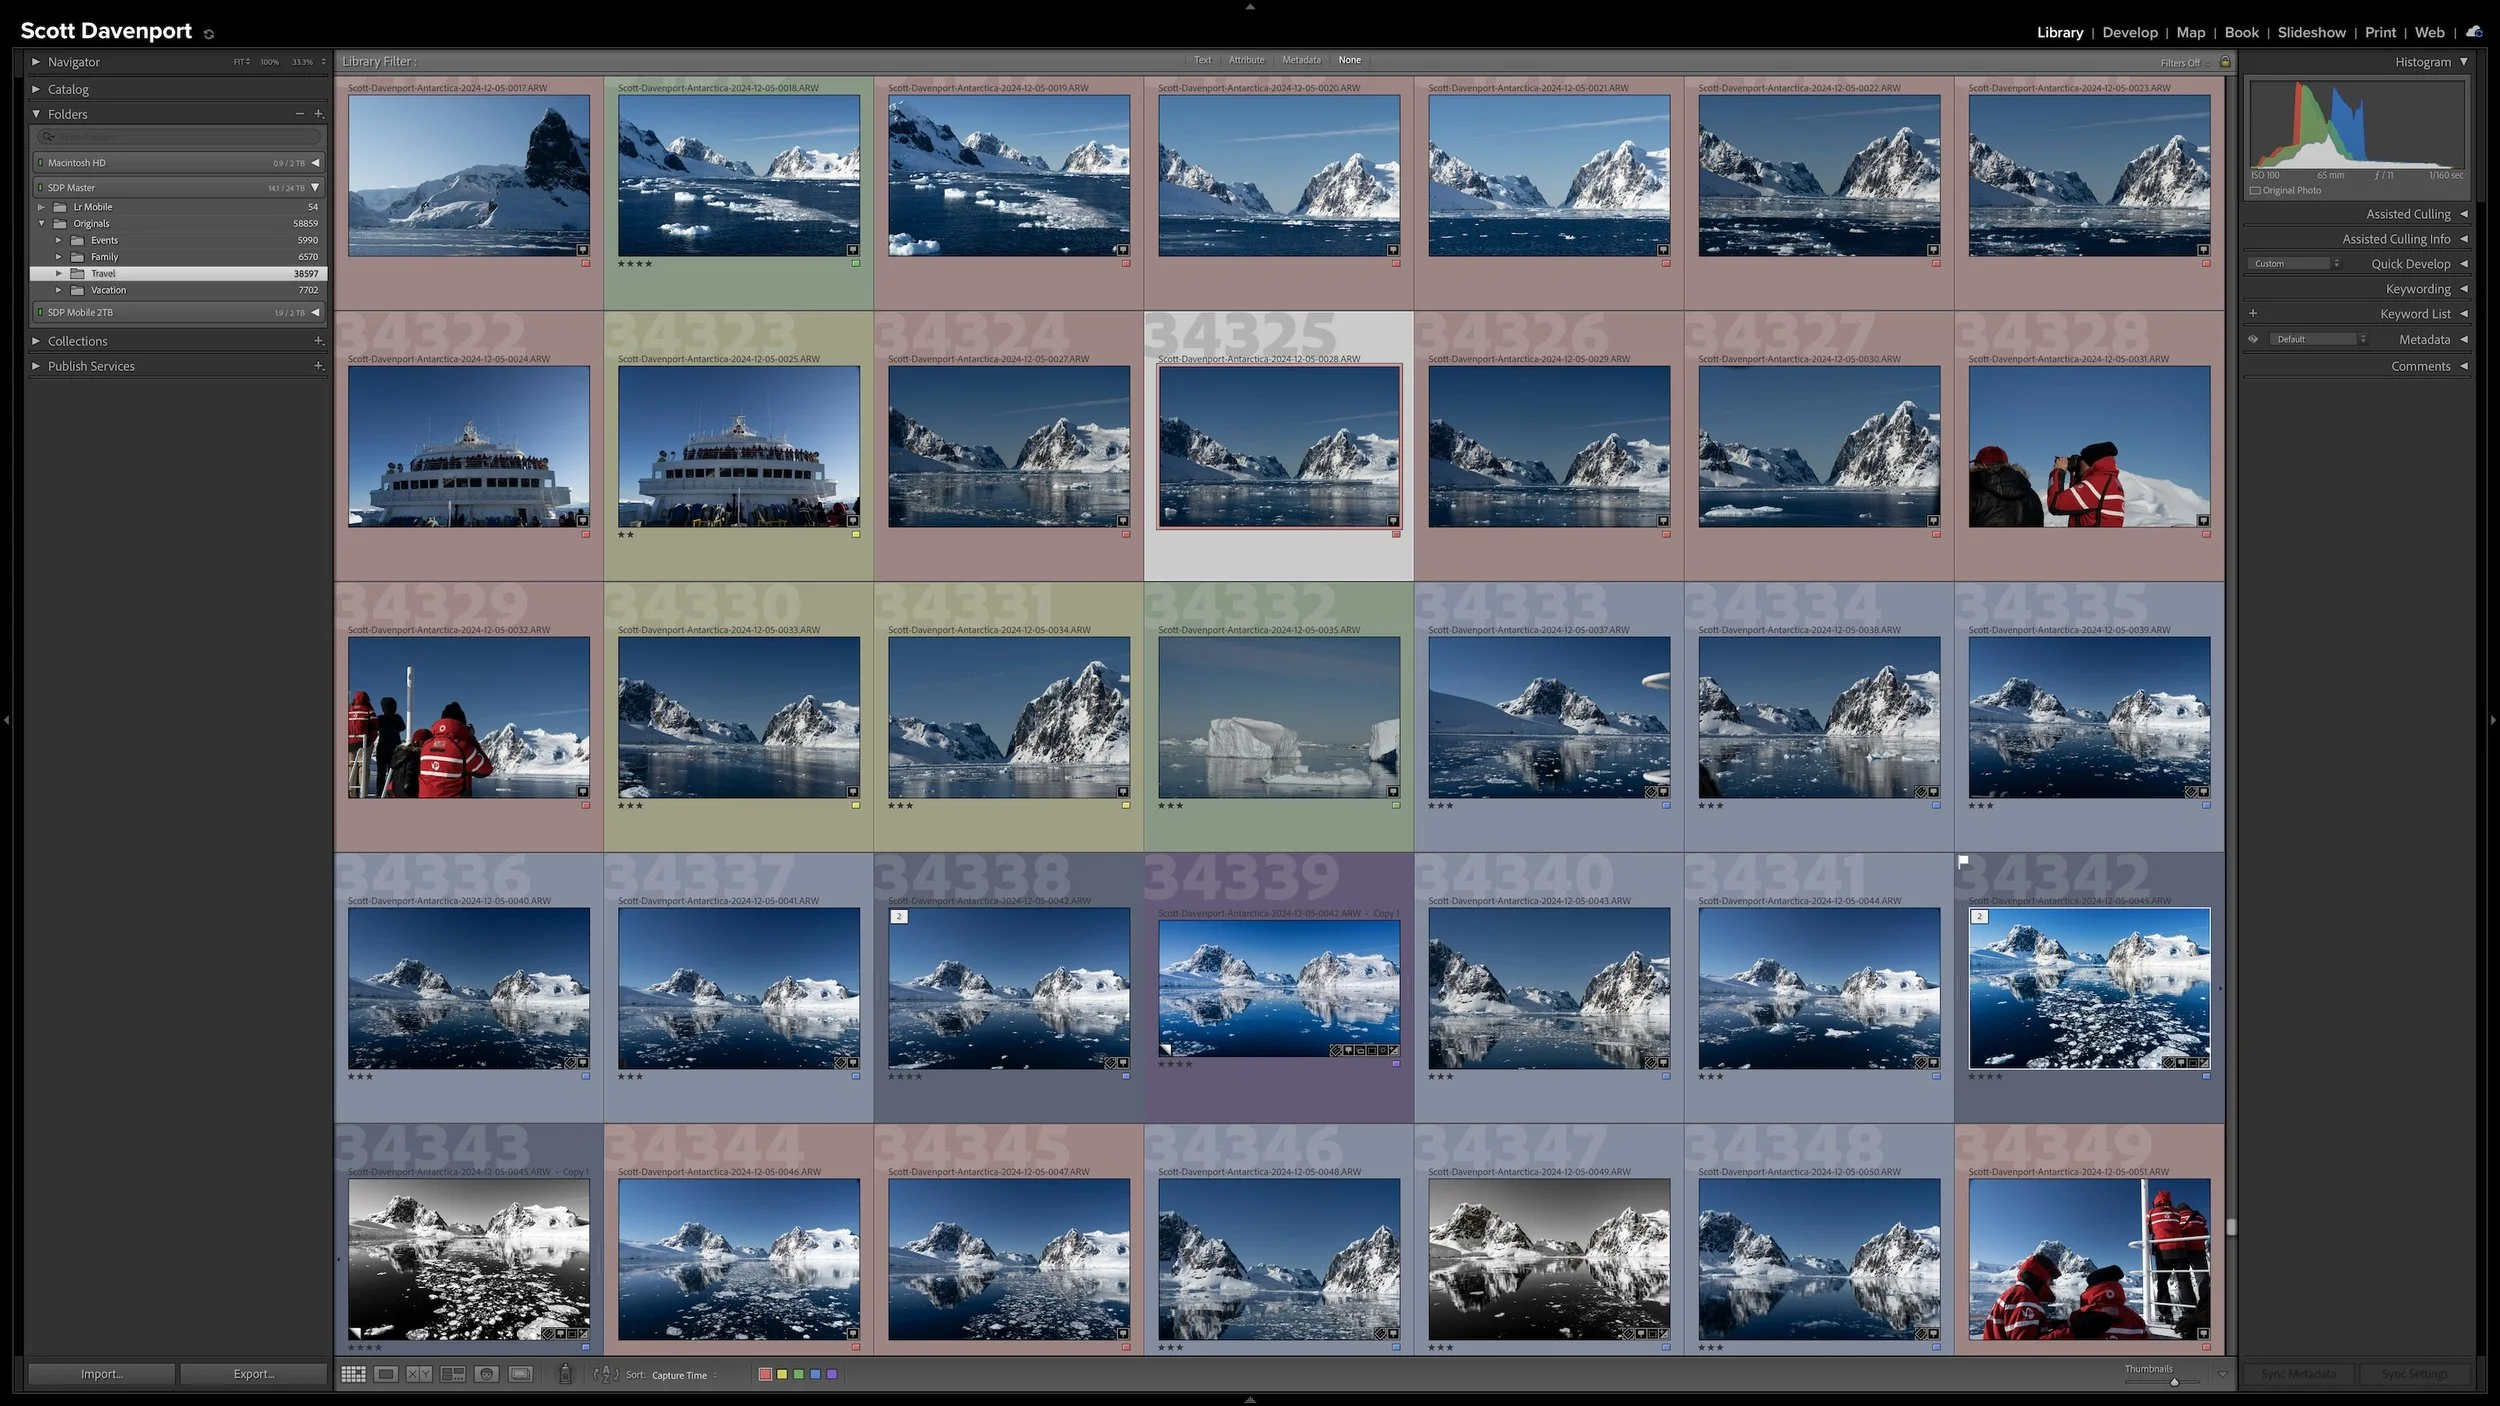

Lightroom Classic's Import dialog presents plenty of choices, but one of the most important decisions is straightforward: where are your photos now, and where do you want the original files to live after the import?
Copy, Move, and Add each handle the original files differently. Once you understand what happens to the physical files and what happens in the Lightroom catalog, choosing the right import method becomes much easier.