
Fast, Precise Dodge & Burn In Lightroom
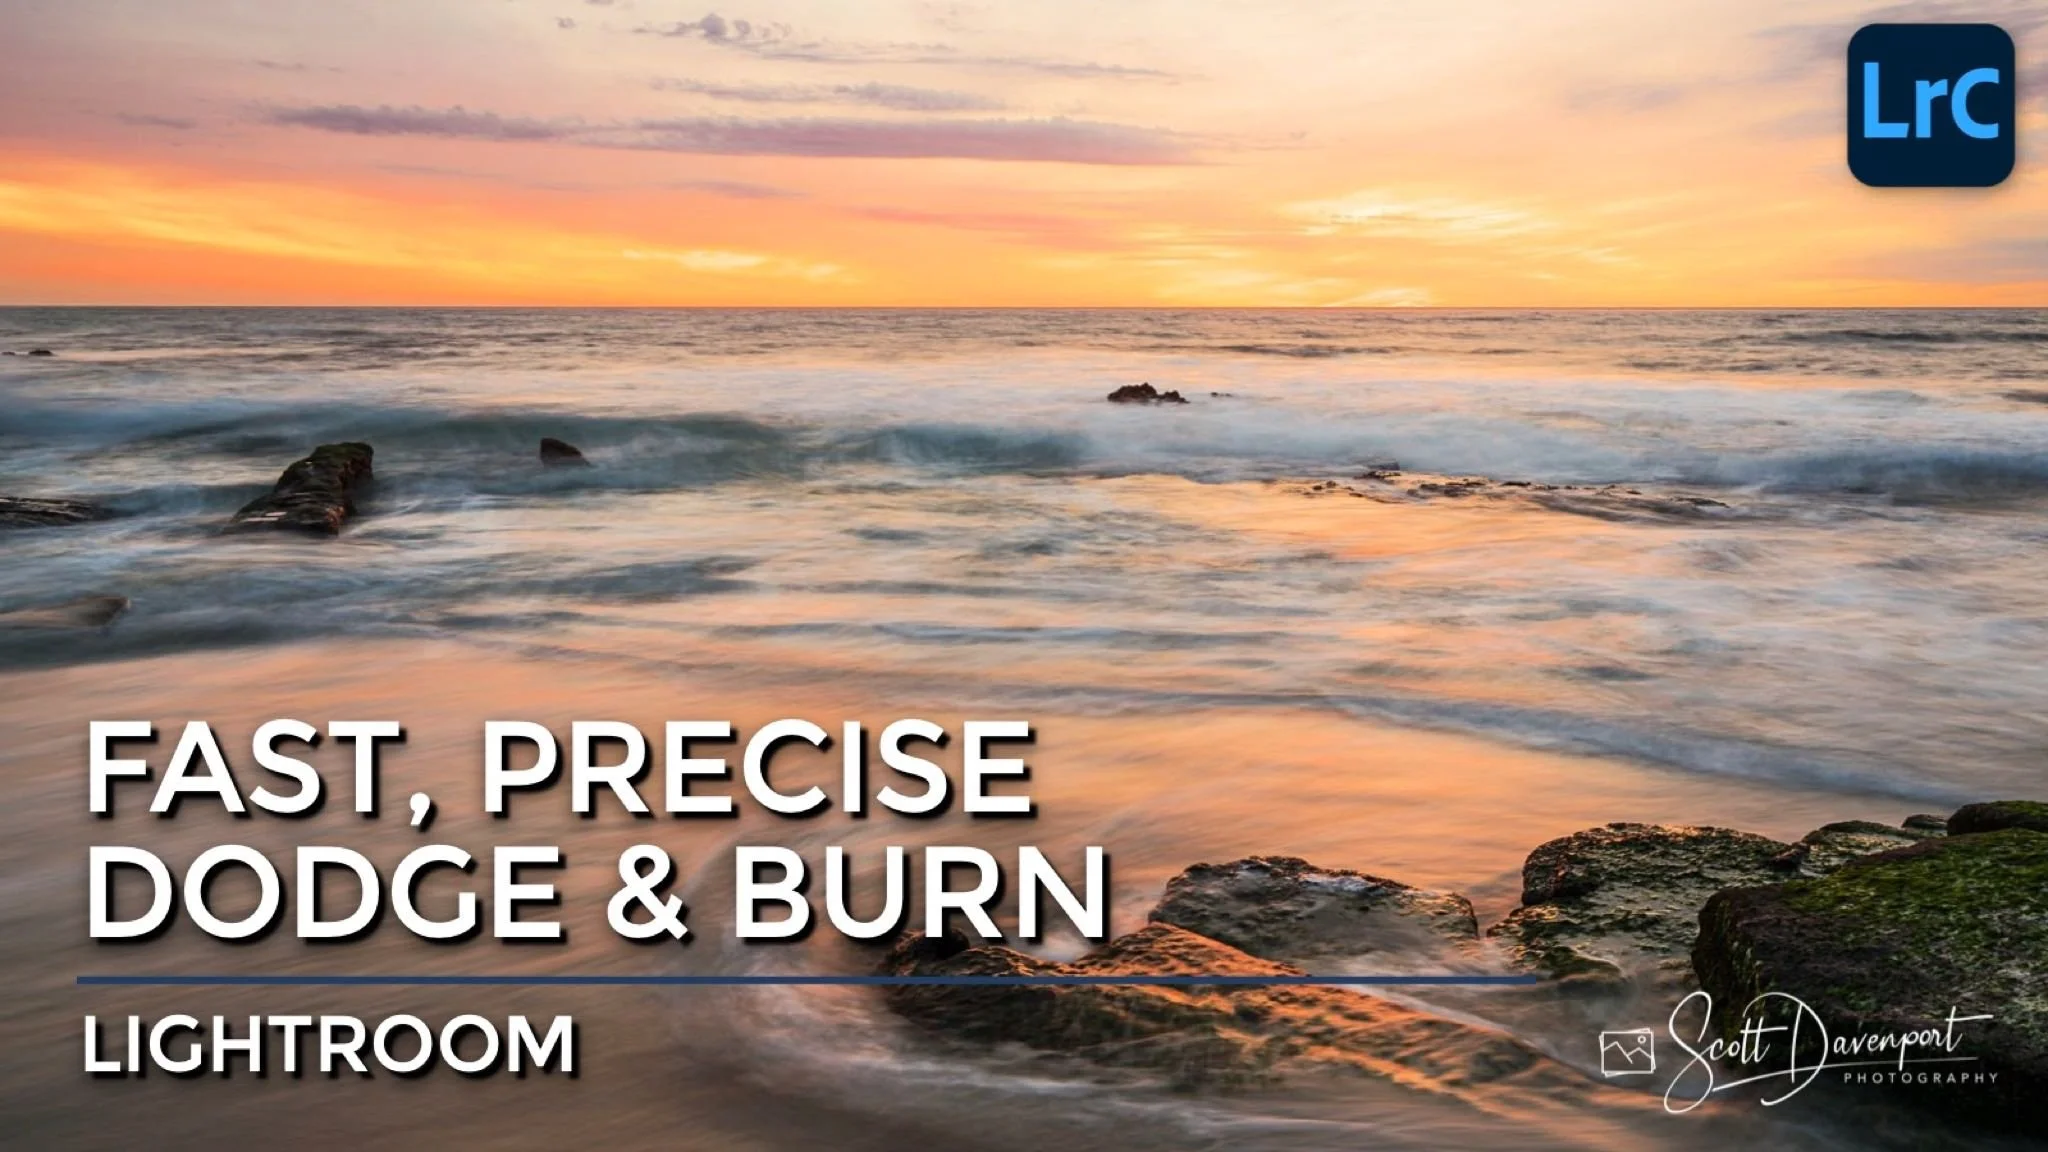
Dodging and burning is a staple in post processing - and with good reason. Those final, subtle adjustments shape and emphasize the story of your image. The masking improvements added to Lightroom in 2022 make fast, precise dodging and burning easier than ever before. The trick - use a luminance range intersected with a brush. The steps are simple:
Add a luminance range mask and select the target tone you want to adjust.
Stage the sliders to increase exposure (dodge) or decrease exposure (burn)
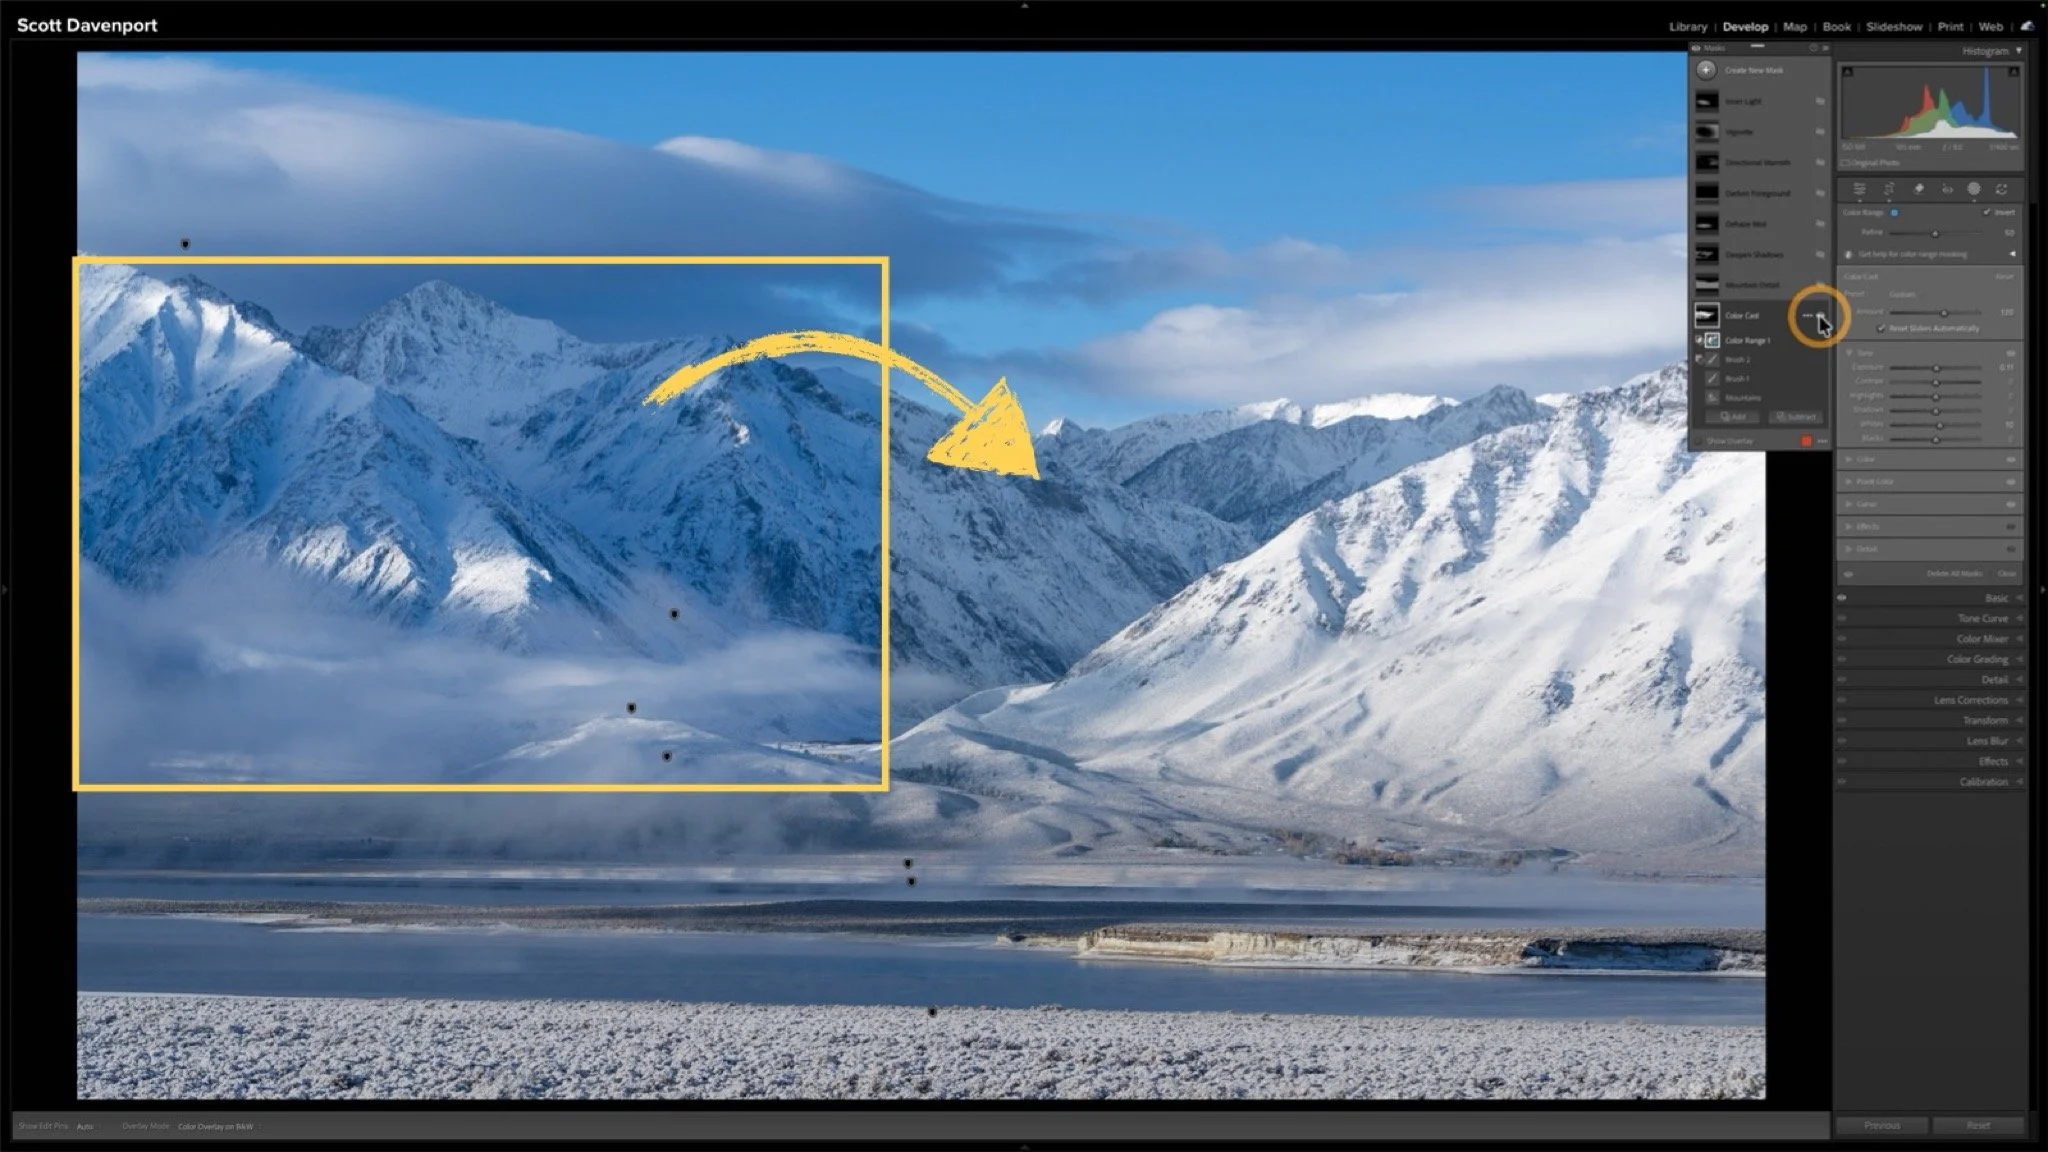
In the Masks panel, click the triple-dot menu for the luminance range mask.
Choose Intersect With > Brush from the popup menu
Paint over the areas you want to dodge or burn
Paint with the intersected brush. The luminance range limits the brush strokes to only the tonal regions in the range.
Notice how the whitewash has a pop of exposure.
In this example, I dodged the whitewash of the ocean to brighten it a little. My brush strokes are relatively wide. The impact of the exposure adjustment is limited to the brighter parts of the whitewash because of the luminance range mask.
It’s fast. It’s simple. And it’s very effective. Try it out!
La Jolla Sunset 3 December 2022
Contact Scott to commission a print or license this image.







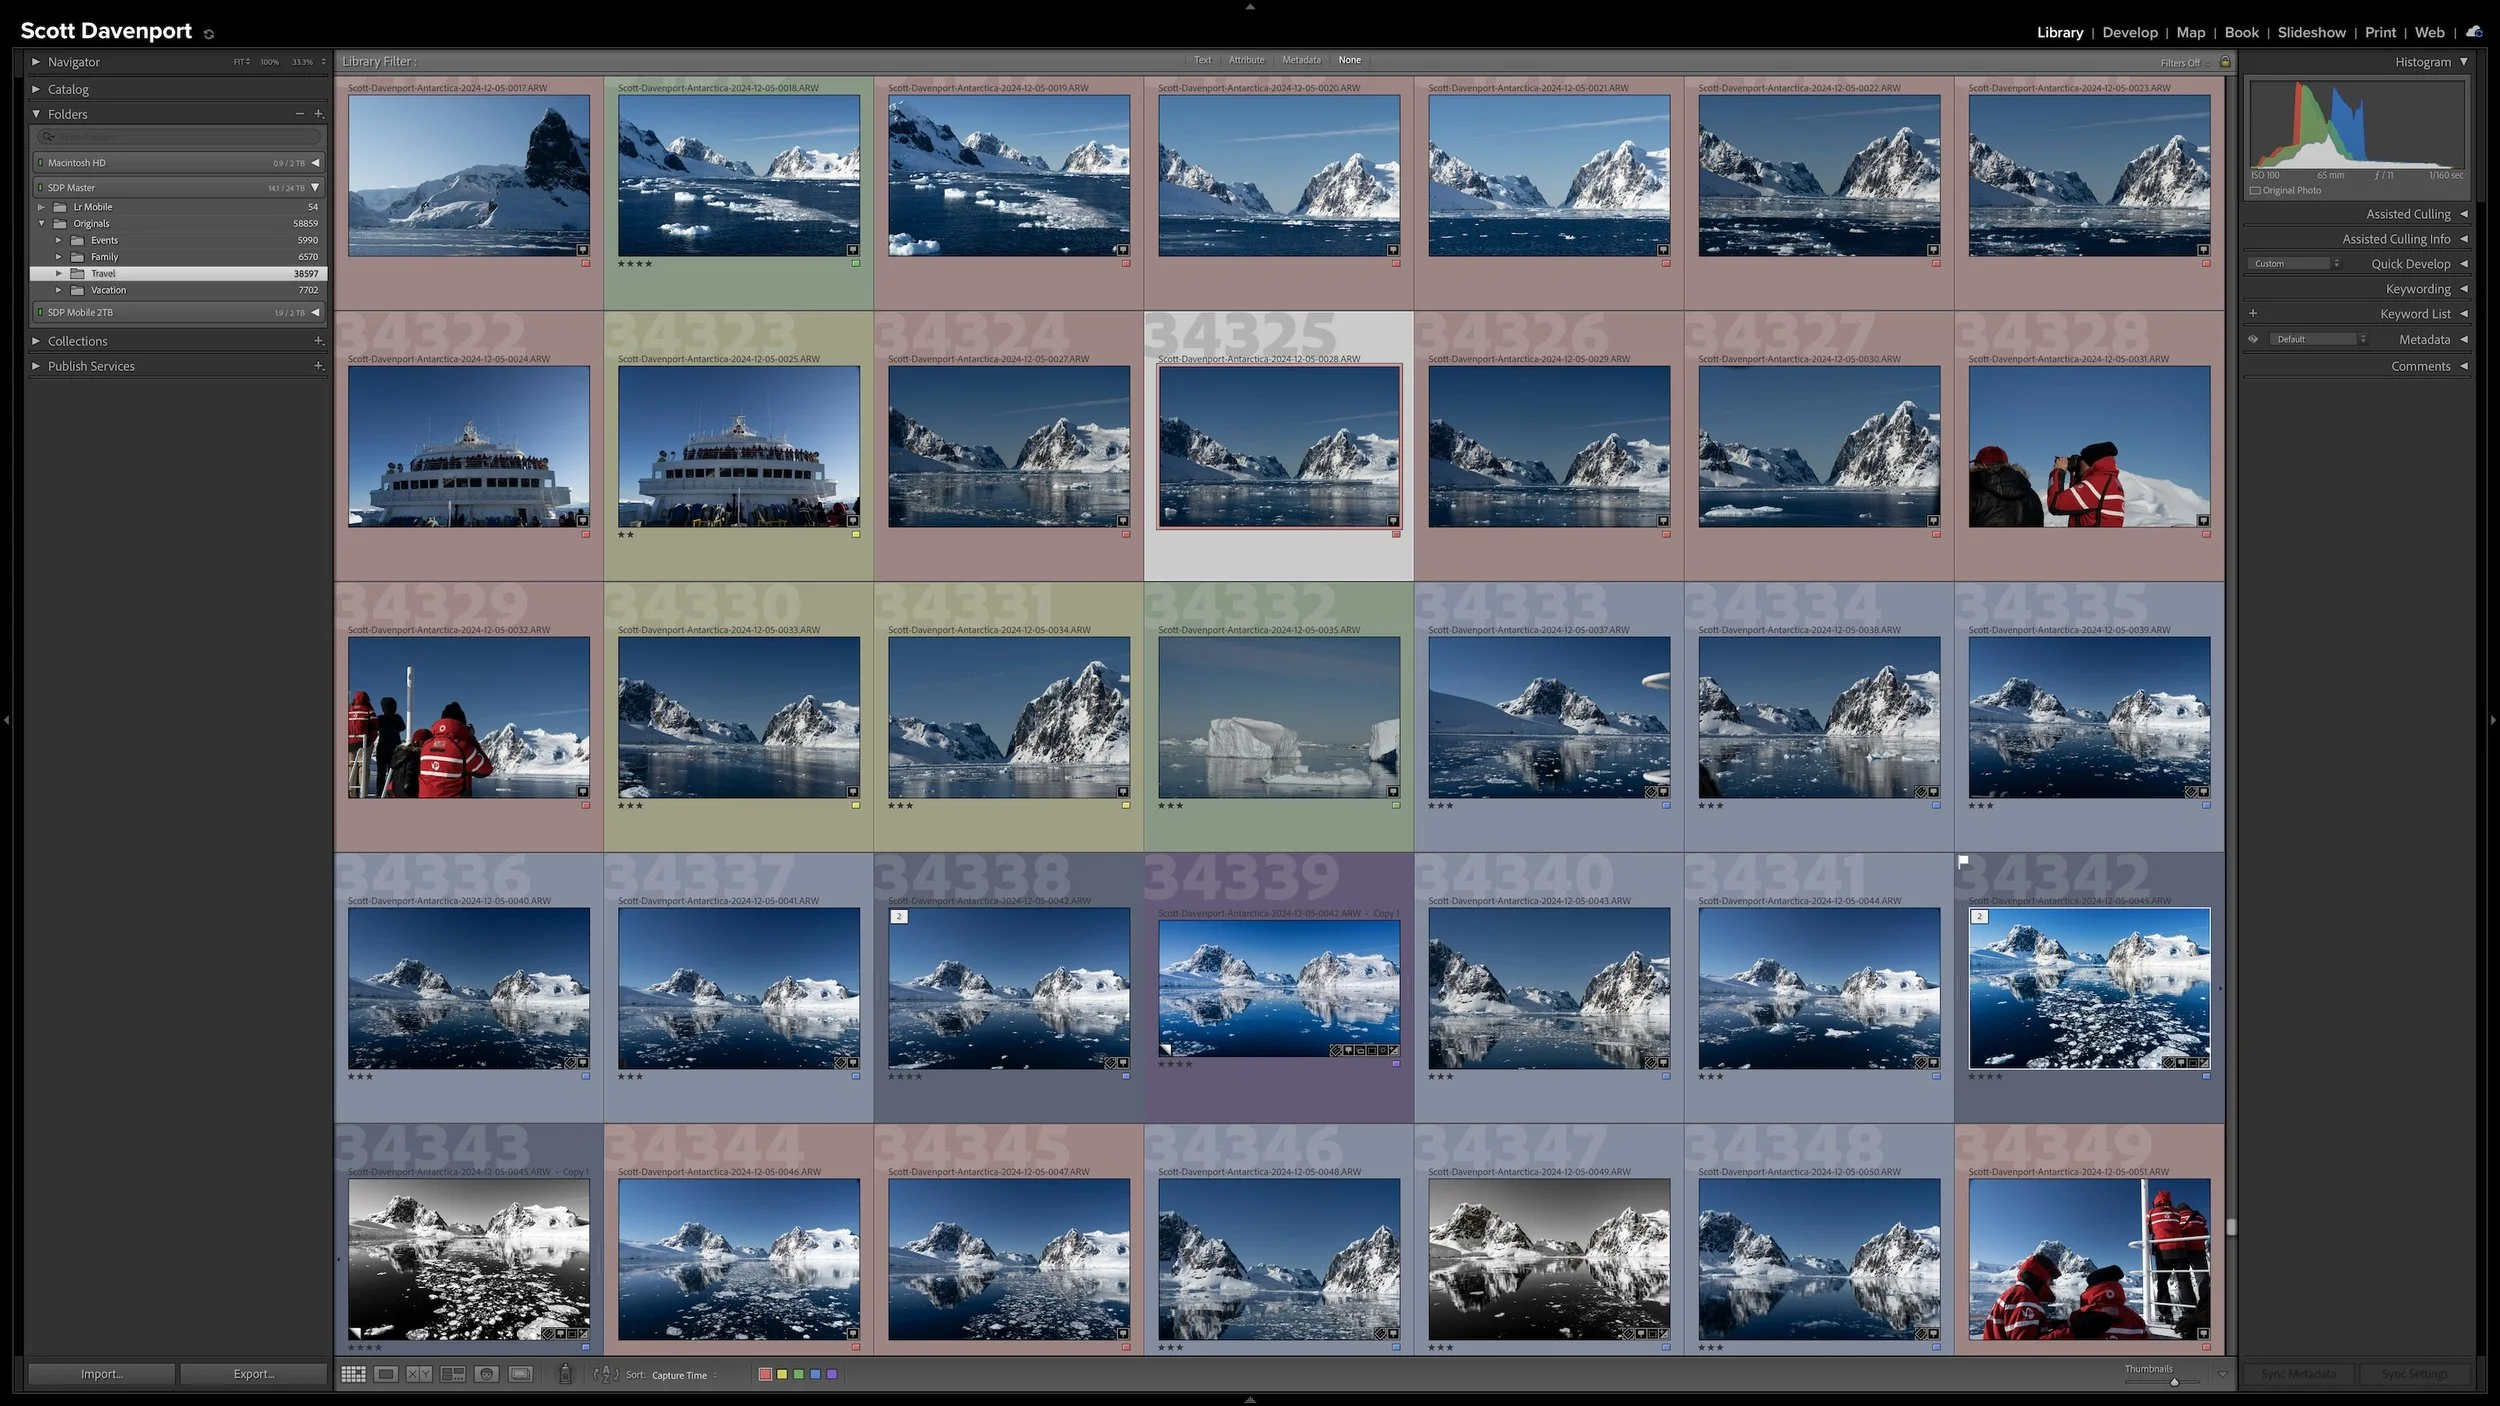

Lightroom Classic's Import dialog presents plenty of choices, but one of the most important decisions is straightforward: where are your photos now, and where do you want the original files to live after the import?
Copy, Move, and Add each handle the original files differently. Once you understand what happens to the physical files and what happens in the Lightroom catalog, choosing the right import method becomes much easier.