

Sometimes we choose not to use a polarizer in the field (or we forget to bring one!) and then our landscape photos have too much glare and shine in them. The Dehaze slider will help you out. Use the Dehaze slider with your masking tools and target the reduction in glare to just the elements that need them.
In this photo, I purposely chose to keep the glare while I was capturing the image. Back in the studio, I realized I needed to tone it down some. Dehaze to the rescue! It’s very straightforward:
Add a gradient mask (or another shape) and use a luminance range mask to target just the area that needs glare reduction. Hint, hint - it’s not the shadows!
Increase the Dehaze slider to reduce the glare. Don’t over-compensate and keep your eye out for color casts. Too much Dehaze can add awkward colors.
Visit the Texture and Clarity sliders, too. A boost to those often helps restore richness to areas that were dulled by glare.
Use a mask to target only the areas needing glare reduction.
Before the glare reduction
After the glare reduction
Ghosts Of Hospitals Reef
Contact Scott to commission a print or license this image.
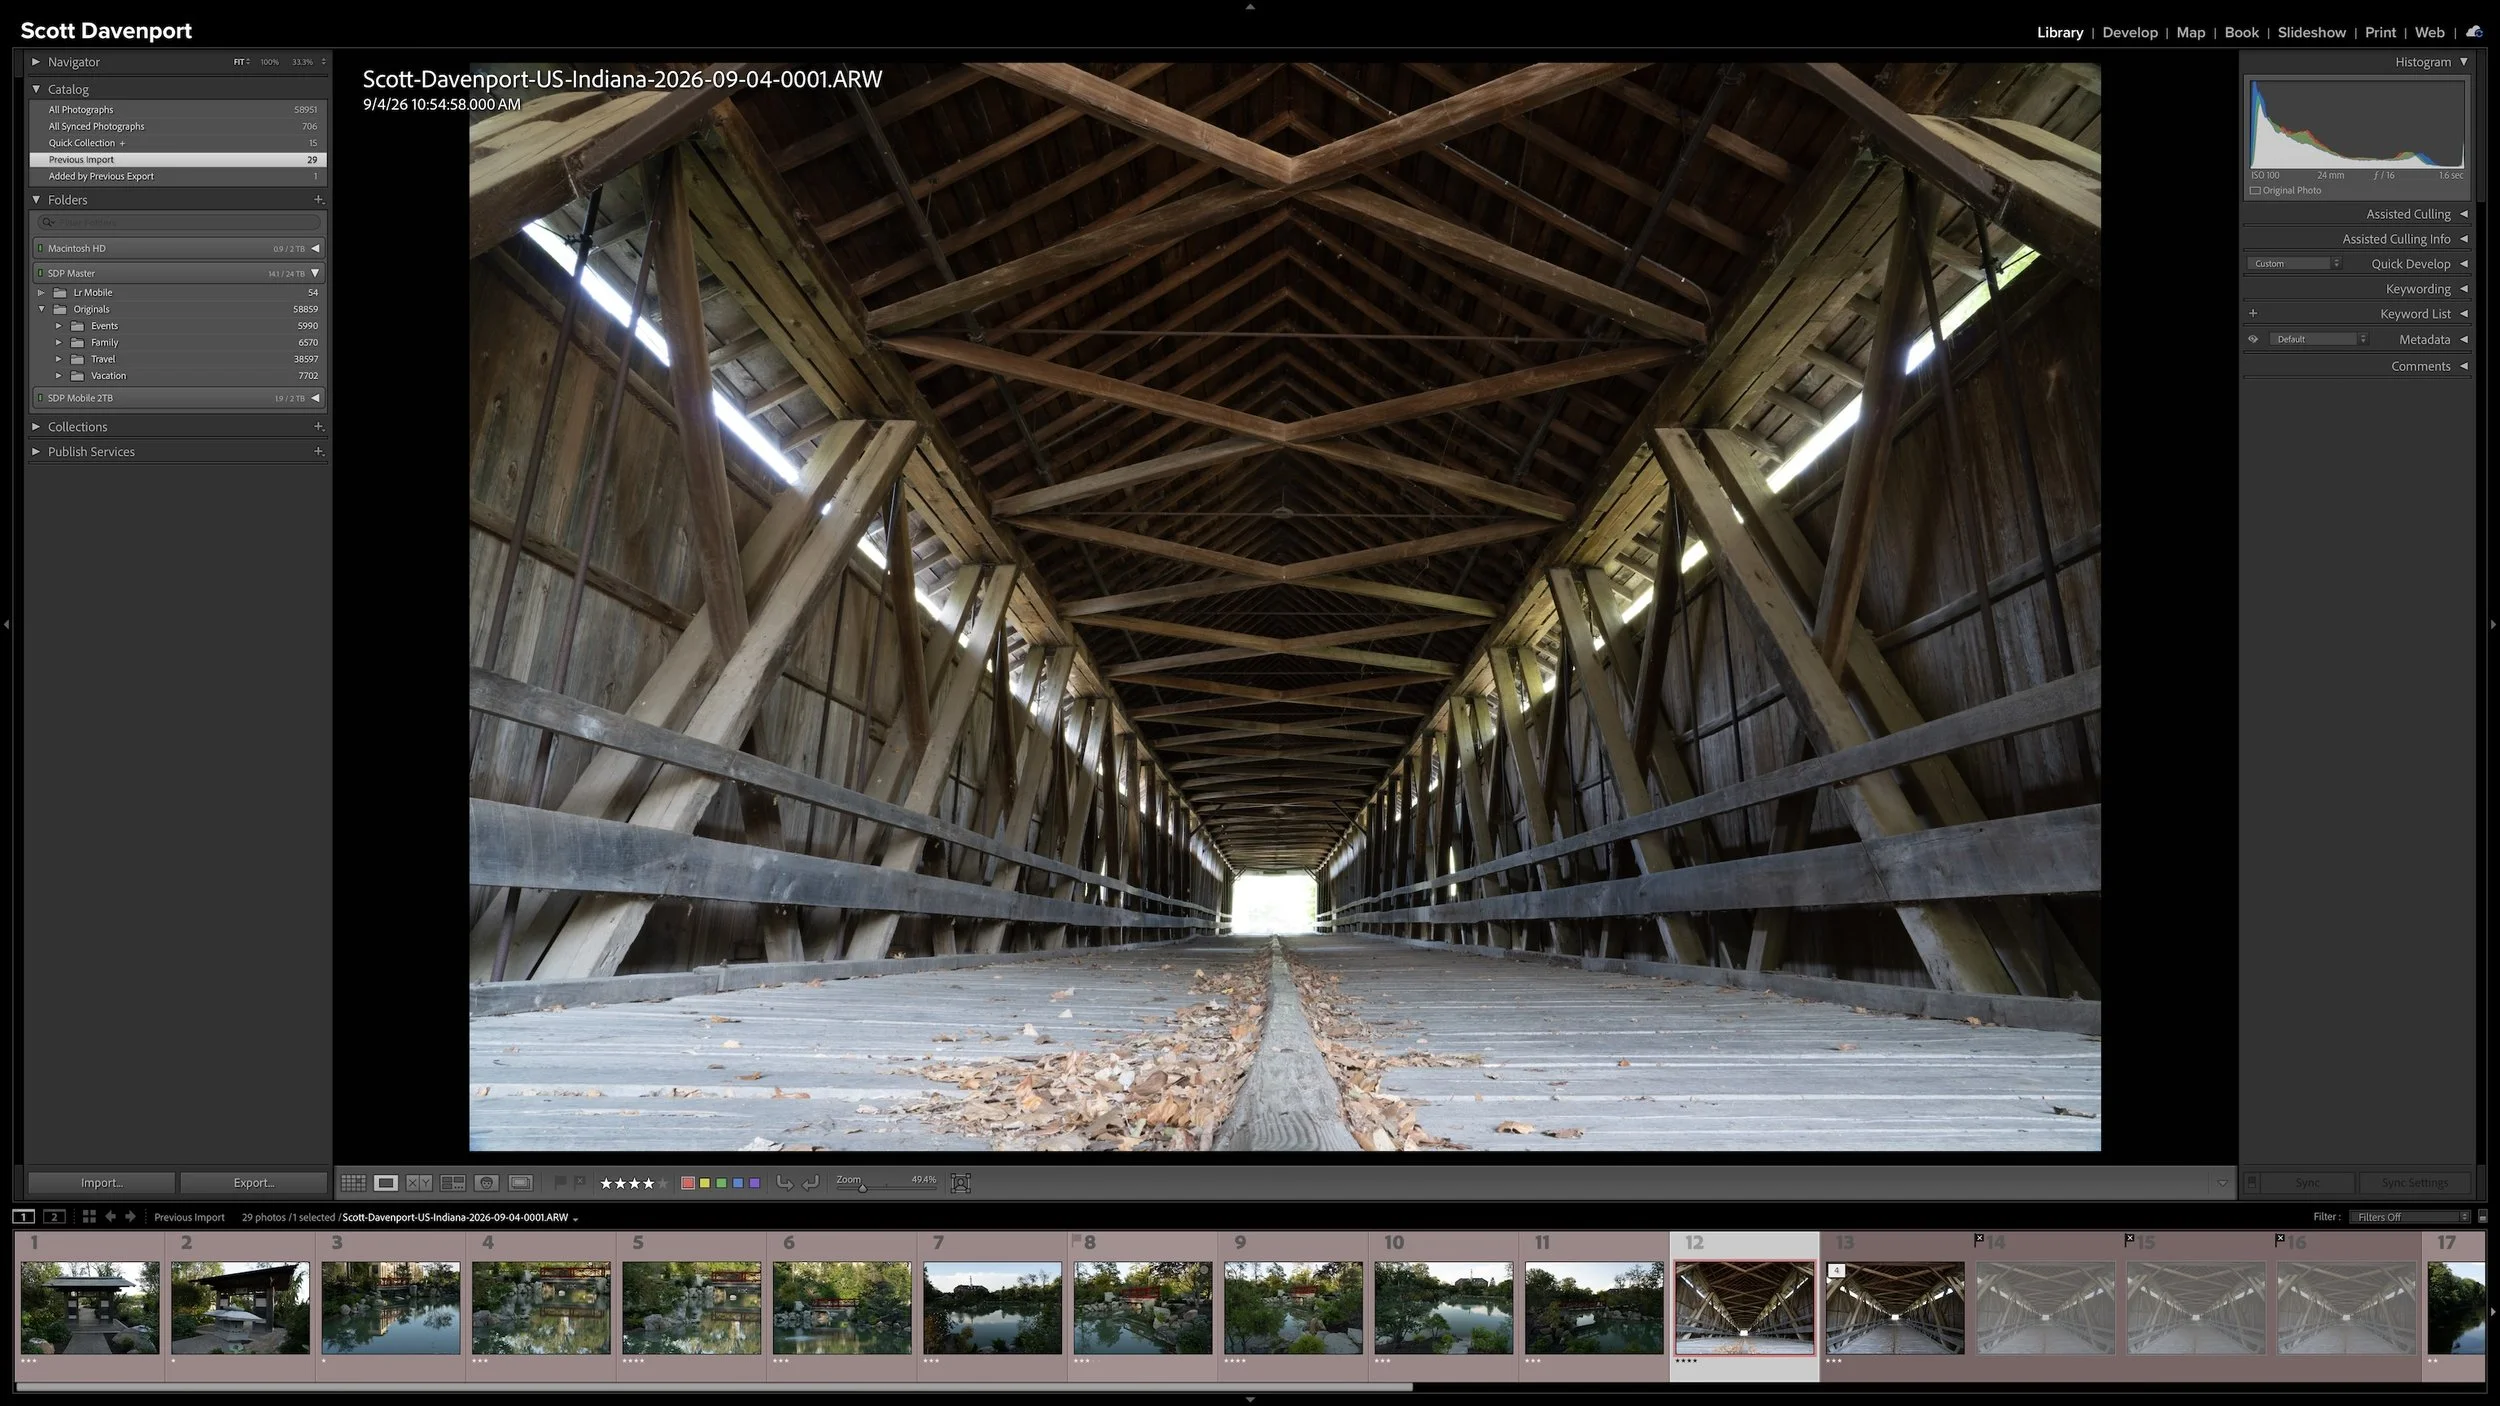
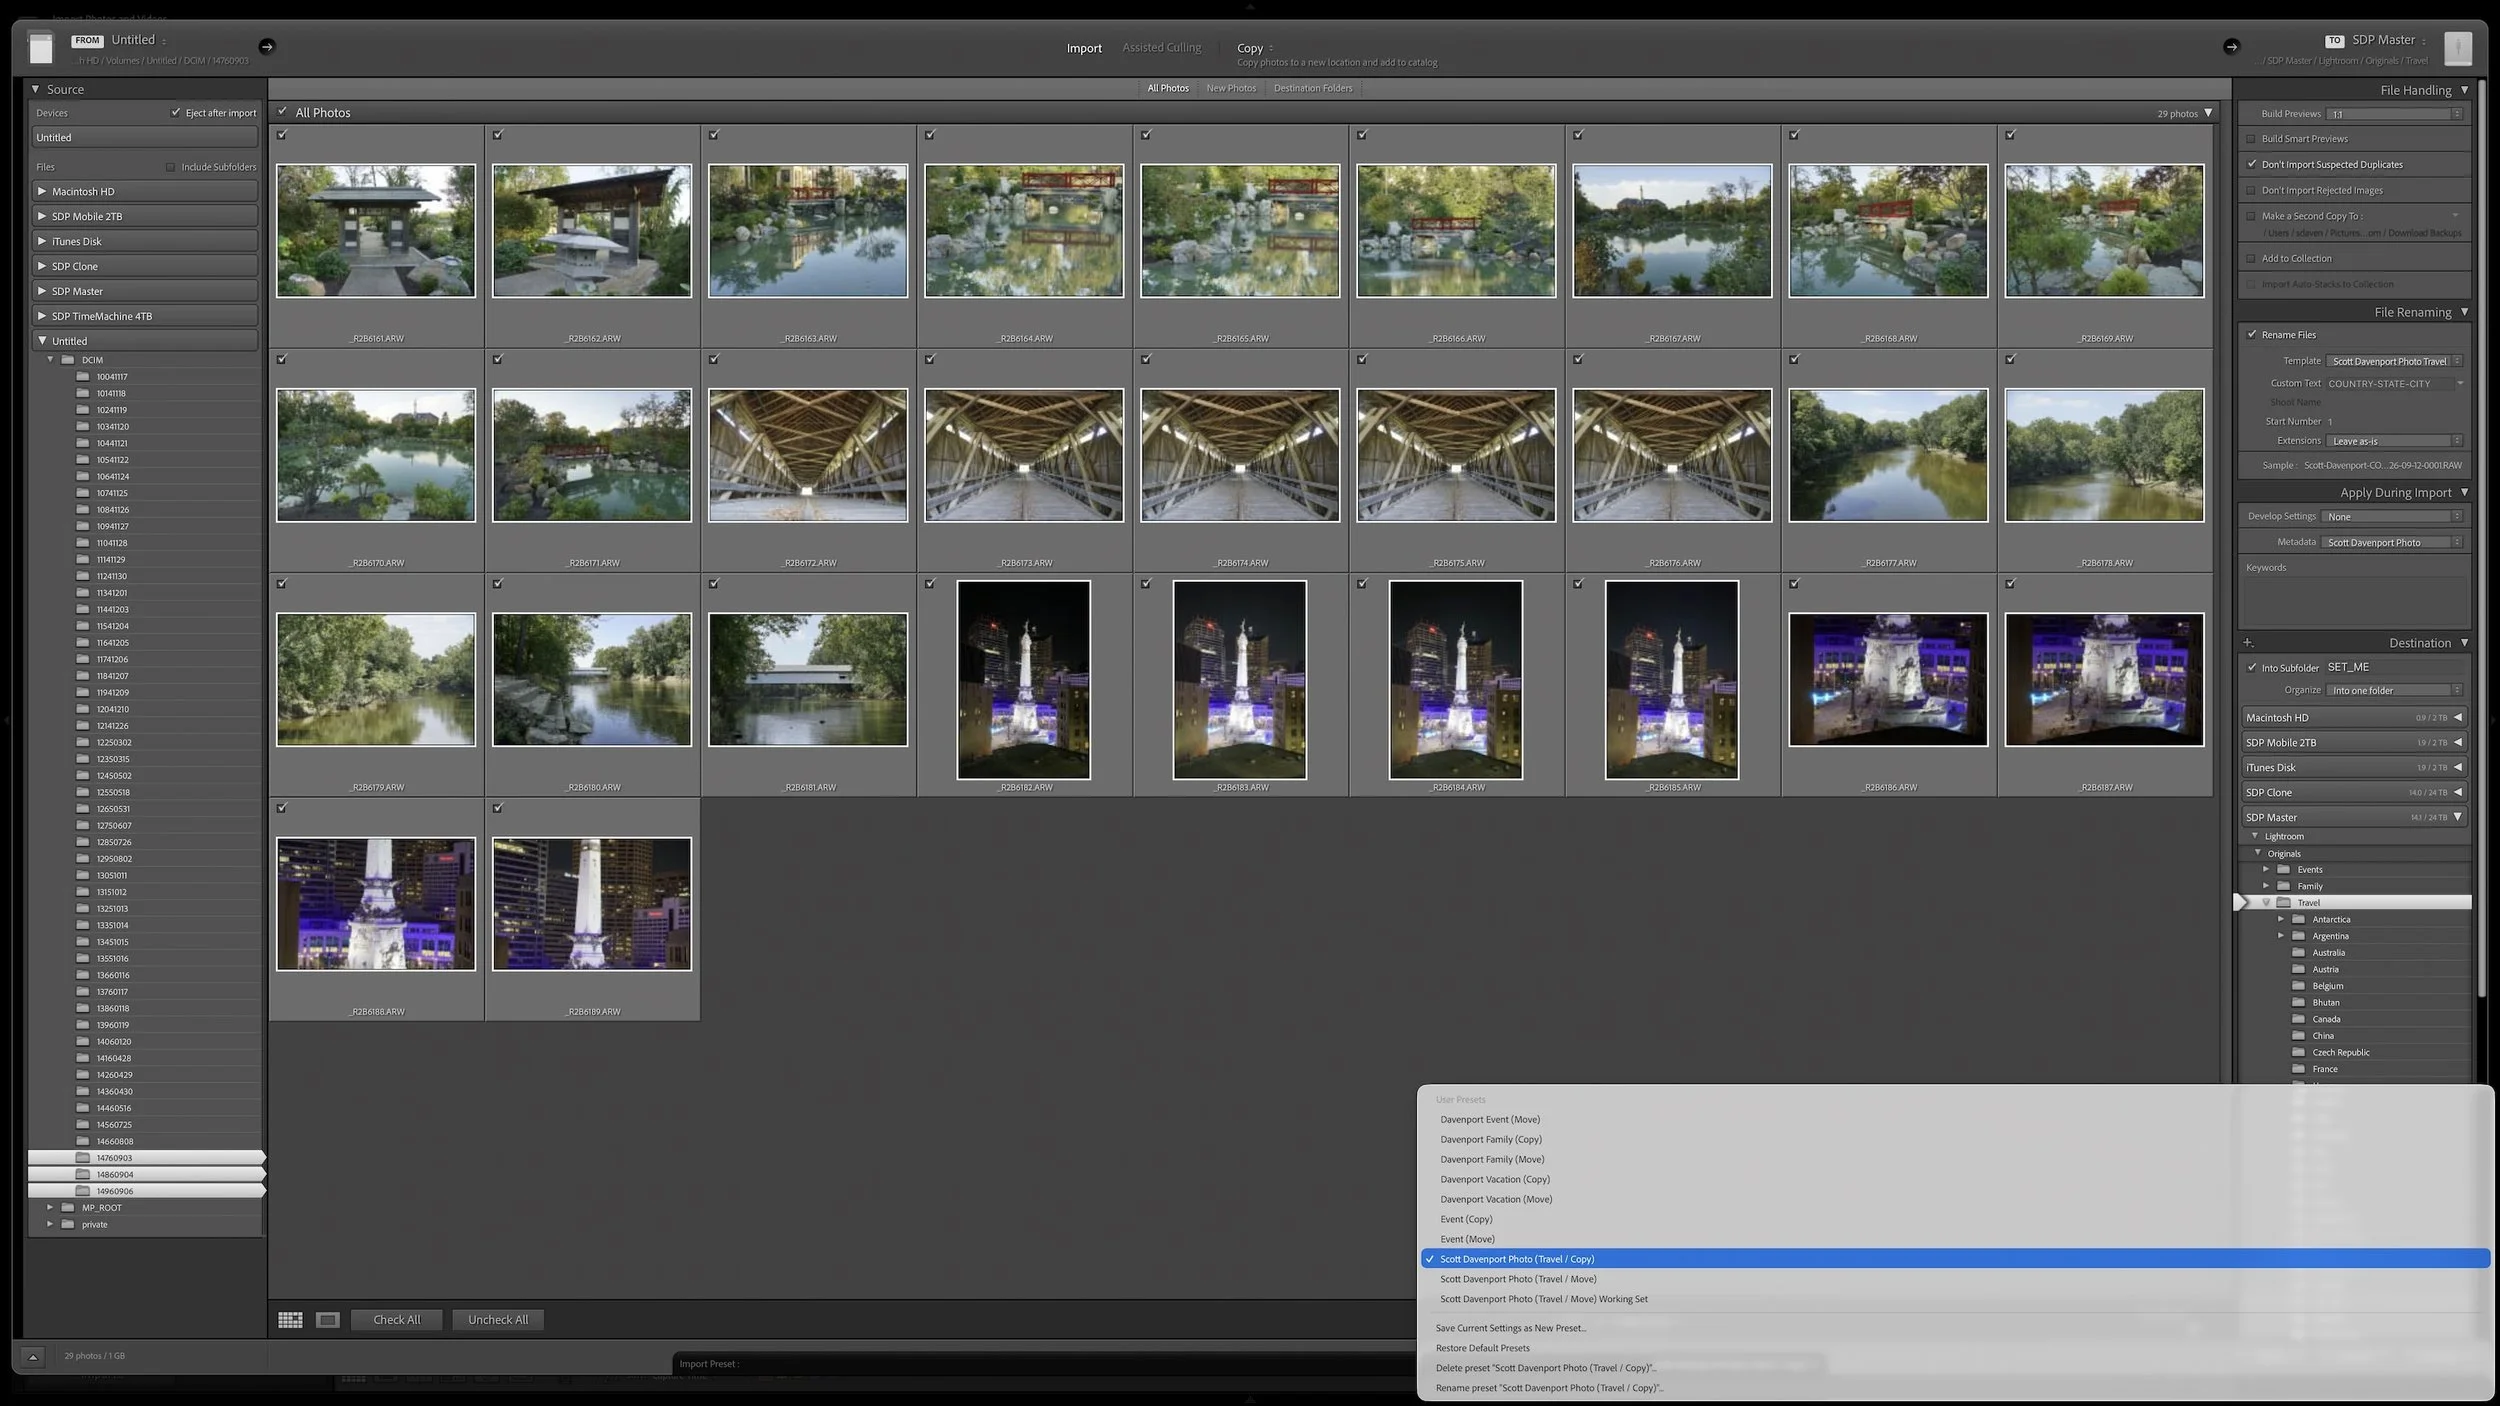
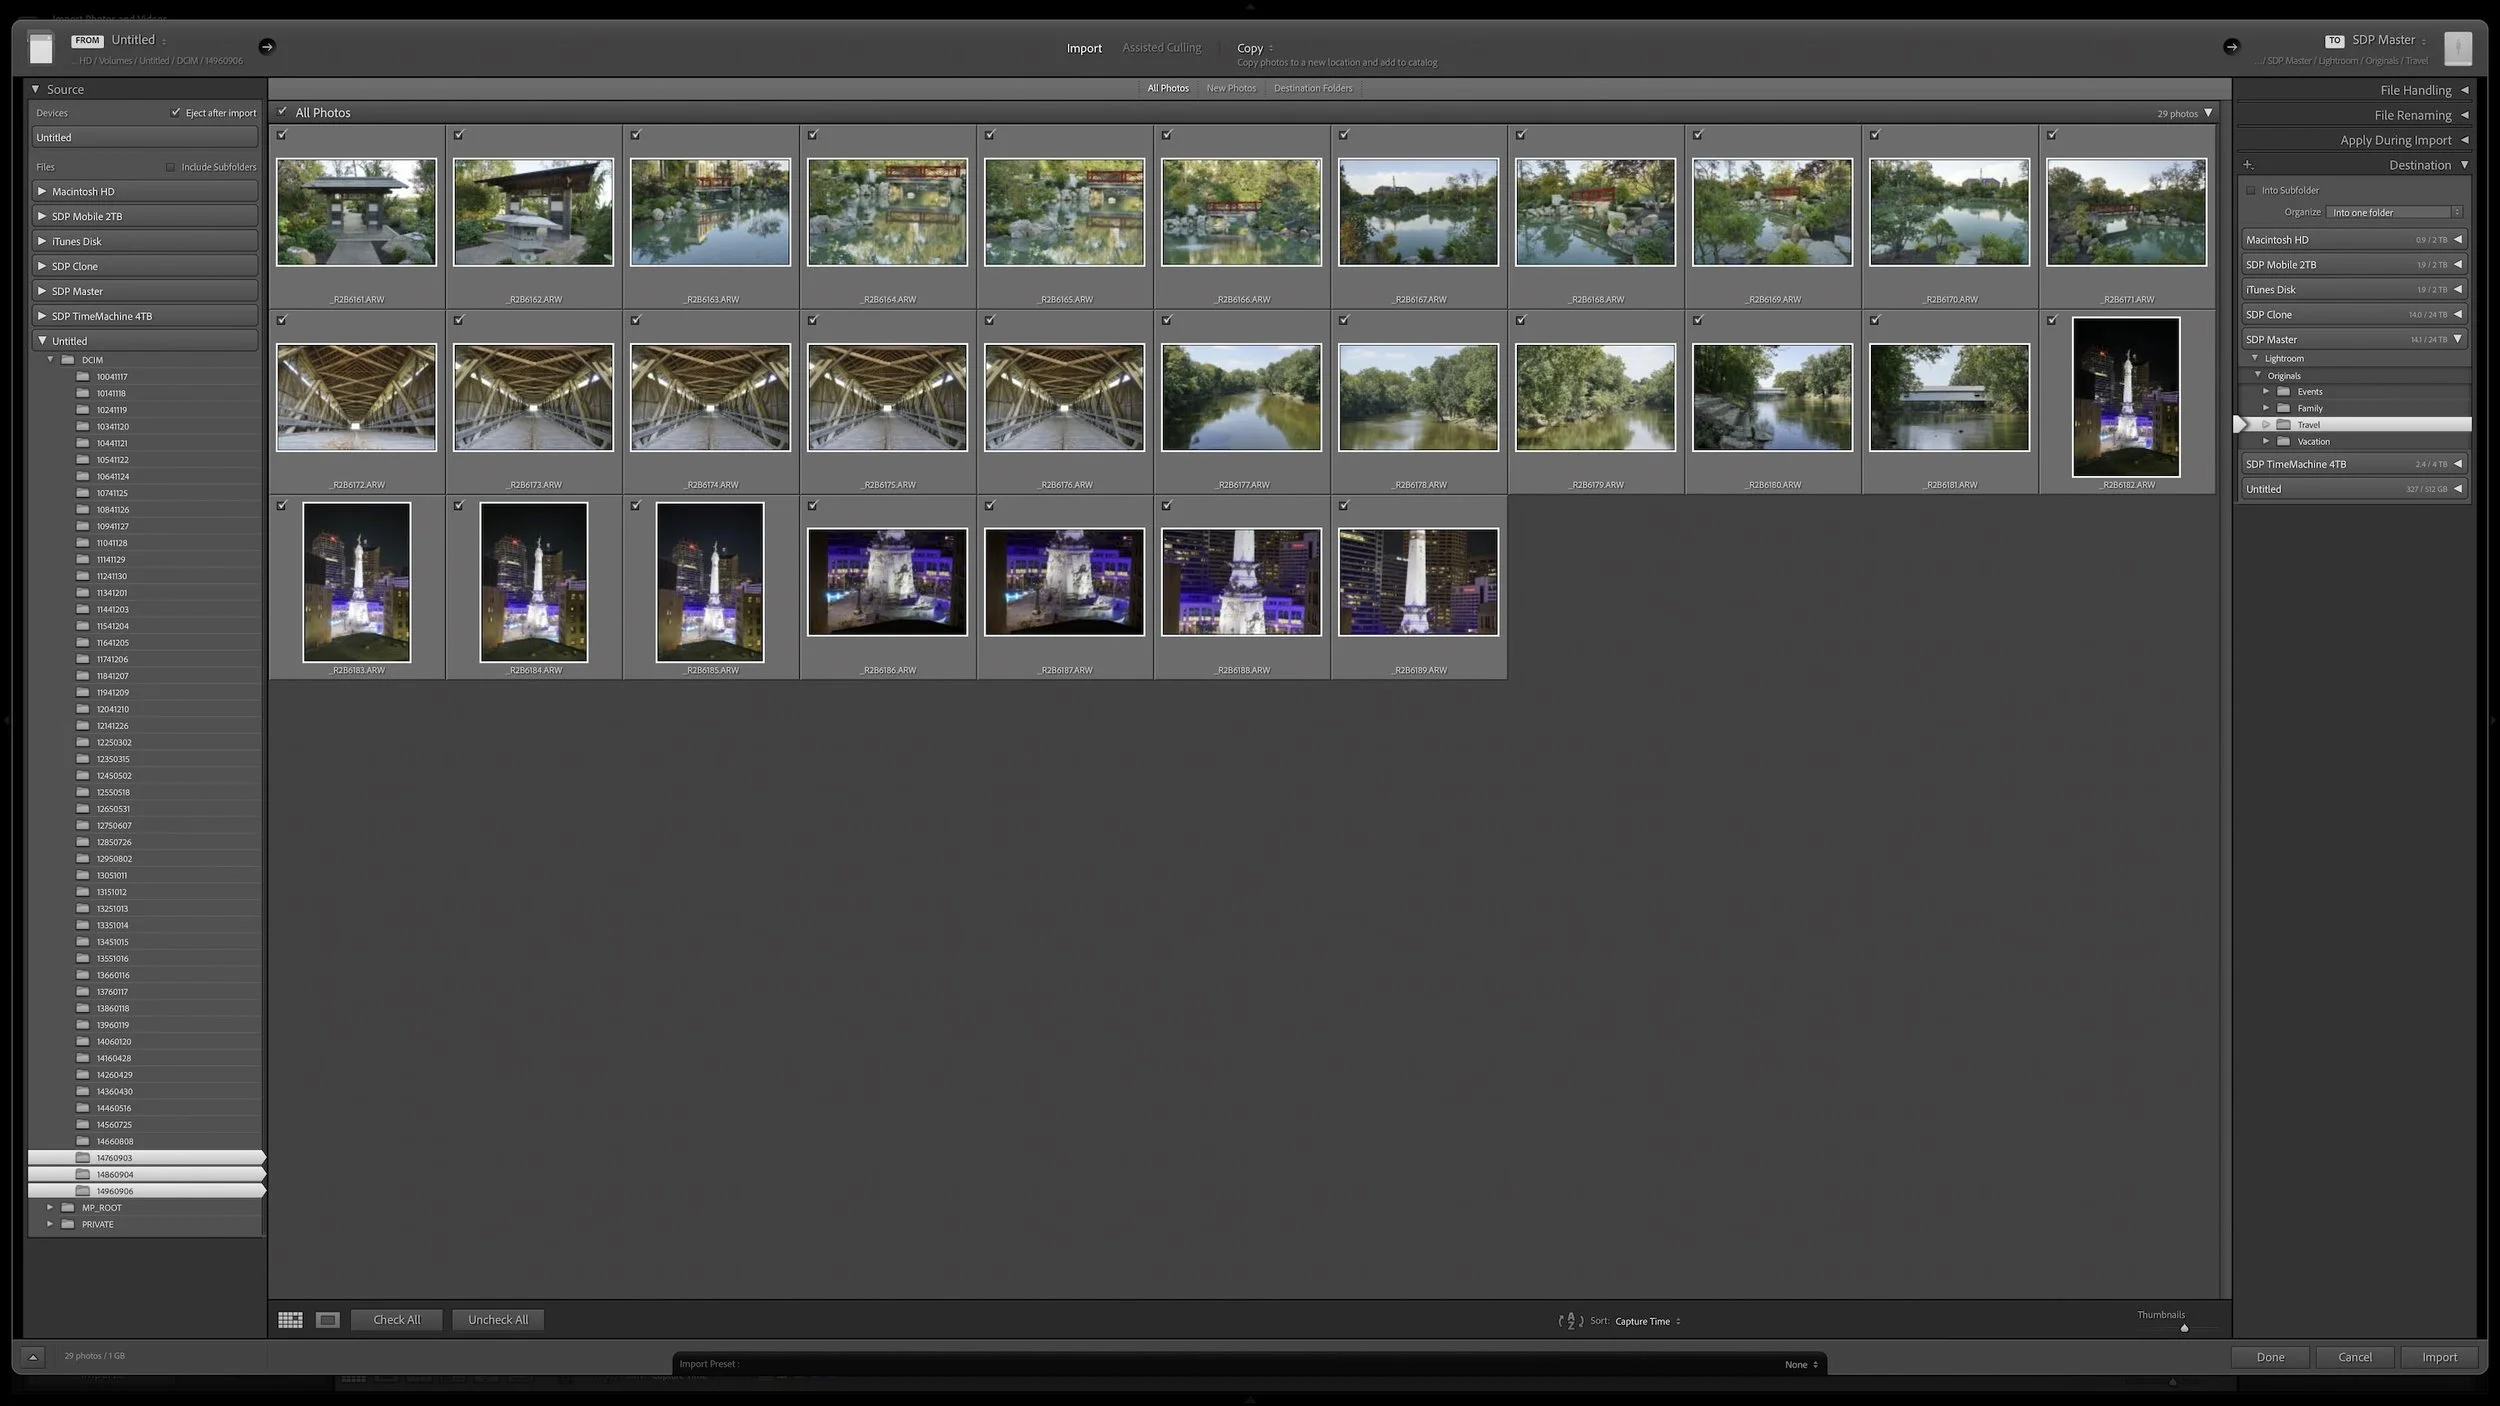







A group of photographs can belong together without every frame needing equal space in Lightroom Classic. Several variations of the same composition, panorama segments, exposure brackets, or a rapid burst can quickly fill Grid view with photographs you don't need to see individually all the time.
Stacks keep those related photographs together while letting one useful photograph represent the group. I use them so the other photographs remain available when I need them without adding unnecessary visual clutter to my catalog.