
Cool Trick In The Lightroom Masks Panel
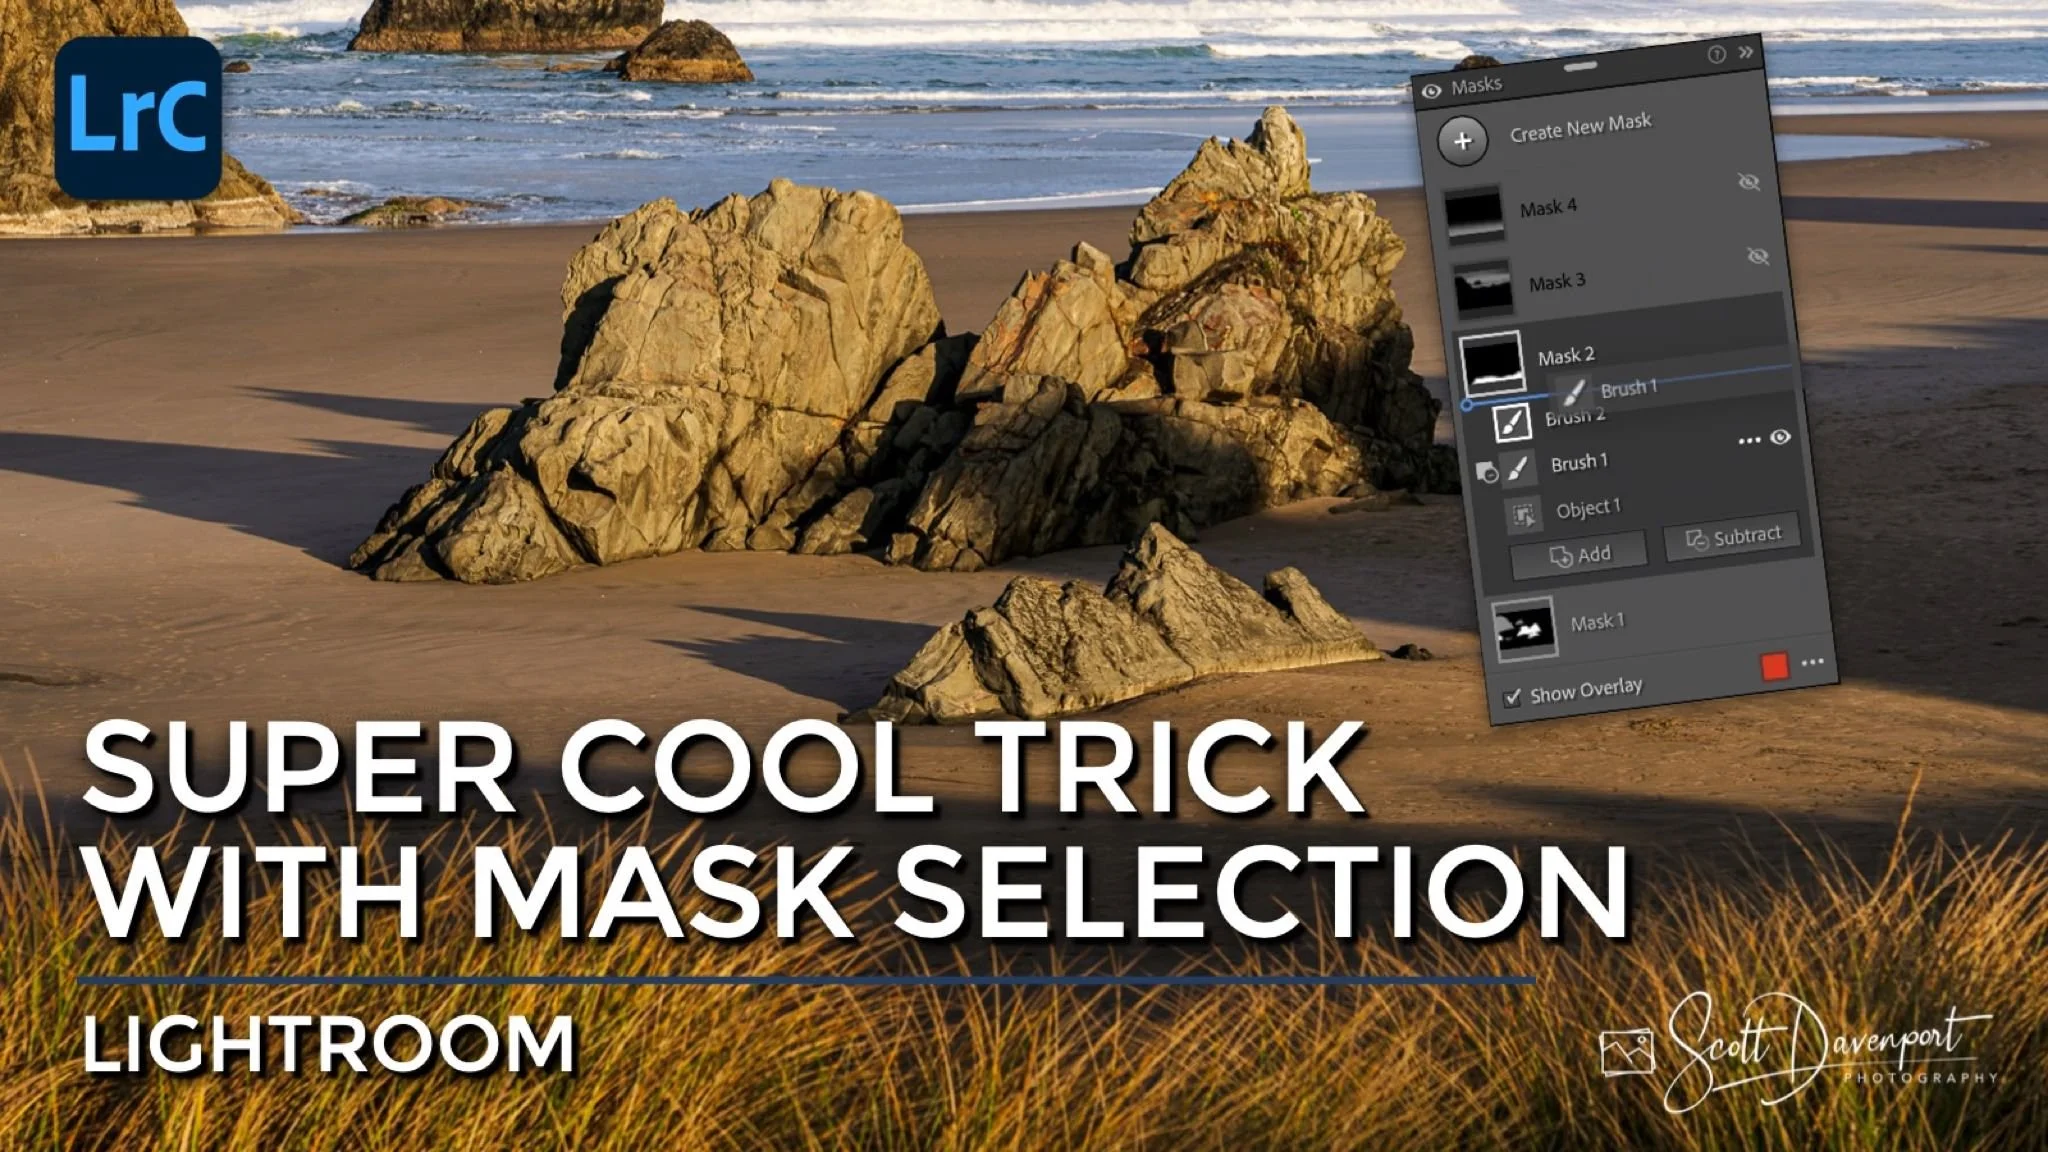
Lightroom masks are built with a series of selections. Some selections add to the mask, others subtract from the mask. Those selections are an ordered sequence in the masking panel from oldest to newest. However… you can reorder the individual parts of a mask with drag and drop in the Lightroom mask panel. Here is one example of when reordering the selections in a mask is helpful.
An object selection didn’t get all of the object, and I didn’t notice that until after using a subtraction brush to clean up the edges of the mask. No problem! I added a Brush and painted in the rest of the object. My brush strokes were not precise.
After brushing away edges of an object selection, I realized the object selection was incomplete.
Using a brush, I added the missing part of the object. My brush strokes were imprecise.
To finish the cleanup of the mask, I have a choice. Add a second subtraction brush and tidy up… or, drag the subtraction brush I already have to the top of the selection stack and continue the cleanup. I chose the latter.
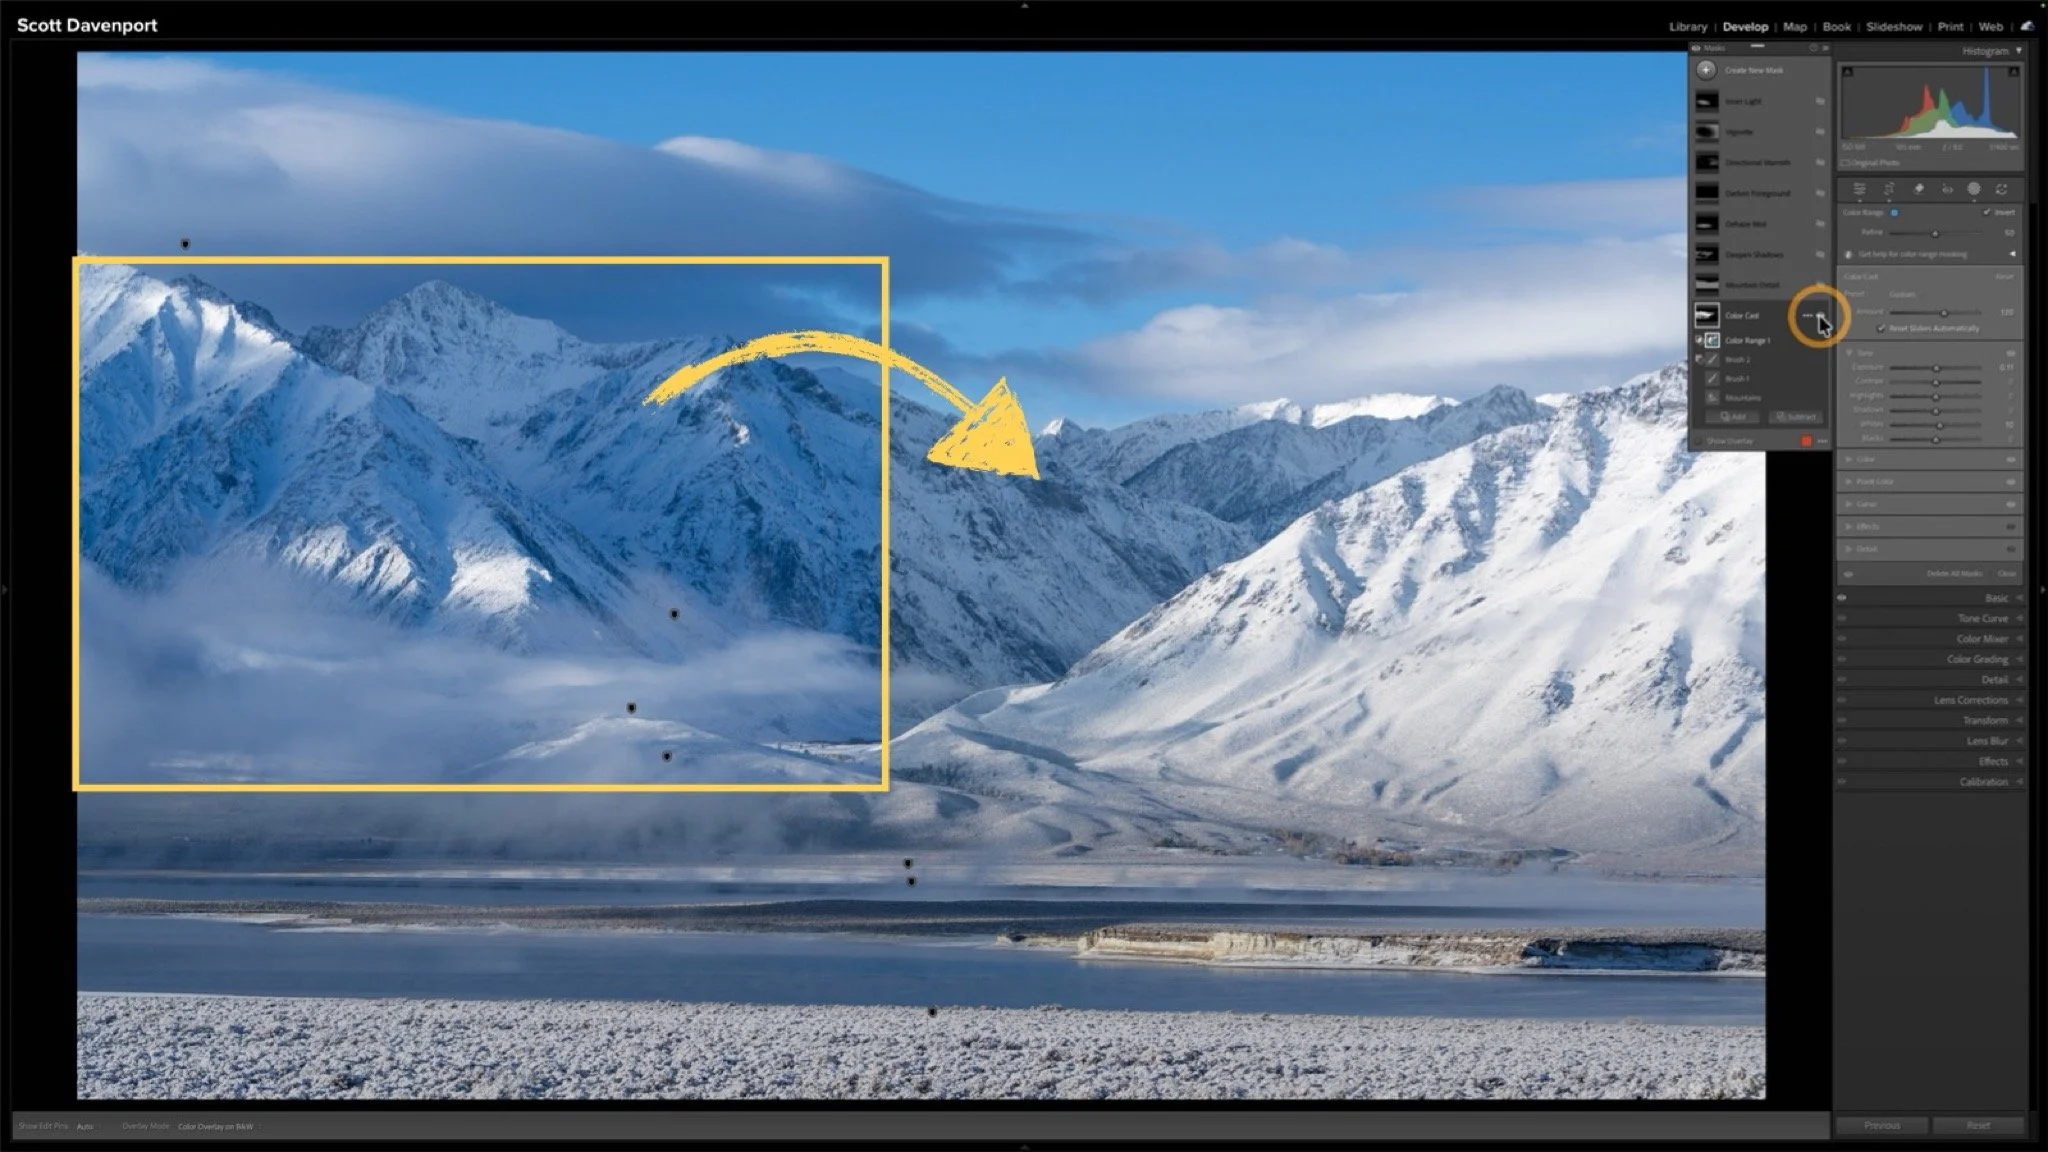
Drag and drop individual selections in the masking panel to reorder them.
Use the existing subtract brush to finish the mask cleanup.
In the masking panel, the order matters. Selections are built from the bottom up. A selection only affects other selections below it.
Reordering is also very useful with mask intersections. Check out A Deeper Look At Intersecting Masks.








Lightroom Classic's Import dialog presents plenty of choices, but one of the most important decisions is straightforward: where are your photos now, and where do you want the original files to live after the import?
Copy, Move, and Add each handle the original files differently. Once you understand what happens to the physical files and what happens in the Lightroom catalog, choosing the right import method becomes much easier.