Use Lightroom Snapshots And History To Do Before And After Comparisons
As you get deeper into an edit in Lightroom, checking the differences the various adjustments you make can start to get challenging. The backslash key is always there to do an overall before/after look at the changes you have made. But what about checking out the last 5 edits you’ve made? Or suppose you’ve applied 5 radial filters and want to see how the last 3 affect your image. The toggles on the Lightroom develop tools do not allow you to disable some radial filters, or some color adjustments. The toggles are all or nothing for each tool.
The good news is Lightroom provides a solution - make snapshots using the Lightroom history. Lightroom keeps track of every editing adjustment you make. A snapshot is a saved point in time for your edits. Snapshots provide a convenient way to compare two different stages of your edits.
To create a snapshot from your history:
Open the History panel in the Develop module.
Right click on a point in your editing history and click Create New Snapshot
Give the snapshot a name and click OK
Your saved snapshot appears in the Snapshots area of the lefthand panel.
I suggest creating a snapshot after your base adjustments are done. Then, create other snapshots as needed to compare sets of adjustments as you refine and finish your image.
Don’t forget to return to the top of your history when you are all done comparing!
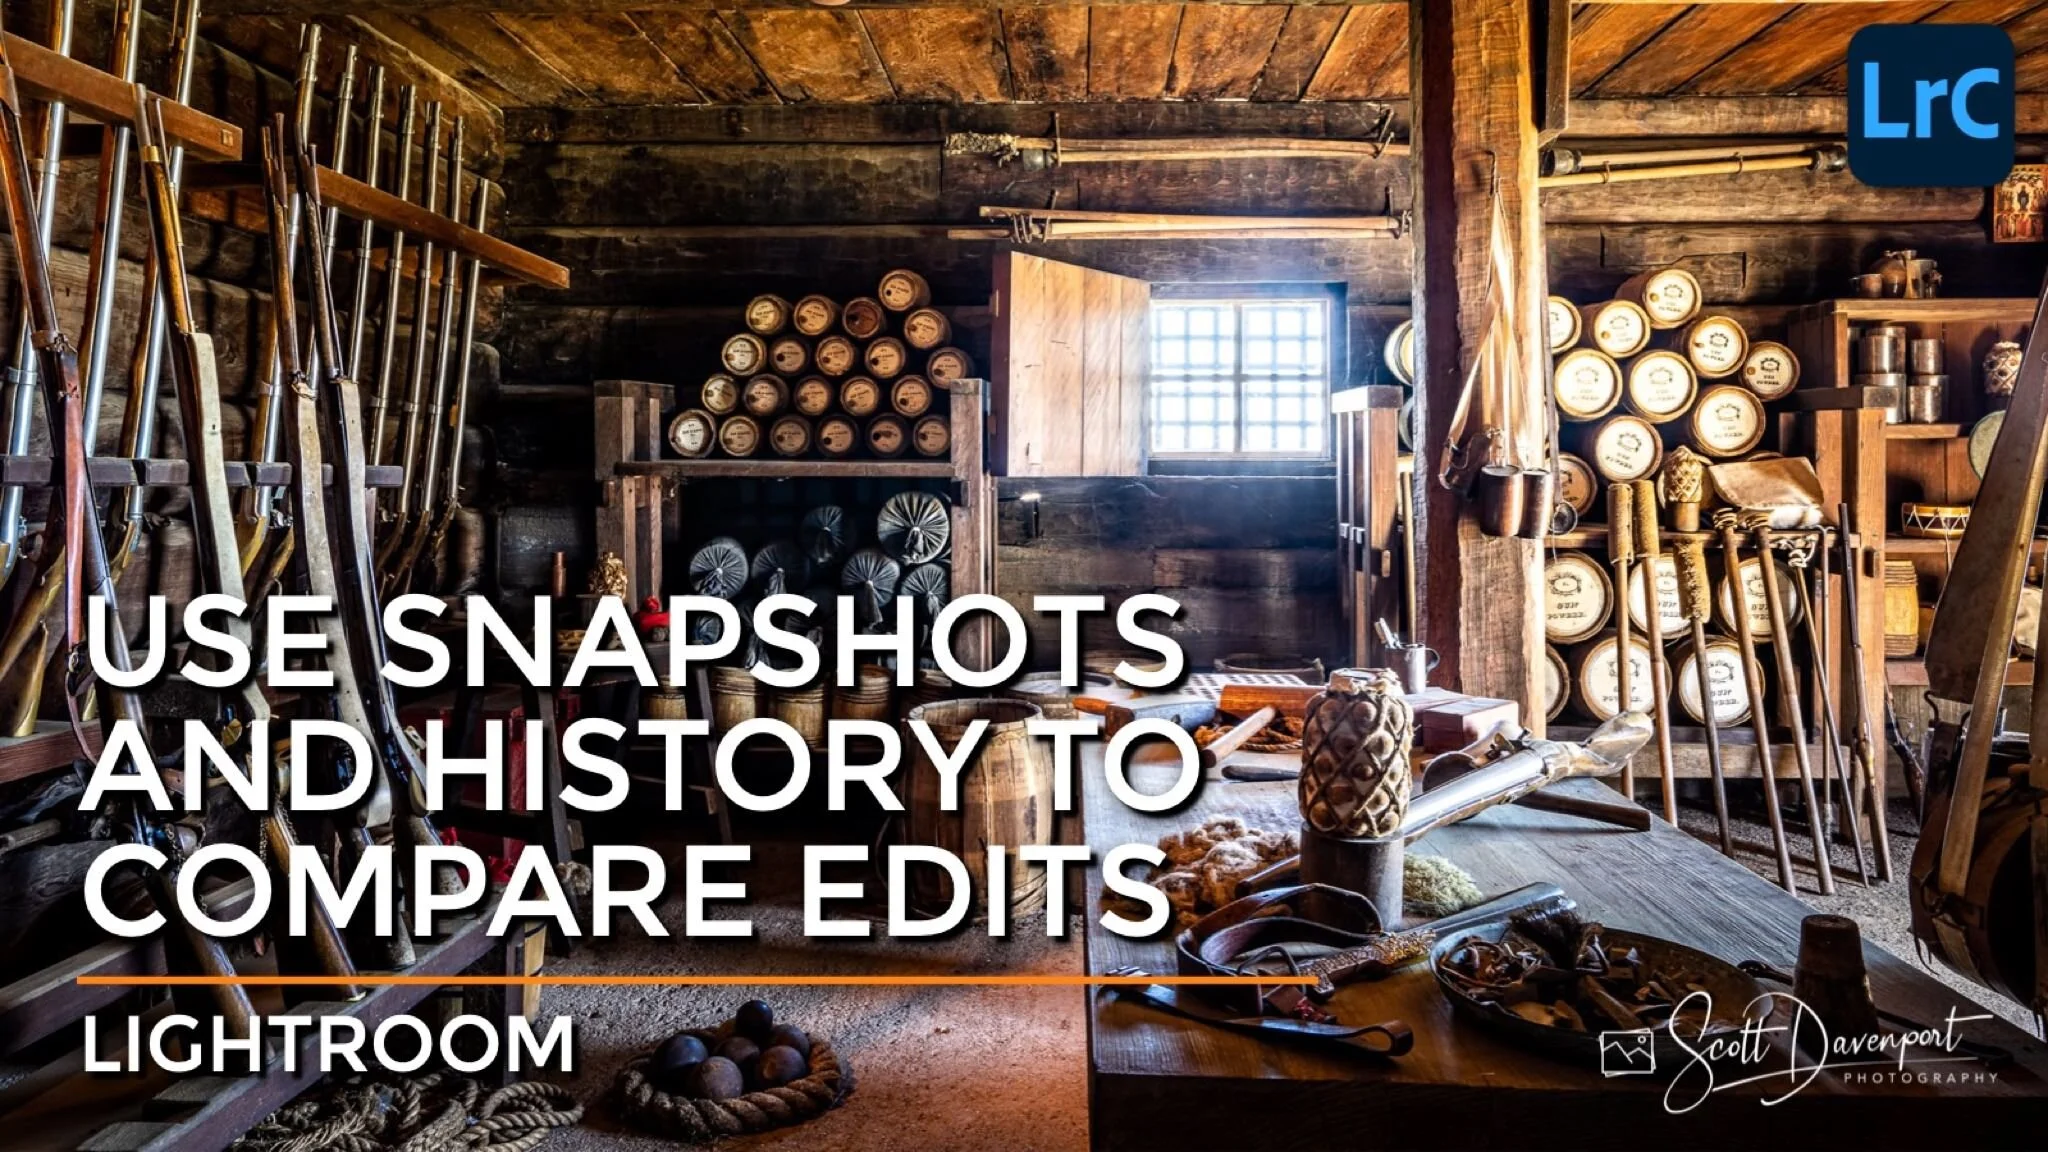
Fort Ross Armory
Contact Scott to commission a print or license this image.