Create An Off Camera Light Source In Lightroom
I have previously written about how to create a directional light source with Lightroom. It is a technique I use frequently to balance out exposure or draw a viewer to a segment of a photo. With the new masking improvements in Lightroom Classic, it is worth revisiting the topic. I find it is even easier to build up a natural looking off-camera light source. So let’s get to it!
Step 1 - Zoom Out
Before you start, zoom out so the edges of your photo are clearly visible in the Lightroom preview area. When creating off-camera light sources, you’ll be placing the “light source” at the edges or even off the canvas to create the look.
Step 2 - Add A Radial Gradient
A Radial Gradient is the cornerstone of creating an off-camera light source. Ironic, I suppose, since the radial has no corners! (Sorry, I couldn’t resist.) Position the center of the radial where you want your light source to be. Use the control handles to shape the oval and adjust the feather. Think about how you want this “light source” to reach into your photo, and how quickly or slowly you want the light to taper off. Dial in your settings using the sliders on the right side.
This is the first of several masking steps. Don’t worry if the radial affects more areas of your scene than you intend. Focus your attention on the areas you do want affected.
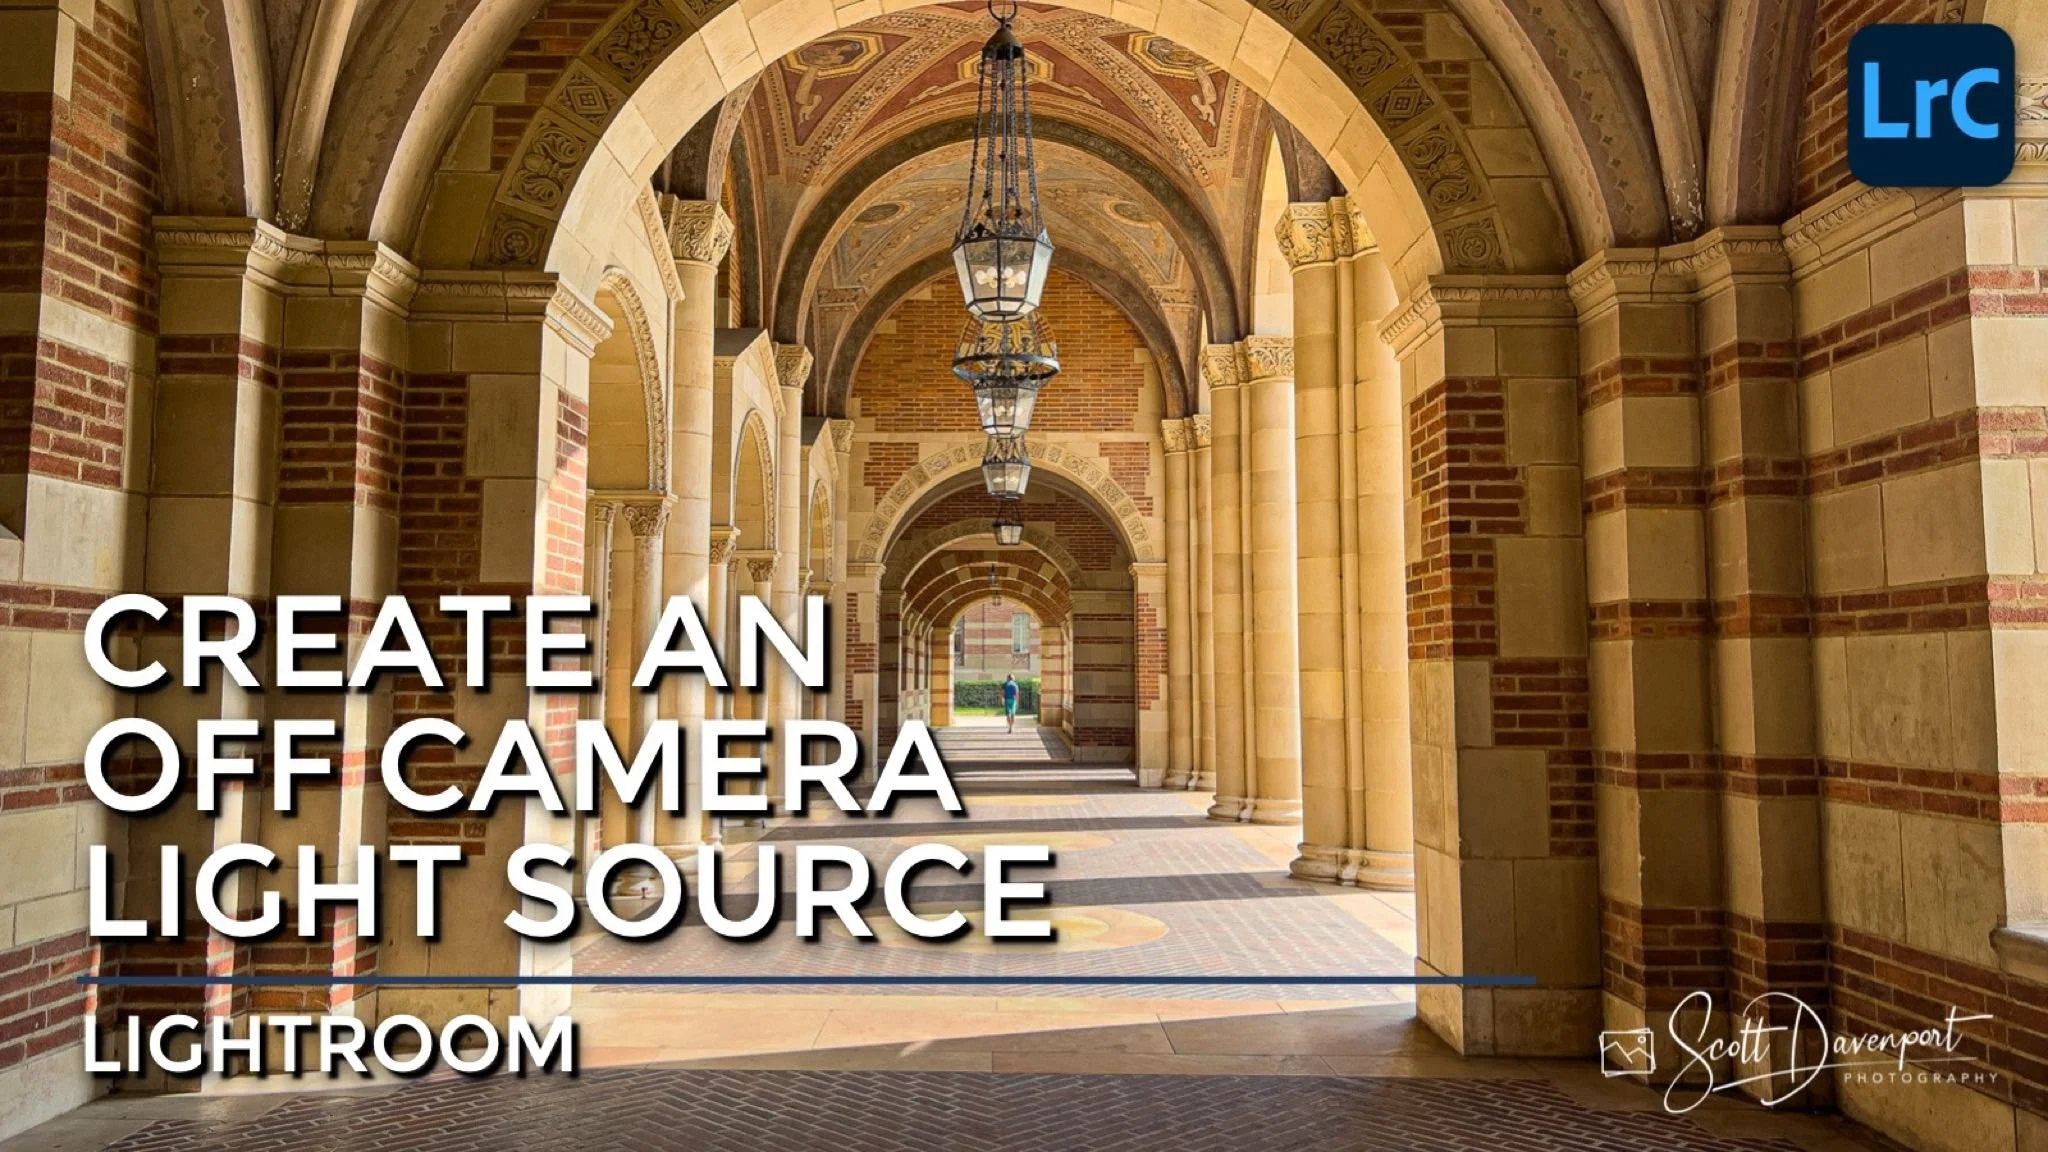
In my example in this article, there is already directional light coming in from camera right into a portion of this corridor. I want to accent that light and add warmth in the center part of the corridor. I placed my light source at the right edge of the frame and angled the oval to be roughly the same angle as the shadows cutting across the corridor floor. I also chose to create a moderate feather. The only adjustment I have made is a healthy increase in temperature, increasing it to warm the area affected by the mask.
My initial radial covers much more of the photo than I want affected. The right third of the photo should not get warmth (it would be blocked by a light source coming from outside). I also want to minimize the affect in the shadows.
Step 1 - Zoom out. Give yourself the option to work outside of the canvas.
Step 2 - Position and shape a Radial Gradient to simulate a light source.
Step 3 - Intersect With A Luminance Range Mask (Optional)
This is an optional step, although one I prefer to take. A luminance range mask creates a much more nuanced and refined feel to a lighting style, treating the highlights and shadows at different strengths. Click the triple-dot menu of your radial gradient and choose Intersect > Luminance Range from the popup menu. Shape the luminance range to suit your light source, accenting the highlights and shadows to your taste. Not familiar with luminance range masks? Read this article.
In my photo, I want to keep the shadows deep, and in some cases unaffected. Notice how I have the luminance range defined. The upper midtones and highlights are getting the full effect of the warmth adjustment. The mask has a healthy fade off, stopping in the low midtones. The deep shadows are completely unaffected by the increased temperature.
Step 3 - Intersect the Radial Gradient with a Luminance Range to create a nuanced lighting effect.
Step 4 - Refine The Mask With The Other Masking Tools
To finish the look, use your other masking tools to remove the mask from the areas you don’t want. And, if required, paint in the light source. You may use any of the masking tools that make sense as a Subtract or Add to the overall mask.
In my example, I first clicked Subtract and chose a Linear Gradient. I used this gradient to remove the affect from the right third of the photo. The inner corridor would not naturally be receiving light from the outside at the angle of my radial filter. A gradient mask was the quickest way to remove the look from a large area of the photo.
I also used an Add with a masking Brush to paint the warmth back into the sliver of arch on the right edge of the photo. The reason is the same logic as before. While the inner corridor would not be bathed in a light source from the outside, the outward facing facade of the archway would. I used a brush with a lower strength to add some warmth, but not at full strength.
Step 4 - Refine the mask with the other masking tools.
Step 4 - Refine the mask with the other masking tools.
And that is the technique. The multi-component masking approach in Lightroom makes building up this look very easy. You can work in stages, and if any stage needs refinement, you can always return to that component in the masking panel to make modifications.
Have fun!
Royce Hall Arches, UCLA
Contact Scott to commission a print or license this image.
