Major Updates To Masking In Lightroom Classic
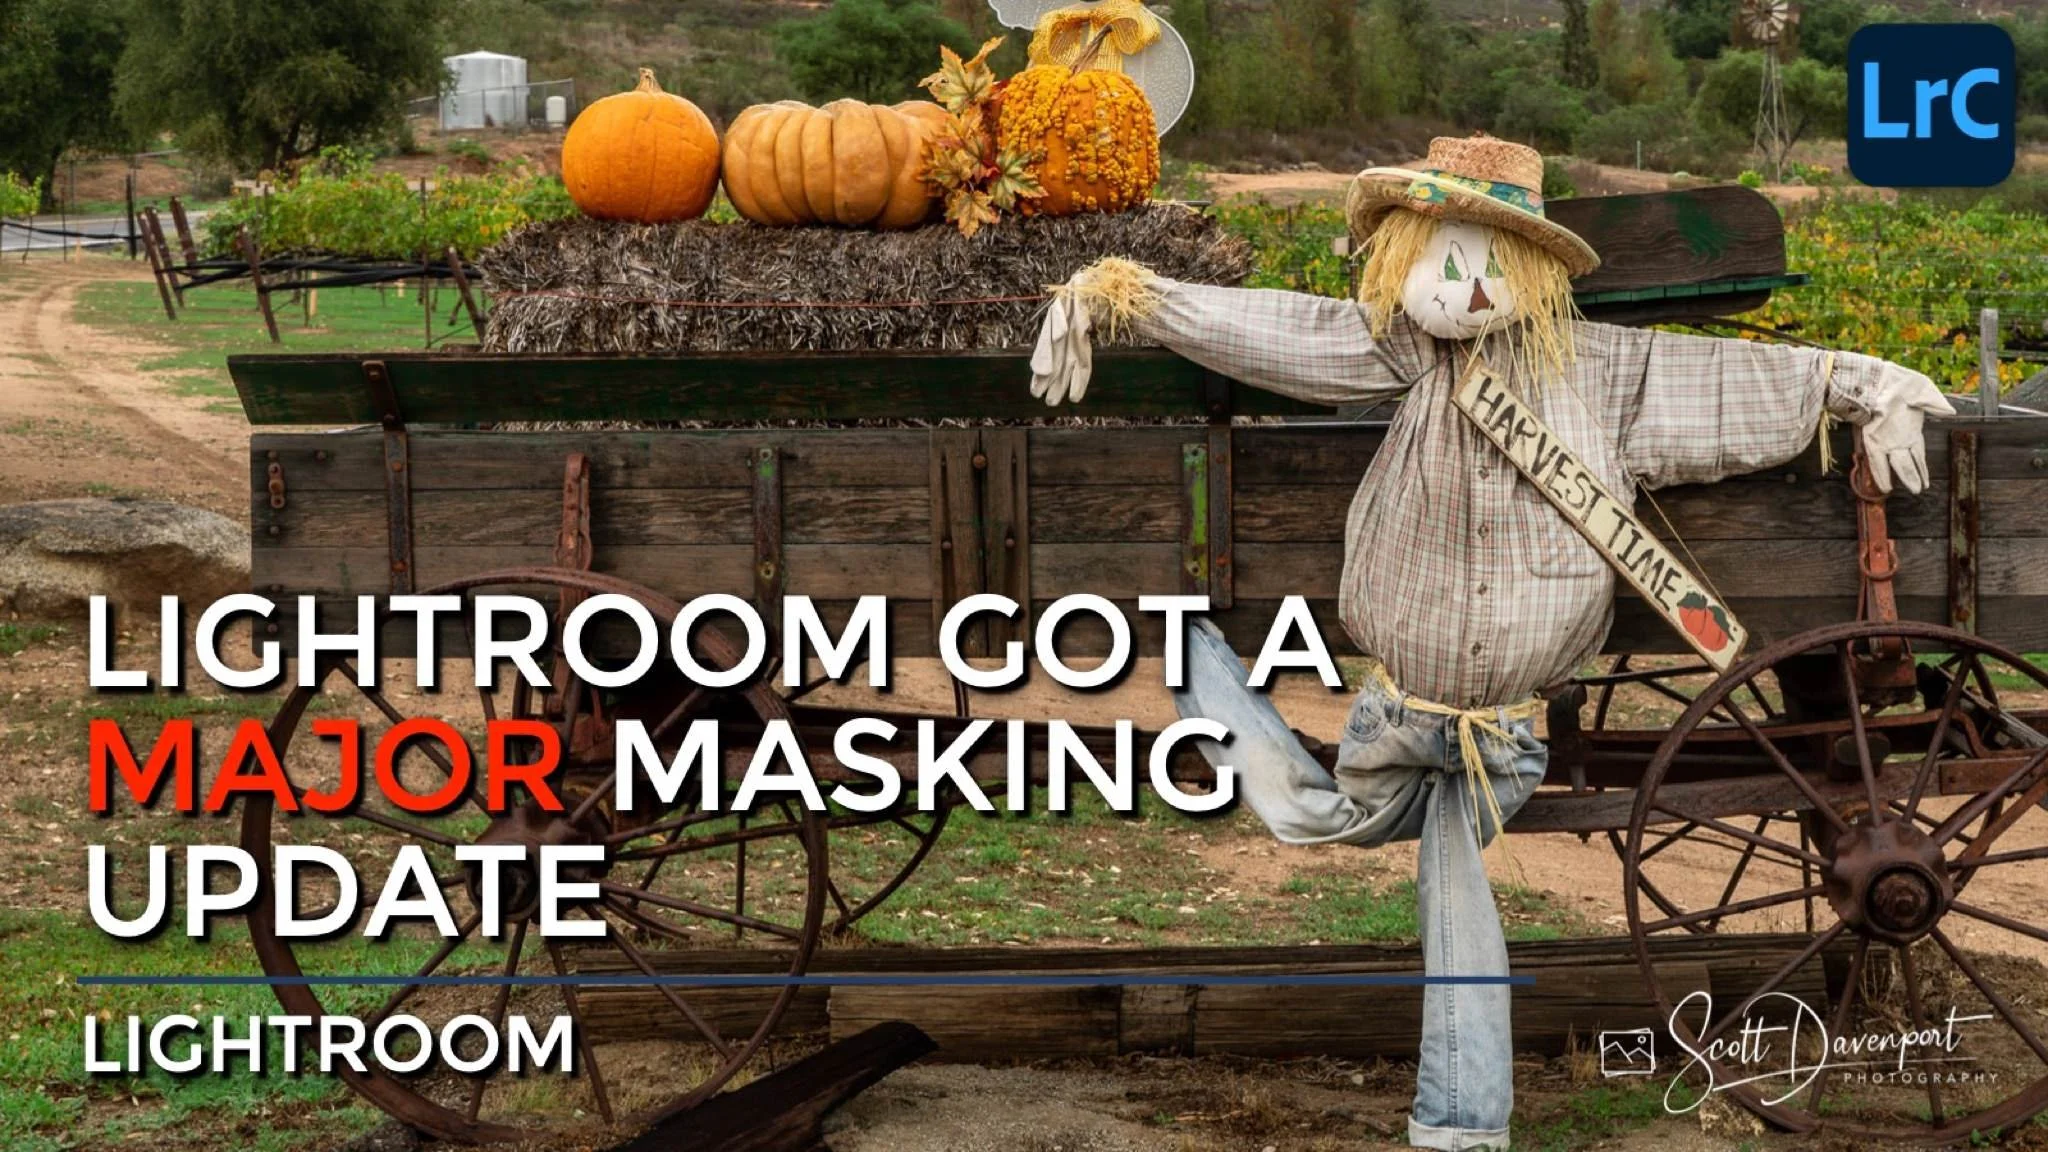
Adobe gave masking in Lightroom Classic a major boost! There is a whole new masking panel with AI-powered sky and subject selections and more powerful luminance masks. Adobe has also added ways to more easily combine the masking tools to create complex, targeted masks more quickly and easily.
In this article, you’ll see the highlights of this new masking experience. Watch the video to see the new tools in action.
The new masking tool options in Lightroom Classic 11.
A New Masking Experience In Lightroom
The masking experience in Lightroom has been overhauled in Lightroom Classic 11. A major change is the introduction of AI-powered masks for the sky and the subject.The old favorites - the gradient, radial, and brush - are still there, too. Luminance, Color, and Depth Range masks are more prominent. All of the masking controls are within a single masking icon in the control panel.
Select Subject: An AI-powered tool that examines your photo, identifies the subject, and creates a mask to affect only the subject.
Select Sky: An AI-powered tool that finds the sky in your photo and creates a mask for it.
Brush: The classic masking paint brush.
Linear Gradient: Mask large areas of your photo with a gradual, fading effect. The feather and angle of the gradient is adjustable.
Radial Gradient: Mask elliptical areas of your photo. The position, shape, feather, and angle is adjustable.
Color Range: Create a mask based on the color tone of pixels in your photo. Select a color and control the range - how broad or how narrow - the color matching is.
Luminance Range: Create a mask based on the tonality of pixels in your photo. Select a tone and control the range - how many or how few tones are considered for the mask. Also, adjust the smoothness of the transition from masked to unmasked.
Depth Range: Select areas based on their distance from the camera. This is only available for images with embedded depth range metadata.
The tools can be combined in many different ways to create intricate, precise masks in just a few clicks.
The Masks Panel
Manage all of your masks in the Masks Panel. Once your first mask is created, the Masks Panel appears. There are several controls within the panel itself. Use the Add and Subtract buttons to increase or decrease the scope of the mask. Rename a mask by double-clicking its name and providing a new one. Click the Show Overlay checkbox to view the affected area of the select mask. You can also over a mask swatch to see its affected area.
Click on a mask to operate on it. With a mask selected, use the sliders on the right to adjust the affected areas. These sliders work just like they did in previous versions. There is also an Invert checkbox available to quickly flip the mask.
Hovering over a mask label also presents a triple-dot menu with choices to Duplicate the mask, Delete the mask, or Intersect the mask with another tool. Intersecting masks is a power masking technique. I have an example of that later in this article.
Manage all of your masks in new Masking Panel in Lightroom
AI-Powered Masking In Lightroom
Two AI-powered mask selection tools are added to Lightroom, Select Sky and Select Subject. Both tools examine your photo and create a mask for the sky or the subject.
Select Sky is intuitive - the sky is detected and a mask is created for it. Select Sky does well with nuanced skylines, weaving among tree branches. It also does well with a faded edge at the horizon. In the example below, notice how there is some affect to the upper part of the hills. Any adjustments made to the sky will blend nicely at the horizon. It is, of course, not perfect. Notice the top of the Halloween ghost is included in the selection.
Select Subject has more “magic” to it. The tool aims to find the subject of your photo and create a mask for it. I am surprised how well it does for many photos. In the example in this article, Select Subject made an excellent mask of the scarecrow, although did include some straggling areas in the wagon wheels. In some of my landscape photos, it did well with prominent subjects like a large rock face or an obvious foreground element. For others scenes, it did not fare as well. Nevertheless, it is a great starting point and even with a little clean up with the Subtract option, it makes workflow faster.
Select Sky is one of the AI-Powered selection tools in Lightroom to quickly create a mask.
Range Masks
Range Masks create a selection based on color, tonality, or depth characteristics of your photo. In the screenshots below, I used a Color Range mask to target the greens in the image. Adjusting the Range slider sets controls how many tones around the sampled color are considered a match and included in the selection. In my example, I adjusted the Hue of the area to enrich the greens.
Luminance Range masks are another of my favorites. I use these all the time to target shadow areas or highlight areas. The controls for the Luminance Range mask are a little dense. In brief, the thick-bordered rectangle sets the range of tones to include in the selection. The outer rectangles, controlled by the triangle endpoints control the fade of the selection. The closer a triangle is the defined range, the sharper the border is on the mask.
Watch the video around the 5:34 mark for a deeper explanation.
Color Range Masks create selections based on hue.
Luminance Range Masks create selections based on tonality.
Intersecting Masks
A mask can be intersected with any other masking tool. This is a powerful technique and it can be used in many, many ways. Here is one example. In the screenshot below, I first created a Luminance Range Mask to target the wagon. Next, using the triple-dot menu for the mask in the Masks Panel, I chose Intersect With and selected a Radial Gradient. Then, I dragged a radial over the wagon. The radial intersected with the global Luminance Range Mask and resulted in a detailed, nuanced luminance range mask only covering the wagon.
There is a little cleanup work to make the mask even more precise. Easy work using the Subtract option and a brush.
Watch the video around the 7:48 mark to see this in action.
So Much More…
There is, of course, so much more that can be done with masking. I quite like the approach Adobe has taken on how to combine the different masking tools to target subject and elements quickly. And the Select Subject technology is very impressive!
Happy Masking!
Scarecrow At Creek Hollow Vineyard
Contact Scott to commission a print or license this image.