The Vivid Light Blending Mode In ON1
If you are trying ON1 Photo RAW, the ON1 plug-ins like ON1 Effects or ON1 HDR, or upgrading your ON1 software to a newer version, please consider using my affiliate link. There is no extra cost to you and it helps support ON1 tutorials like this one. Ready to buy? Use the offer code SDP20 at checkout and SAVE 20%!
This article is part of a mini-series about the blending modes in ON1 Photo RAW and ON1 Effects.
What Is The Vivid Light Blending Mode?
Vivid Light is a very strong, very aggressive blending mode that increases contrast. You can think of it as an extreme version of the Overlay blending mode. And I do mean extreme. At full strength, the midtones of your photo will be pushed to the shadows and highlights, leaving a “valley” in the middle of your histogram.
Boosting Contrast With Vivid Light
Vivid Light can be used to deliver a punch of contrast to a scene. One technique to do this in ON1 is to apply a Color Enhancer filter in Effects and switch the blending mode. Even when lowering the opacity of the filter, the look delivered by Vivid Light is too strong for my tastes. For a softer, yet still impacting, contrast boost, try the Overlay or Soft Light blending modes.
Overlay Vs. Vivid Light: The Overlay blending mode adds contrast to a photo.
Overlay Vs. Vivid Light: The Vivid Light blending mode adds a large amount of contrast to a photo..
Color Grading With The Vivid Light Blending Mode
My favorite use for Vivid Light is for color grading. Here is the recipe using a Photo Filter in ON1 Effects:
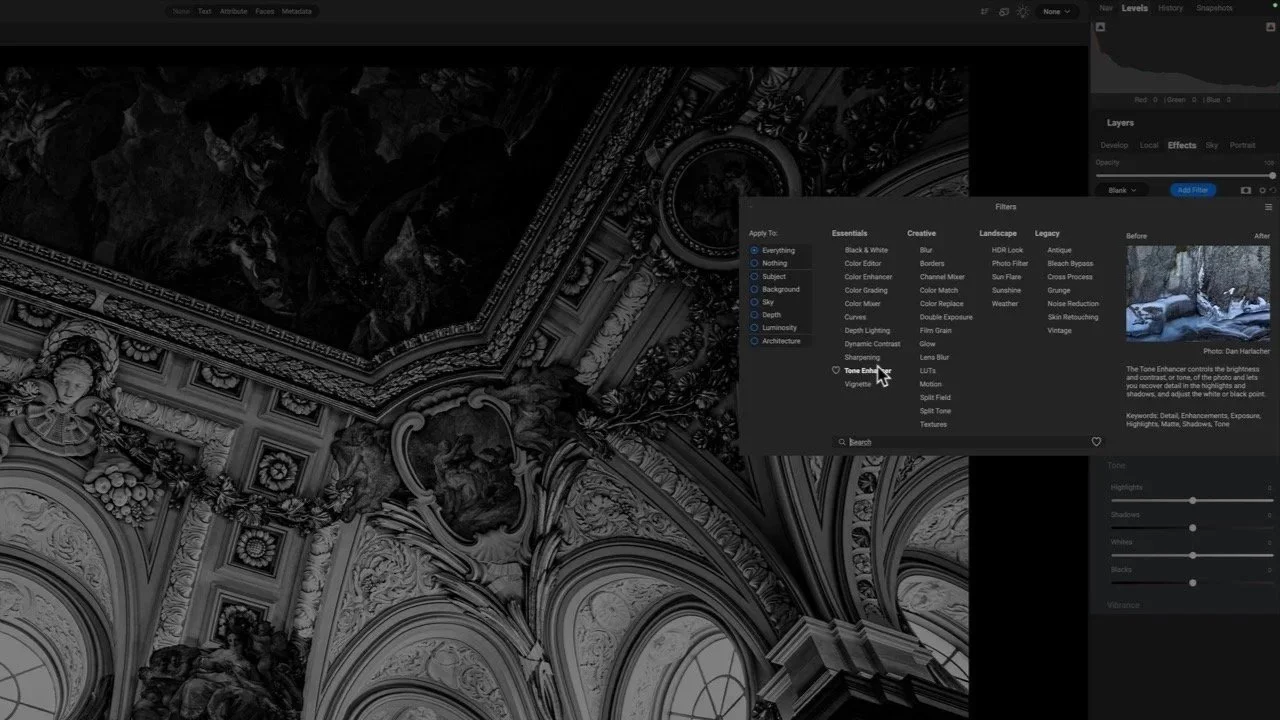
Add a Photo Filter in ON1 Effects
Switch the blending mode of the filter to Vivid Light
Lower the Opacity of the filter to taste
Then, refine the color tint and other slider settings to taste.
The results are very interesting - much more interesting in my opinion than a standard tint delivered by a filter or color fill layer.
The default Normal mode for tinting with a Photo Filter is dull and less interesting.
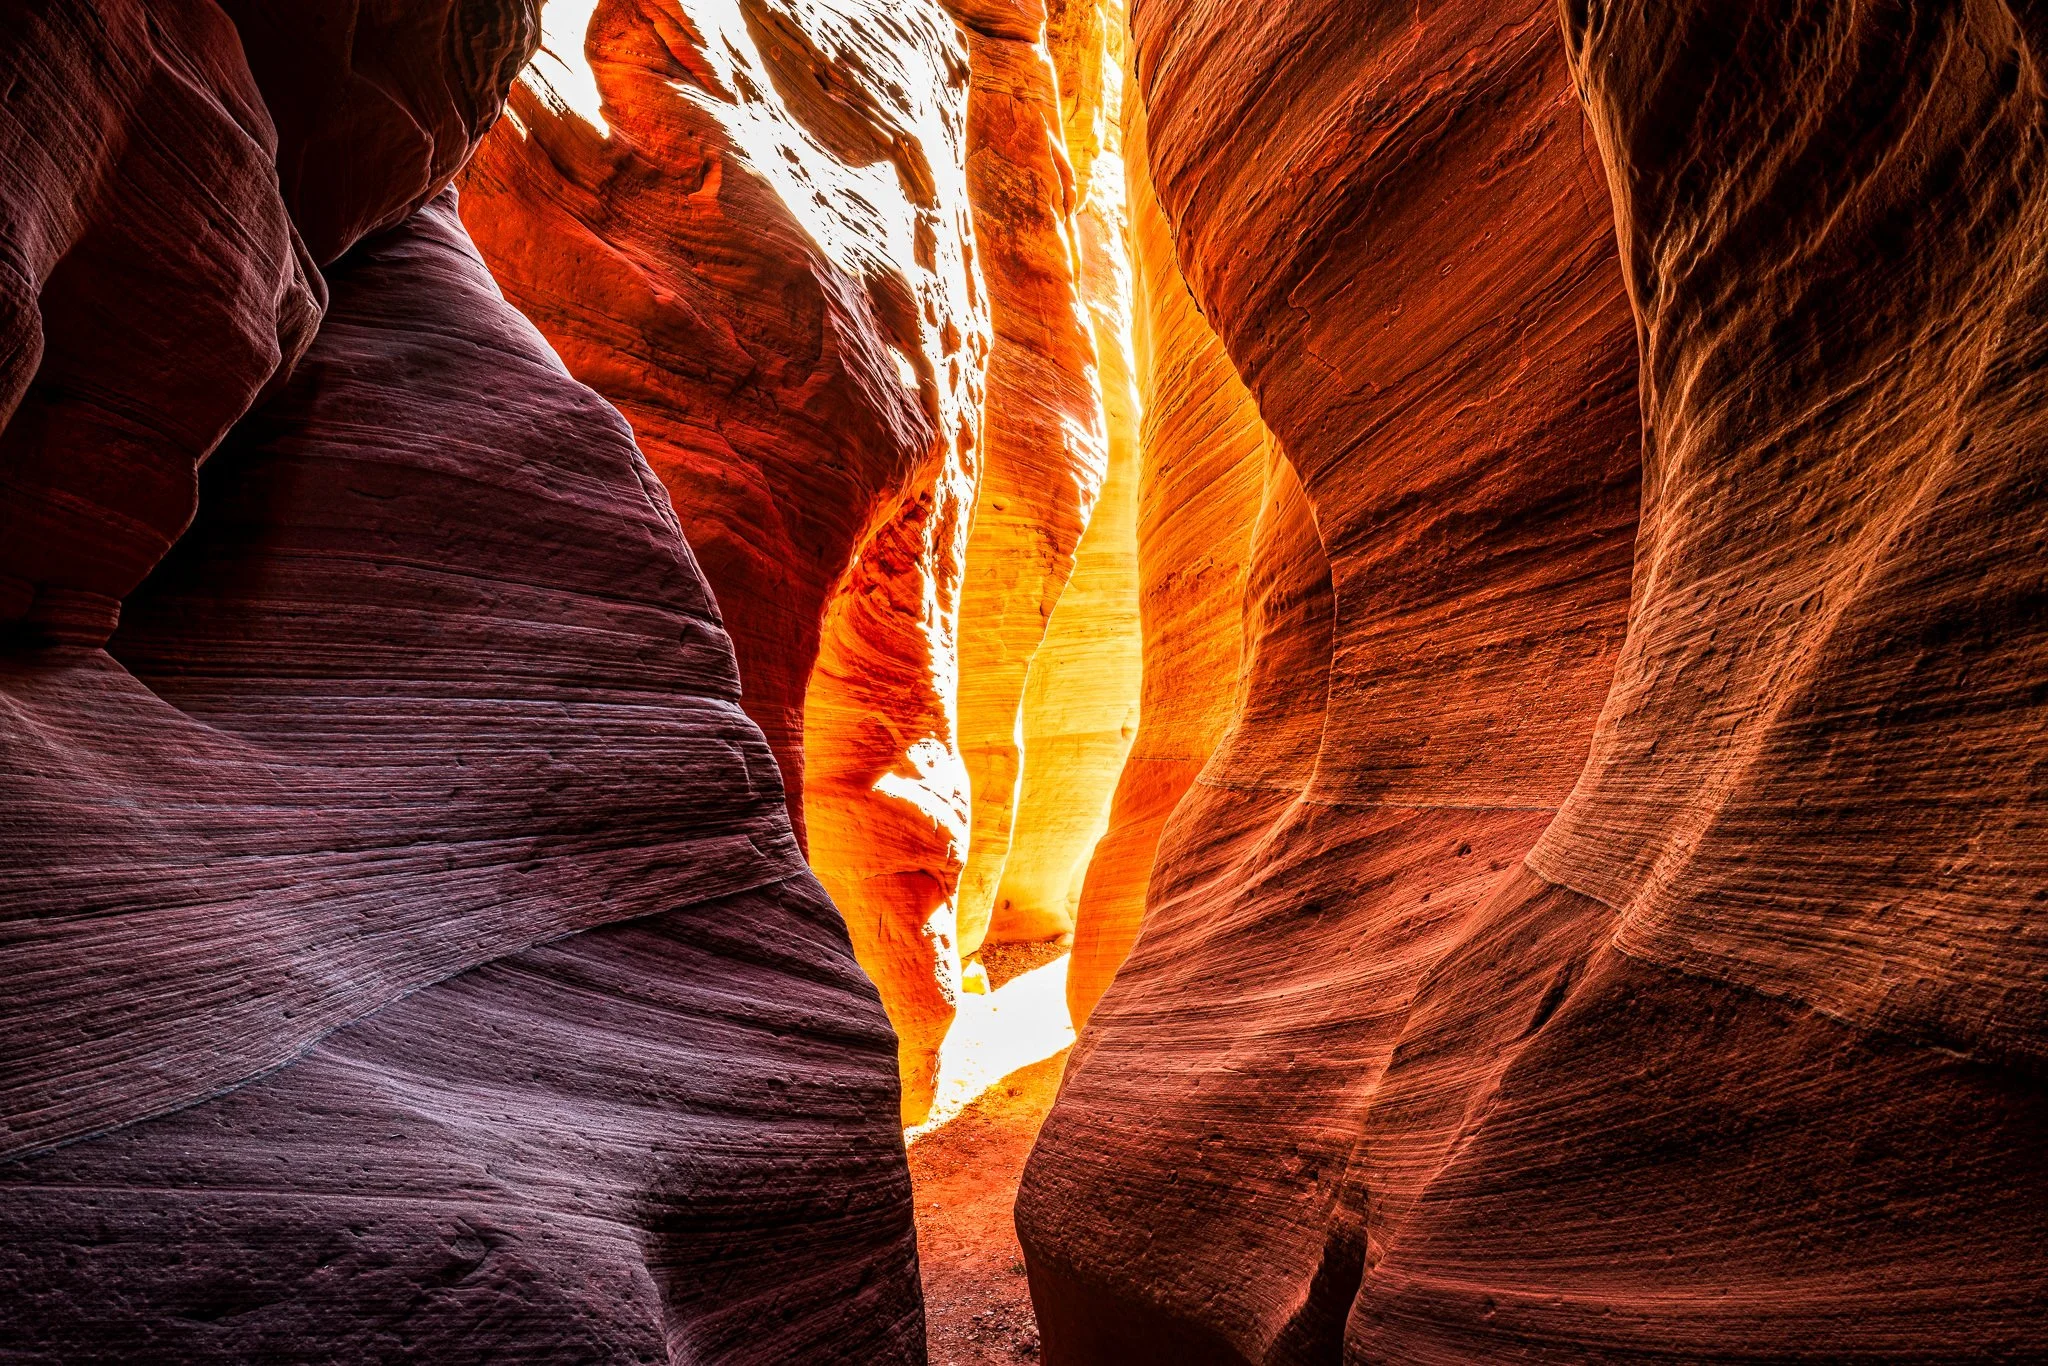
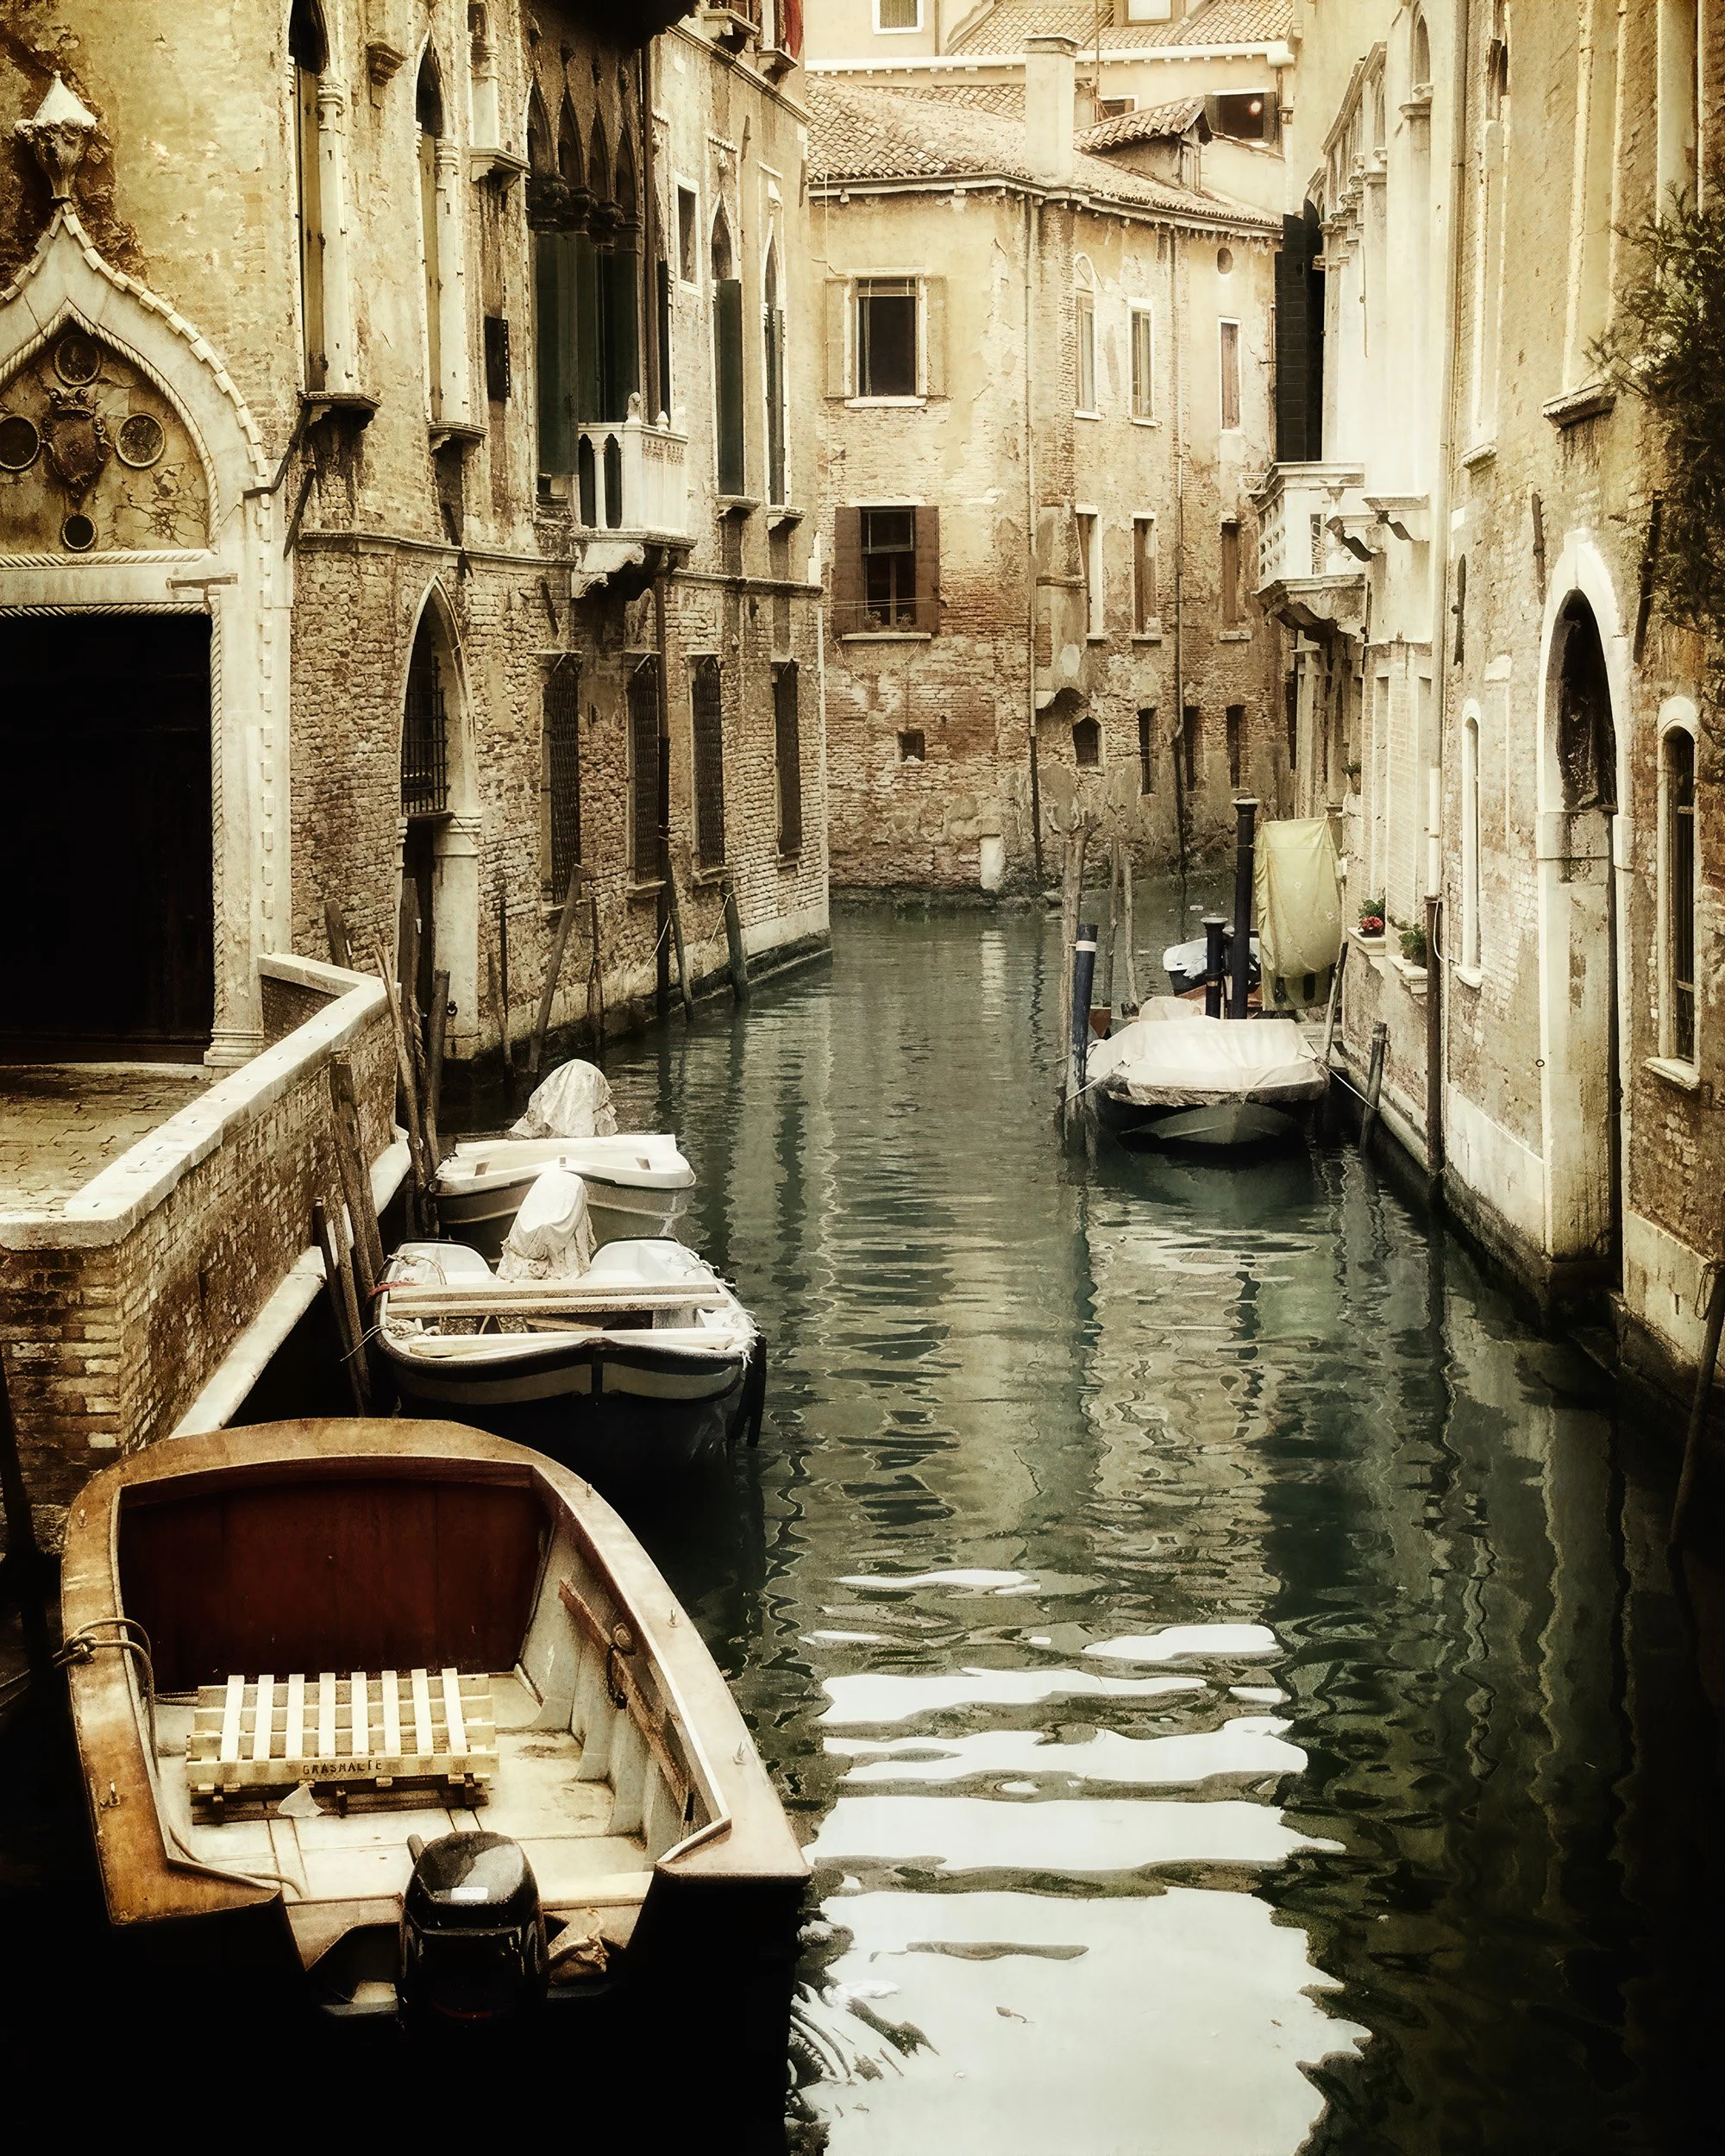
The Vivid Light blending mode at a low to moderate opacity creates a much more interesting color grading look with the Photo Filter.
Variations on this technique use a Color Fill Layer and switching the blending mode of the color fill to Vivid Light. You can also use a Local Adjustment and its Paint With option to add a solid color to an image, then leverage the Vivid Light blending mode for the local.
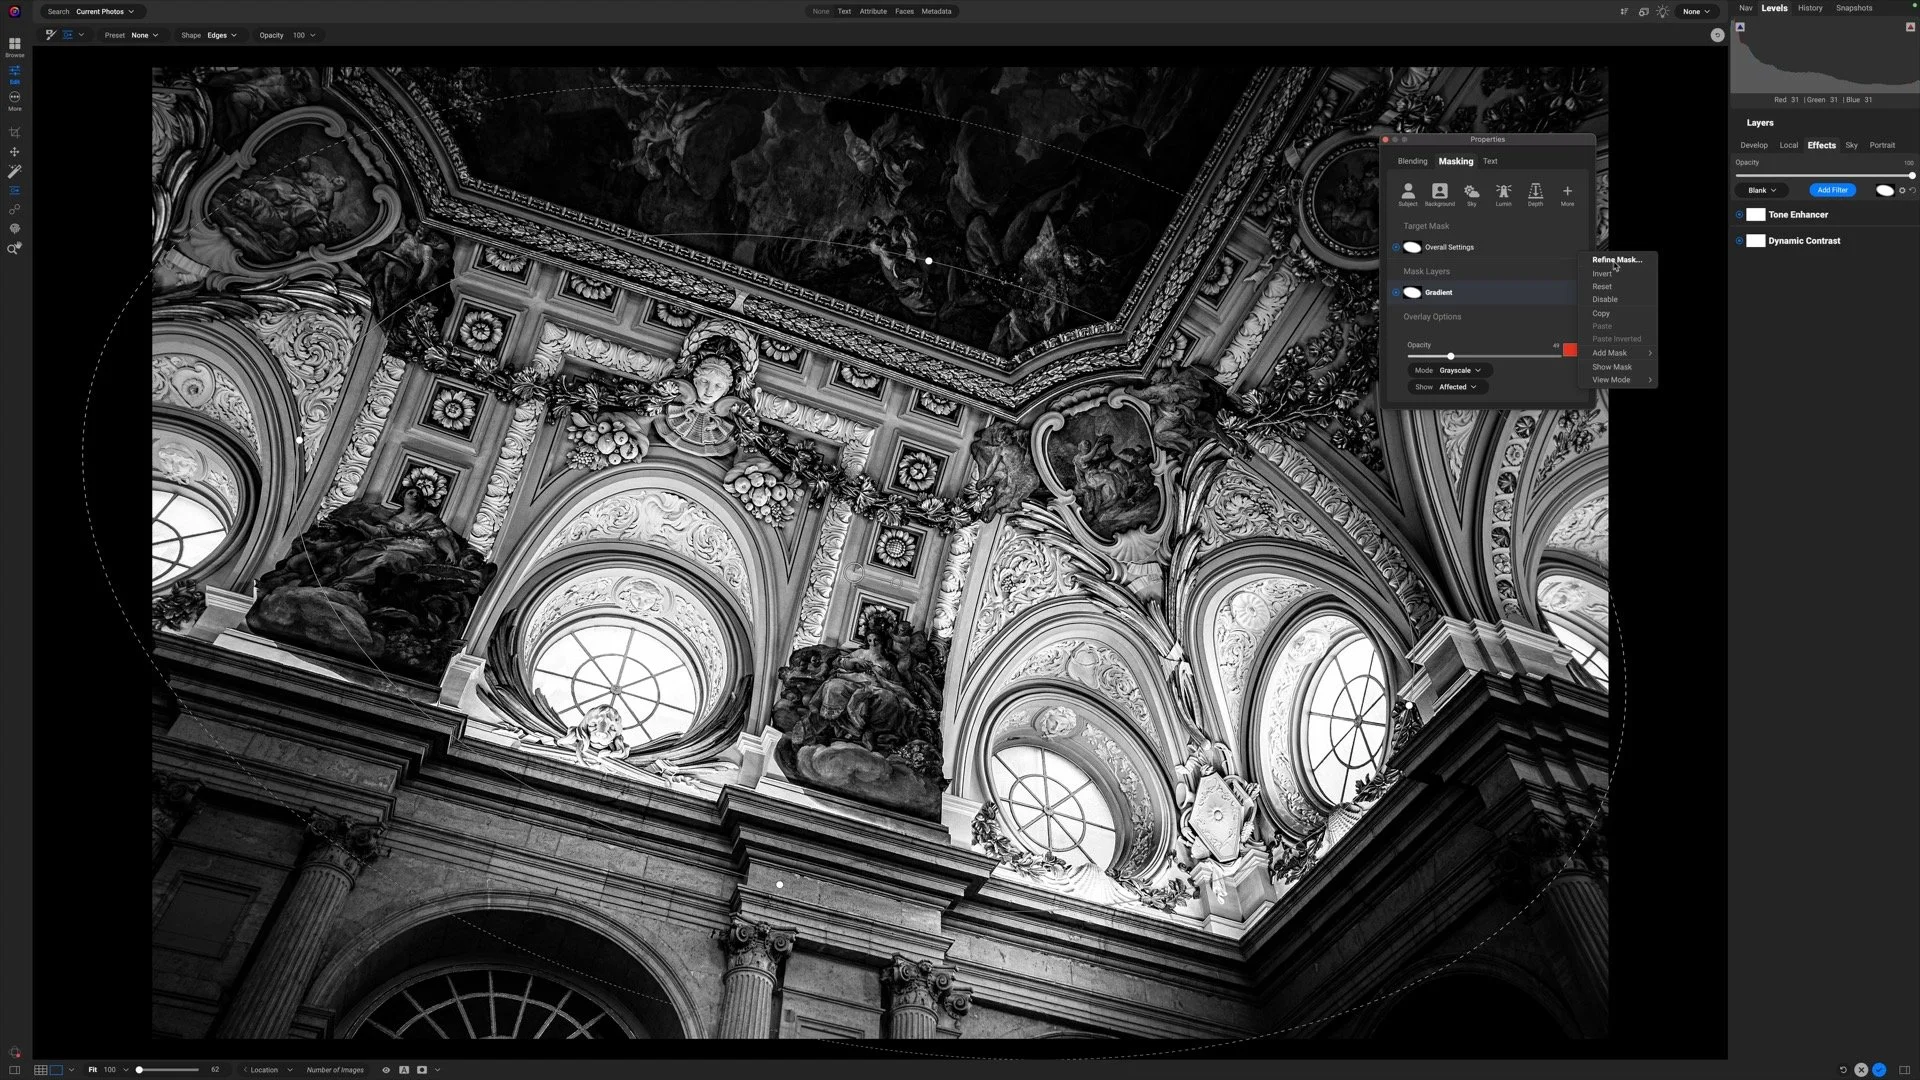
Pro tip: Experiment with luminosity masks with your color grading effects for even more unique, nuanced looks.
Up Next
The next article in this series on blending modes in ON1 is the Luminosity blending mode.
Grand Central Station Color Grade
Contact Scott to commission a print or license this image.
