The Photo Filter - ON1 Photo RAW 2021
If you are trying ON1 Photo RAW 2021, the ON1 plug-ins, or upgrading from an older version, please consider using my affiliate link. There is no extra cost to you and it helps support ON1 tutorials like this one. Ready to buy? Use the offer code SDP20 at checkout and SAVE 20%!
The Photo Filter in ON1 Effects adds a color tint to your photo, just like a physical colored-glass filter or lighting gel will do optically. With the digital tools, we can select any color tint we want and have total control over what areas and tones of our images are tinted.
Photo Filter Sliders And Controls
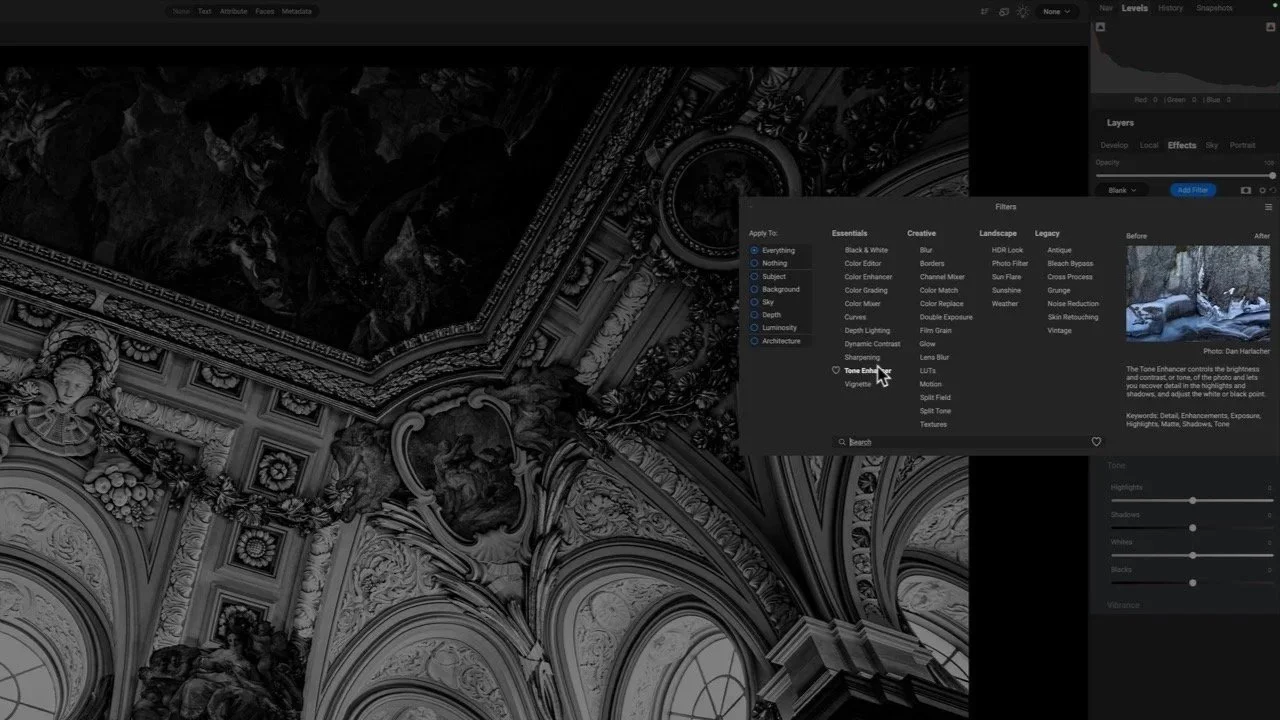
The Photo Filter includes a variety of shapes and built-in styles that simulate warming filters, graduated filters, and other tints. Styles provide a good starting point. Then use the sliders to refine the look and blend of the tint. There are several controls that are common for all varieties of the Photo Filter:
Filter Type: Set the shape of the filter. The next section has more details.
Color/Hue: Set the color for the tint
Amount: Control the strength of the color tinting.
Saturation: Adjust the saturation of your image (not the tint color). Changes in image Saturation also change how the tint mixes with your photo.
Polarizer: Simulate a polarizing filter. This slider tends to downplay glare and deepen shadows.
Mode: Refine how the tint mixes with the tones of your image.
Using the sliders and popup menus, you can quickly dial in the right amount of tint for your photo. Also, the different modes can protect shadows and highlights from receiving too much color shift from the tint.
Choose a tint color for the Photo Filter and set its strength with the sliders.
Adjust the image Saturation and add a polarizing effect, if desired.
Select a Mode to refine how the tint is applied to your image.
Filter Types - Solid, Graduated, Bi-Color, And Center
By default, the Photo Filter applies a solid filter type - the selected color tint is applied to your entire photo. There are several different filter types available with the Photo Filter.
Solid: The default filter type. The selected color tint is applied to the entire image.
Graduated: A classic graduated filter, transitioning from a color tint to neutral.
Bi-Color: Creates a graduated transition from one color to another. Individually set the hue and saturation of both filter colors.
Center: Transition from the selected color to neutral, radiating from the center of the photo. The popup toggle of Center and Edges swap the direction of the transition.
For Graduated, Bi-Color, and Center types, the position and transition of the Photo Filter is controlled with the Distance, Rotation, and Transition sliders at the bottom of the filter controls. Bi-Color also presents a second set of Color/Hue and Saturation sliders, as well as a Swap Colors button, to craft your two-toned look.
In practice, I do not use the Graduated or Center filter types. I prefer to use the masking tools with a Solid type because that combination yields more control over the look and feel for my images.
The Graduated filter type allows for a transition from a color tint to neutral.
The Center filter type radiates a color transition from from the center of an image.
The Bi-Color filter type provides a tint transition from one color to another.
Masking Tools
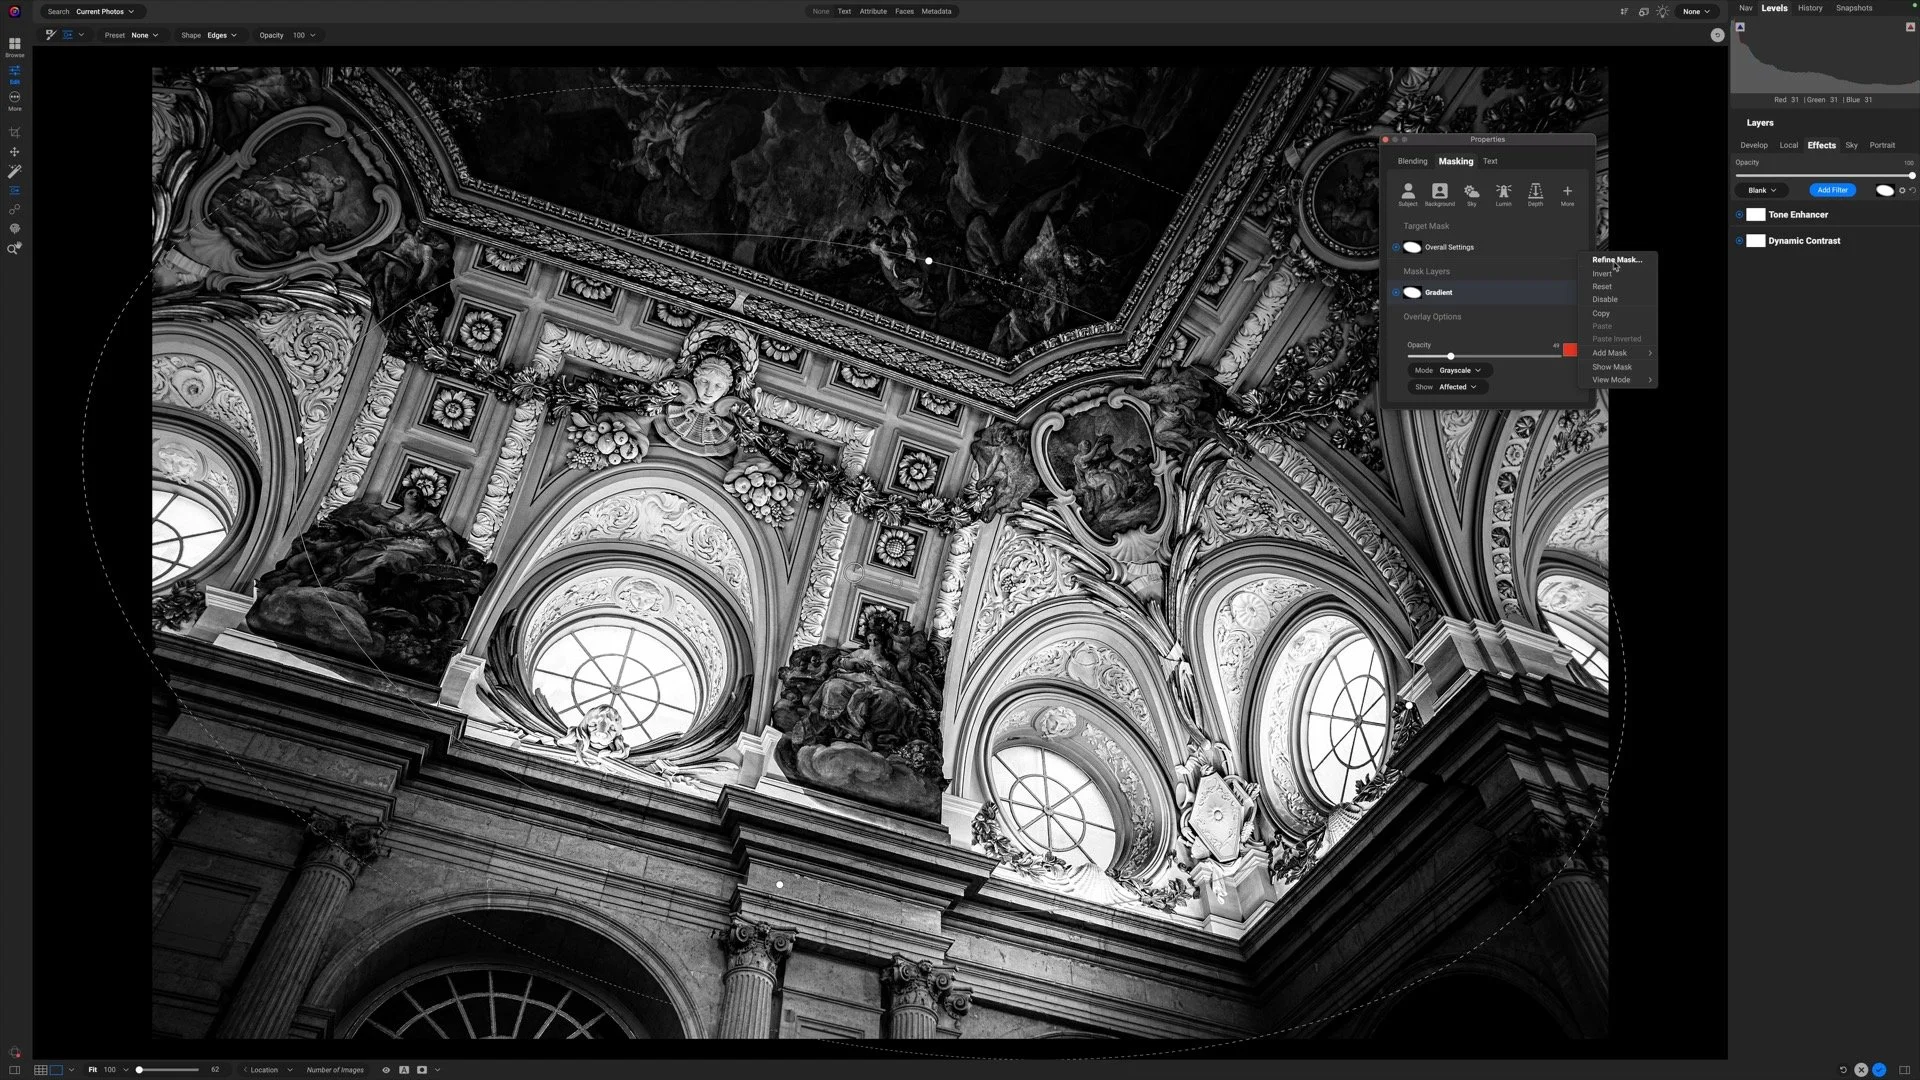
As noted above, I prefer to use the masking bug with the Solid filter type of the Photo Filter. The on-screen masking controls are easier to work with than the sliders in the Photo Filter. Also, using the masking tools provides more controls. You can use the masking tools to create a reflected gradient or elliptical shaped masks, which are not possible using the Photo Filter controls alone.
Even more powerful is using Luminosity Masks with the Photo Filter. Adding a color tint to specific tonal regions is a nuanced, natural way is very easy leveraging ON1’s excellent masking tools.
The on-screen controls of ON1’s masking tools are easier to use than the sliders in the Photo Filter for graduated filters.
Create oval-shaped masks for the Photo Filter with ON1’s masking tools.
Leverage the blending options to further refine what tones in your image are tinted and what tones remain pure.
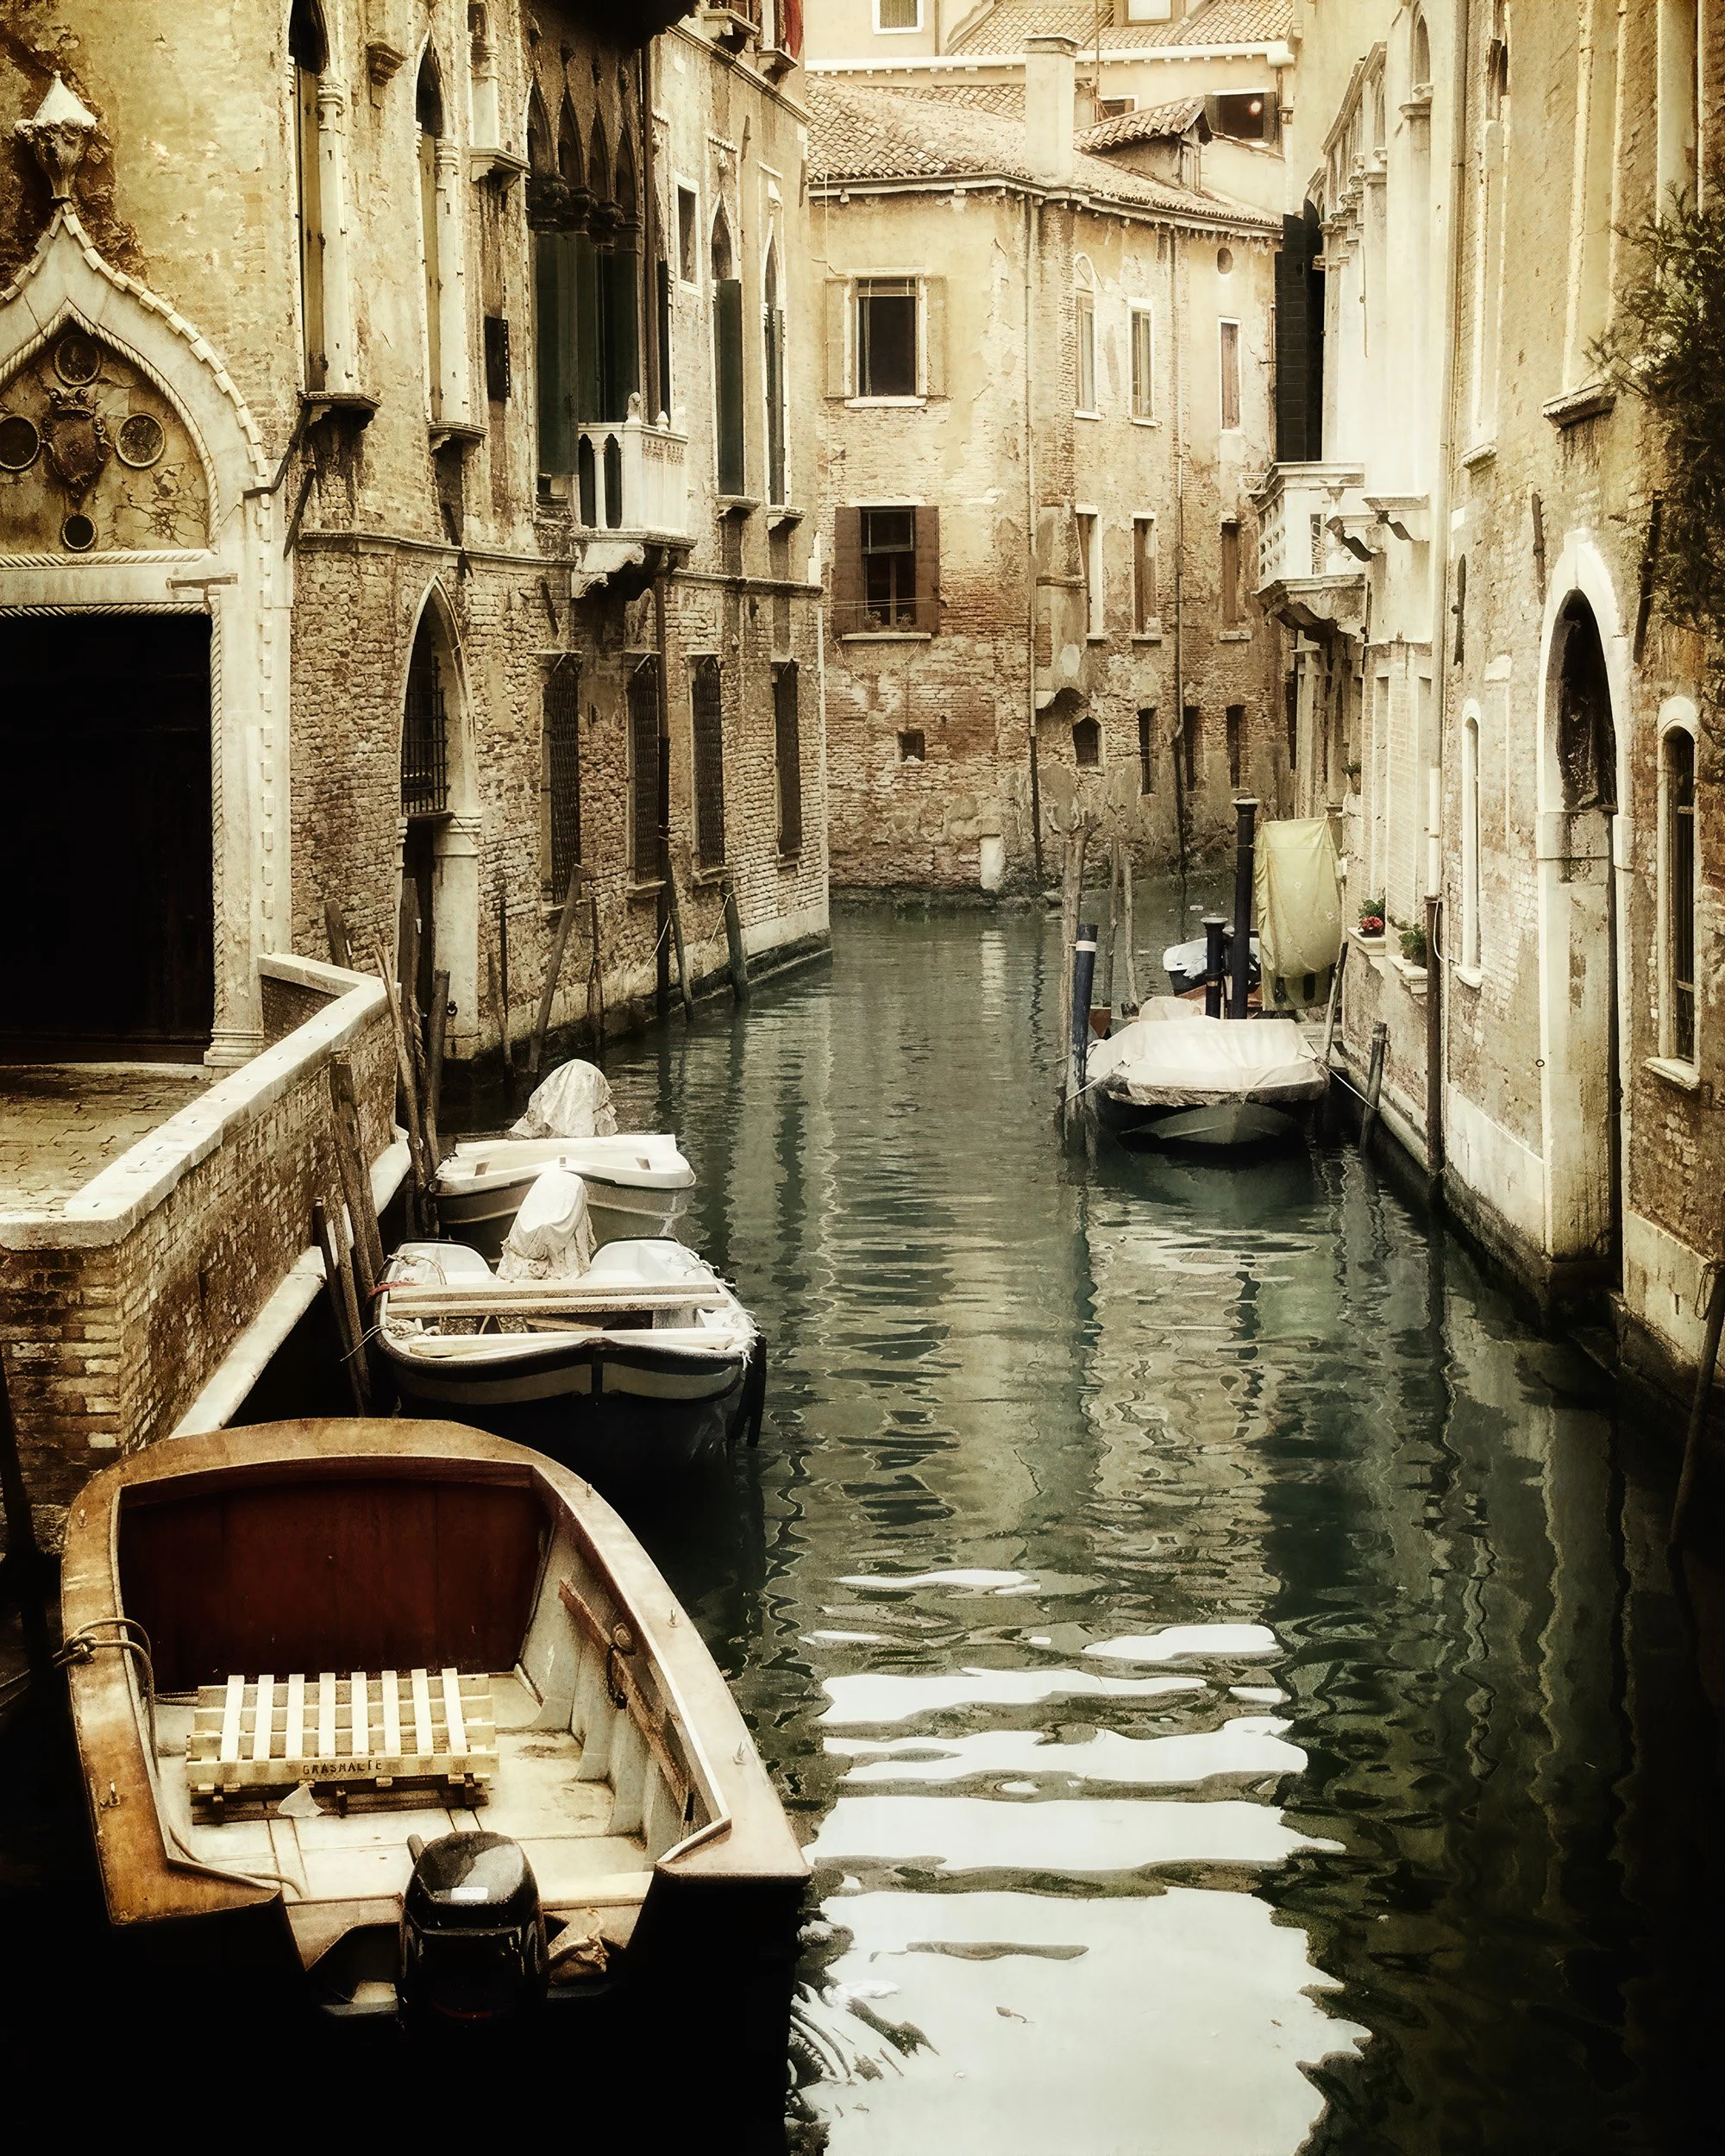
Finally, don’t overlook the blending options. While the Photo Filter has the mode control for options including Clean Shadows and Clean Highlights, the blending options give you even more control over what tonal regions are affected or protected from a Photo Filter color tint. In the example below, I used the Clean Highlights mode of the Photo Filter to keep the boats a crisper white. Additionally, the Shadows slider in the blending options kept the tint out of the deep shadows. The result is a signature look for my imagery.
Boats In Bodega Bay
Contact Scott to commission a print or license this image.
Example: A Sunset Kiss With The Photo Filter
Here is a quick recipe for a “sunset kiss” using two Photo Filters in ON1 Effects. The process is:
Add a Photo Filter and select a warm tone. The 85 or Orange styes are a good starting point.
Open the Masking area and click the Lumen button.
Adjust the slider controls to taste
This adds an extra bit of warmth to the brighter parts of the image. Next, give the shadows a treatment.
Add a second Photo Filter and select a purple hue. I like the Lavender Grad style for this. If you use this style, switch the Filter Type to Solid after applying.
Open the Masking area and click the Lumen button.
In the Masking area, click the Invert button.
Adjust the sliders to taste.
The second filter adds a twilight purple tint to the shadows and darker tones in the image. When both Photo Filters are enabled, it adds an extra bit of life and vibrance to your sunset photos.
Use one Photo Filter with a luminosity mask to add a warm, orange tone to the highlights.
Add a second Photo Filter with an inverted luminosity mask and a cool, purple tone to enrich the shadows.
With both Photo Filters applied, your sunset images get an extra kick of vibrance and life.
Del Mar Sunset
Contact Scott to commission a print or license this image.
