

SAVE 20% on Photo RAW. Use offer code SDP20 at checkout:
ON1 released Photo RAW 2020.1 a few days ago. It brings several new features and a slew of other improvements, too. In this video, I highlight a few of the new features, including:
Improved Highlight Recovery: A totally new algorithm to recover highlights while maintaining subtle hues.
Browse vs Catalog Tabs: Browsing and cataloged folders are separated into their own tabs in Browse. I love the new catalog tag. Only the photos I want to work with are shown, eliminating clutter from the UI.
Improved Map View: The map quality and search results are better. Also, syncing location data across multiple photos is much easier with the Location tab in the metadata pane.
More Control of Focus Stacking: New options to focus stacking help control noise and tune the algorithm for smoother, crisper stacks.
Single Image Edit Mode: A new editing mode to take a photo directly into Edit, make your changes, and save the results.
I’ll be doing a separate video in a couple of days on Single Edit Mode, too.
Subscribe and share!
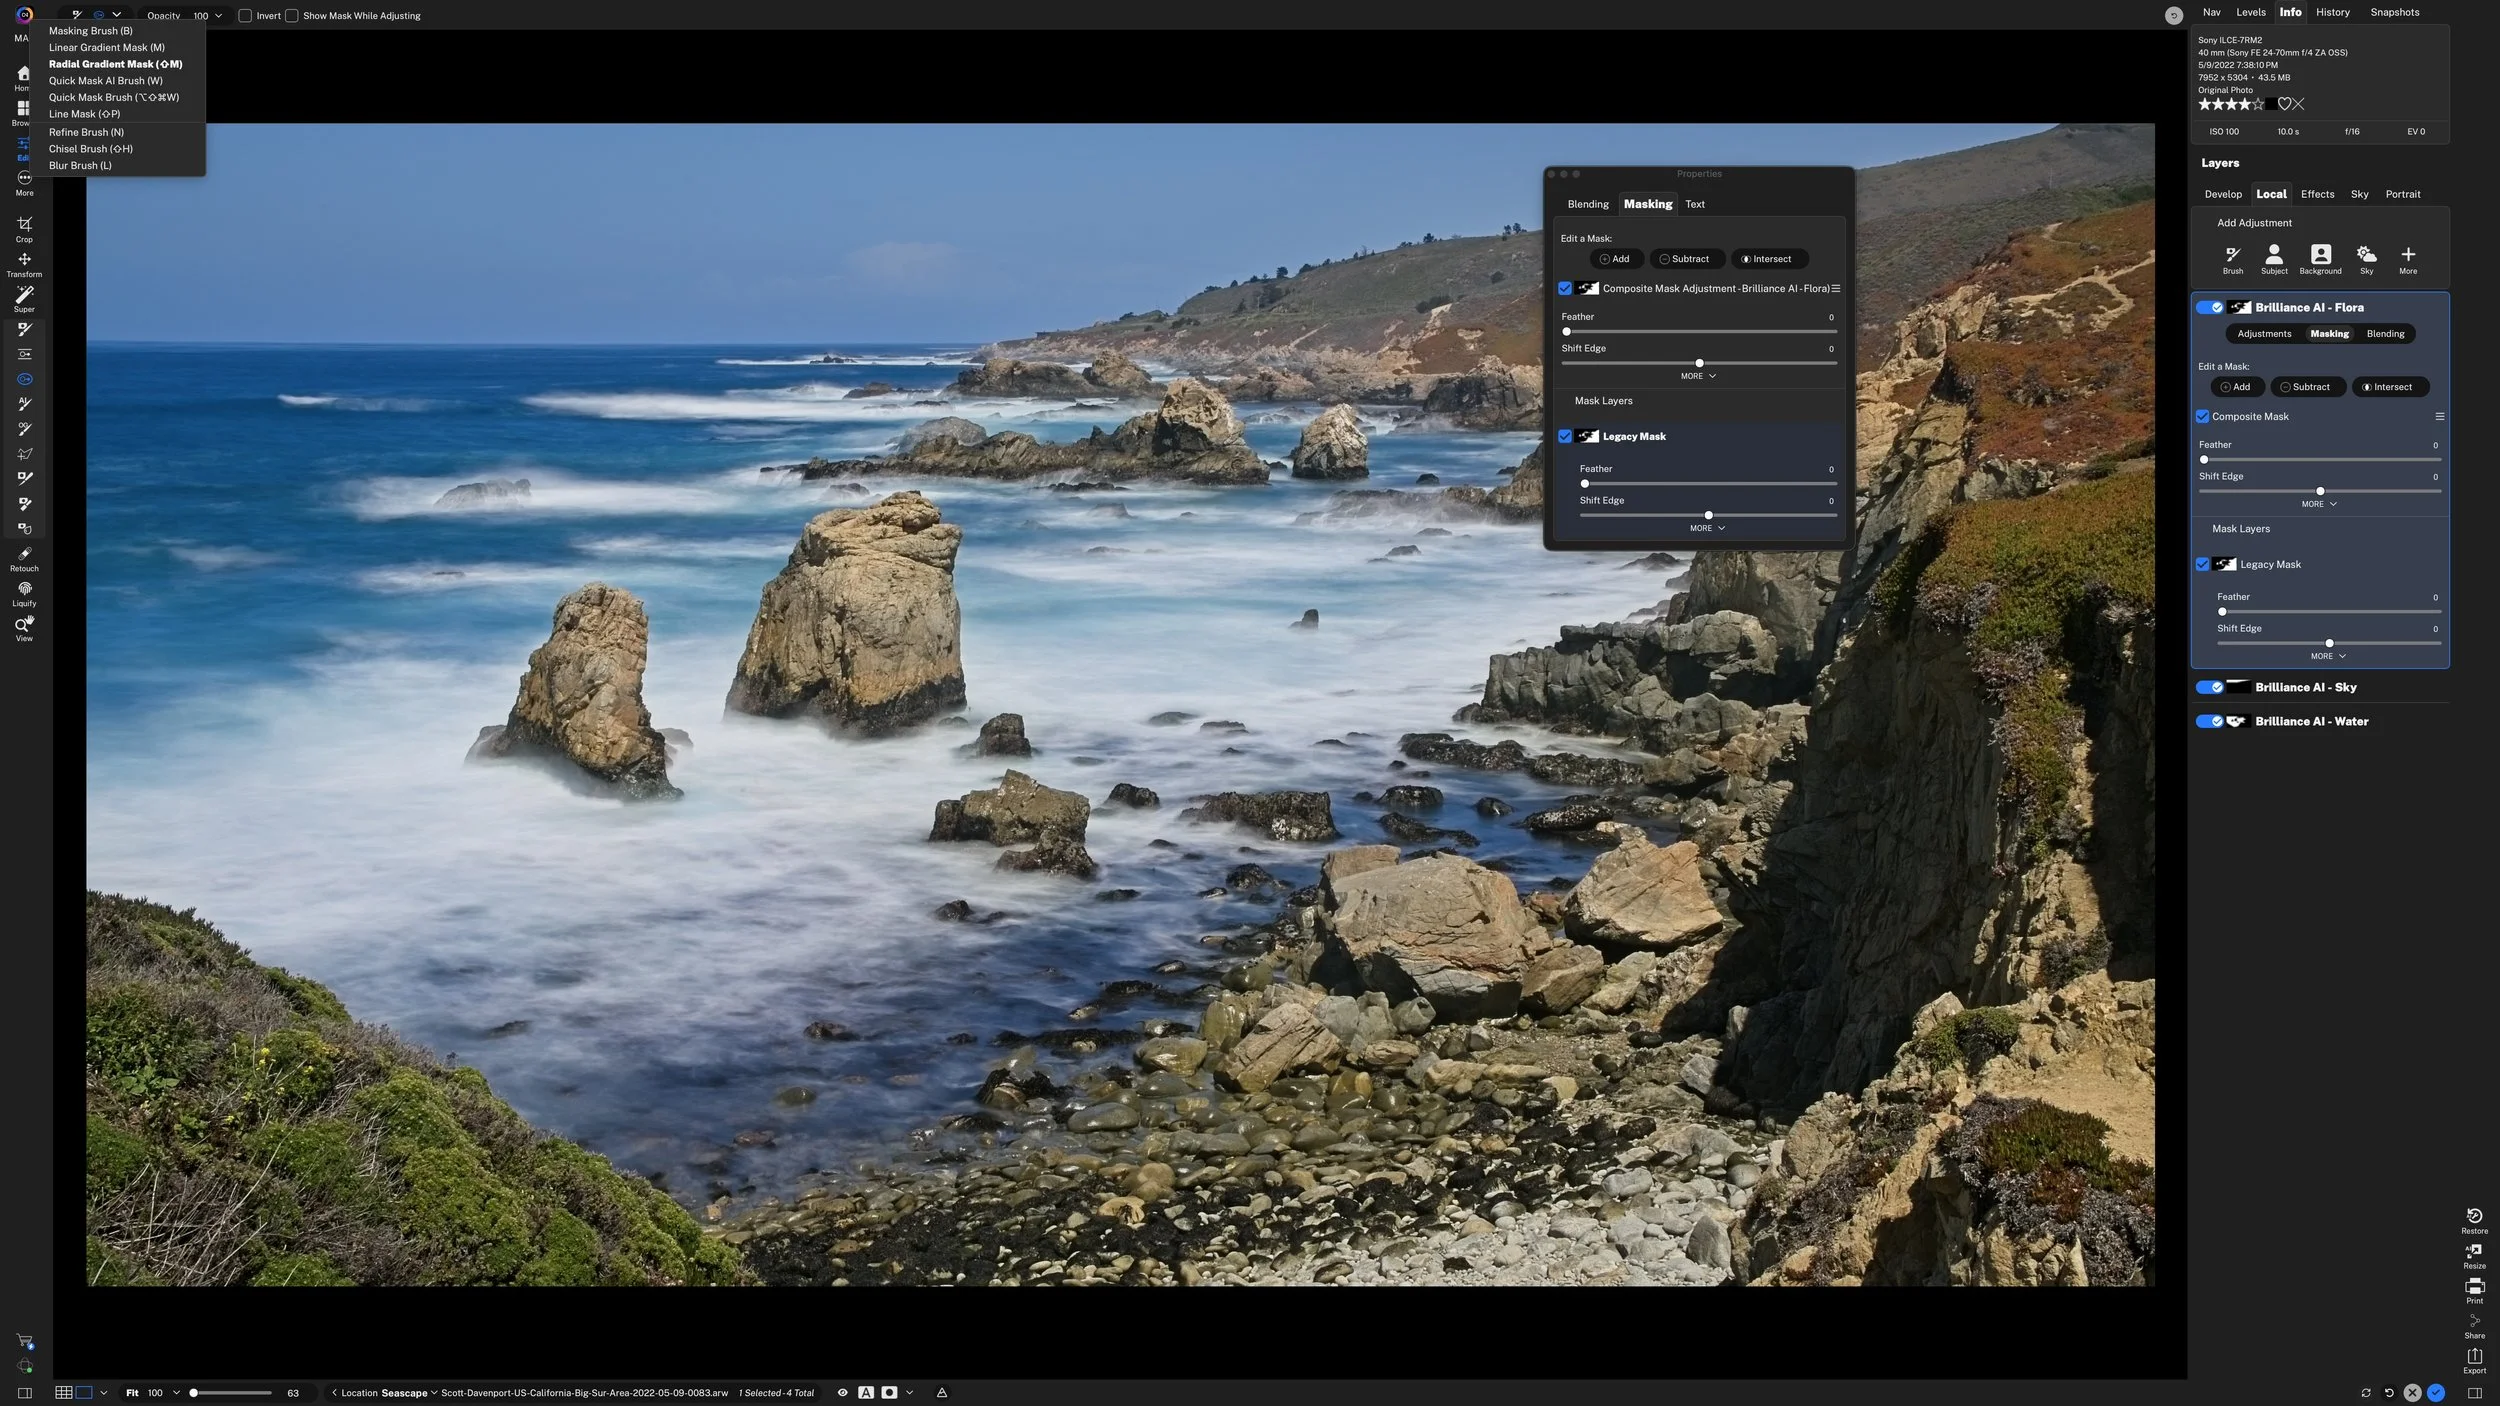
Looking for the Masking Bug in ON1 Photo RAW 2027? Its controls are now split between two tools, Linear Gradient and Radial Gradient. You can also click and drag either gradient directly on the photo to shape it as you place it.
Mask properties have moved closer to the edit, too. You can refine the full mask or an individual mask layer right inside a local adjustment or Effects filter, with Add, Subtract, and Intersect in plain sight.
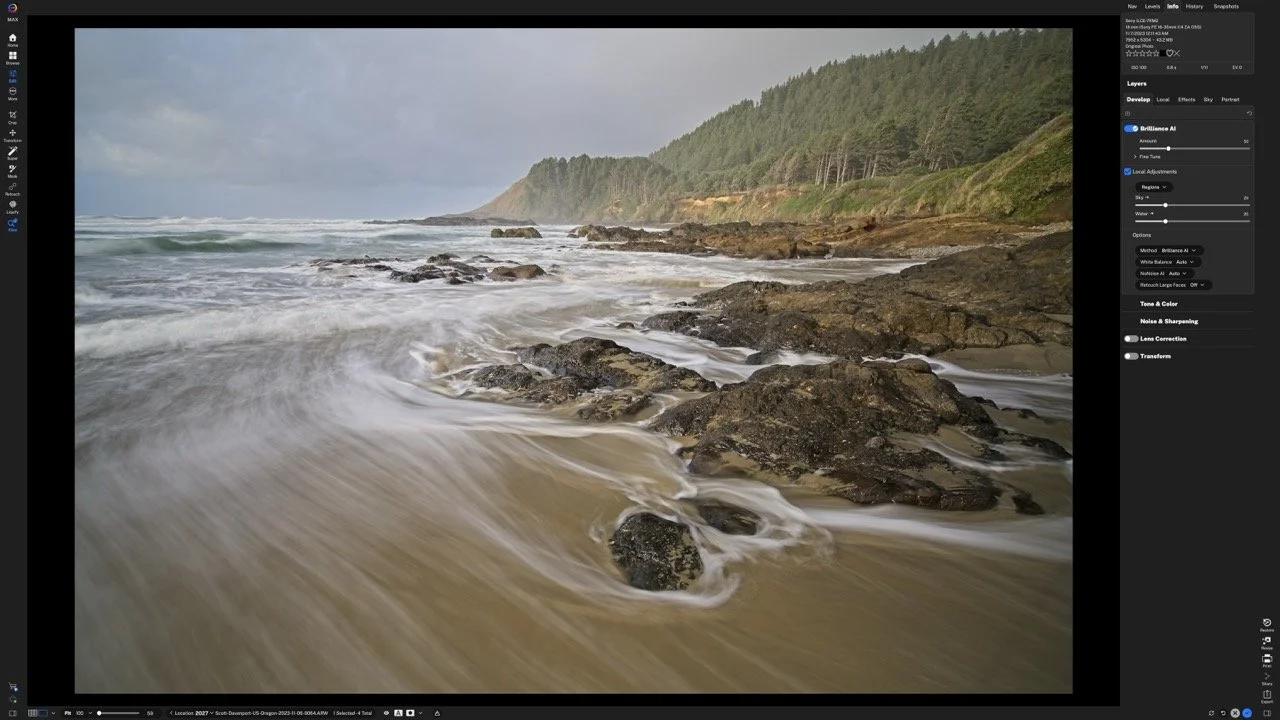
Does a new RAW processing engine make a practical difference to your editing? My comparisons in ON1 Photo RAW 2027 show a welcome improvement in the starting image, with richer color and contrast before I move a slider.
That stronger foundation also has me taking another look at Brilliance AI. Here’s how to compare the RAW engines on your own photos, what I’m seeing in my results, and why existing edits deserve a little care.
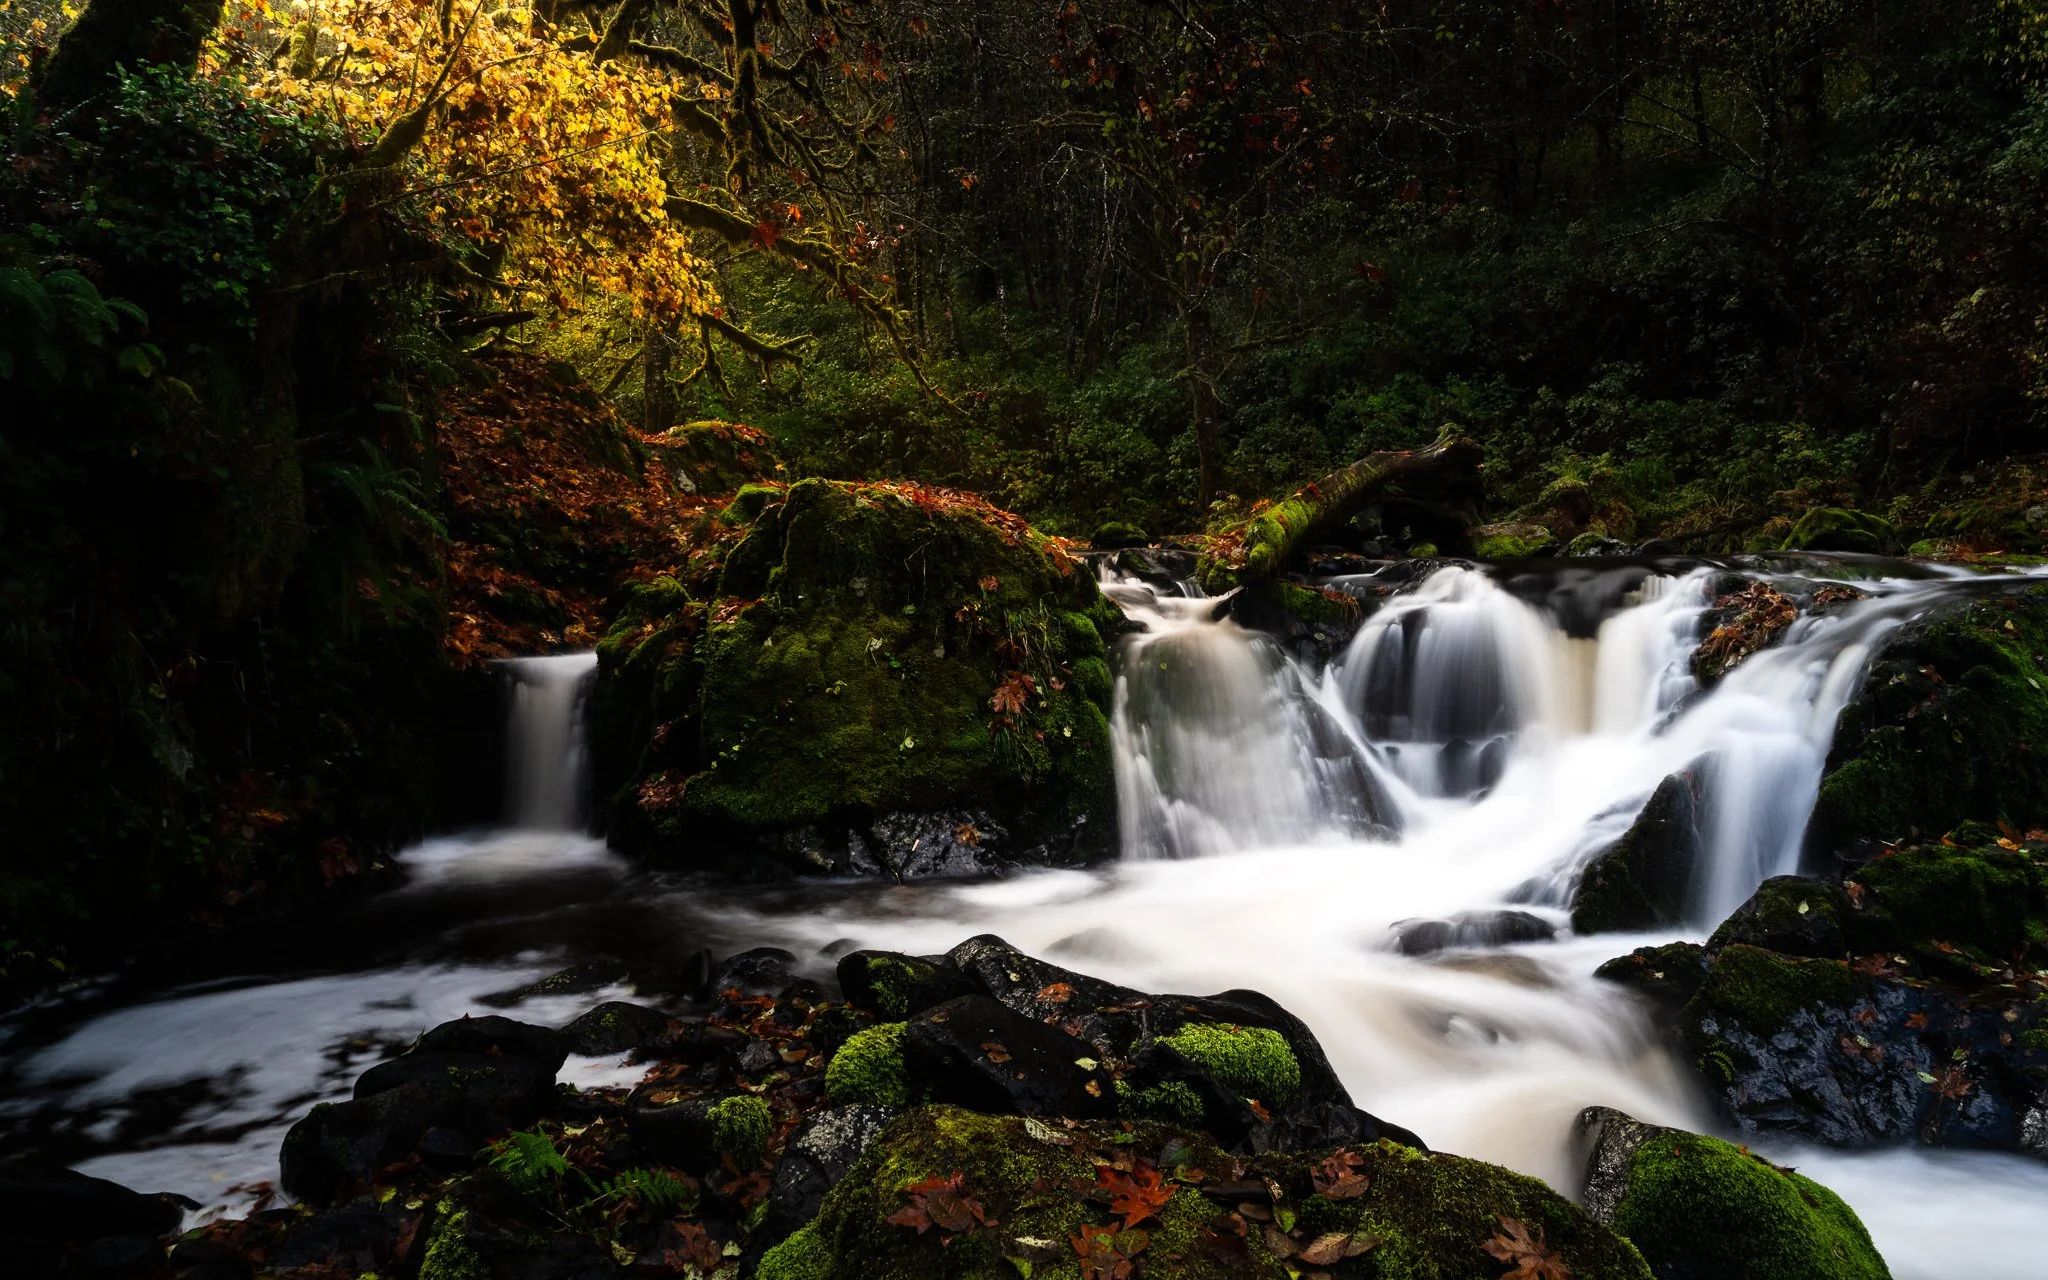
A little glow can bring atmosphere to a landscape photo, but spreading it everywhere can weaken the scene. How do you give that light a direction while keeping the shadows quiet and the brightest details intact?
Using the Sunshine filter in ON1 Effects, I shape a soft glow through a forest scene toward the water. The approach builds on an editing vision and shows how a few complementary masking tools can help you follow through on it.
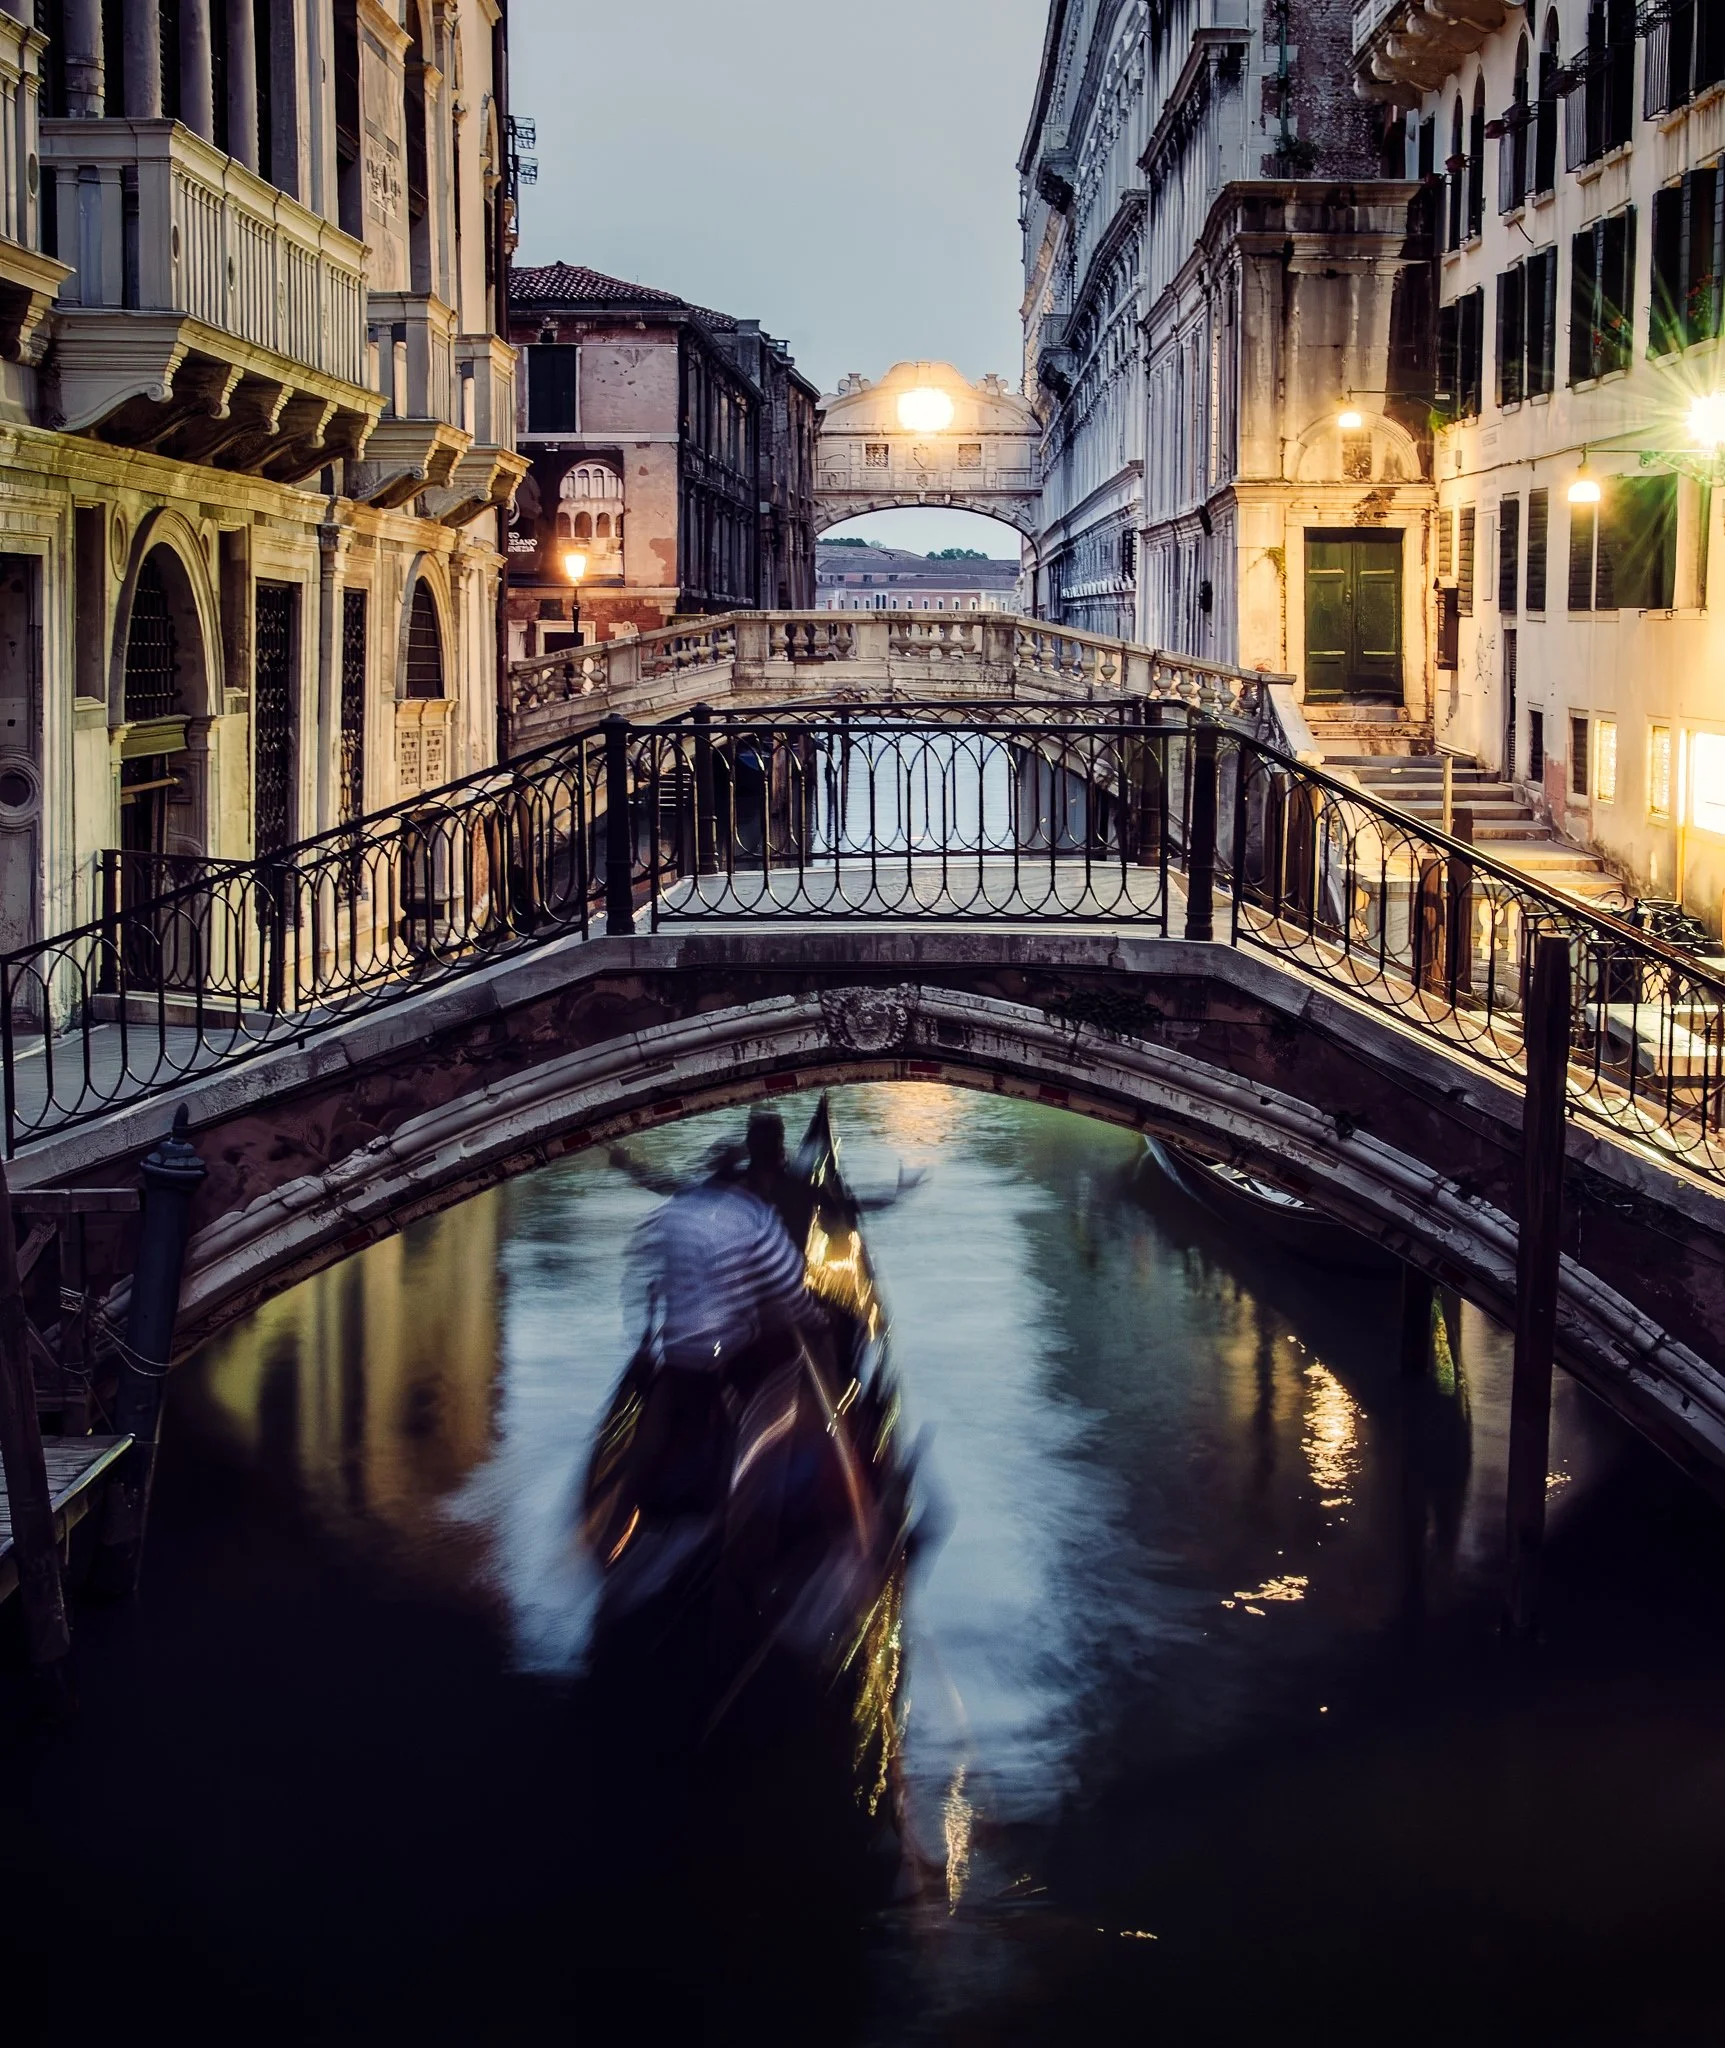
Tack Sharp can correct camera shake remarkably well, but applying it across an entire photograph can sharpen areas you intentionally want to keep soft. Water, reflections, and moving subjects can quickly lose their natural character.
By combining Tack Sharp with layers and masks in ON1 Photo RAW, you can correct softness selectively. This approach preserves intentional motion while sharpening the stationary parts of the scene that need help.
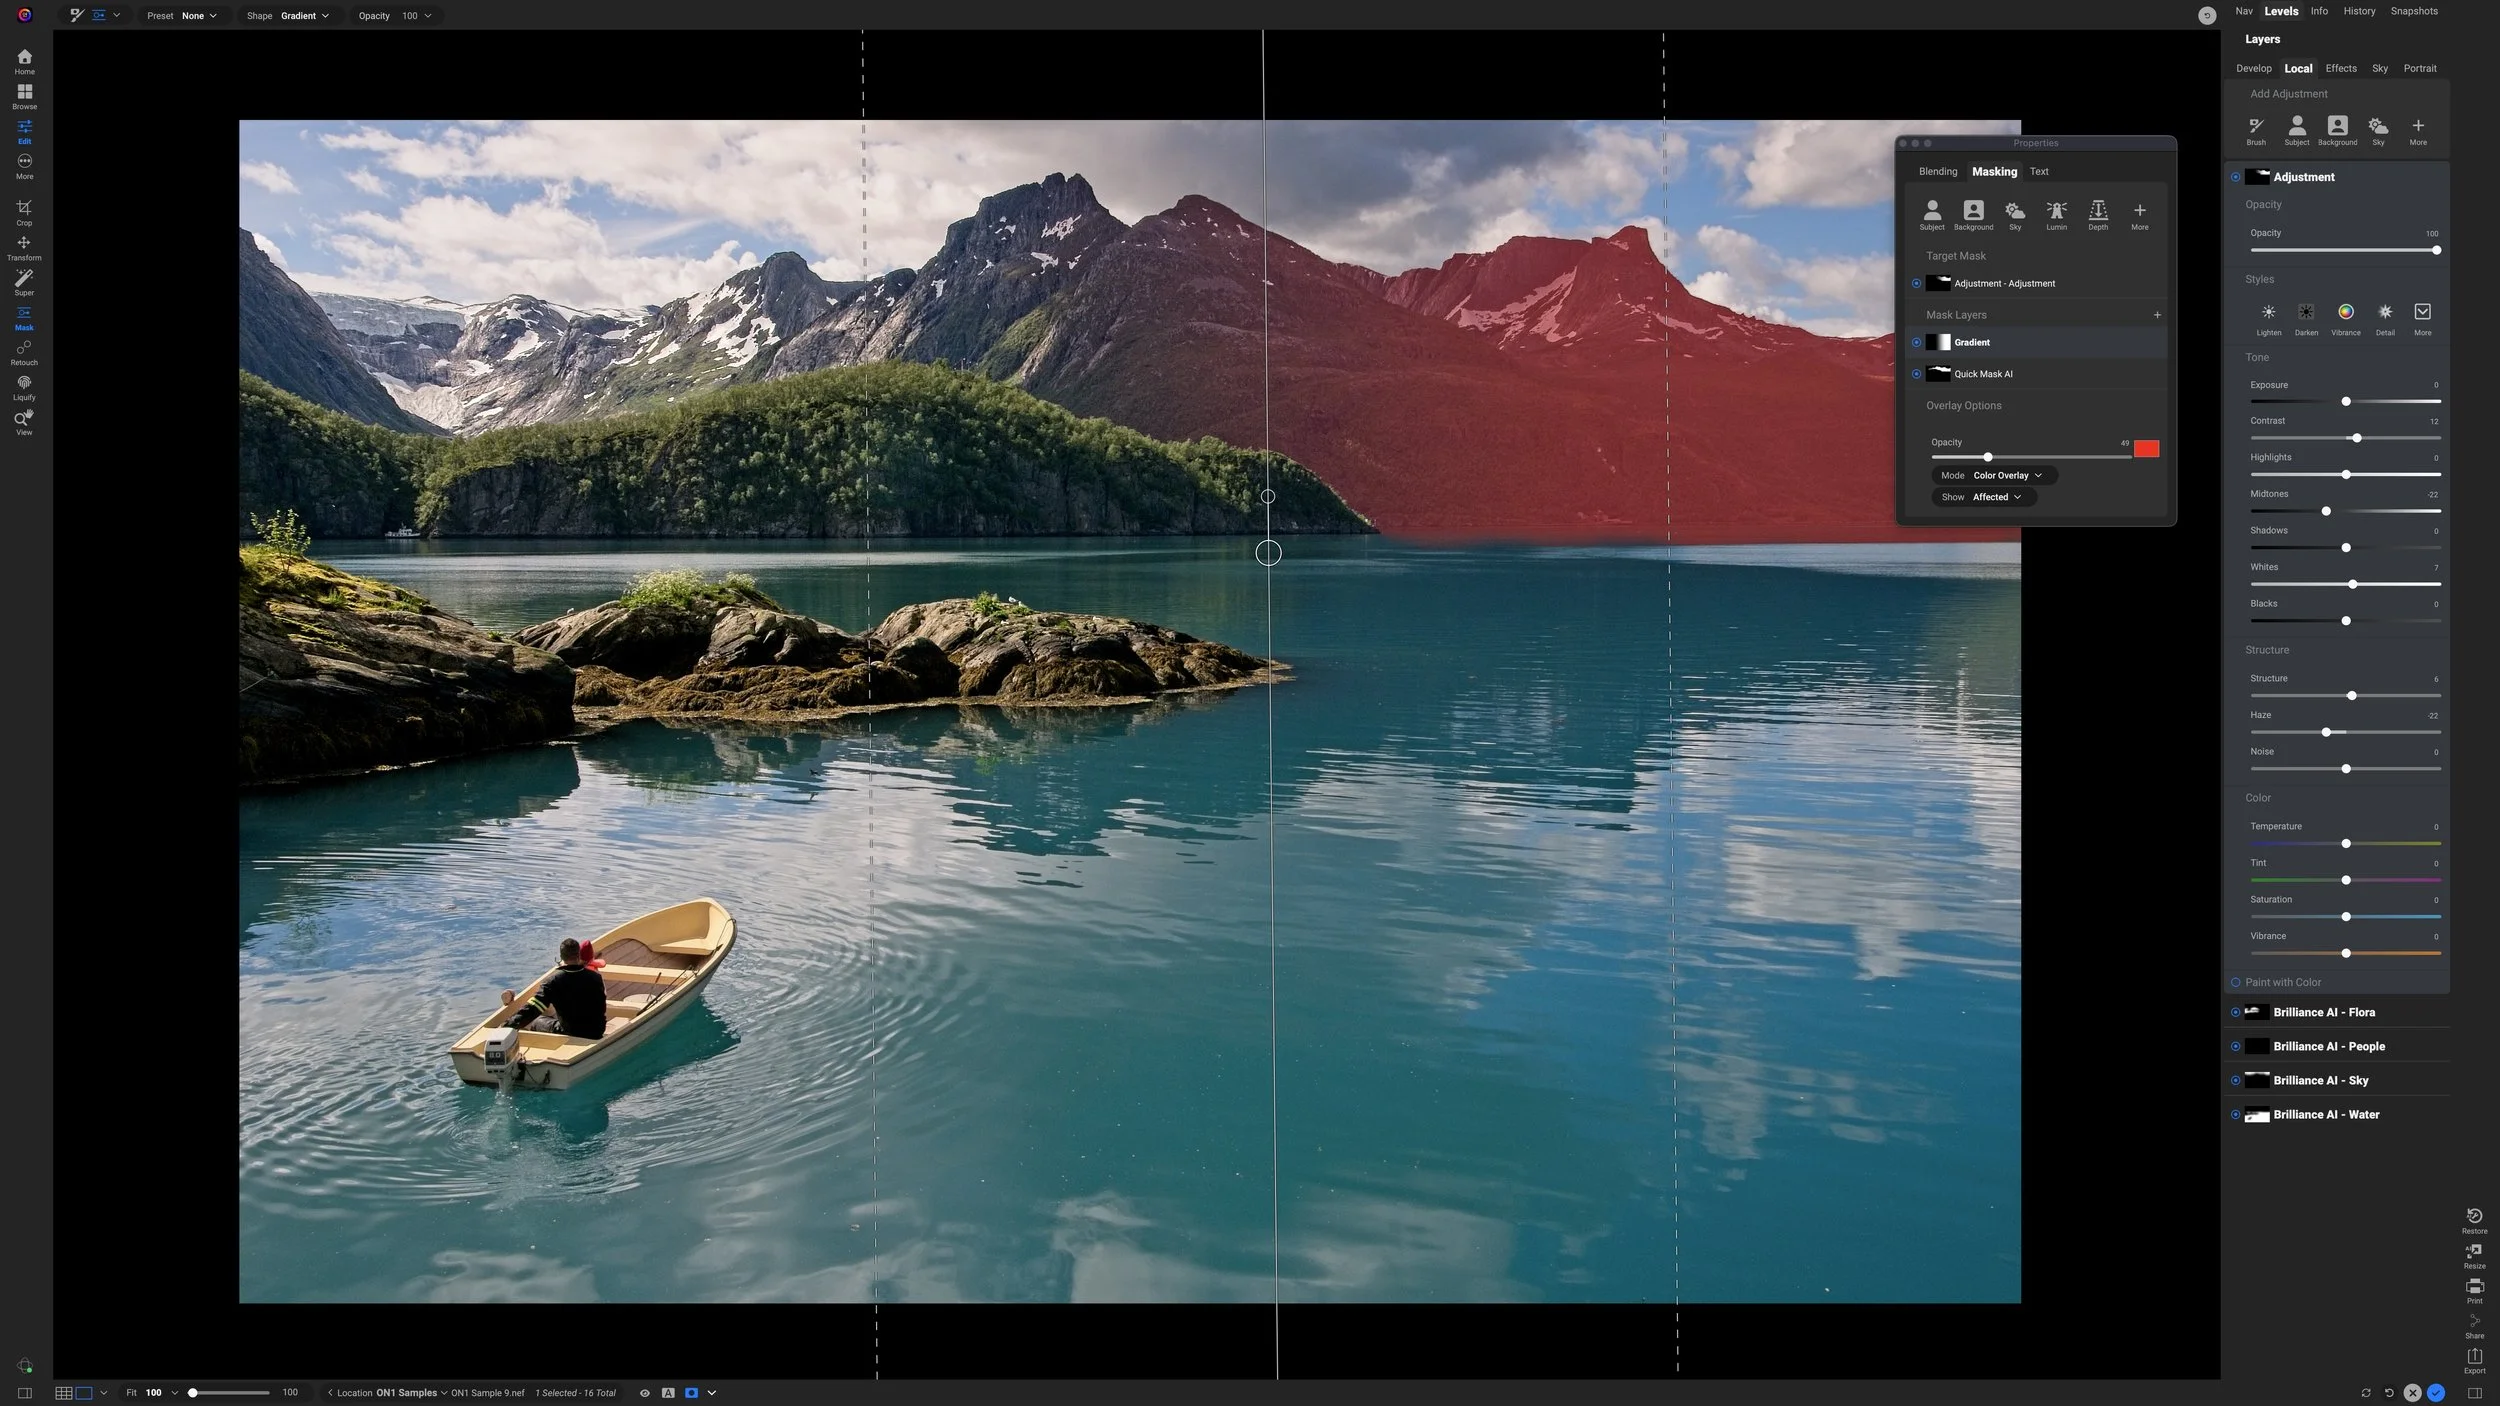
What if your mask selects the right subject, but you don’t want the adjustment applied evenly across all of it?
In this tutorial, I combine an AI mask with a gradient using Intersect mode in ON1 Photo RAW. The result keeps the adjustment confined to the mountains while letting its strength fade naturally across the scene.
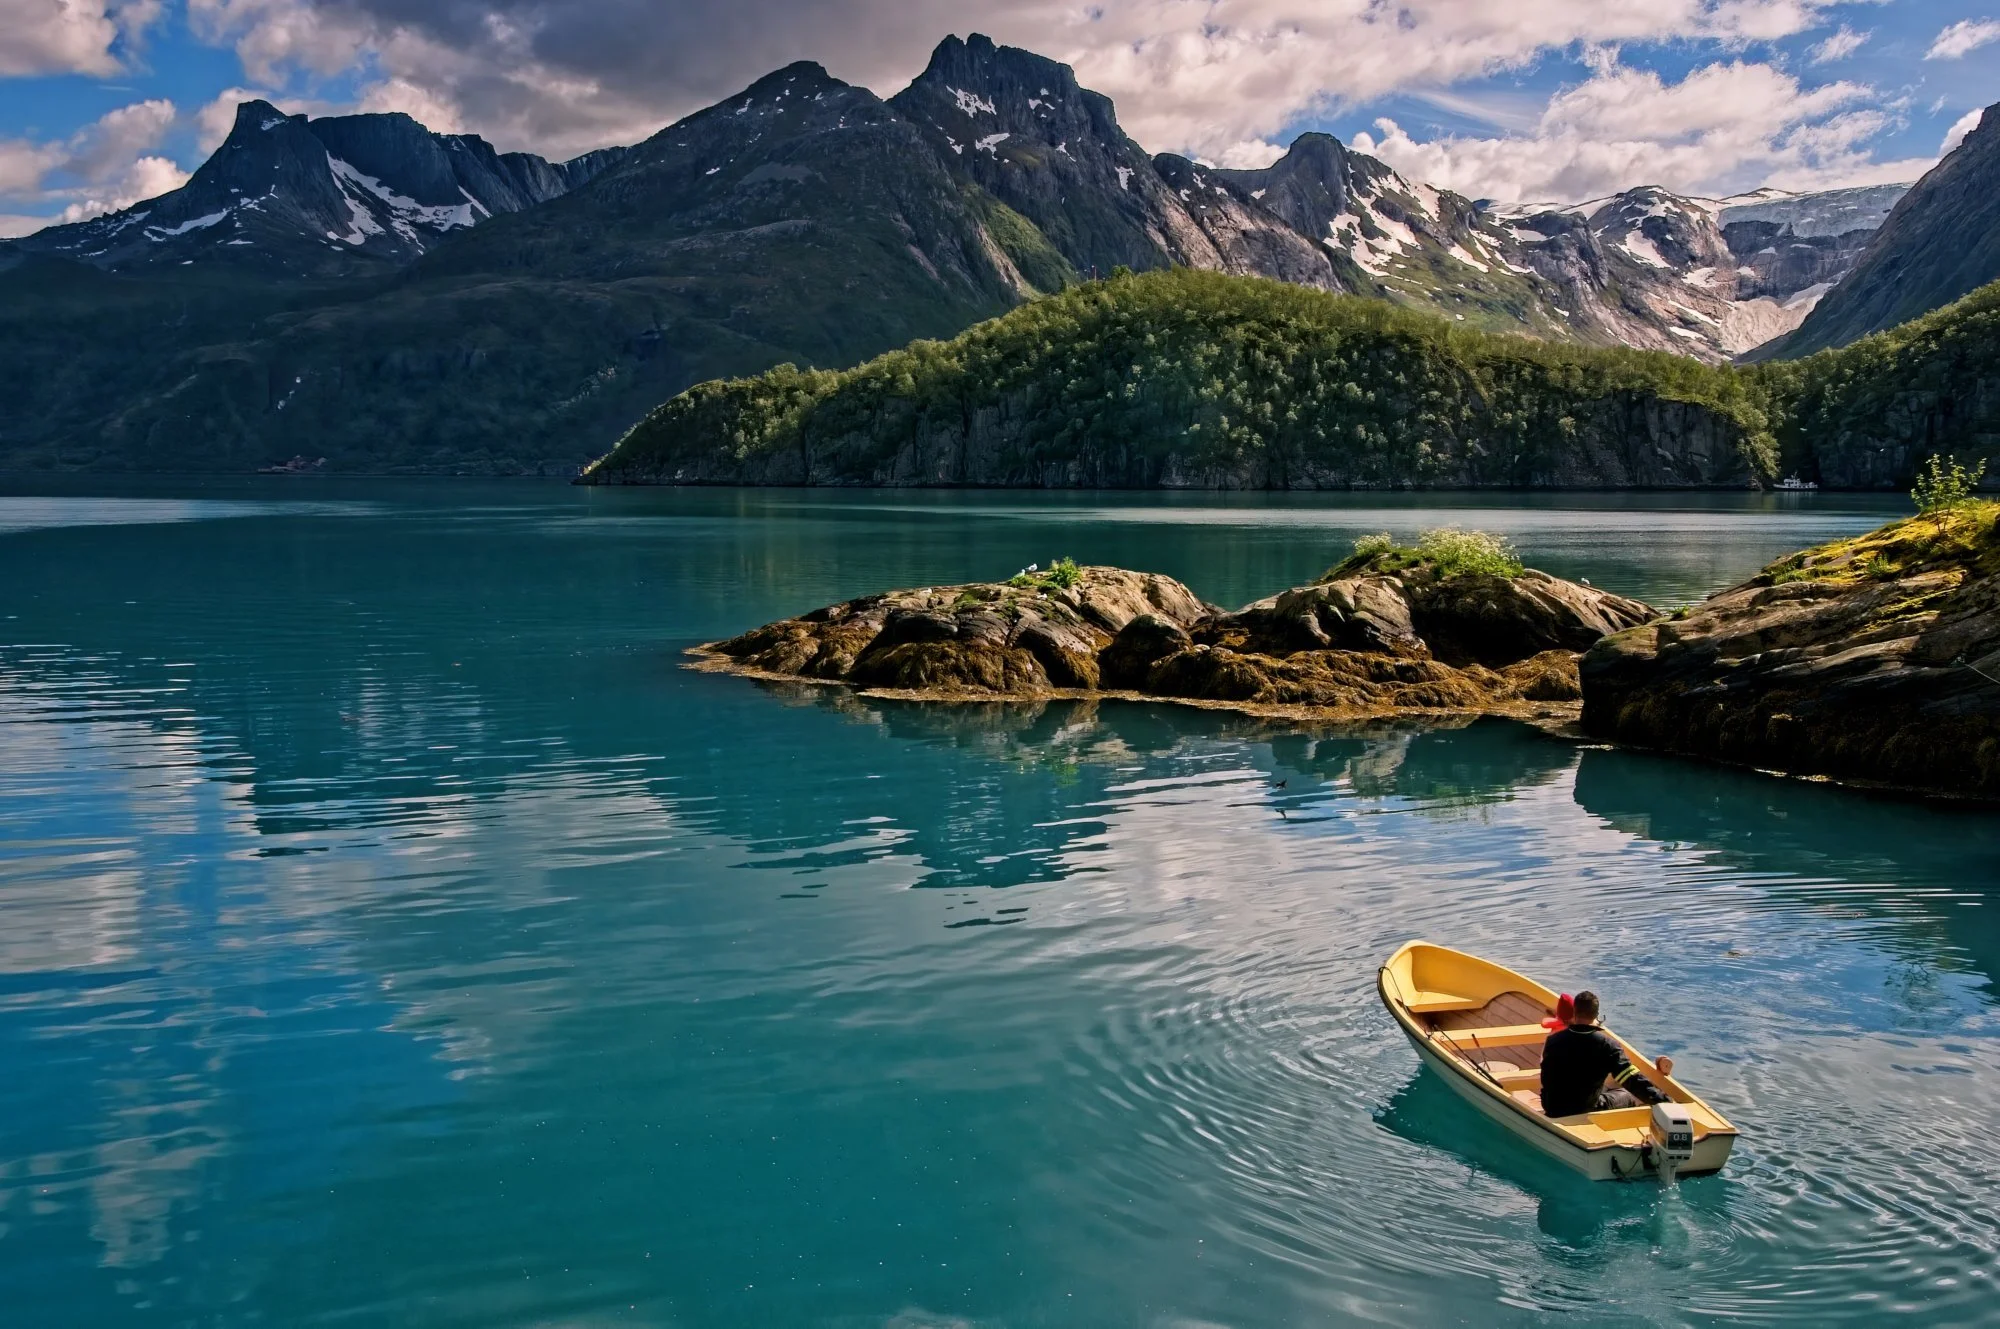
The ON1 Masking Panel generates more questions than almost any other feature in Photo RAW. Here's the funny thing: most photographers don't actually need to use it.

A subtle color shift can completely change the mood of a landscape photo. In this new ON1 Effects tutorial, I build a cool-toned Winter Chill look that better matches the cold, misty feeling of the scene.
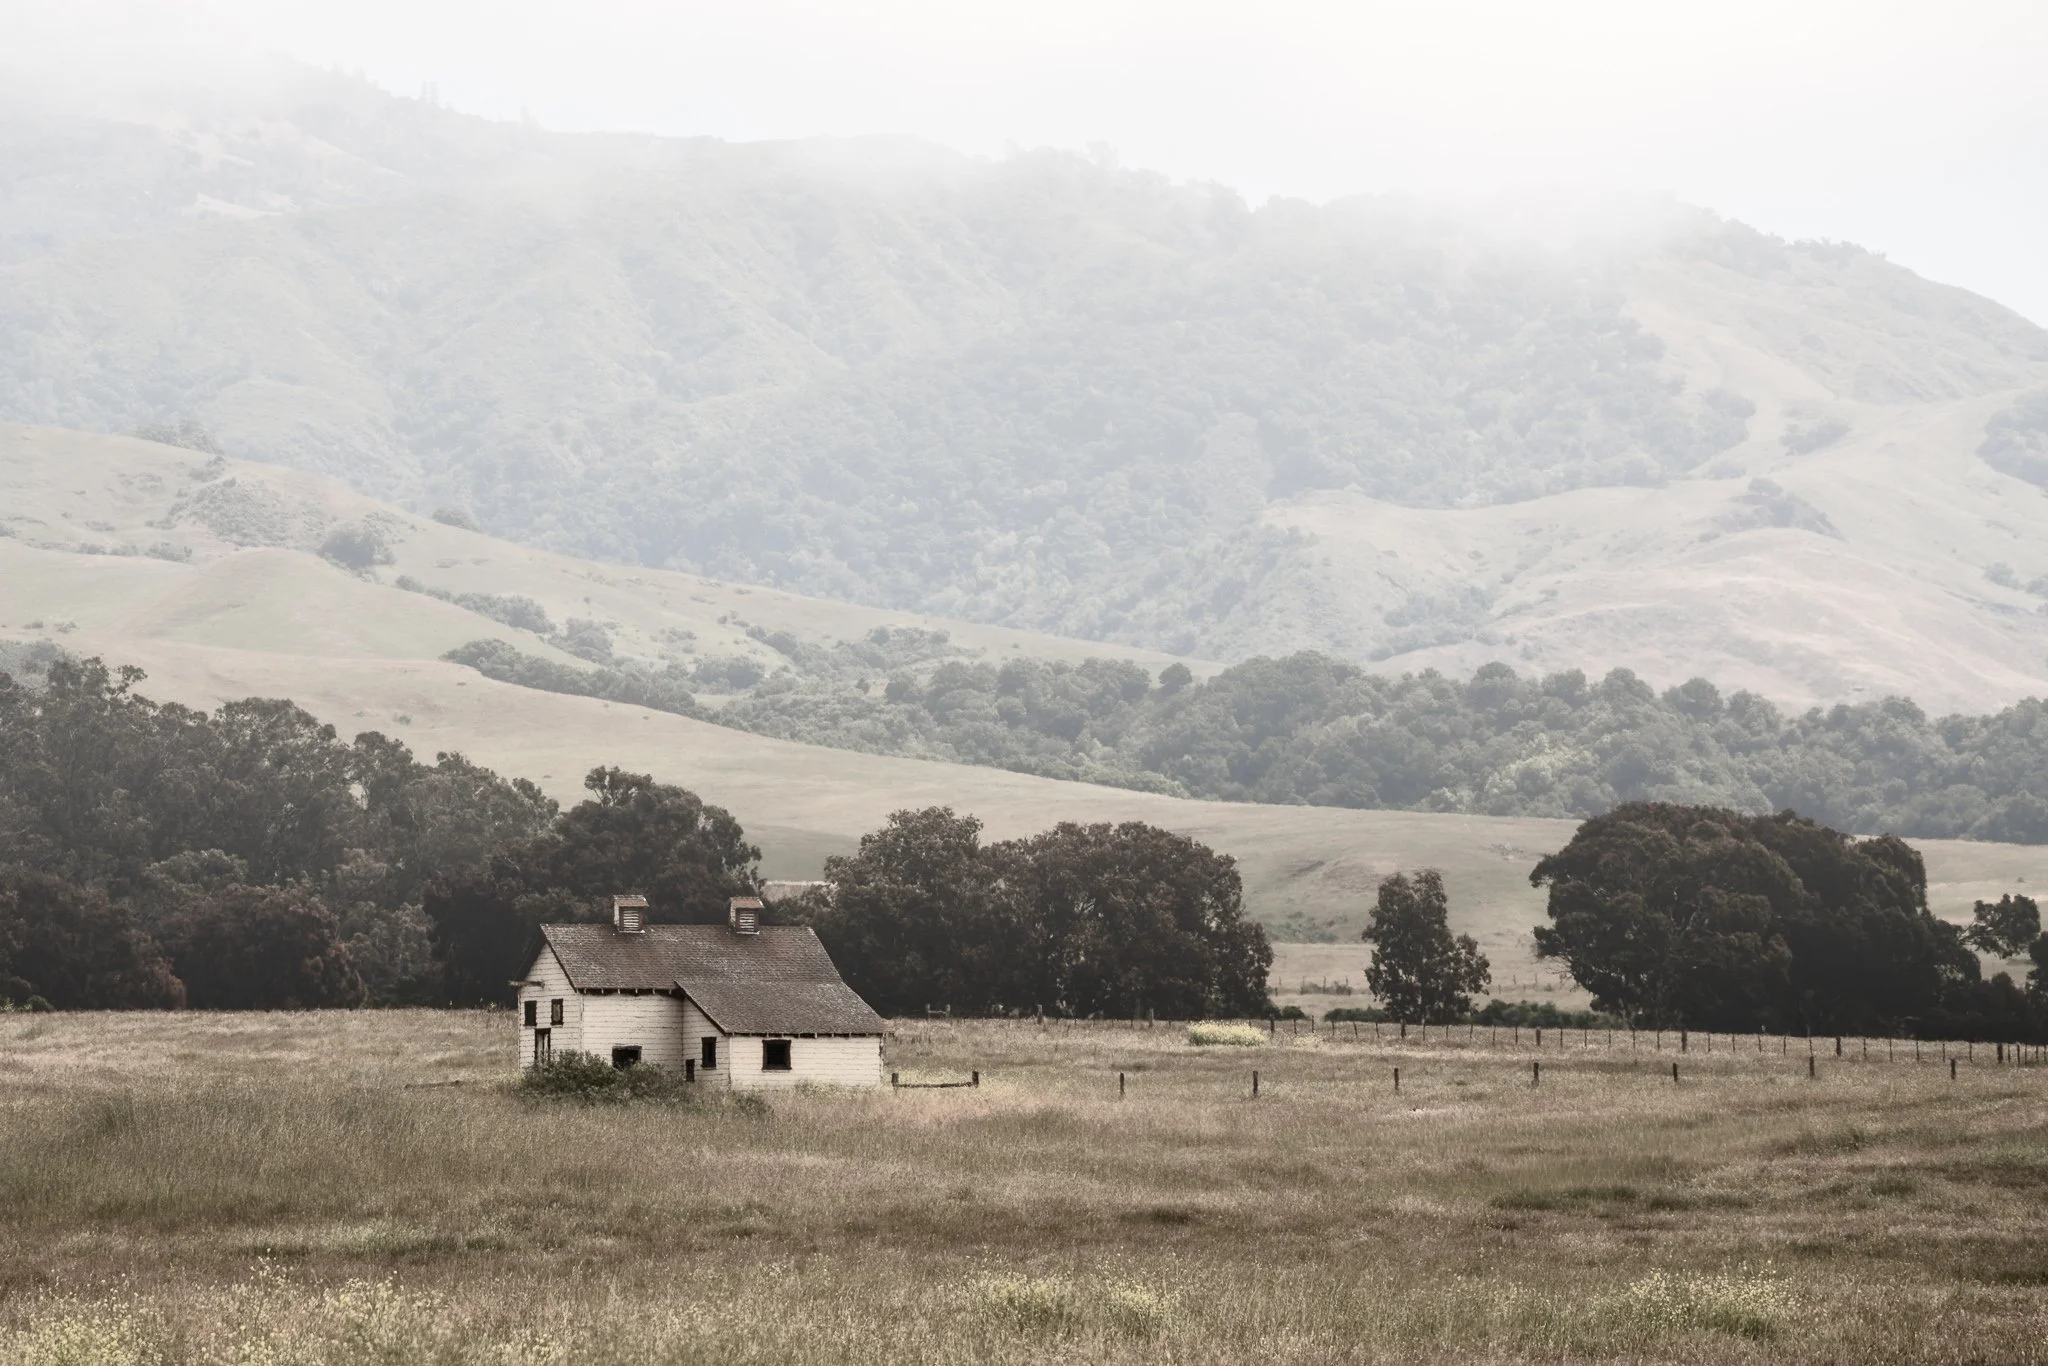
Fog is easy to add—but making it look natural takes more control than a single filter. Use Depth Mask in ON1 Effects to shape atmosphere with distance and bring realism back into the scene.
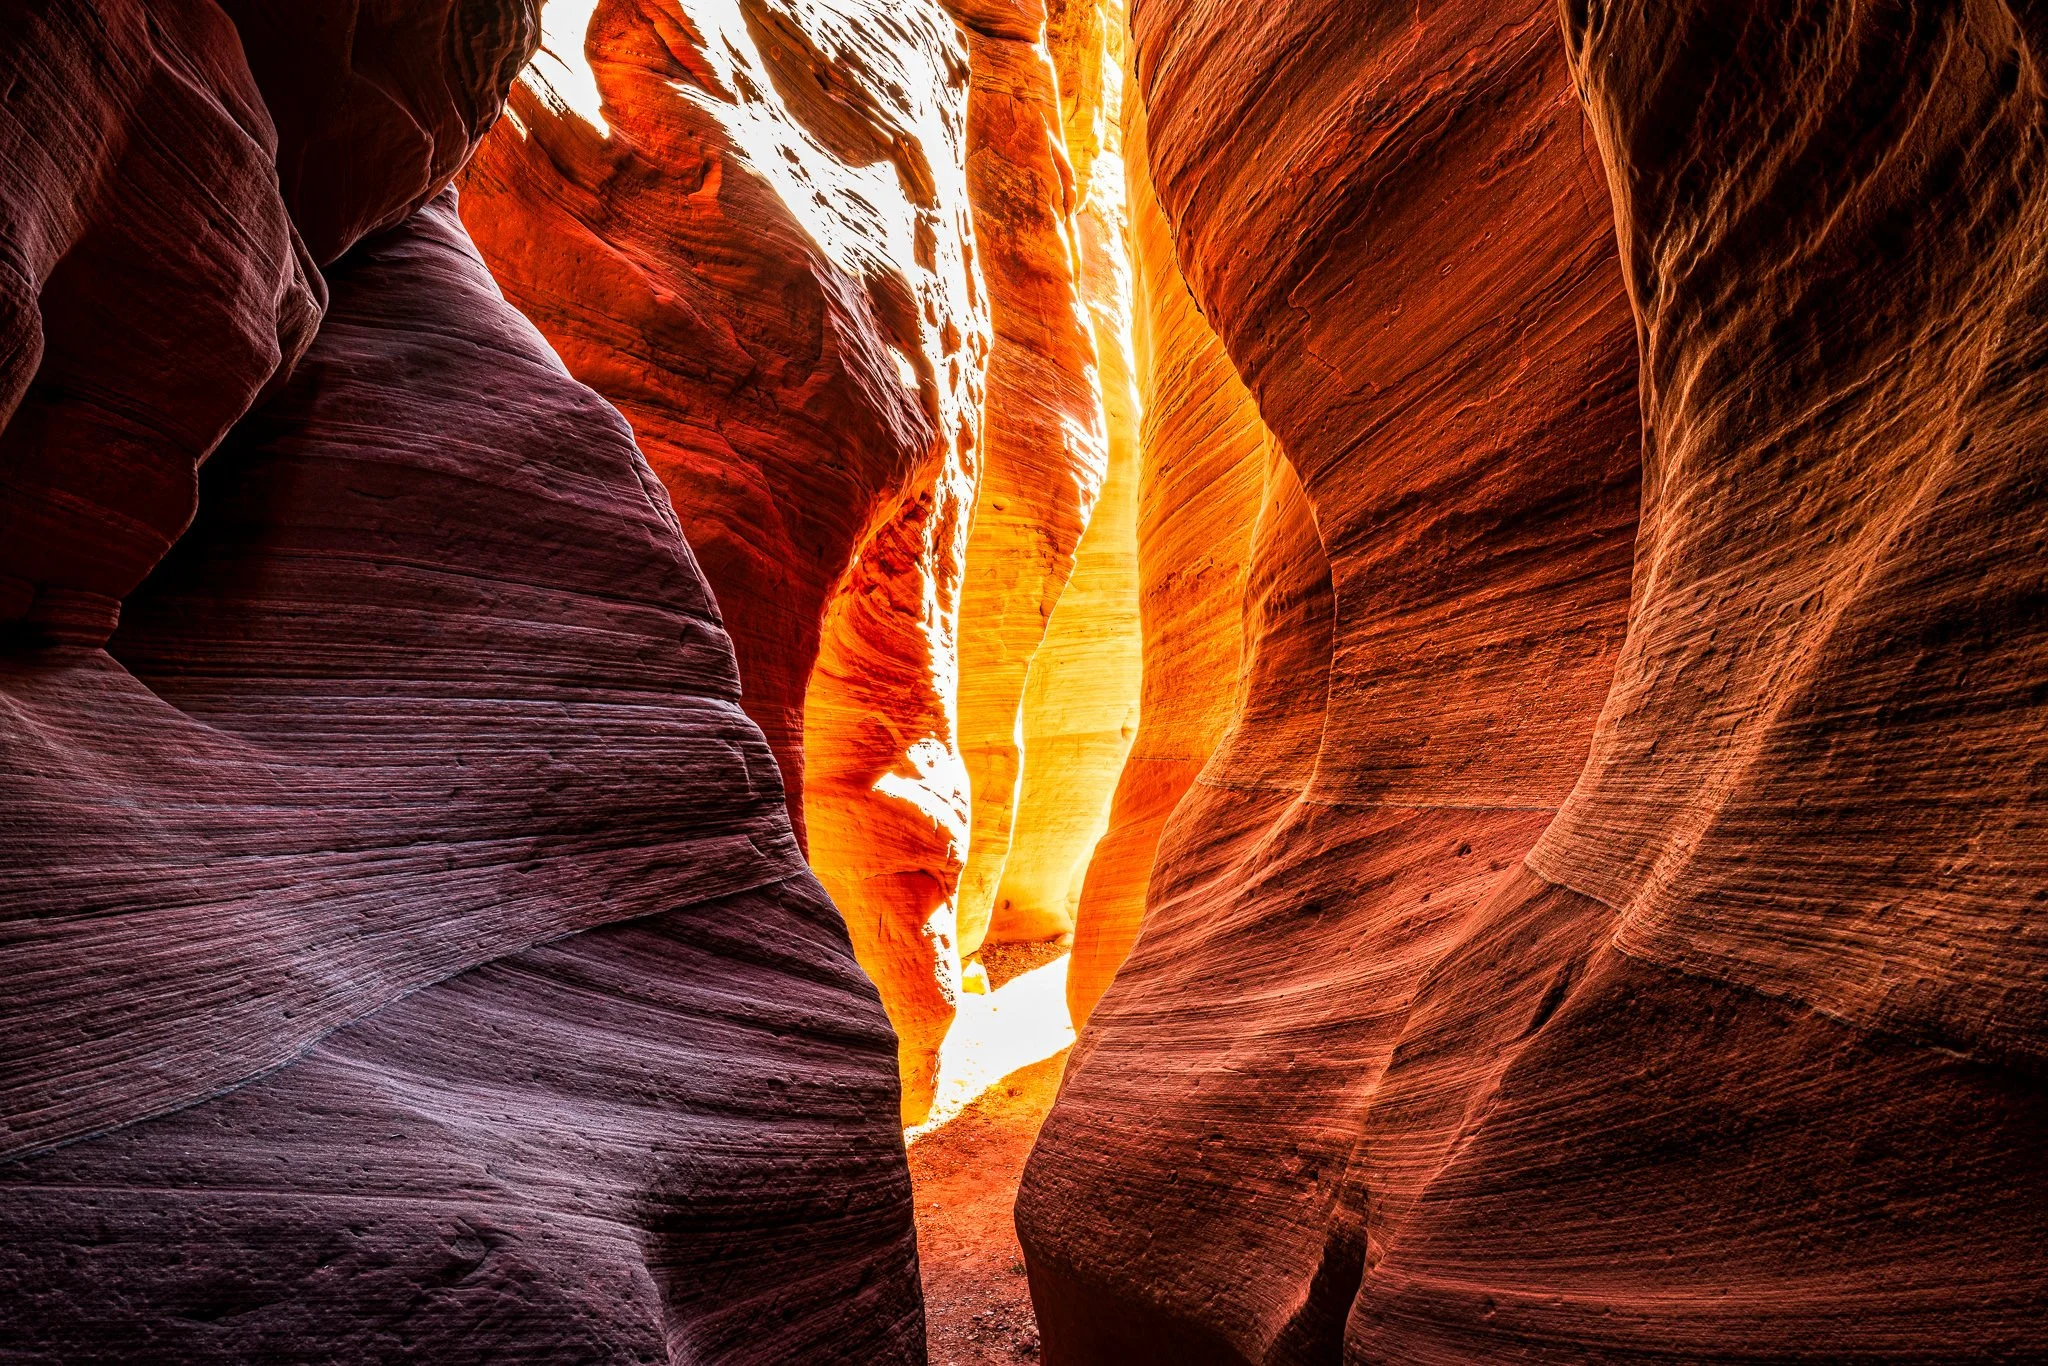
Want to edit foreground and background separately without brushing? In this video, I show how ON1’s Depth Mask lets you apply contrast up close and glow in the distance using a single slider—perfect for deep scenes like slot canyons.

A quick AI selection can get you most of the way to a good mask. The work that’s left might be a patch of gravel the selection missed, a group of trees that picked up too much contrast, or a rock face you want to darken without touching the brighter stone around it.
ON1 Photo RAW 2027 makes that refinement easier by putting Add, Subtract, and Intersect right where you’re editing. Three landscape examples show how I decide what a mask needs and which tool will get me there.