Make Luminance Range Masks With Extreme Precision In Lightroom

Luminance range masks in Lightroom are a powerful editing tool. These types of masks let you treat selected tonal areas of your photo with a nuanced, natural-looking style - without the need for elaborate masking. I use them all the time in my post-processing. Getting comfortable with range masks can take some time. A good way to start working with them is to leverage the eyedropper. Simply click on the area of your photo you want to affect and Lightroom creates the range mask for you.
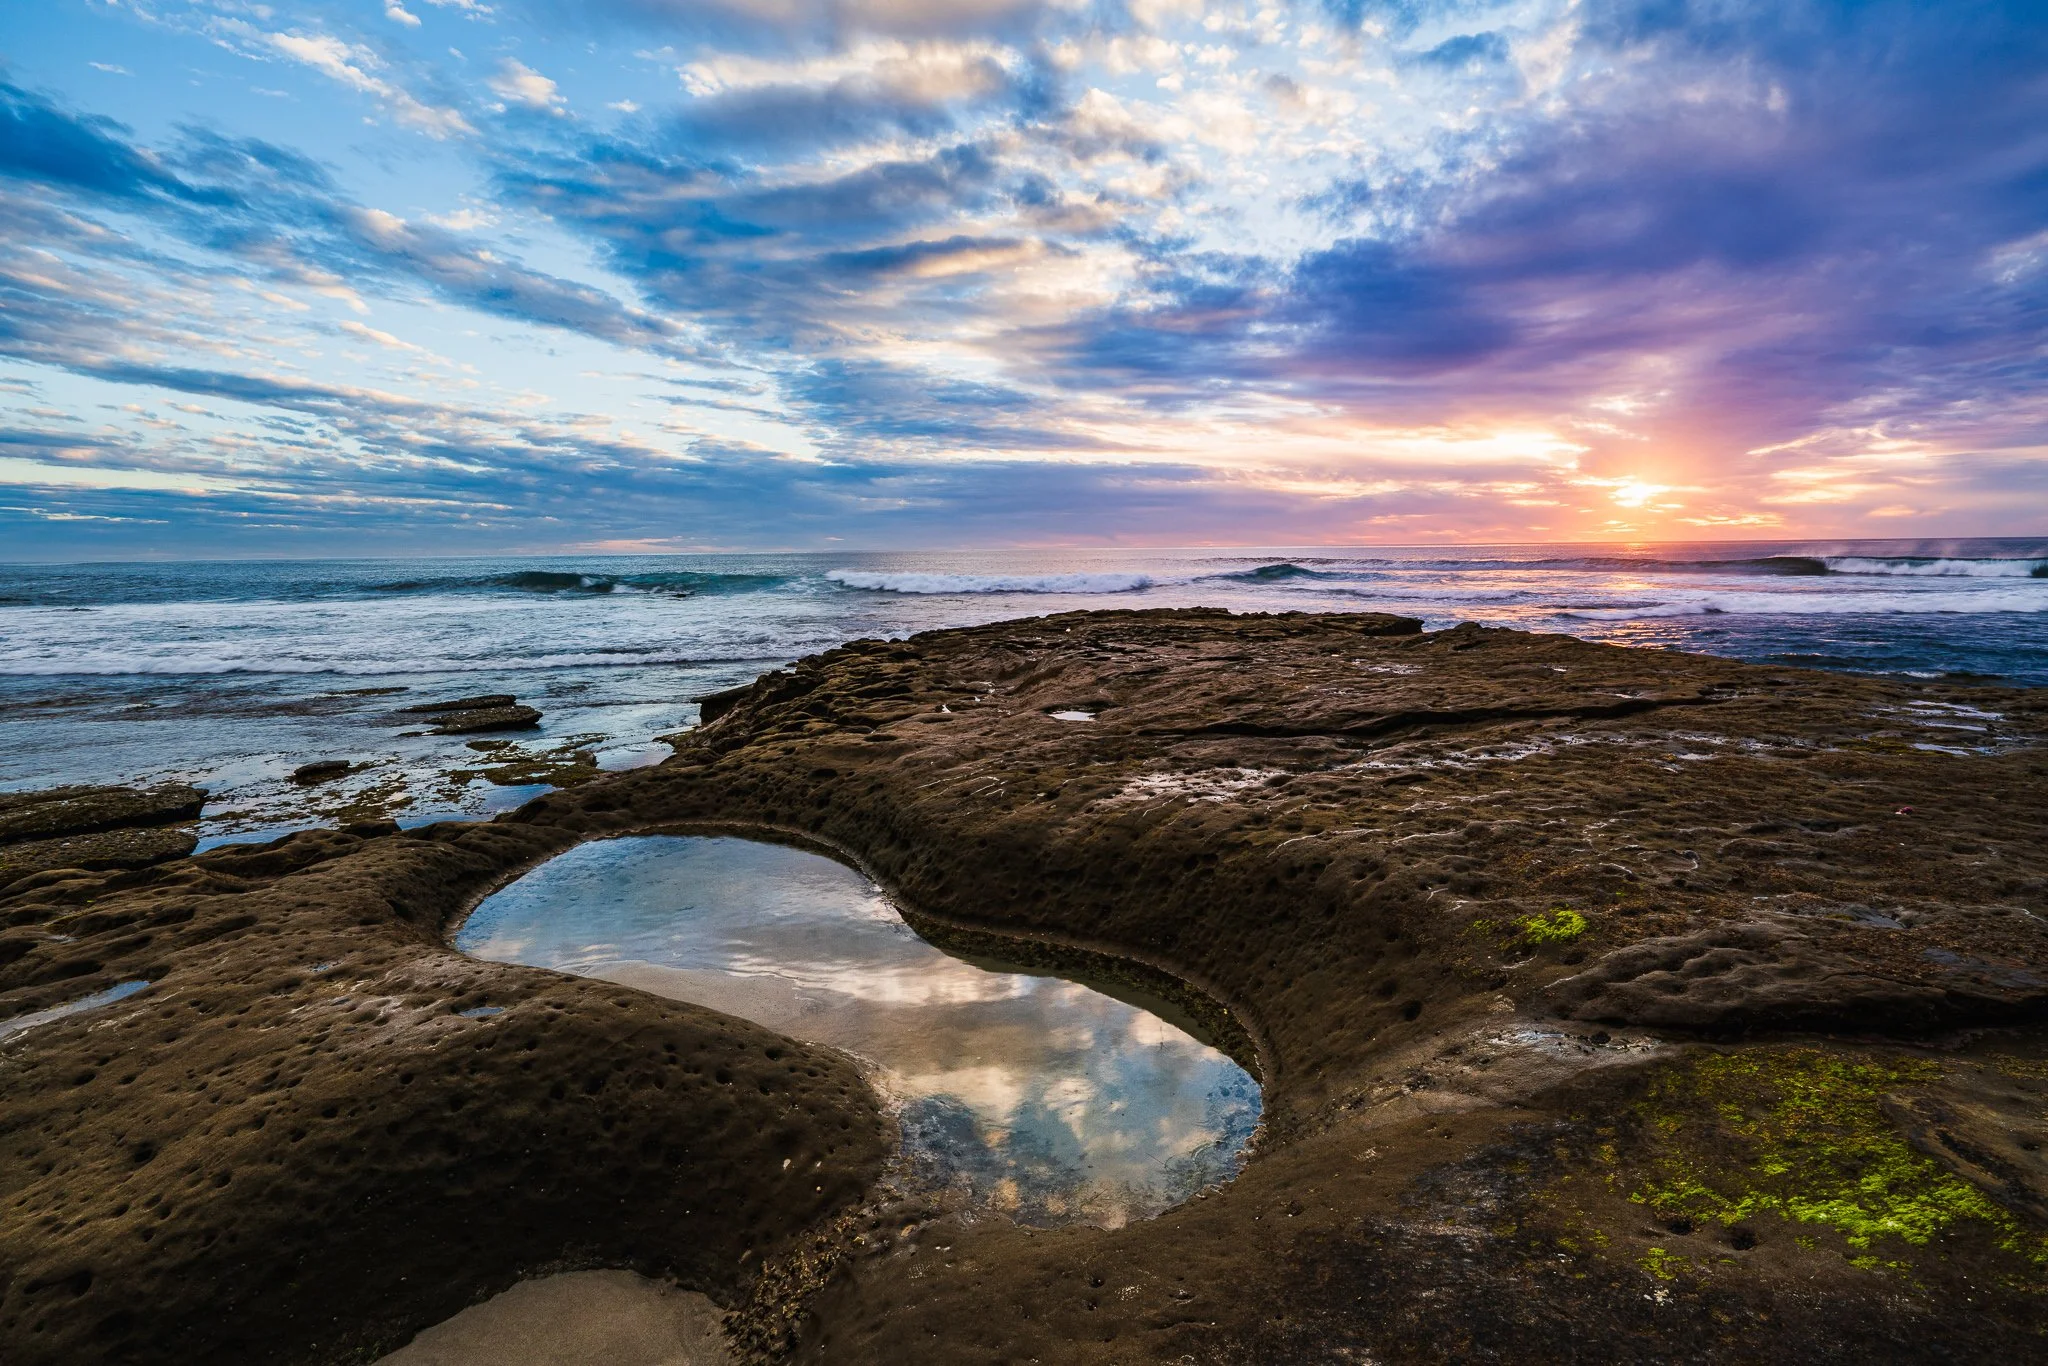
1. Apply a Gradient, Radial, or Brush mask to your photo. Pre-stage your sliders paying attention to the area of the photo you want to affect. In this scene, I want to add more detail and clarity to the rocks. It’s OK if the mask covers lots of your image and if the adjustments don’t look pleasing yet. You’re just getting started and you’ll dial back the effect with the range mask.
2. Turn on the Luminance range mask. In the lower part of the Gradient, Radial, or Brush tool, choose Luminance from the Range Mask popup. Then pick the eyedropper tool.
1. Apply a Gradient or Radial mask to your photo.
2. Turn on the luminance range mask and pick the eyedropper.
3. Pick a tone in your photo. Use the eyedropper to sample a tone from your image. Pick the tone you want to affect. When you sample tones, think in terms of shadows, lower midtones, upper midtones, and highlights. In this photo, I want to affect the rocks, which are mostly low midtones so I sample a tone in the rock face. Lightroom creates a range mask based on the tone selected. Notice the Range sliders in the right-hand tool control adjust based on the tone you sample. Toggle the Show Luminance Mask checkbox to see the range mask in action.
4. Refine the range with the sliders. The eyedropper will get you most of the way there. To finish up, refine the sliders. Usually, the Range needs a little tweak. Adjust smoothness to ease the transition across masked and unmasked areas. I tend to like a smoother, more natural gradation for my work.
3. Sample a tone in your image and Lightroom creates the luminance mask.
4. Refine the range and smooth the mask using the sliders.
After applying and refining the mask, you may want to intensify or downplay the initial settings of the sliders. Dial in that exact look you want. I continued on this image by adding range masks to increase brightness in the whitewash in the midground using the same technique above.
Have fun!
Little Corona Del Mar Rock Formations
Contact Scott to commission a print or license this image.