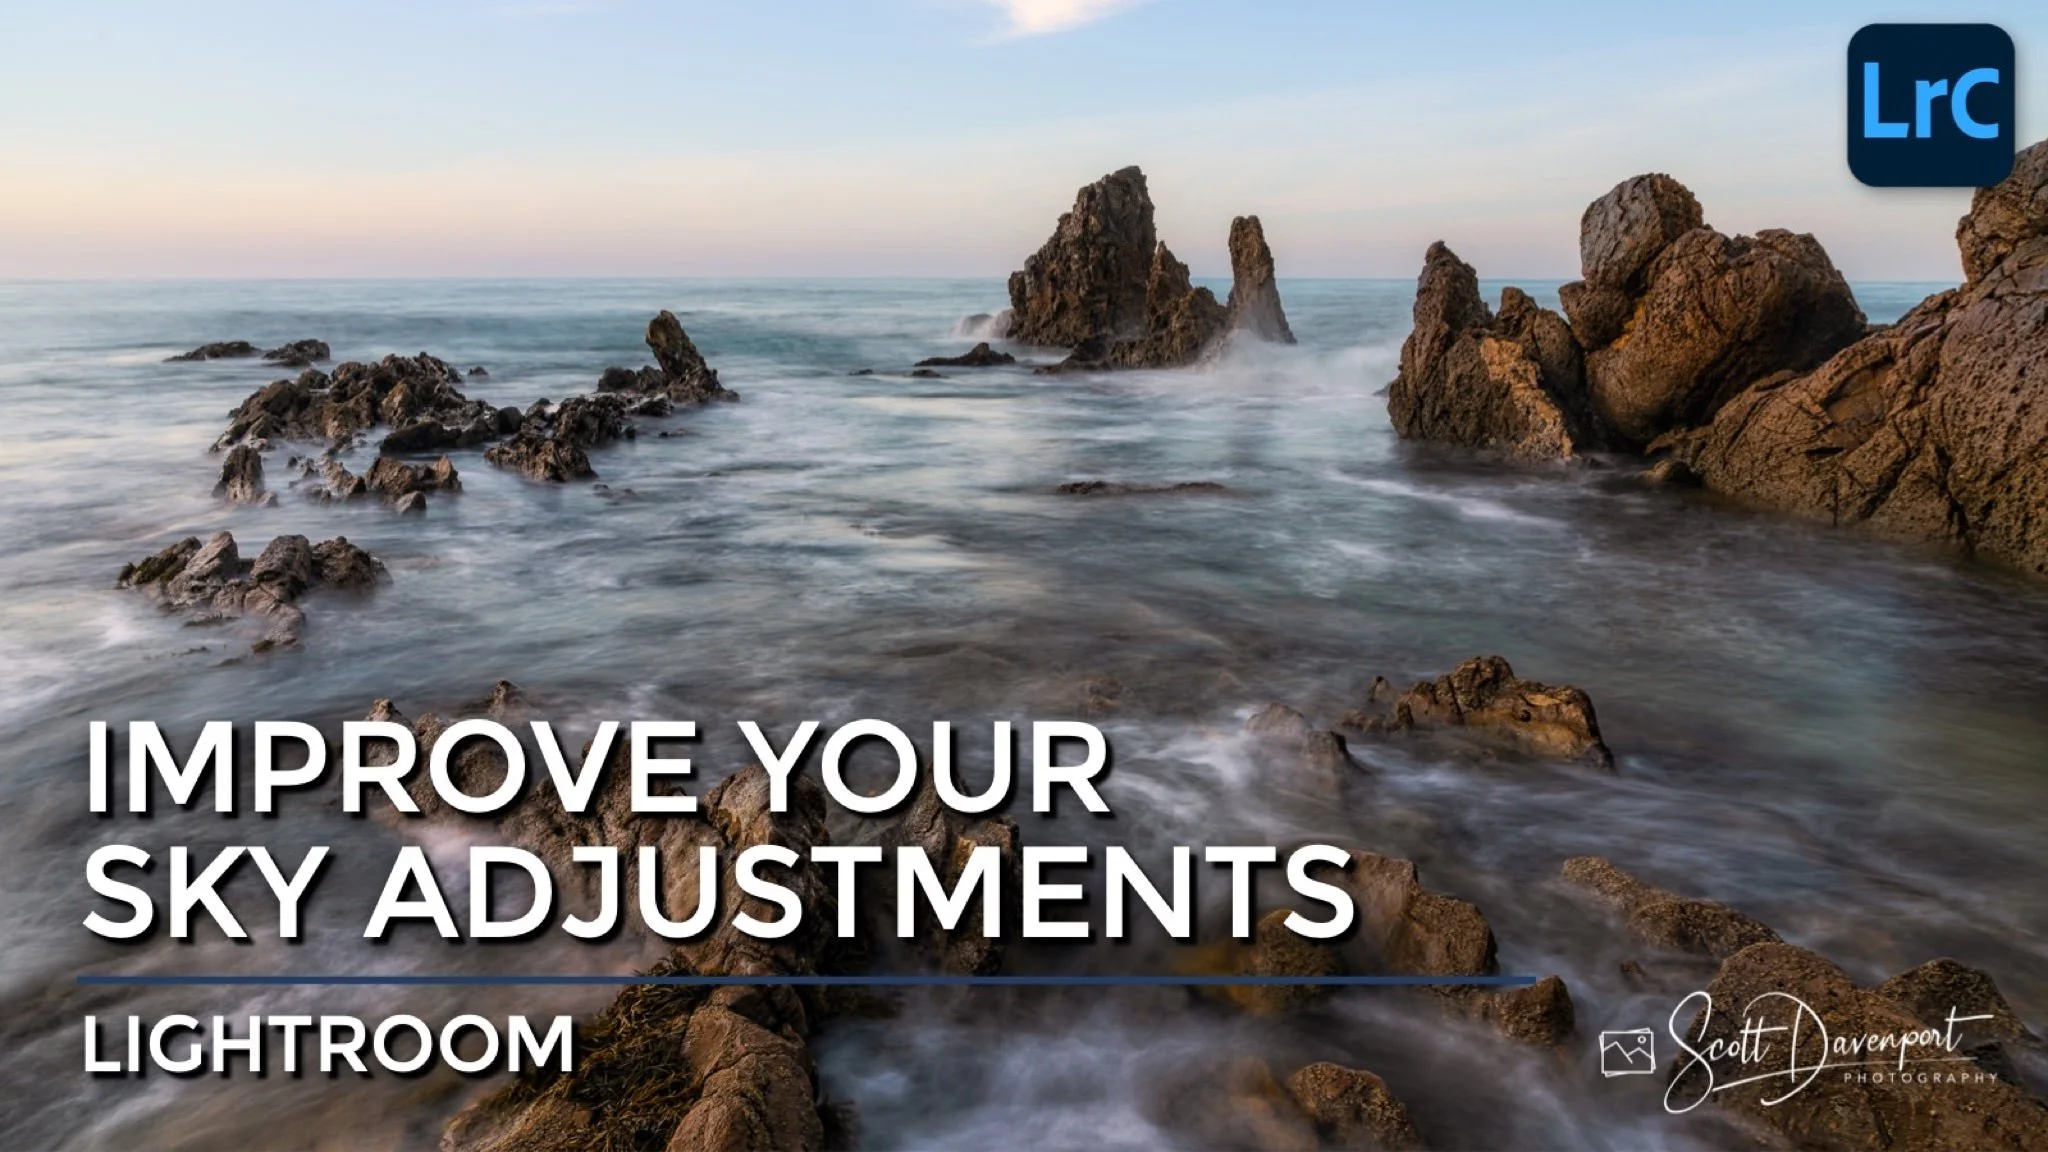
Improve Your Sky Adjustments In Lightroom
Lightroom’s Select Sky makes adjusting skies easy. The AI is very good at picking out a sky. Usually, the selection also includes portions of the foreground, the boundary between the sky and the rest of a photo. That can pose a problem in certain landscape images, and there is an interesting facet of Lightroom’s masking you can use to address and correct it. Once you know how, your sky adjustments will be even better.
Step 1 - Create A Sky Mask
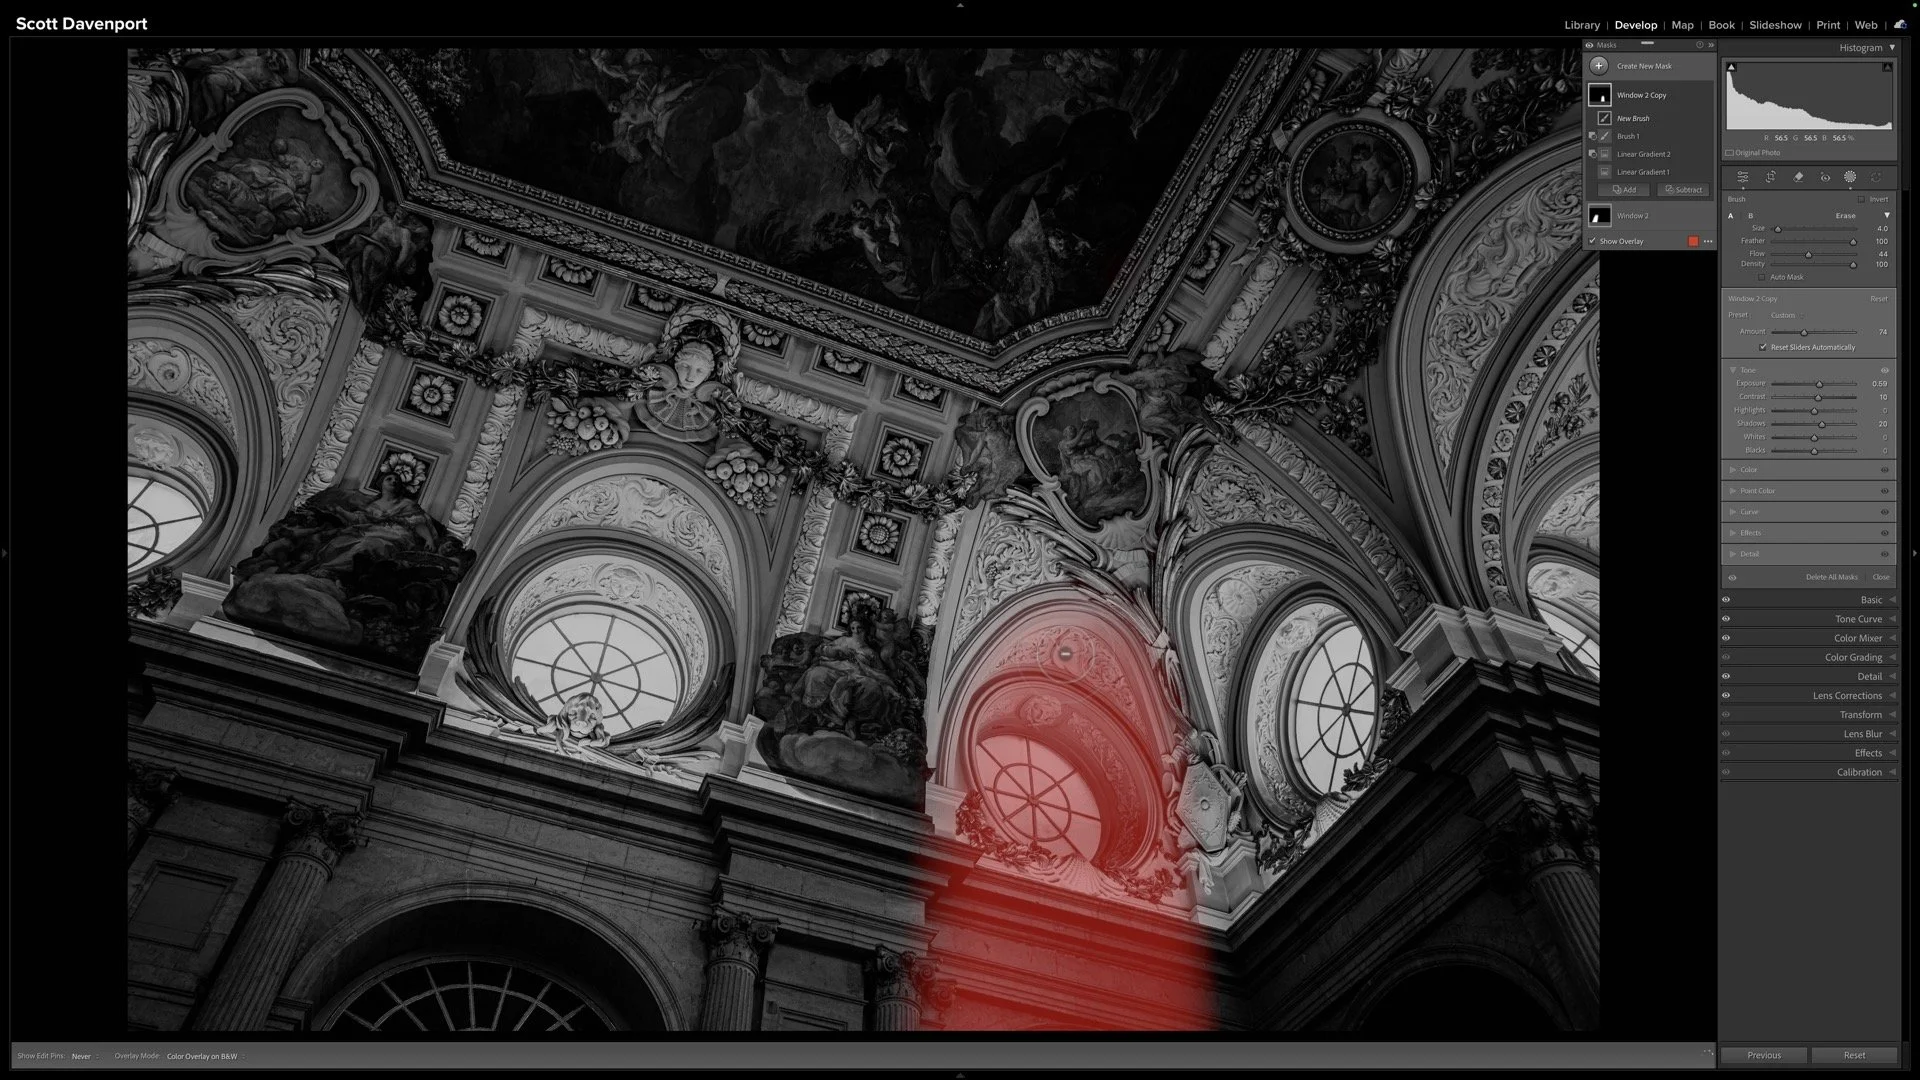
This part is super-easy. Open Lightroom’s masking area and either click Select Sky or create a new mask and choose Select Sky. Boom! You have a sky mask.
The (Potential) Problem With Sky Select In Lightroom
A sky stops at the horizon in nature, yet the light and color tones bounced around by a sky rarely stop at the horizon. Lightroom’s Select Sky AI knows this. When Select Sky detects a sky and makes a selection, the resulting mask usually includes non-sky areas.
In the example below, notice how Select Sky also includes brighter portions of the ocean and the sea stacks.
The Select Sky AI usually includes non-sky portions of your photo in the mask.
And usually, this extension of the mask is helpful. The color cast from the sky will be thrown down on other elements in the scene, and the gradation at the boundary of the mask can help avoid abrupt shifts in tone or color as a sky is adjusted.
There are, however, scenarios when those non-sky parts in the mask don’t work well. In this photo, the ocean waves at the horizon are distinct and visible. The white caps give one extra layer of depth to the background of the scene. After cooling and darkening a Select Sky mask, most of that depth is lost.
Before adjusting the sky, the ocean at the horizon on the left has depth and clearly visible white caps.
After adjusting the sky, that area of the ocean has gotten a little flat.
Step 2 - Use Subtract Sky To Select The Non-Sky Boundary
So… how to compensate for the undesired loss of depth and over-cooling of the ocean at the horizon? You could try using the brush to subtract areas, though the mask the AI generates is very nuanced and brushing is more painstaking work.
Instead, using an unusual property of Lightroom’s AI masking to generate a mask of the “boundary” area for the sky. It is very simple to do. Create a new mask and choose Select Sky. Then, immediately use Subtract and choose Select Sky again. You would think the entire mask would be removed … but that doesn’t happen! The sky itself is removed at full strength, but only a portion of the boundary area is removed. What remains is an AI-generated, nuanced mask of just the non-sky areas.
Use Select Sky and then immediately Subtract Select Sky to create a mask for the ‘boundary’ area between the sky and your foreground.
Step 3 - Adjust The Sky And The Boundary Separately
Now you have two selections,. One for the sky and the gentle, tapered gradation into the foreground. A second for just the boundary area between the sky and the rest of your foreground. Apply adjustments to the sky like you normally would. Then, adjust the boundary area to compensate for any overly-aggressive treatment from the sky adjustments.
In my photo, I cooled and darkened the sky mask. Then, I applied some warmth and increased exposure some to the ‘boundary’ area, returning the depth I wanted at the the ocean near the horizon.
Little Corona Del Mar, Feb 2021
Contact Scott to commission a print or license this image.
