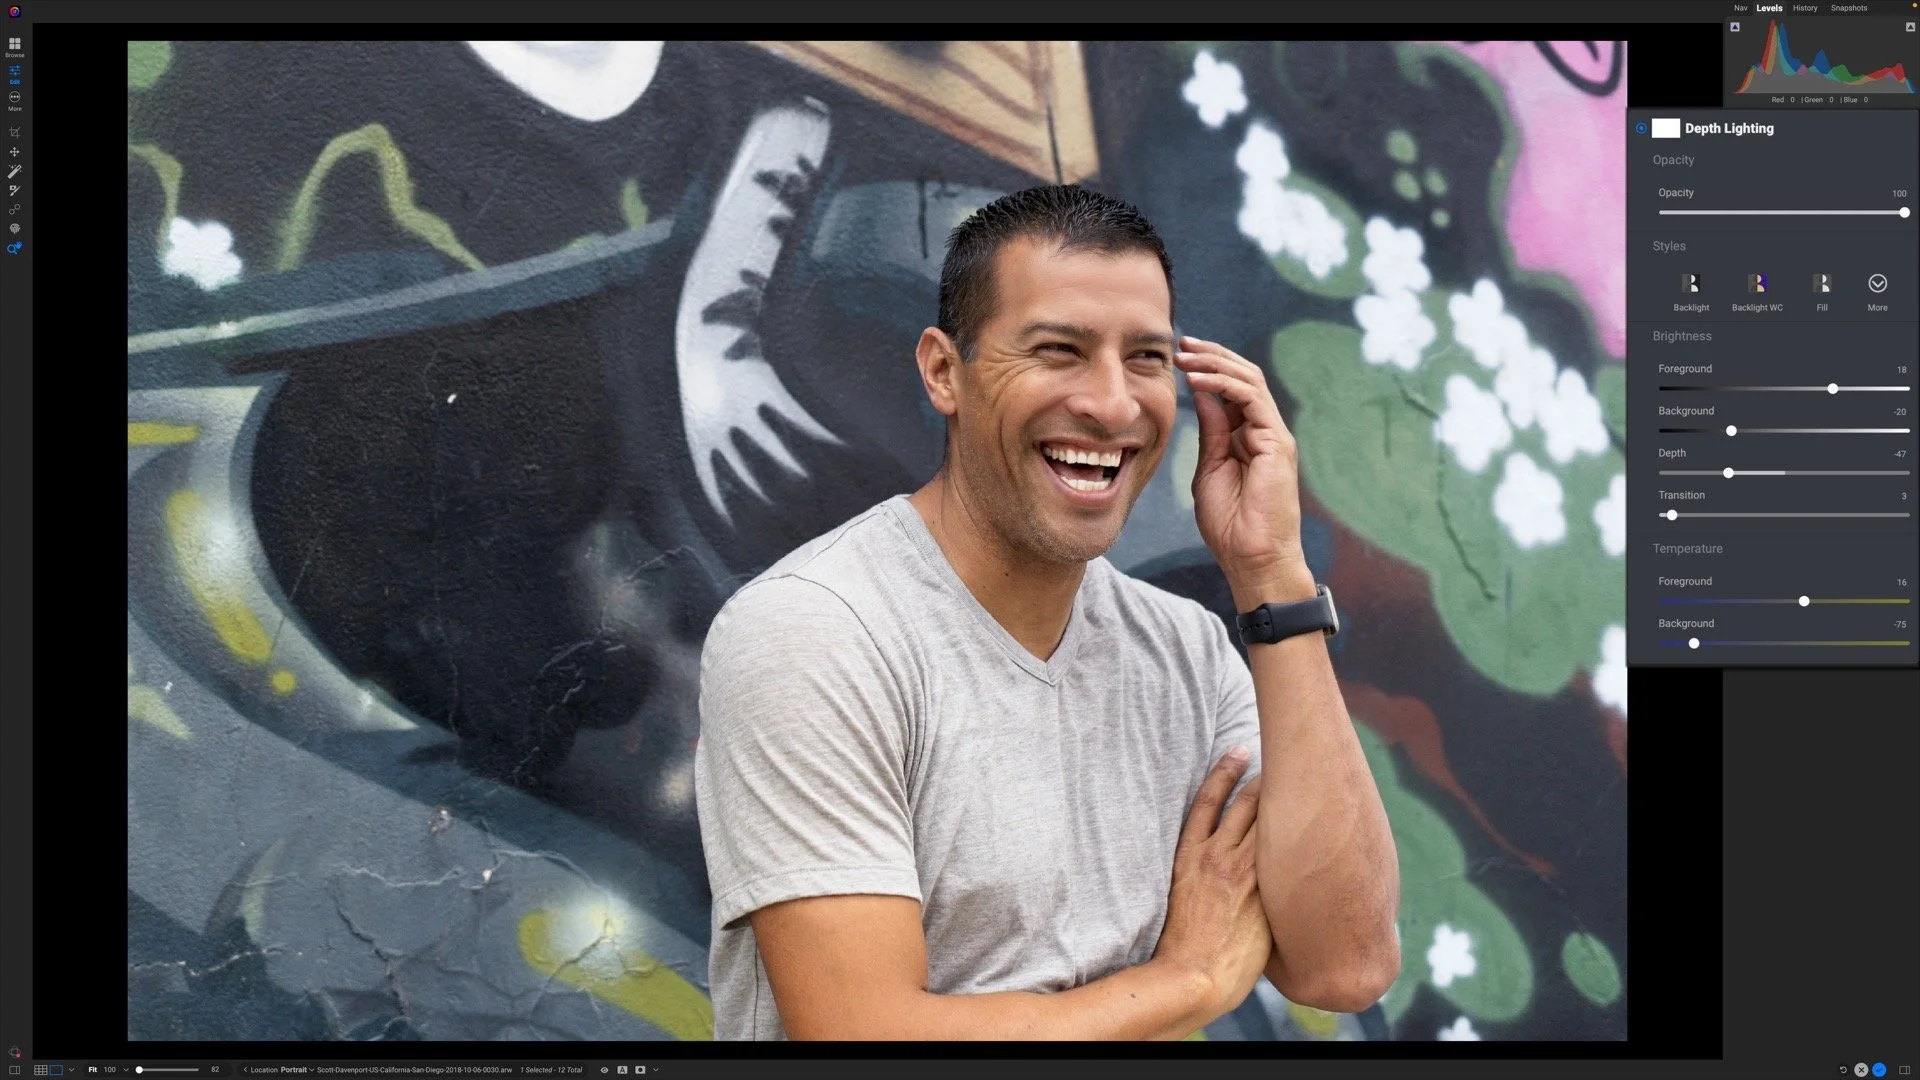
How To Use Snapshots In ON1 Photo RAW
If you are trying ON1 Photo RAW, the ON1 plug-ins like ON1 Effects or ON1 HDR, or upgrading your ON1 software to a newer version, please consider using my affiliate link. There is no extra cost to you and it helps support ON1 tutorials like this one. Ready to buy? Use the offer code SDP20 at checkout and SAVE 20%!
A new feature added in Photo RAW 2022.1 is Snapshots. Snapshots store and save your editing adjustments at a given point-in-time. A Snapshot is similar to a Version in that they are lightweight and non-destructive. Unlike a Version, a Snapshot is captured within the editing workflow for a single image. Also, Snapshots are persistent across editing sessions (unlike the editing history in ON1).
In this article, I’ll hep you understand how to create snapshots and why you might consider using them in your editing workflow. Watch the video accompanying this article to see Snapshots in action.
Snapshots create checkpoints of your editing session, enabling quick comparisons between treatments. Snapshots are great to save a “known, good point” in your editing workflow, before you experiment with the next set of adjustments.
Why Work With Snapshots?
Snapshots are useful in several scenarios, the most common one being to try out a different set of adjustments on a photo - without having to create versions. For example, suppose you want to compare a few different presets on a photo. Well… you click just click among the presets to compare. But what if there are customizations you want to make to each preset, and compare those? Well… you could create a Version for each treatment.
A streamlined way is to use Snapshots. After applying your first set of editing adjustments, create a Snapshot for them. The snapshot is a checkpoint that has all of the adjustments applied. Then, change your edits any way you like with other presets or Effects filters, and create a second Snapshot. And a third, a fourth, etc. Instead of flipping through Versions, you can cycle through Snapshots. Once you’ve decided which treatment you like best, your work continues from that Snapshot forward.
Still not certain how Snapshots are different than Versions? Perhaps think of them from the point of view of Browse. A single photo can have several snapshots, but only the selected Snapshot is applied to the photo. That’s the thumbnail you see in Browse. If you have several Versions, each Version is visible in Browse. I think of the difference like this: a Version is a rendition of a photo I want to keep for the long term, so I want to see them in Browse. A Snapshot is more transitory, providing a checkpoint for adjustments under exploration.
Use the New Snapshot button to create a Snapshot. Name it anything you like and click OK.
Creating A Snapshot
Snapshots are managed in the Edit module. In Edit, switch to the Snapshots tab in the upper right. Any Snapshots you have created for your image are listed. Also, may see timestamped entries with “Auto Save” in their names. Those are created automatically! Photo RAW automatically creates a Snapshot whenever you exit an editing session. ON1 is using snapshots behind the scenes as built-in save points.
Creating a Snapshot is very easy. Open the Snapshots tab in the upper right in the Edit module and click the New Snapshot. Give the Snapshot a name and click OK. Now you’ve got a Snapshot.
When you reach a point in photo editing where you are considering two or more directions for a photo, that’s a great time for a Snapshot. A Snapshot provides a “known, good point” with your image that you can easily call back after exploring more filters and adjustments. In the video with this article, I audition a couple of different presets, each with my own modifications for the photo. I can toggle between the two and decide which treatment I prefer.
Like a treatment in a Snapshot? Create a Version from the Snapshot so it appears in your catalog in Browse.
Create A Version From A Snapshot
When you really like the image created with a Snapshot, you can easily save it to its own Version. Right click on the Snapshot in the Snapshots tab and choose Create Version From Snapshot. For example, suppose you are exploring a color and a monochrome treatment for an image and using snapshots to compare - and it turns out you like both! Use the Create Version to easily add a Version to your catalog with and keep both treatments for the long term.
Managing Snapshots
You can manage your snapshots in the Snapshots tab by right-clicking on a snapshot. You can:
Rename a Snapshot
Update a Snapshot to match the current edits
Delete a Snapshot
Snapshots Are Great For Teaching, Too!
I use snapshots all the time when teaching post-processing tools. Snapshots are great to show how the look of a photo is built up. If you teach others how to use ON1 Photo RAW, think about using Snapshots to illustrate the progression of an edit from start to finish.
