A very useful feature in ON1 Photo RAW is Versions. A Version lets you try different processing treatments on your photos, without having to make physical copies of your original photo (which eats up disk space). I’ll show you how they work in this video.
Initial treatment of an image. Photo RAW tracks the editing adjustments in its internal database.
Creating a version is very simple.
An alternate treatment of the same source photo using a Version. The source image file is not duplicated. A Version creates a new set of editing instructions instead.
In Browse, right click on an image and choose Create Version.
Browse creates a new set of editing instructions identical to the original image. A new thumbnail is also created. Your original image is not copied - only a single source image is on your hard drive.
Notice the small badge in the lower right corner of the thumbnail indicating it is a version. The image name also has a “v###” appended.
From here, you can modify the version in the Edit module and try out different adjustments and treatments. The changes you make are specific to the version. The edits on your original image are not modified.
Check out my ON1 Learning Center for more video tutorials and an offer code to save you some money if you’re ready to try out Photo RAW.
Subscribe & share!
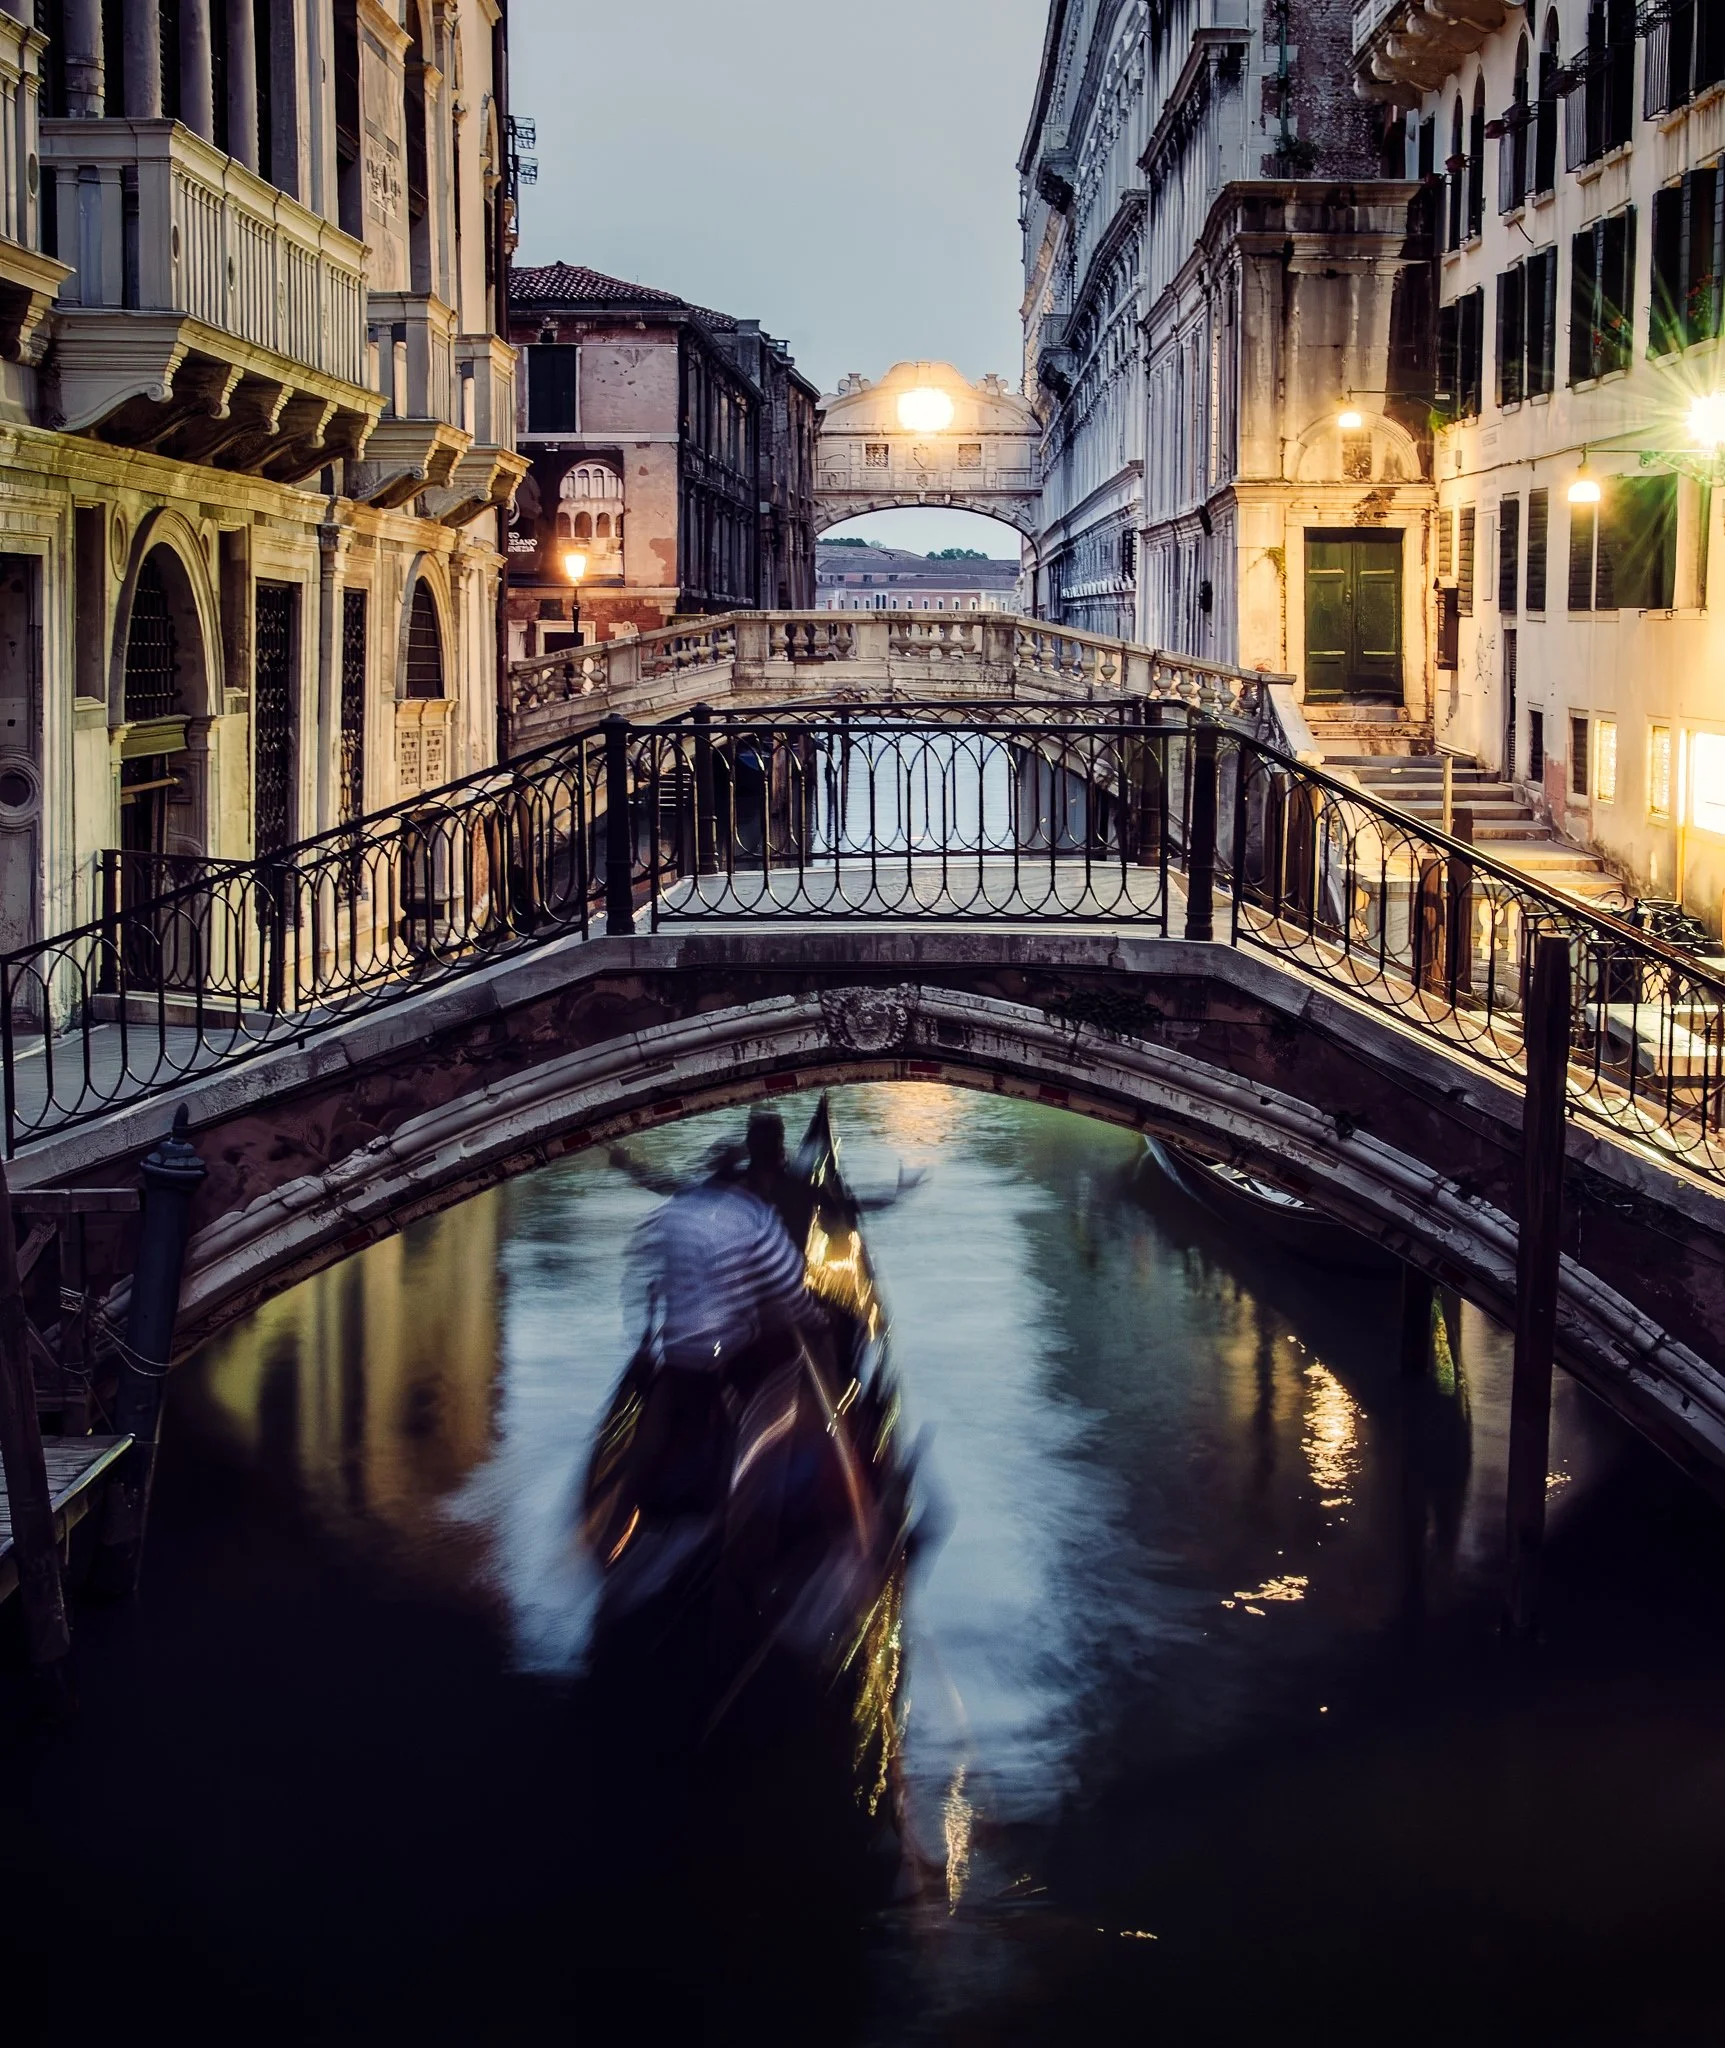
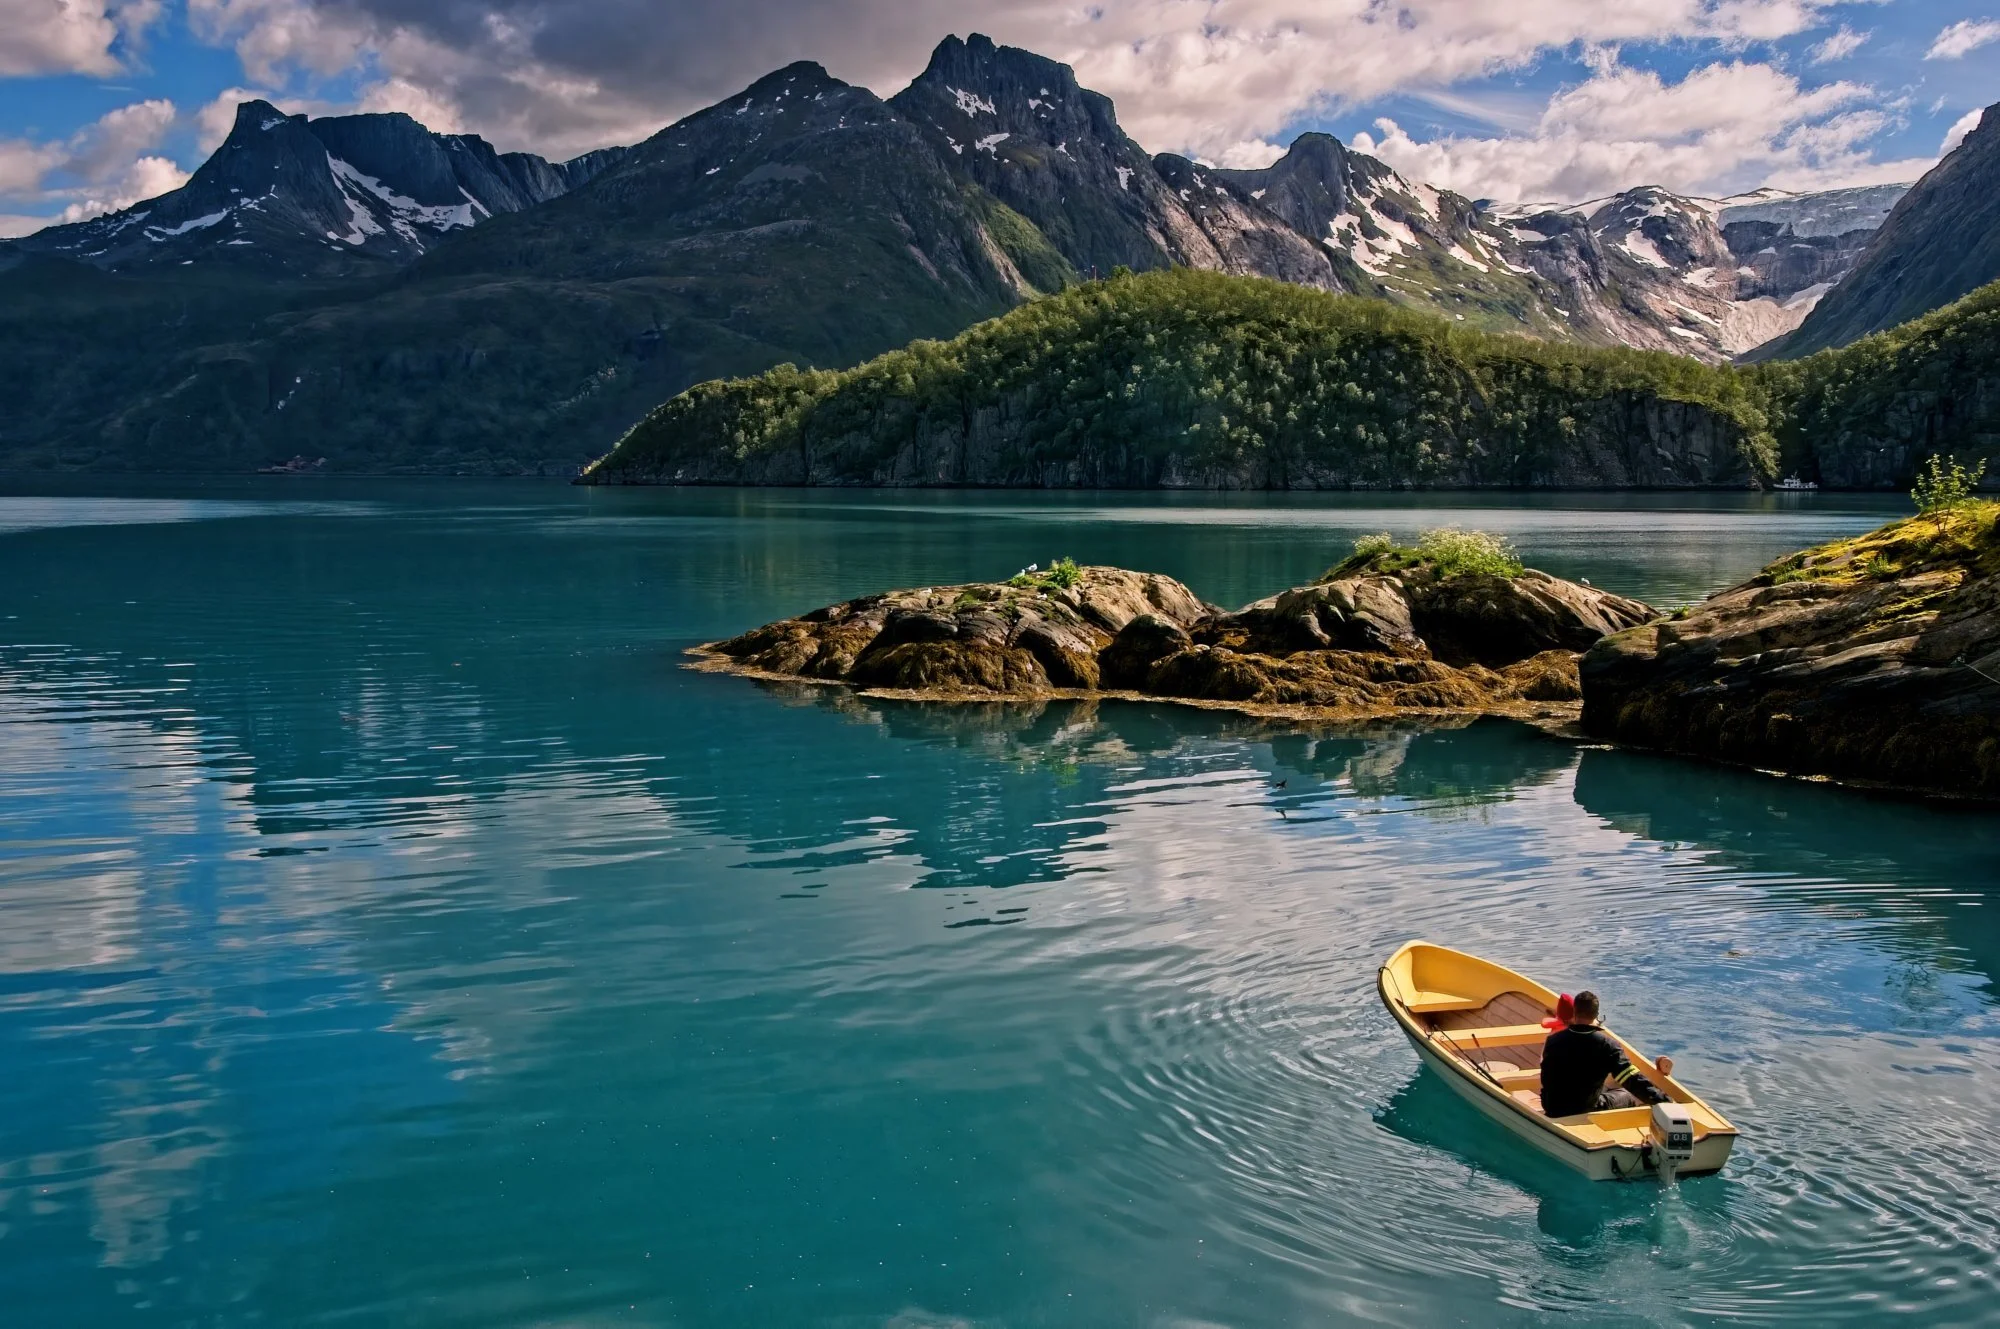
Tack Sharp can correct camera shake remarkably well, but applying it across an entire photograph can sharpen areas you intentionally want to keep soft. Water, reflections, and moving subjects can quickly lose their natural character.
By combining Tack Sharp with layers and masks in ON1 Photo RAW, you can correct softness selectively. This approach preserves intentional motion while sharpening the stationary parts of the scene that need help.
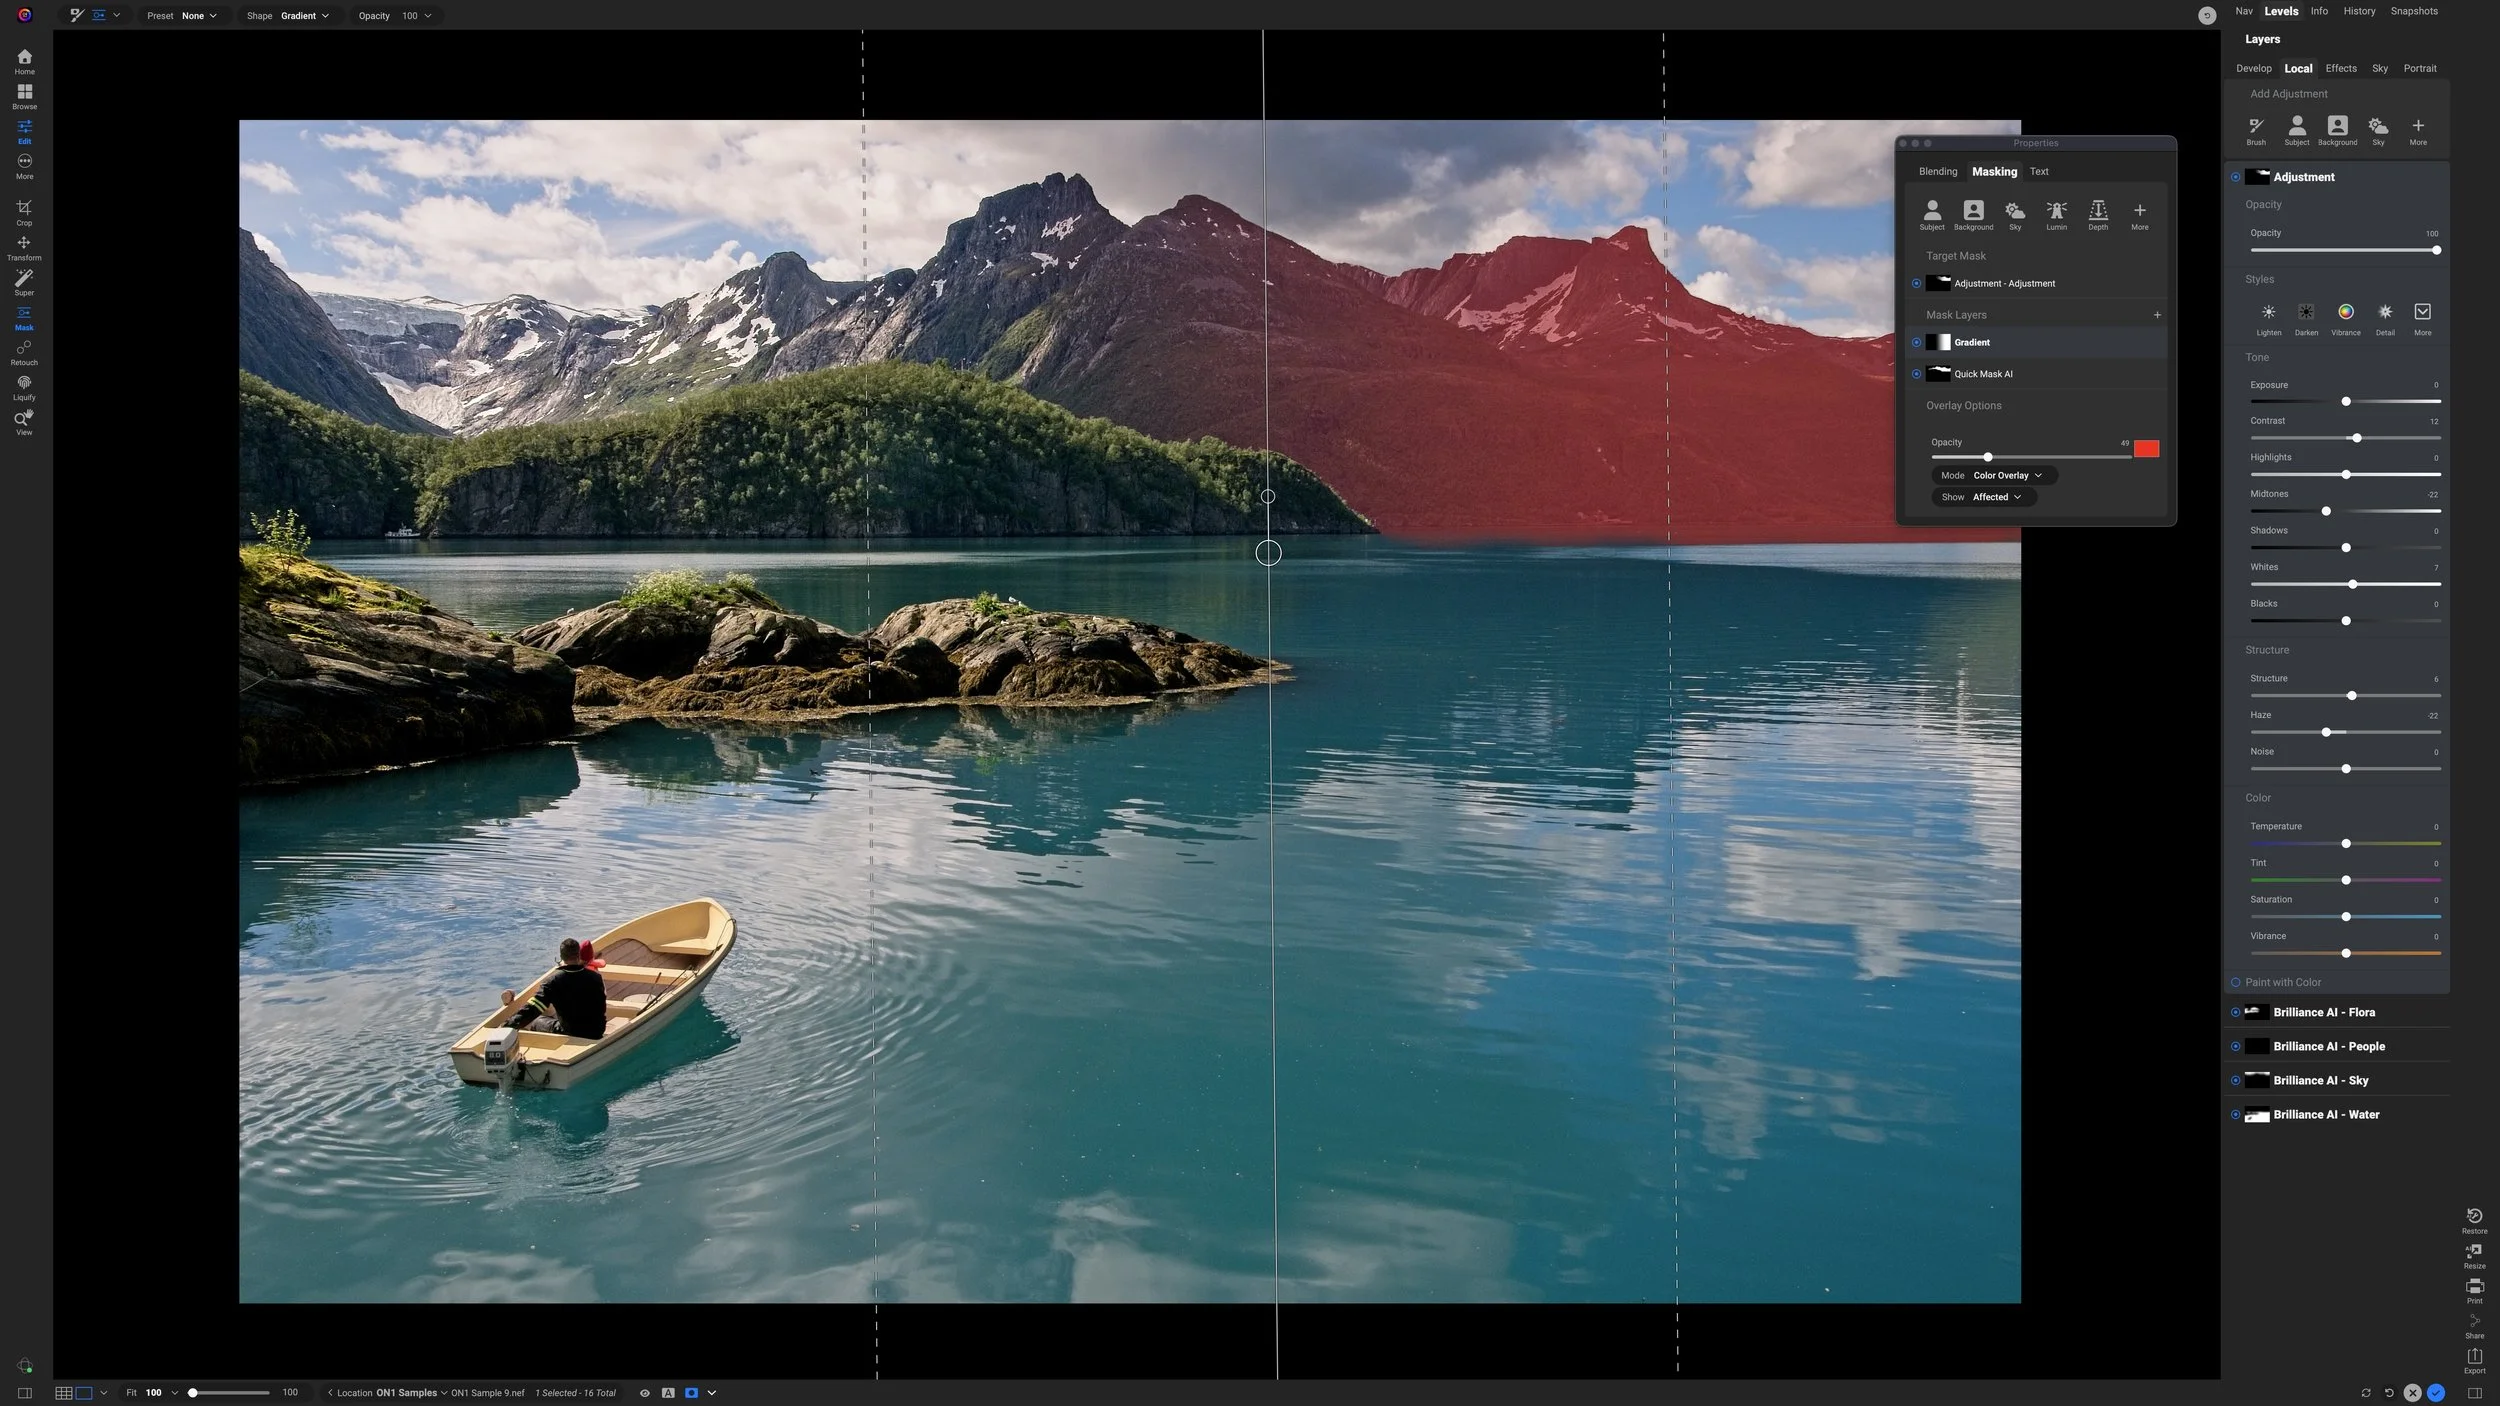
What if your mask selects the right subject, but you don’t want the adjustment applied evenly across all of it?
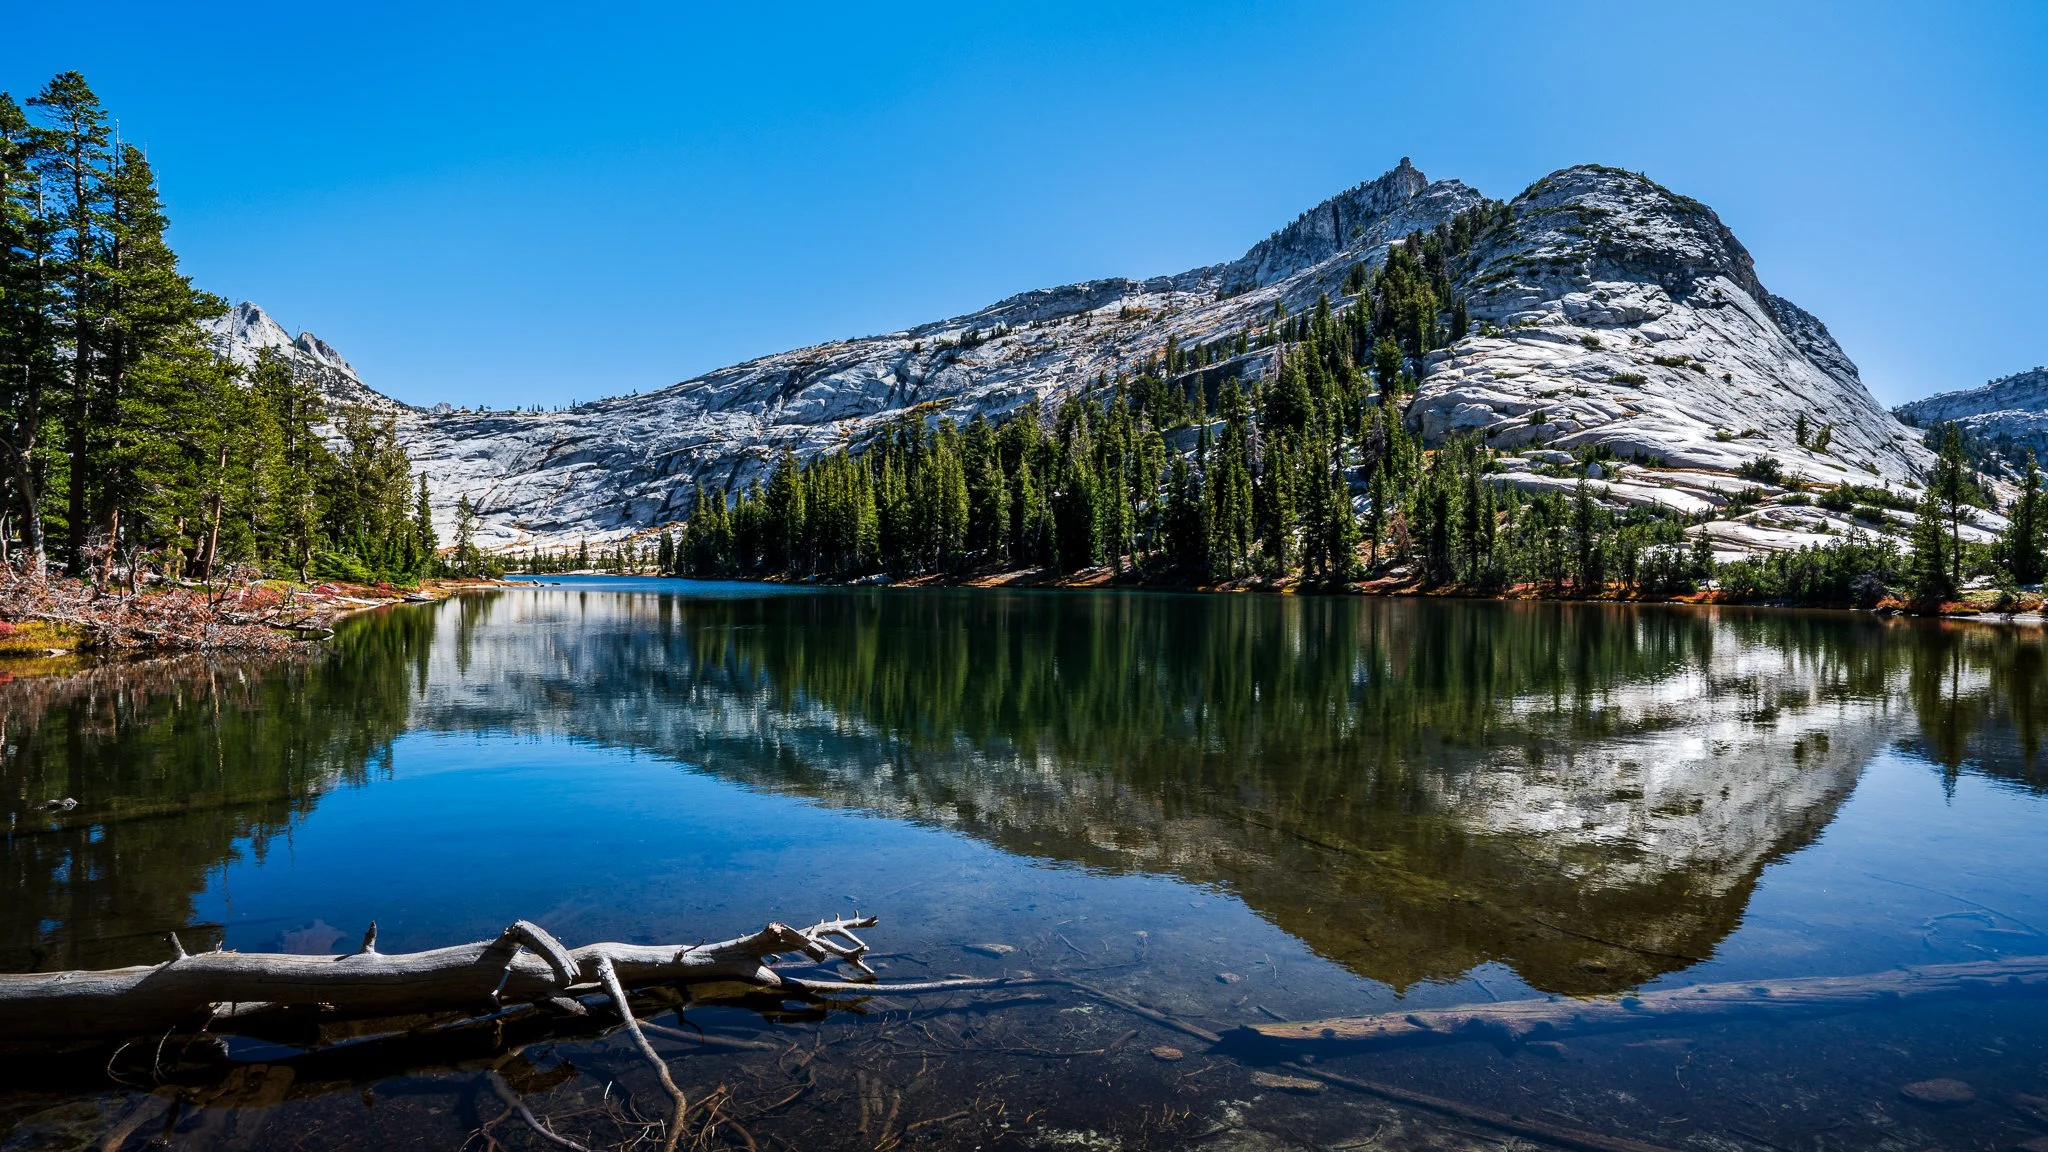
In this tutorial, I combine an AI mask with a gradient using Intersect mode in ON1 Photo RAW. The result keeps the adjustment confined to the mountains while letting its strength fade naturally across the scene.
The ON1 Masking Panel generates more questions than almost any other feature in Photo RAW. Here's the funny thing: most photographers don't actually need to use it.
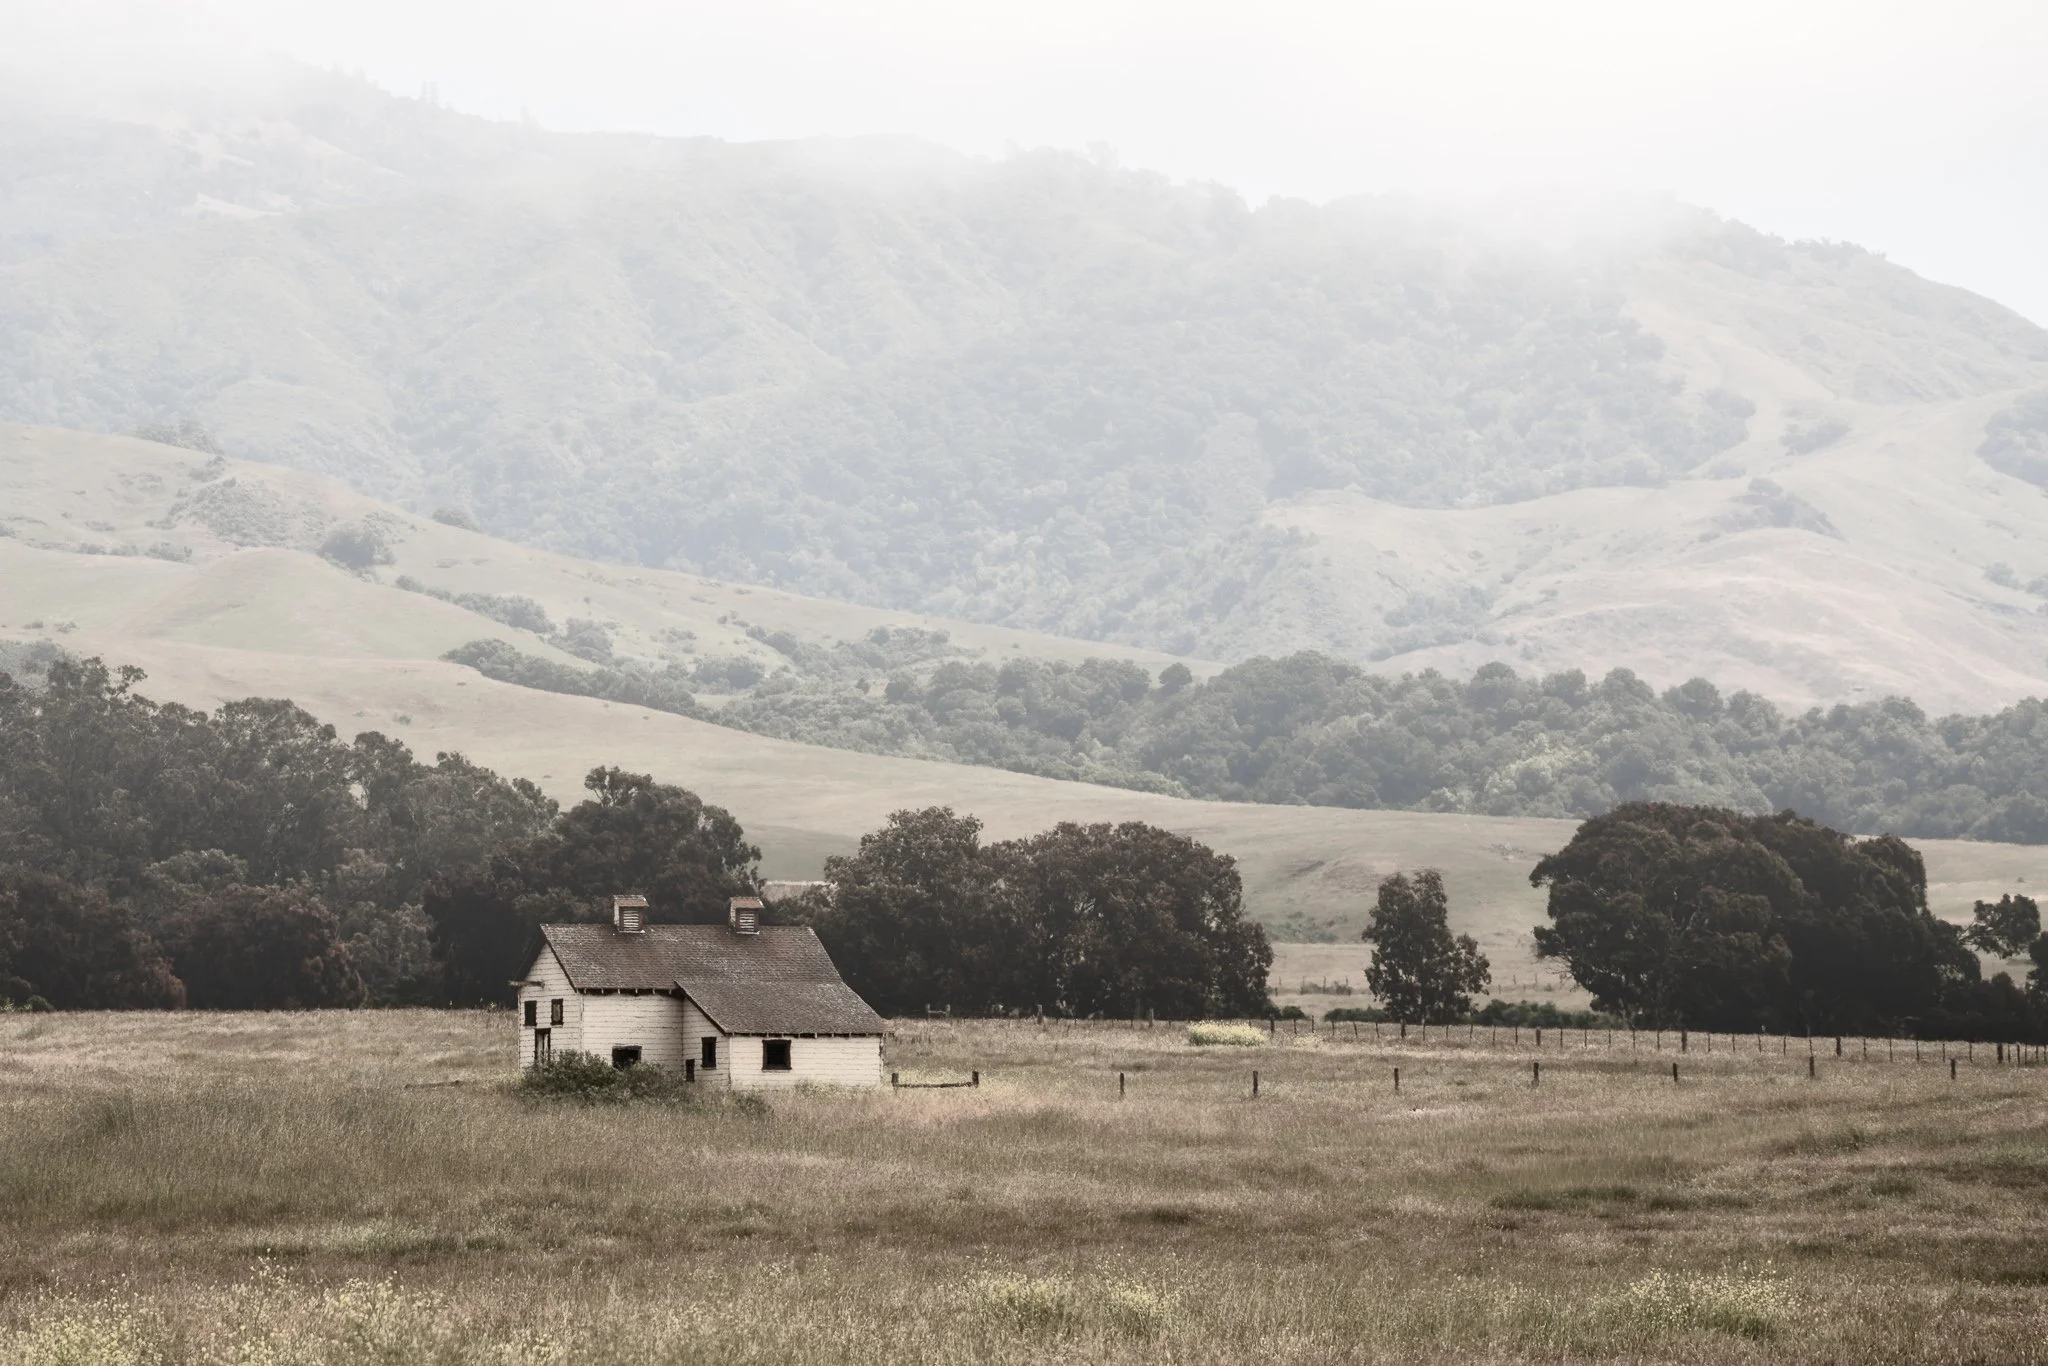
A subtle color shift can completely change the mood of a landscape photo. In this new ON1 Effects tutorial, I build a cool-toned Winter Chill look that better matches the cold, misty feeling of the scene.
Fog is easy to add—but making it look natural takes more control than a single filter. Use Depth Mask in ON1 Effects to shape atmosphere with distance and bring realism back into the scene.
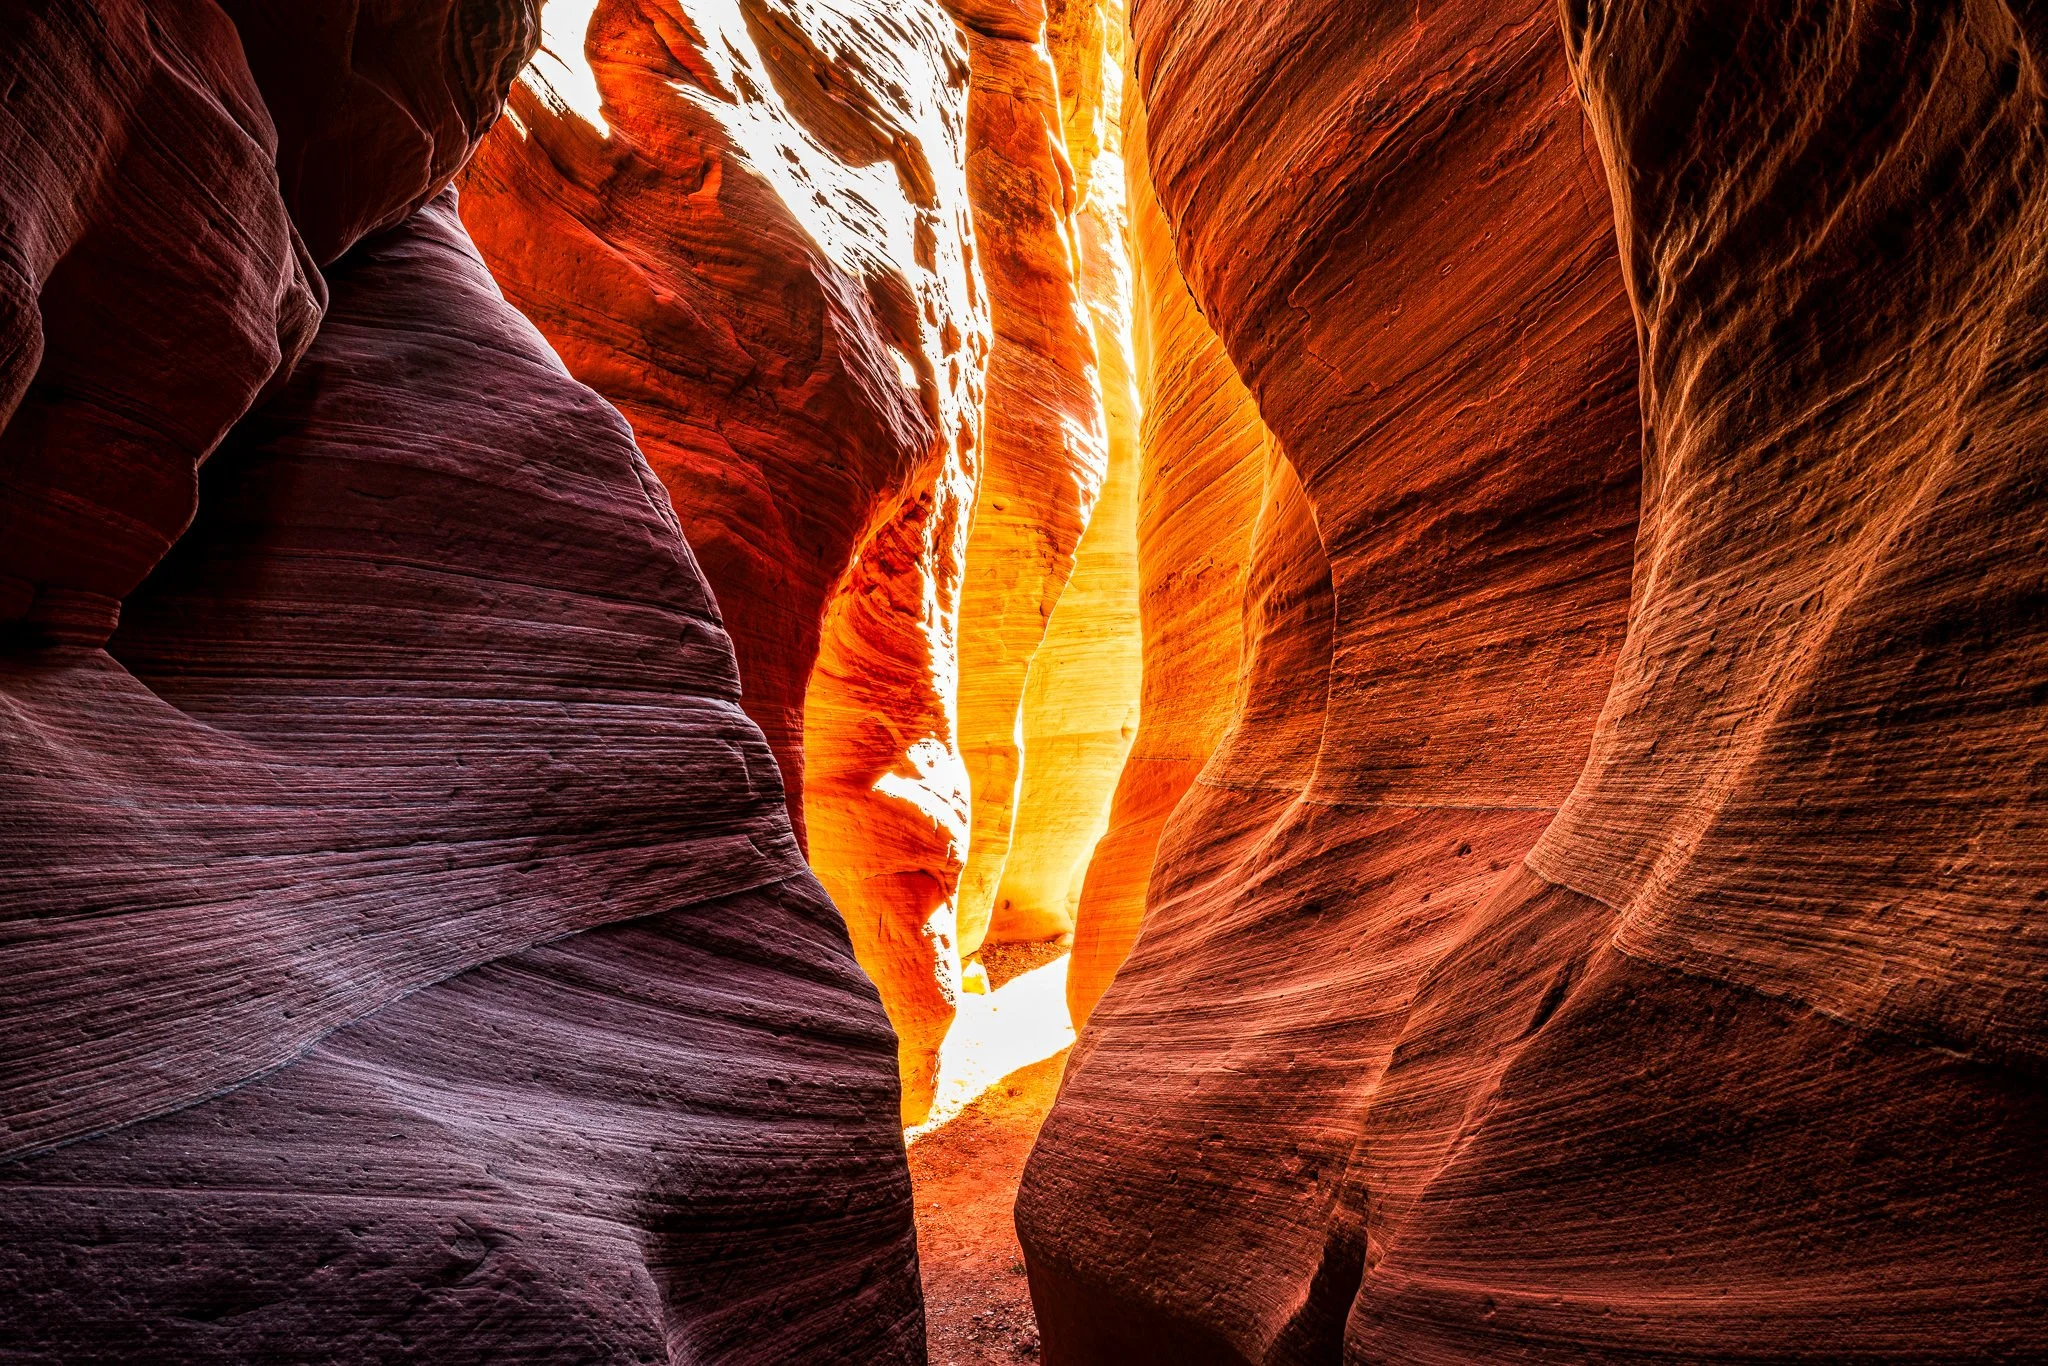
Want to edit foreground and background separately without brushing? In this video, I show how ON1’s Depth Mask lets you apply contrast up close and glow in the distance using a single slider—perfect for deep scenes like slot canyons.
Selective detail can make or break a black and white photograph. In this video, I show how to focus attention where it matters most while keeping the rest of the image soft and cohesive.
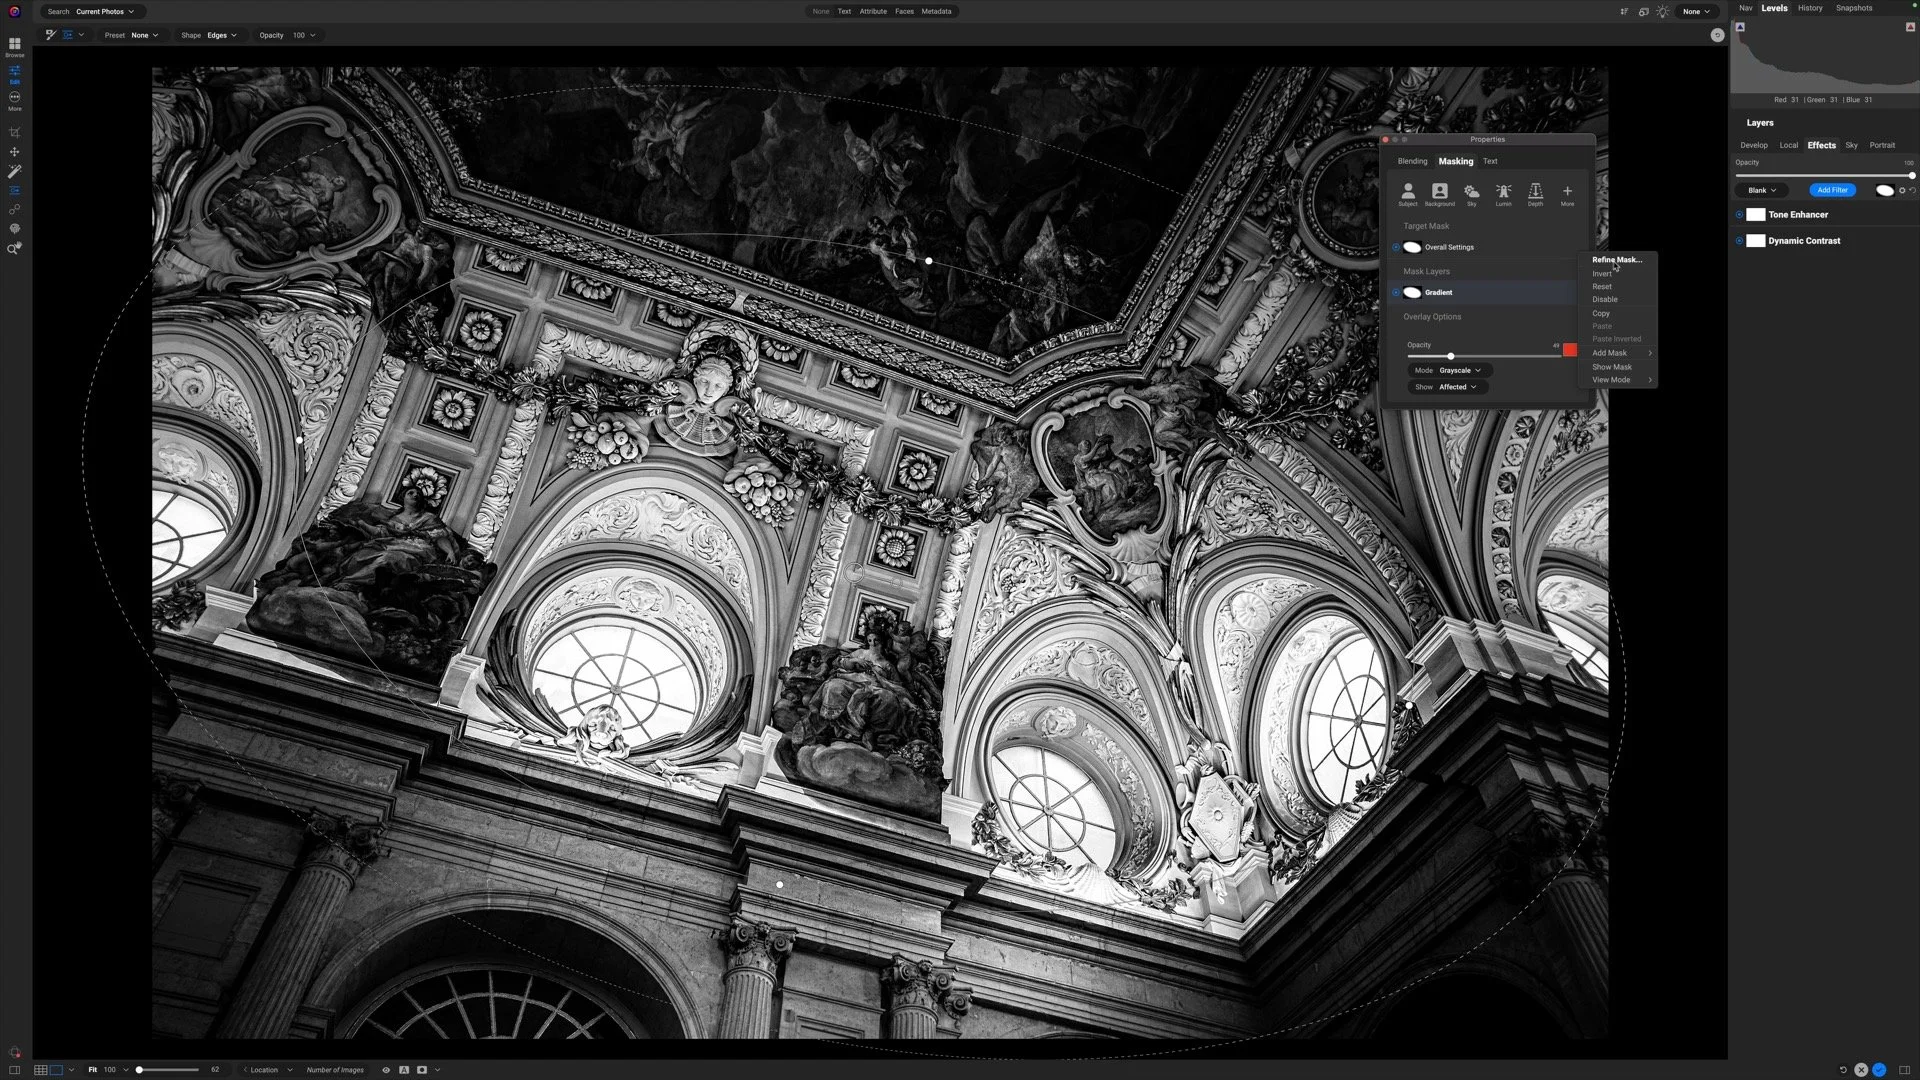
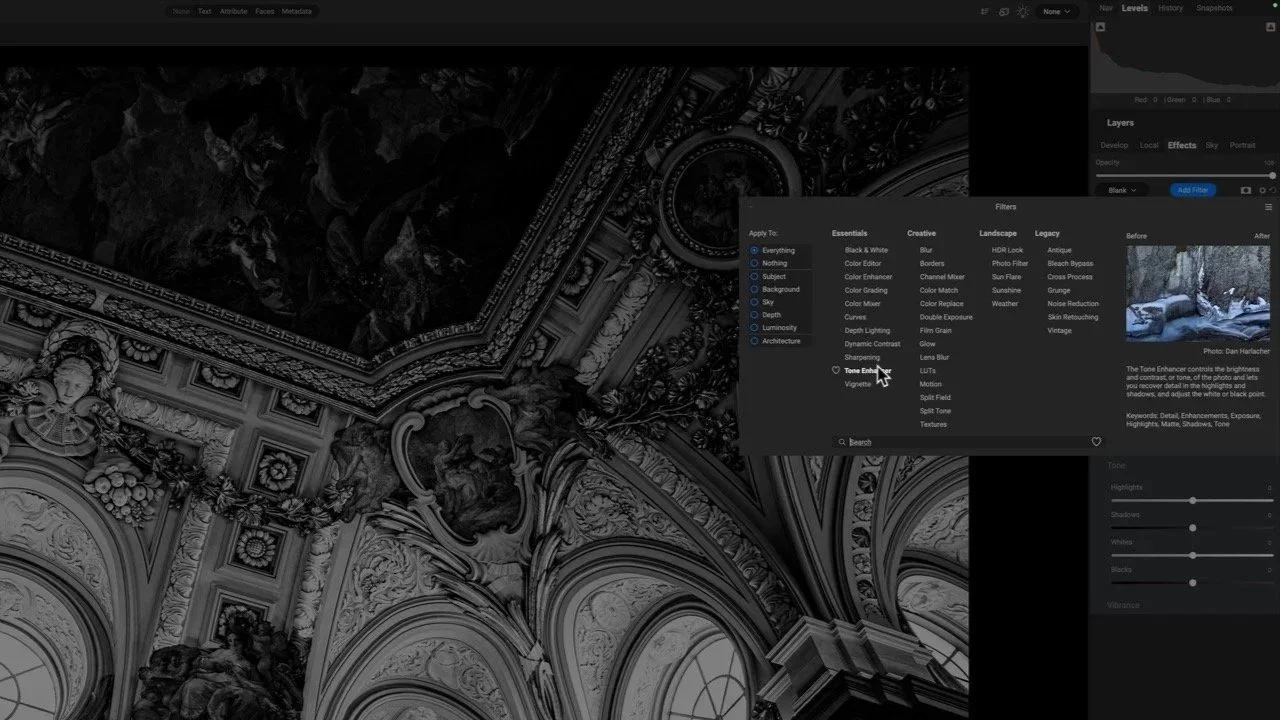
This image is packed with beautiful detail—but it needs a thoughtful touch to shine. I’ll show how Dynamic Contrast and Tone Enhancer in ON1 bring out texture and structure without pushing the photo too far.
Learn how to brighten highlights in reflections without affecting the shadows or midtones. In this tutorial, I walk through a precise masking approach using a luminosity mask and a brush tool to keep the adjustment clean and natural.
A little glow can bring atmosphere to a landscape photo, but spreading it everywhere can weaken the scene. How do you give that light a direction while keeping the shadows quiet and the brightest details intact?
Using the Sunshine filter in ON1 Effects, I shape a soft glow through a forest scene toward the water. The approach builds on an editing vision and shows how a few complementary masking tools can help you follow through on it.