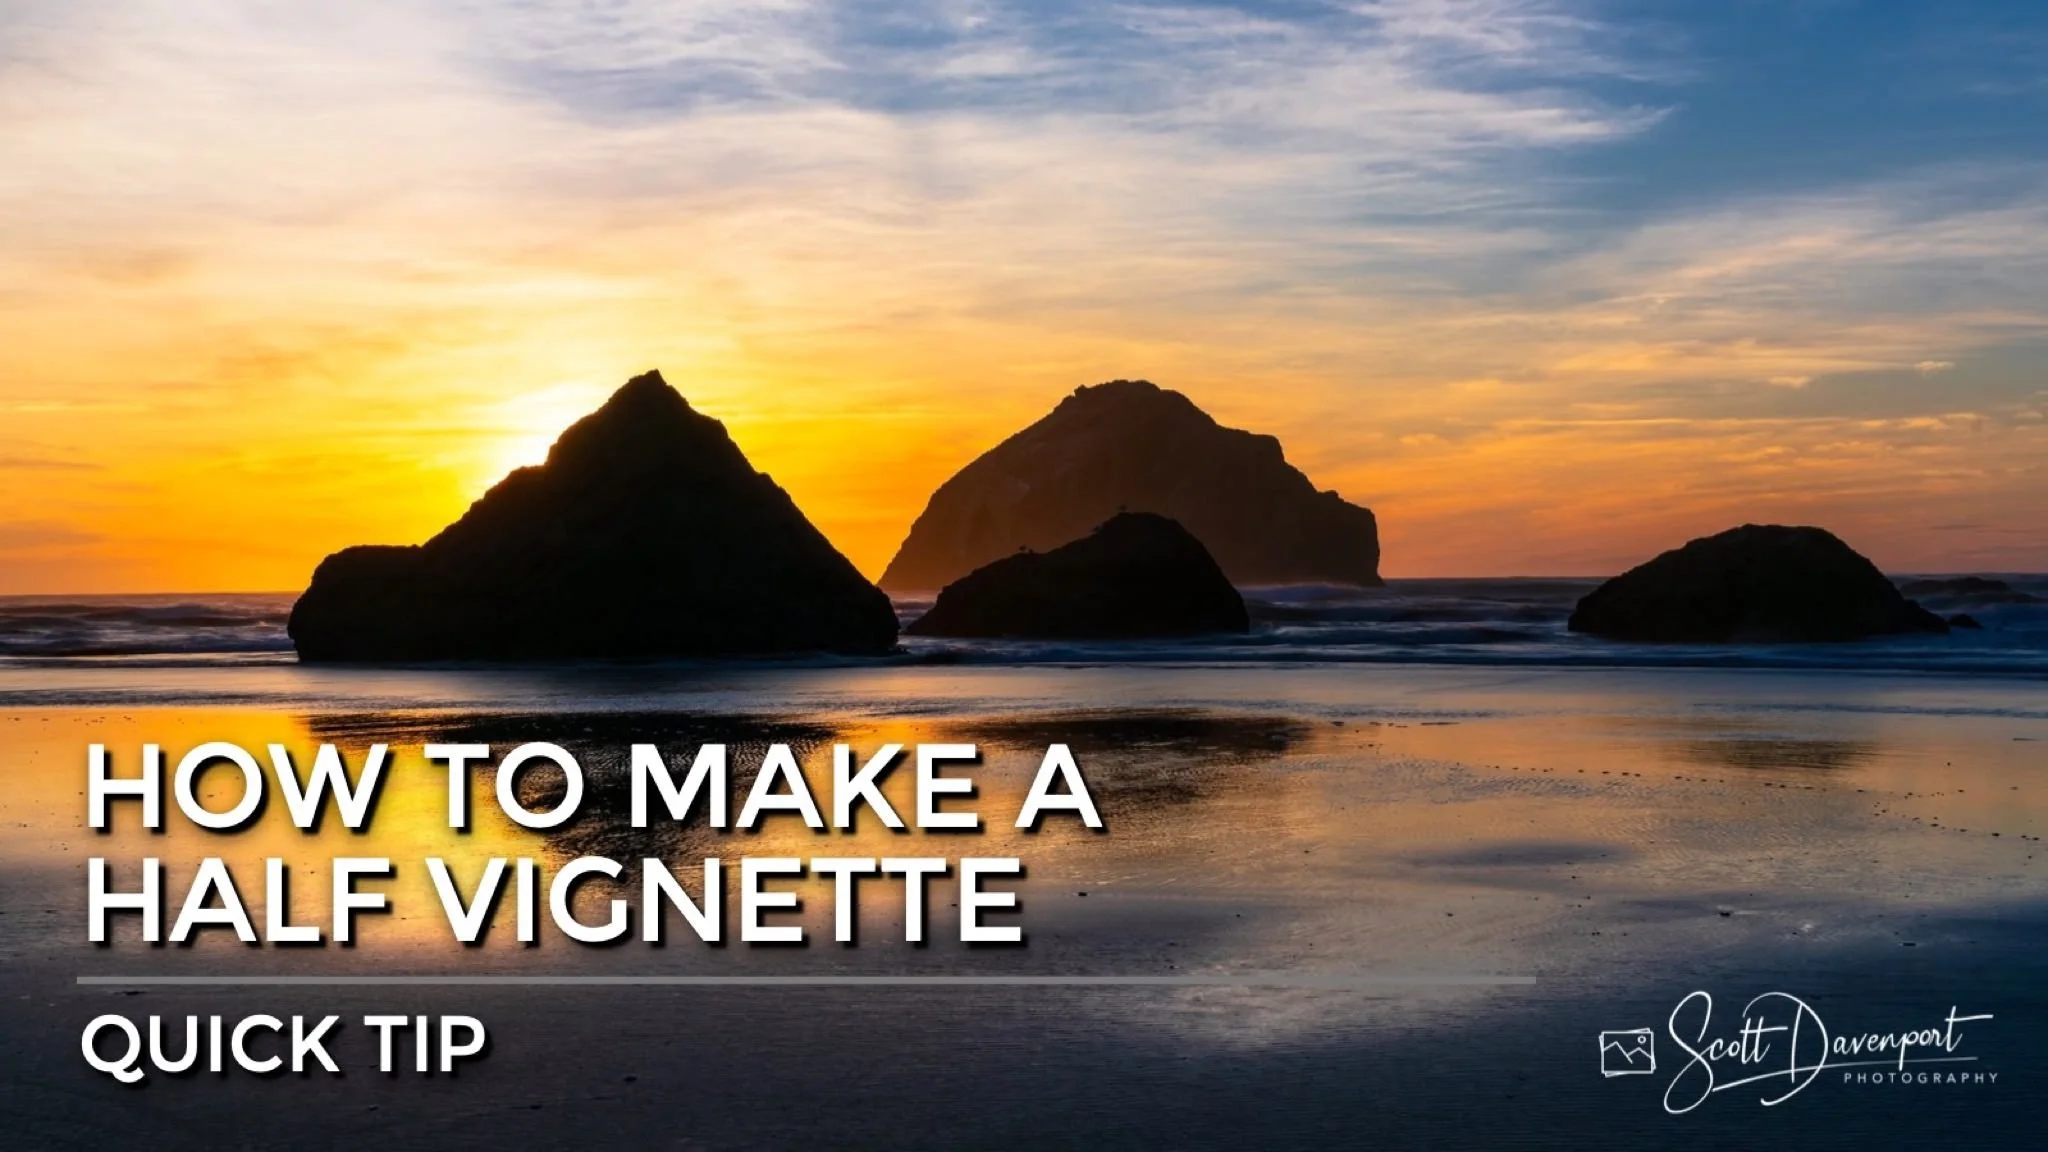
How To Make A Half Vignette
If you enjoy posts like this, please support my work and support independent photography tutorials like this.
A vignette is a tried and true finishing adjustment to a photo. A gentle darkening at the edges pushes your viewer toward your subject. In my landscapes, I’ll use a half-vignette to guide my viewer higher or lower in a photo.
Use a combination of a radial and linear gradient filters to make a half-vignette in Lightroom.
In Lightroom:
Create a new mask and choose the Radial Mask
Invert the radial mask.
Drag the radial on your photo, positioning it so it affects the edge or area you want to darken.
In the masking panel, click Subtract and choose Linear Gradient
Drag the linear gradient over the area you don’t want darkened
Adjust the Exposure slider to taste
Pro tip: Save just the half-vignette mask as an accent preset. Learn more.
Use the Vignette filter with a Gradient Mask to make a half-vignette in ON1 Photo RAW/ON1 Effects.
In ON1 Photo RAW or ON1 Effects:
Switch to the Effects tab
Add a Vignette filter
Use the sliders to shape and recenter the vignette
Click the mask icon for the Vignette filter
Add a Gradient Mask to remove the vignette from the area you don’t want darkened
Learn more about the ON1 Vignette filter.
Sunset At Face Rock On Bandon Beach
Contact Scott to commission a print or license this image.


