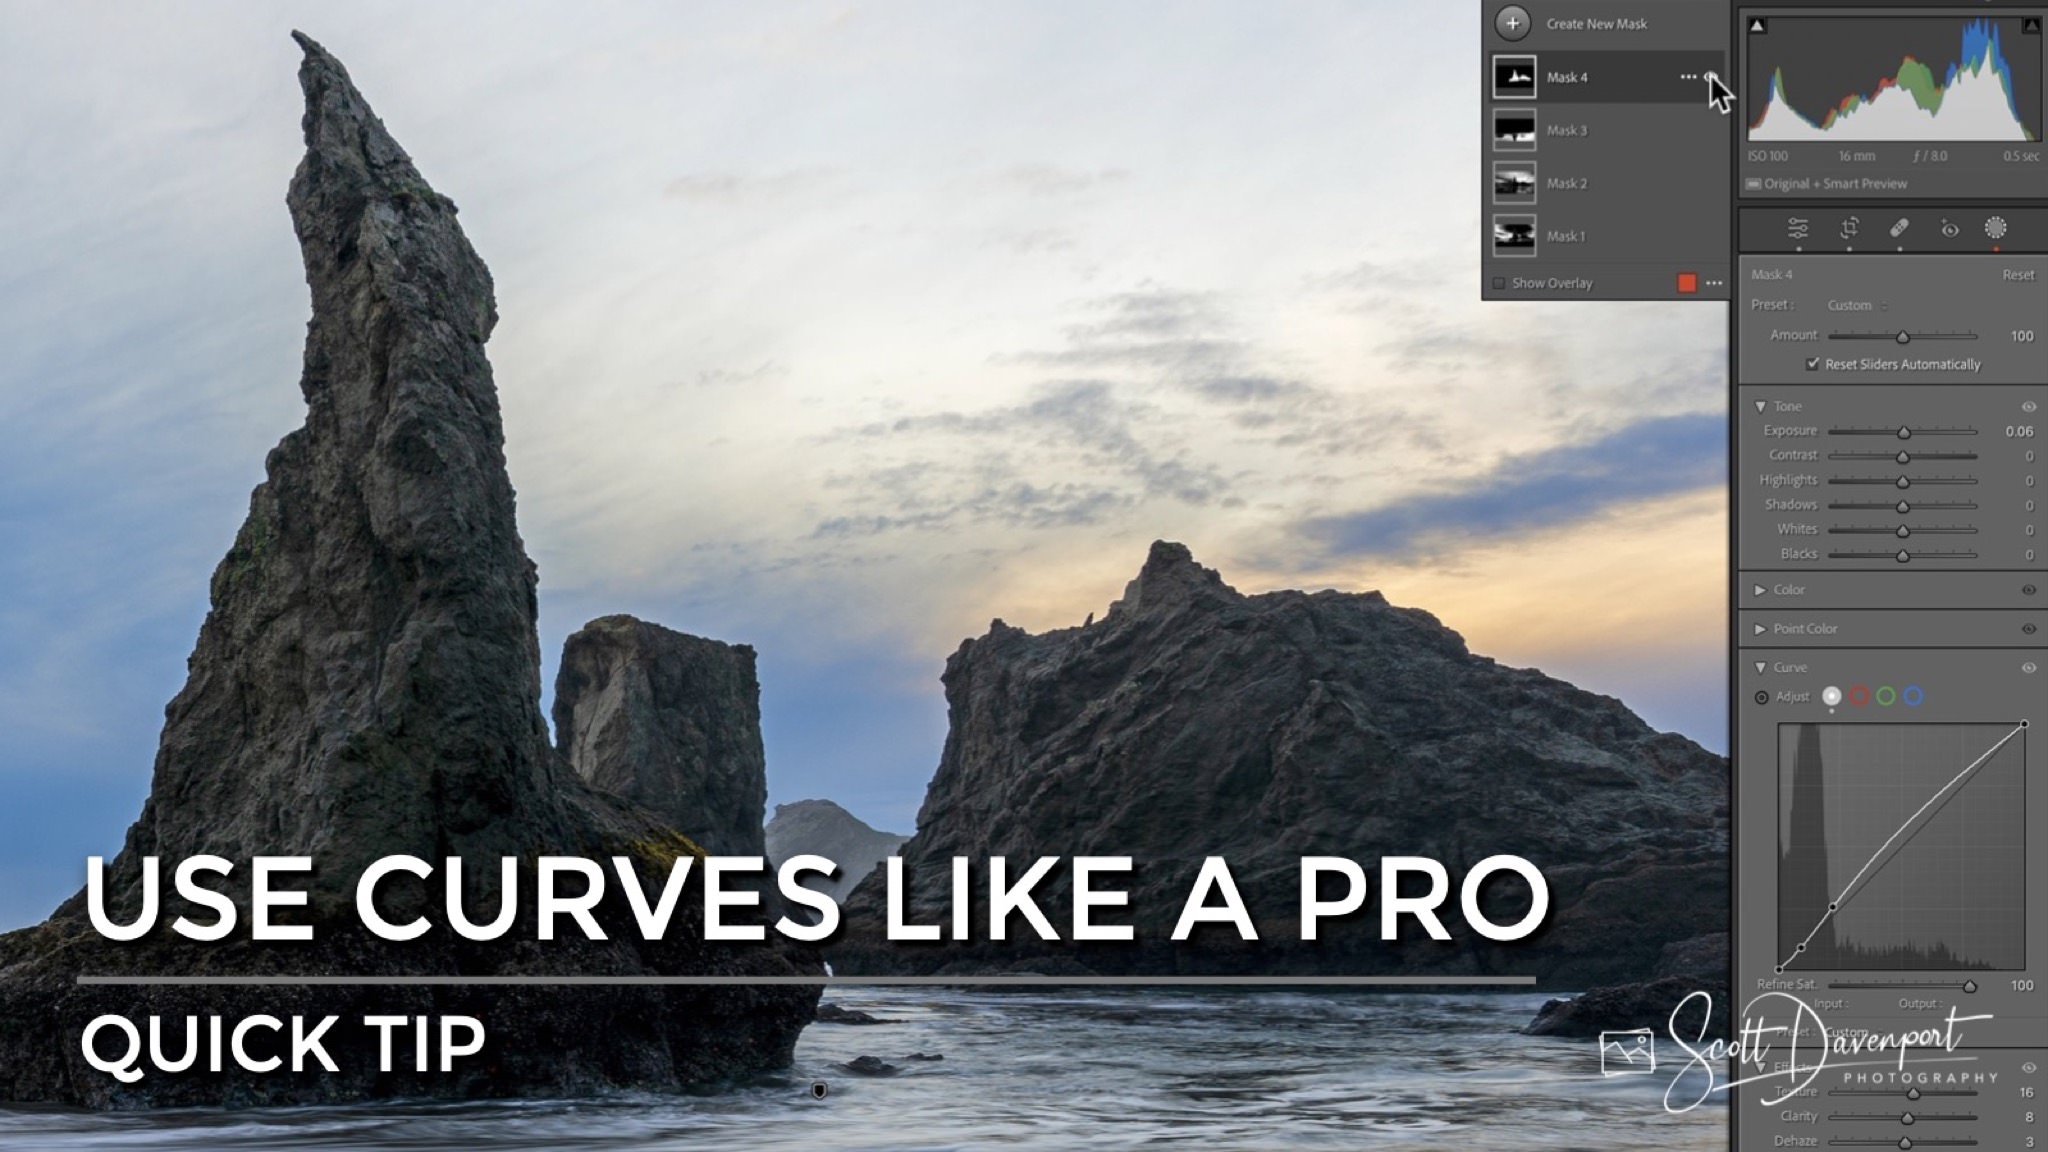
Use Curves Like A Pro With The Eyedropper
If you enjoy posts like this, please support my work and support independent photography tutorials like this.
A Curve tool is a tried and true editing tool for a reason - you can control tonal adjustments very precisely. The trick? Using the eyedropper to set points on the curve you want to change *AND* the points you don’t want to change. Both are important so you can limit the impact of the curve to just the tones you want to adjust.
I’ll show you how to use the eyedropper of a curves tool to pick the tones to adjust, and pick the ones to protect. I use Lightroom in this video, though the technique works with ON1 Photo RAW, ON1 Effects, or any other curves tool that has an eyedropper to sample tones in your image.
Howling Dog, Bandon Beach, Sunset
Contact Scott to commission a print or license this image.
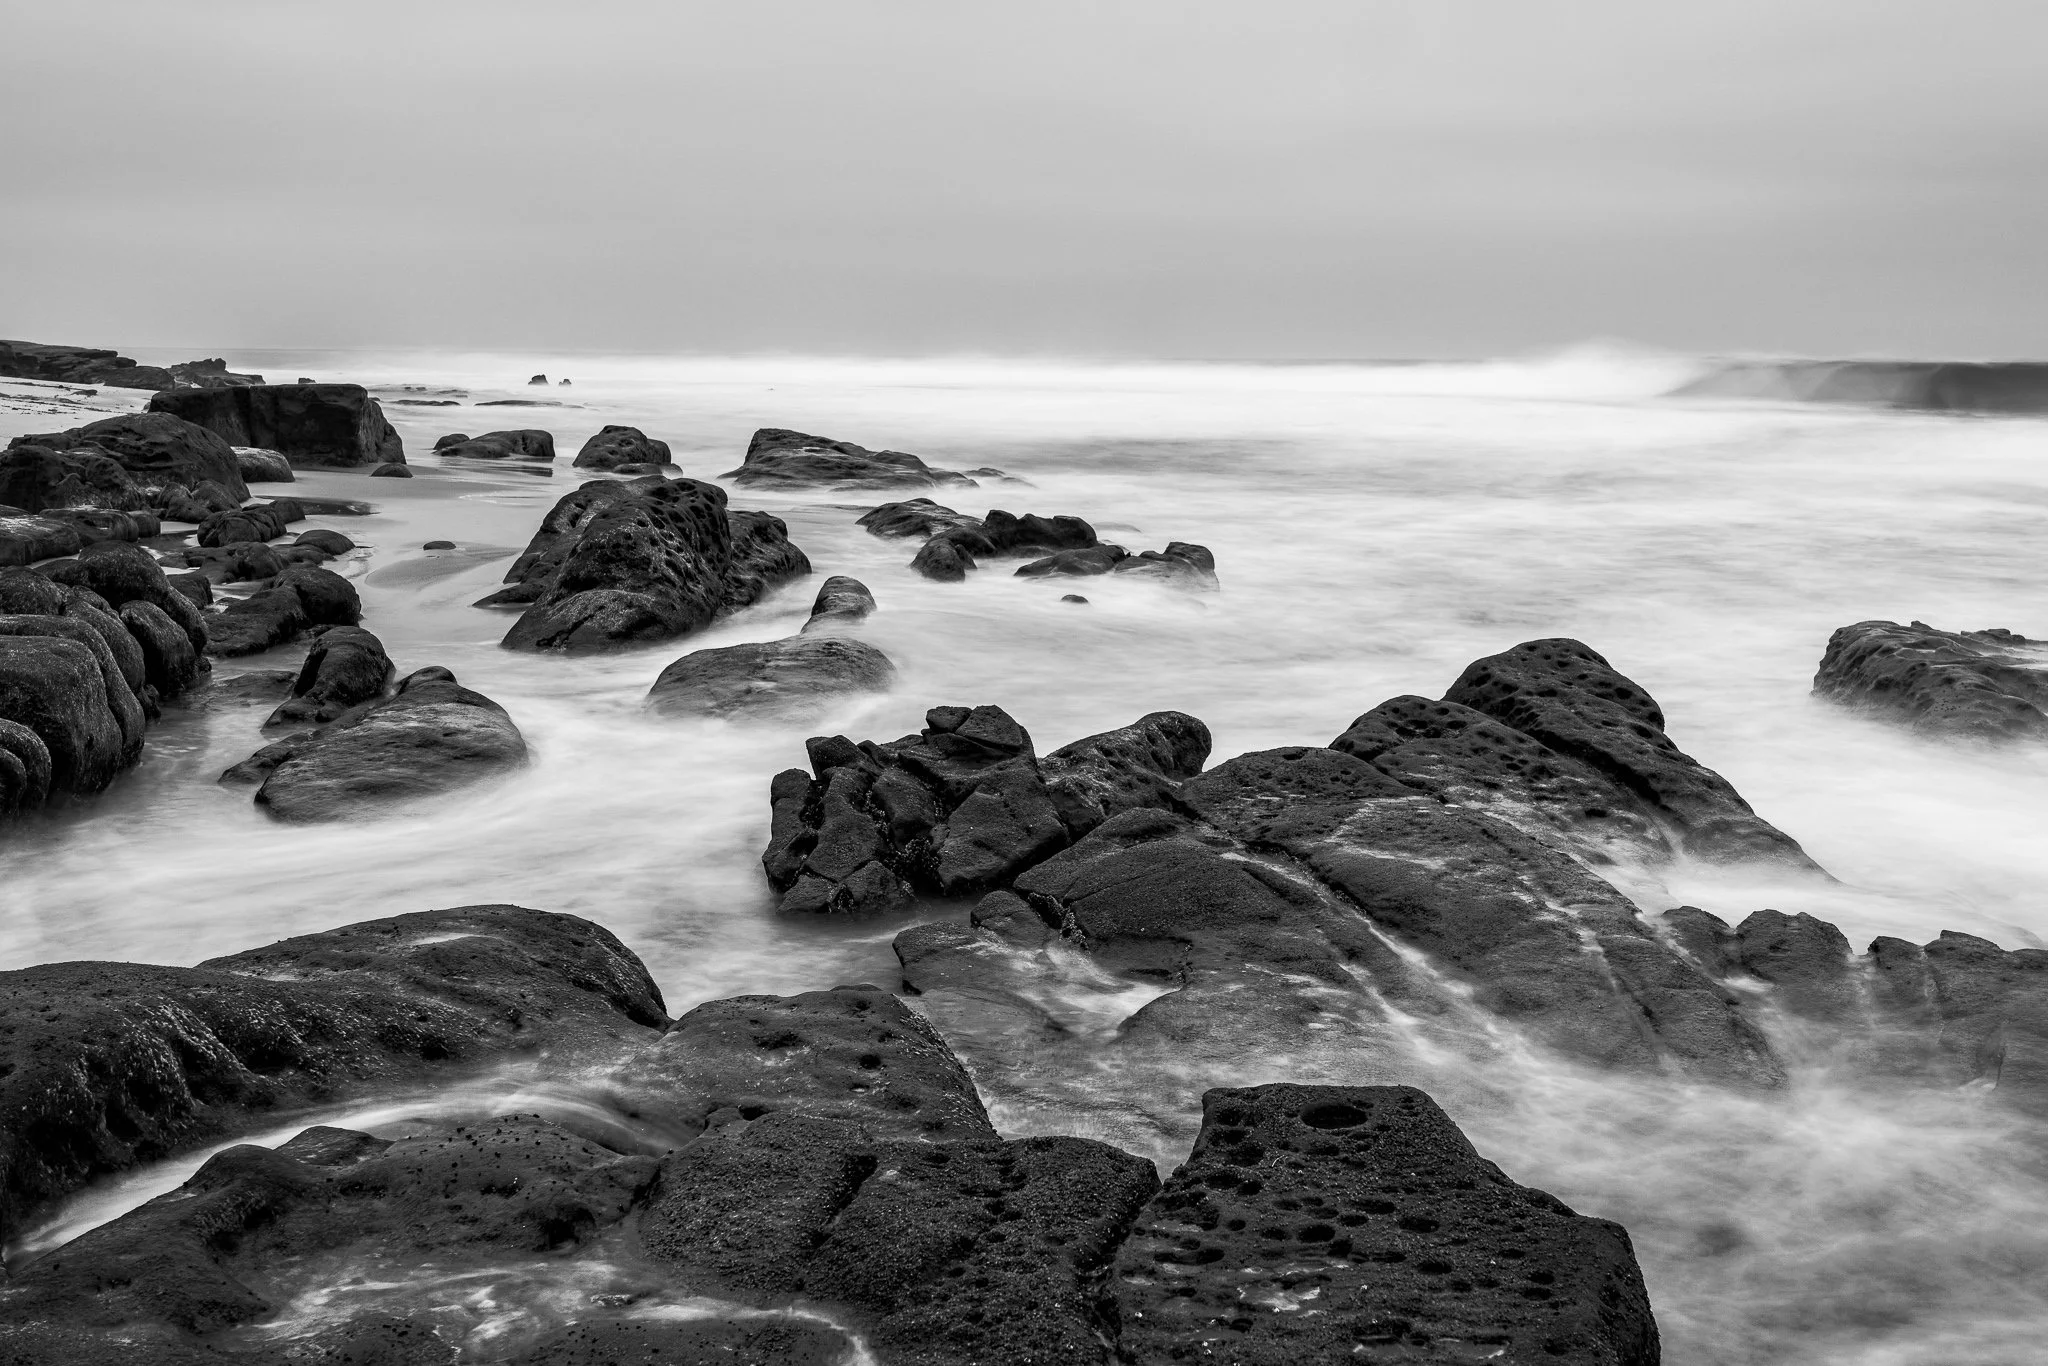
What do you do when the weather is dull, the surf is uninteresting, and a dead battery takes away one of the tools you normally rely on?
You can spend the outing wishing conditions were different—or let those constraints narrow your choices and point you toward another photograph. In this video, I share how I adapted during a recent seascape outing and why limitations can sometimes give your photography clearer direction.
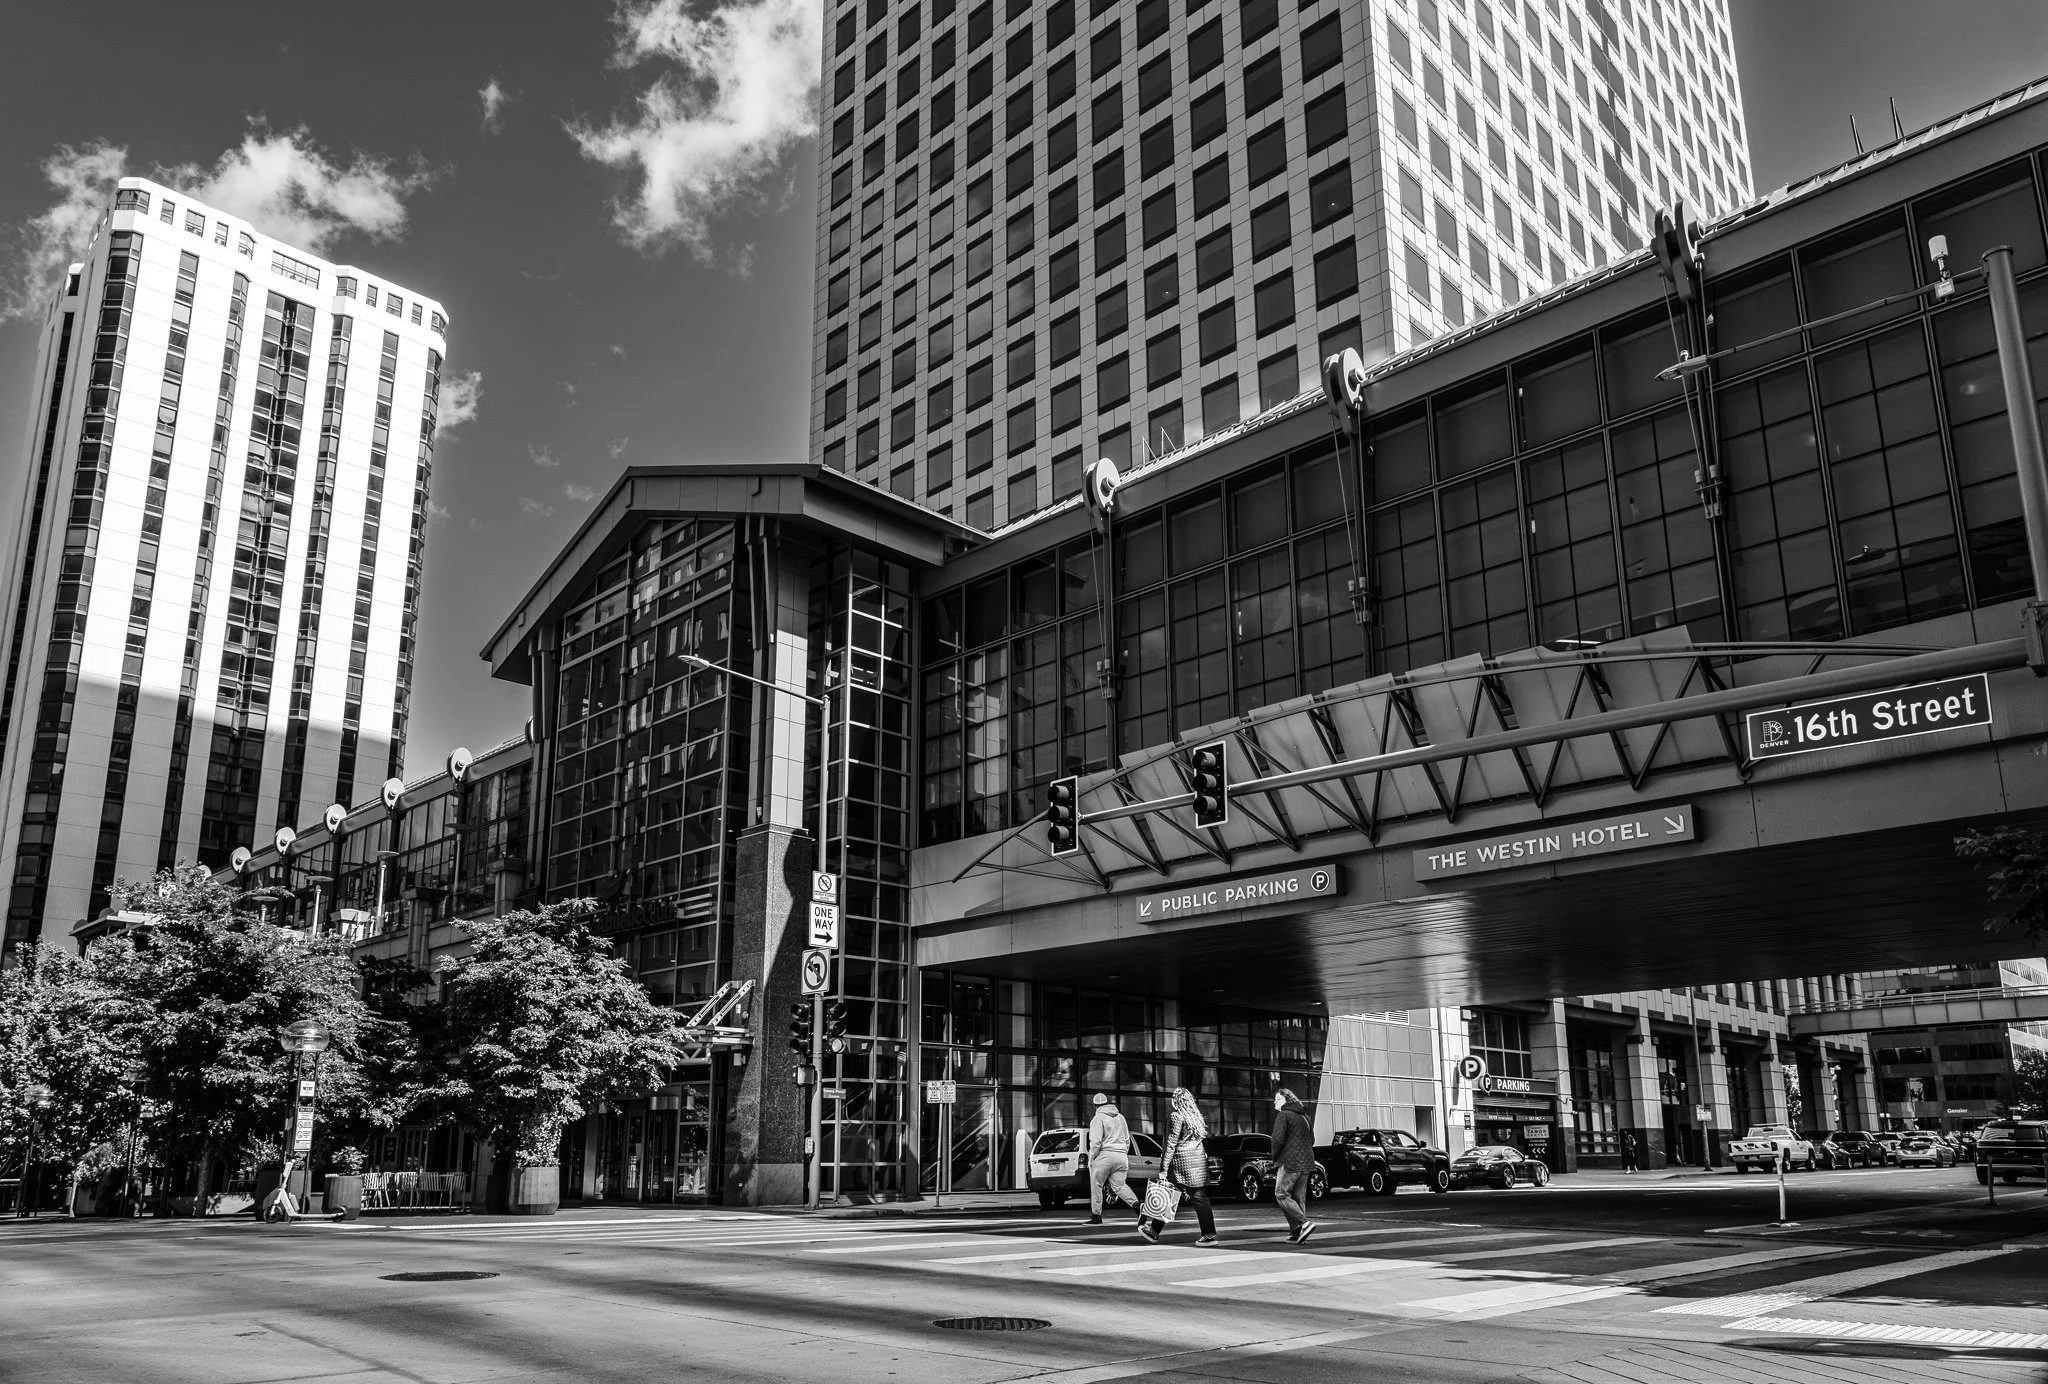
Most edits are finished long before they're truly complete. In this video, I'll show you a simple masking technique I use to bring out important details in black and white photos—the final 5% that helps guide the viewer's eye and strengthen the image.
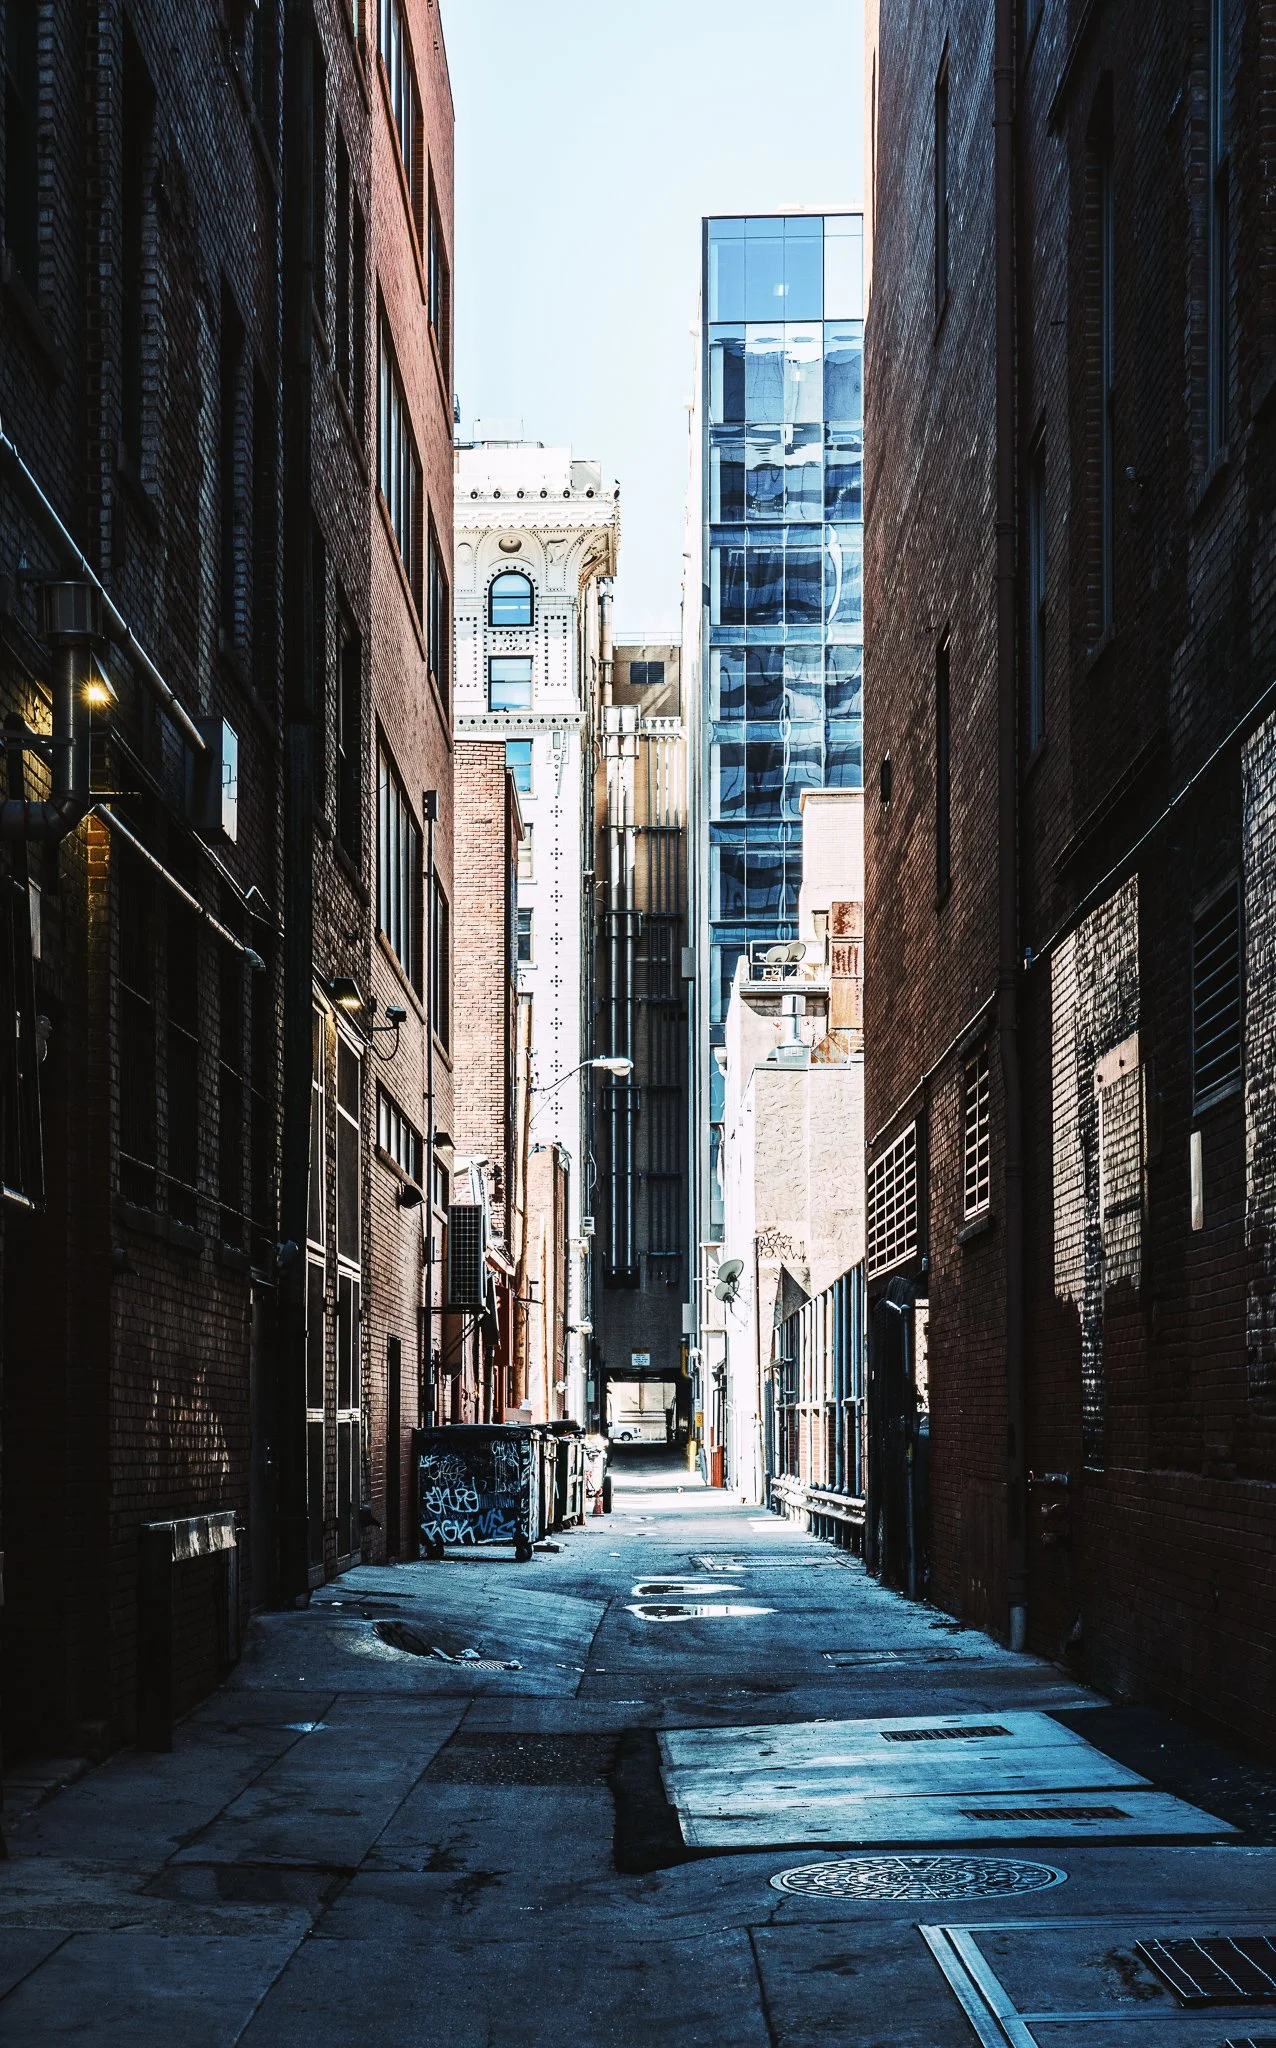
Harsh light doesn’t have to ruin a photo—it can shape it. In this quick edit, I show how a simple radial mask turns a Denver alley into a strong, guided composition.
When water isn't the subject, it may be competing for attention. Here's a simple masking technique that softens and darkens water so your real subject becomes the star of the photograph.
Masking gets a lot easier when you stop thinking about tools and start thinking about your photo in segments. In this tutorial, I’ll show you how breaking an image into objects, tones, and colors can help you build better masks faster.
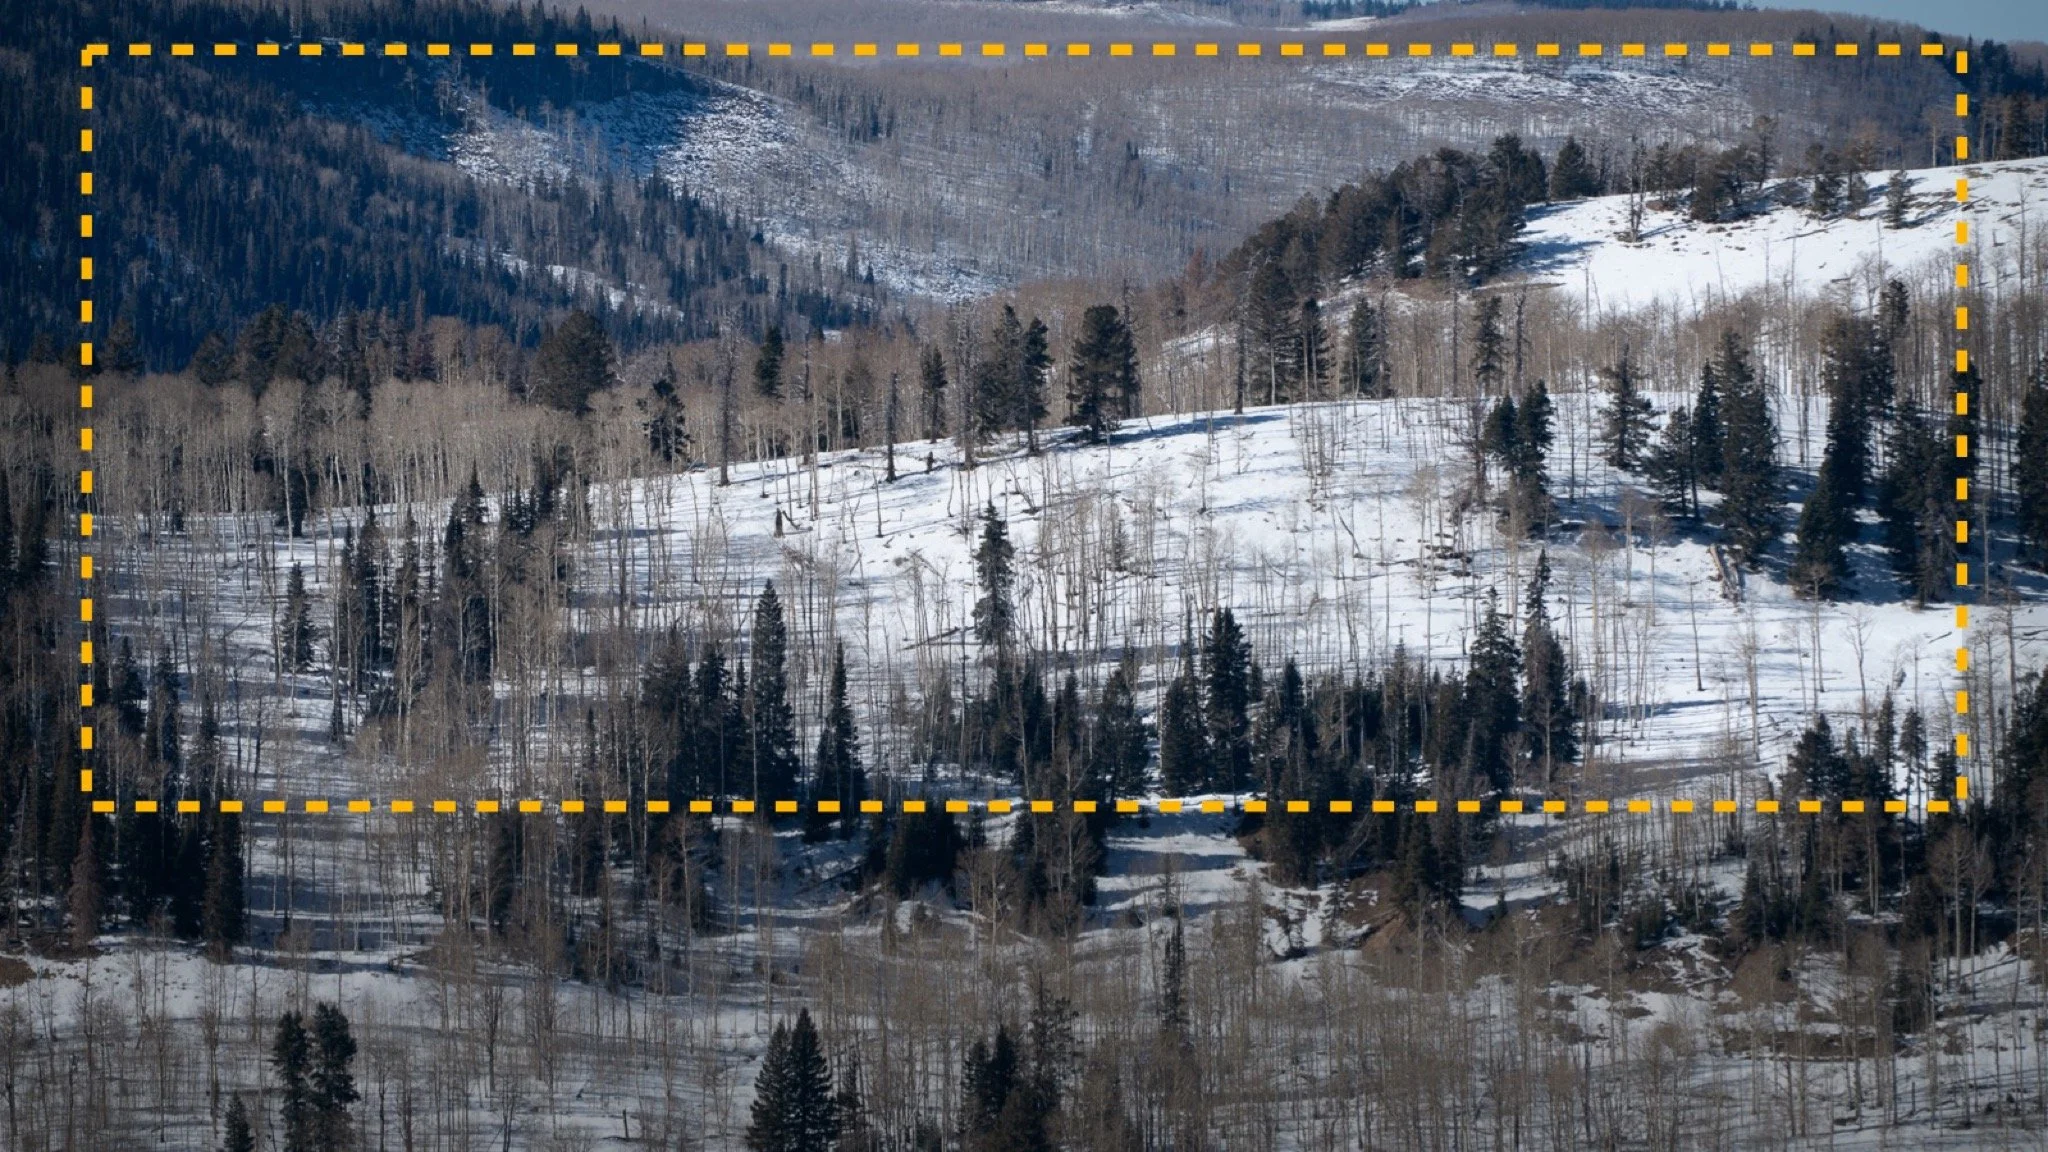
Want stronger compositions in your photos? Start with the crop — here’s a winter landscape example that shows exactly how I think ahead while editing.
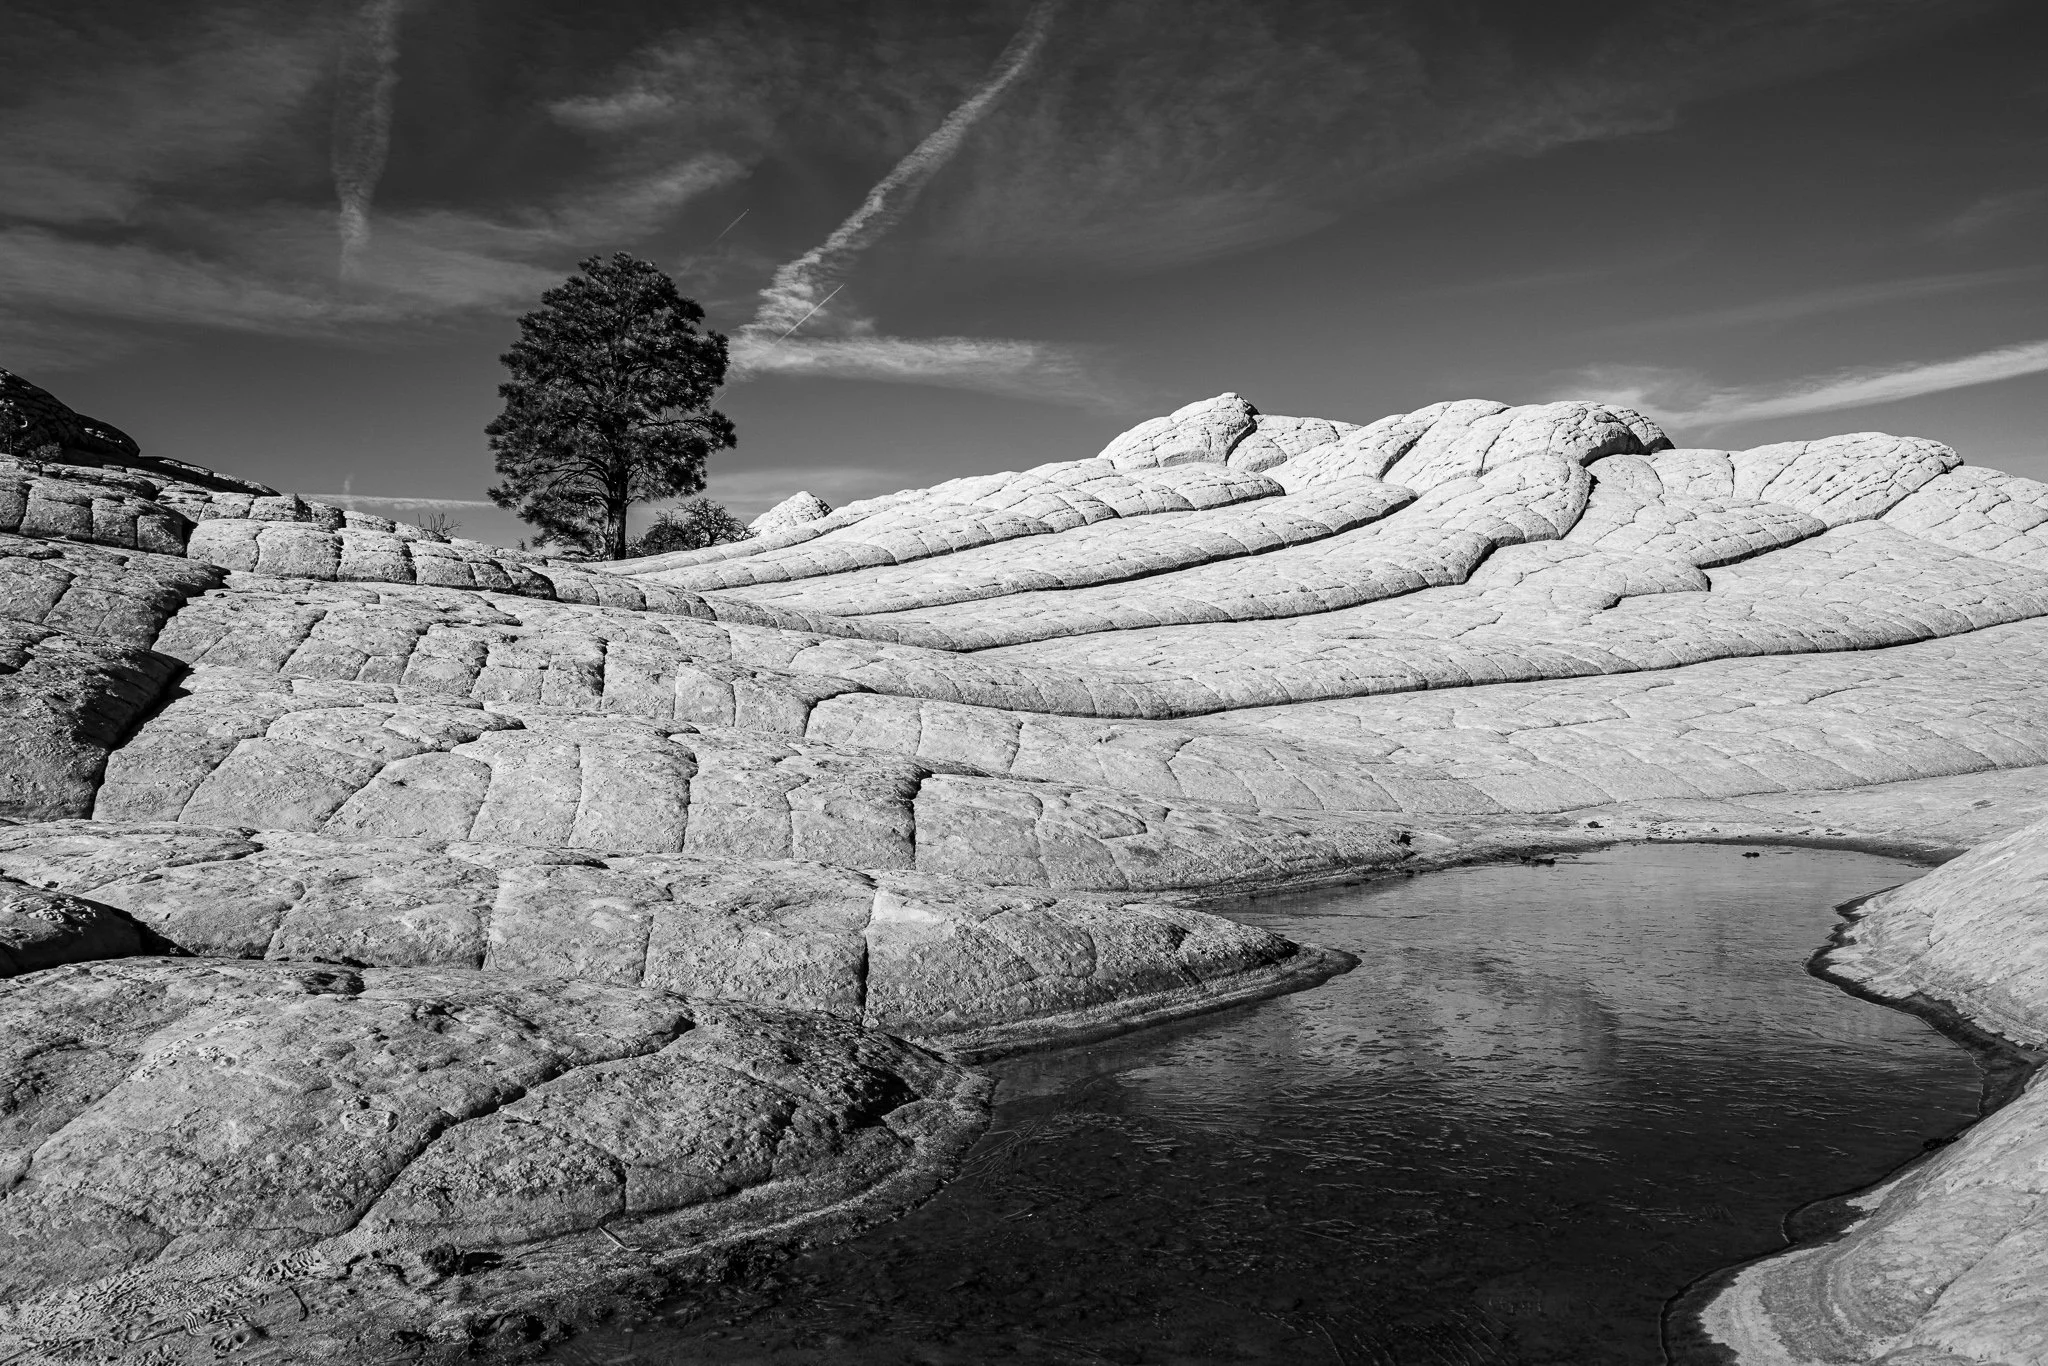
Brightness isn’t always your friend—sometimes it flattens depth and makes part of your photo feel visually “heavy.” In this tutorial, I show how a simple burn adjustment restores dimension and balance in a black-and-white scene.
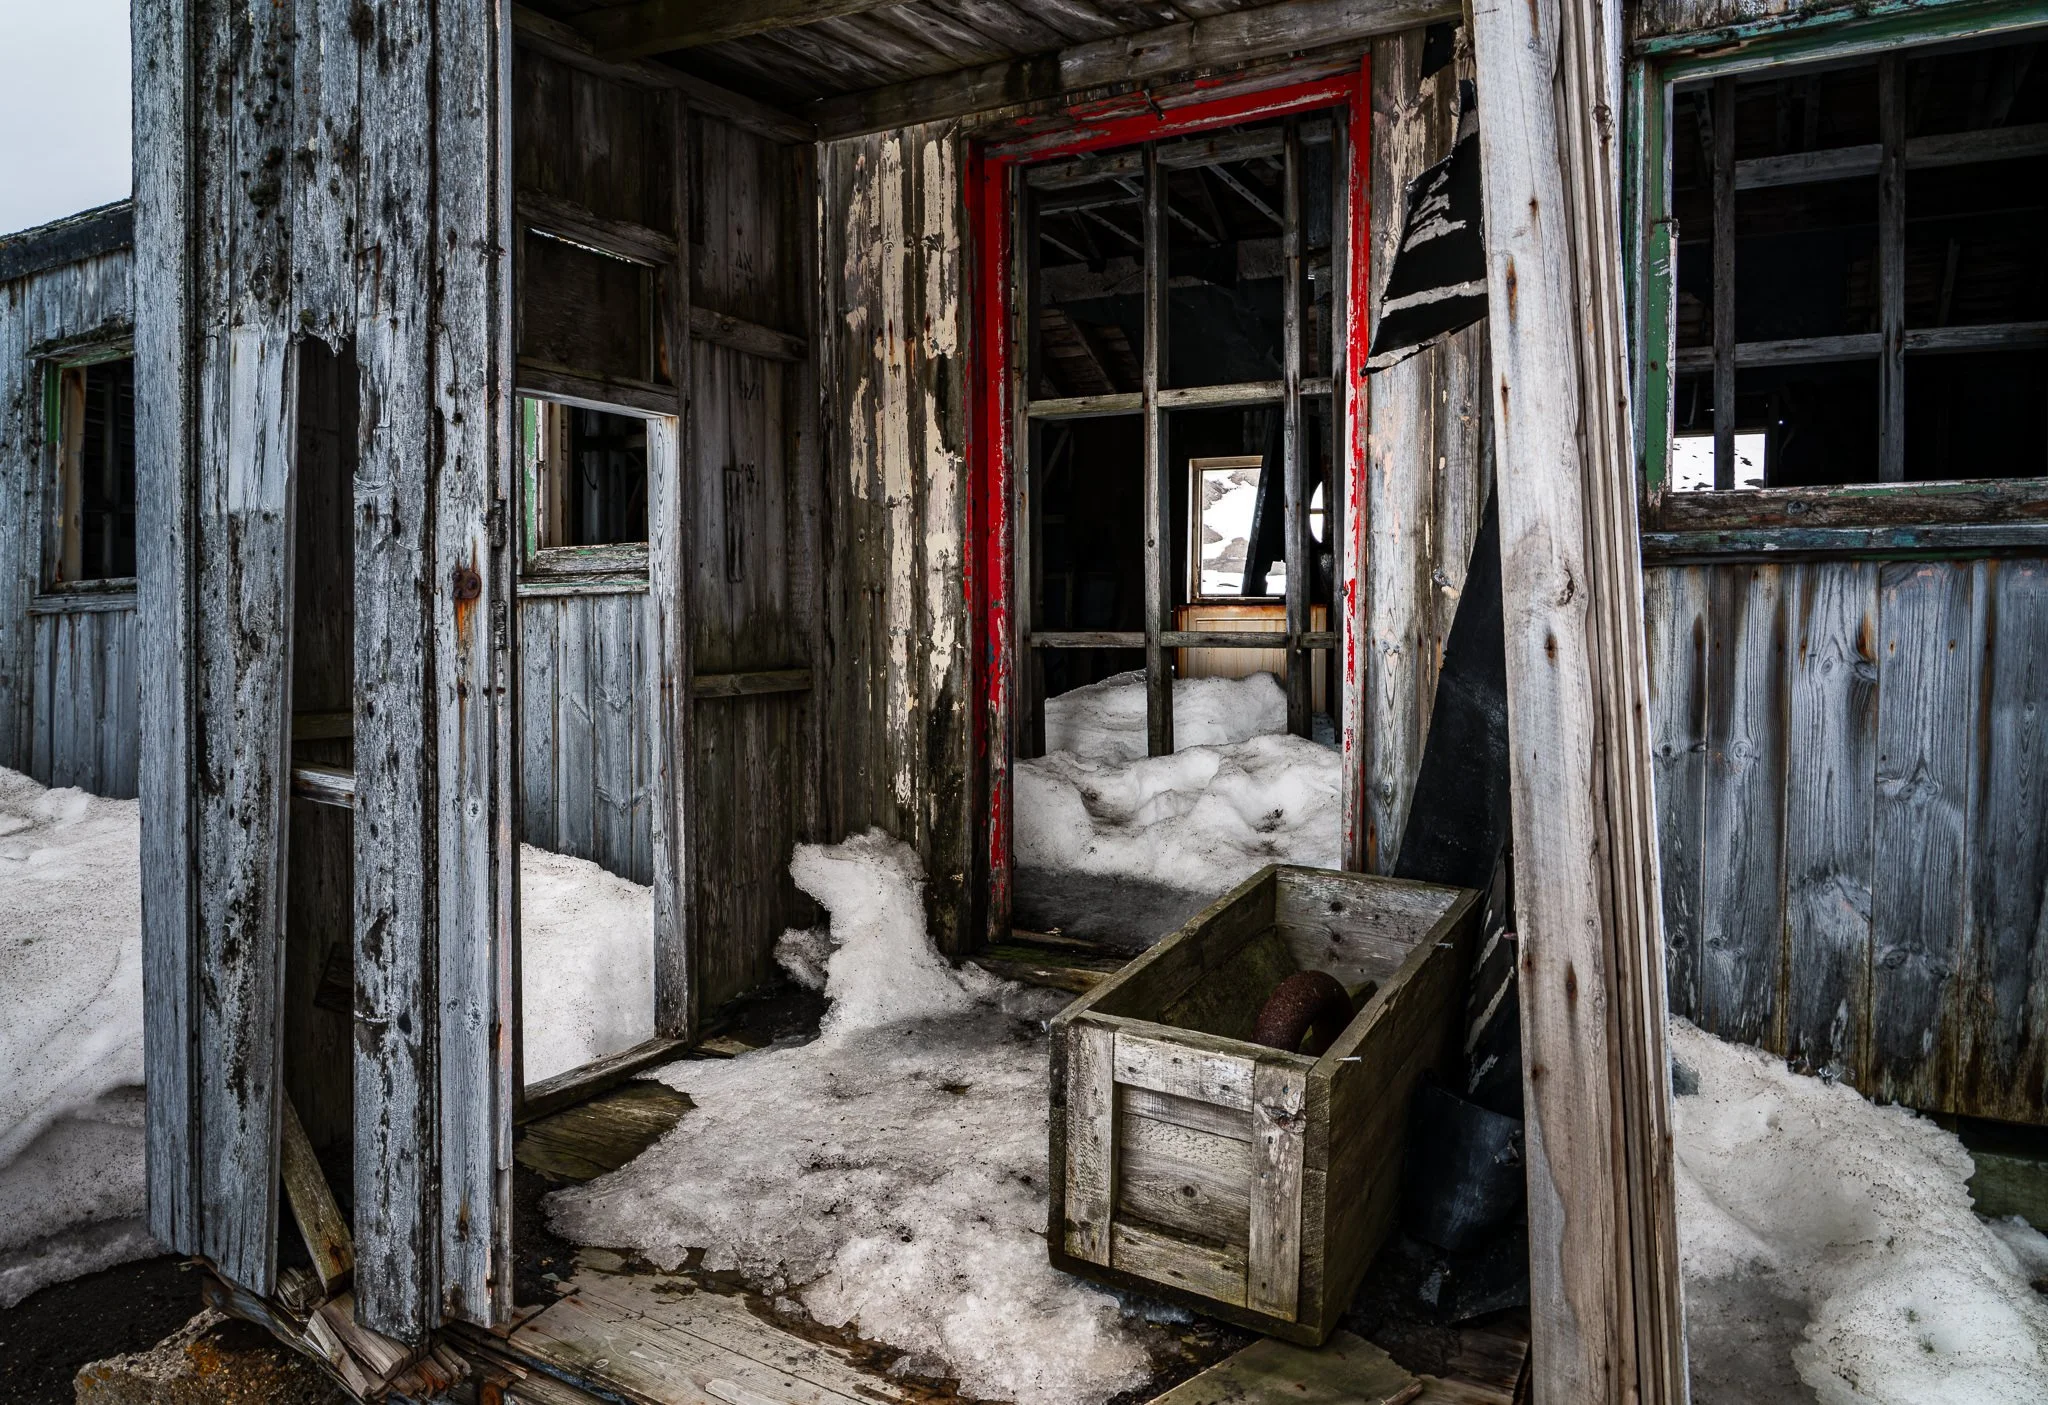
A handful of local adjustments seemed enough to guide the eye toward a forgotten doorway—until curiosity pushed the edit further. Join me as I shape light and shadow, exploring “what if” moments that transformed the mood of this abandoned whaling station.
When you take command of light in your edits, you take command of the story your image tells.
Scott Davenport is a landscape photographer and photo educator and based in San Diego, California. He leads photo workshops, writes photo books, hosts podcasts, makes tutorial videos, and feels weird referring to himself in the 3rd person.
He also can't help getting his feet wet photographing at the beach.
A vignette can help guide the viewer toward your subject, but lowering exposure around the edges of a black and white photo can quickly bury important shadow detail.
In this quick tutorial, I’ll show you a more controlled approach using a radial gradient and the Whites or Highlights slider. You’ll still get that visual nudge toward the subject without making already-dark areas disappear.